Sticky Note Calendar 2021 Tutorial

Hi there paper crafting friends!  It’s Michelle Starcher, aka the Bookish Designer, popping in on the blog to walk you through the steps to create Lori’s Sticky Note Calendar 2021  (SVGSilhouette- coming soon). In this photo tutorial, I will break down the steps to create this super cute project to keep you on track in 2021.  I used papers from the Magical Adventure collection from Echo Park Paper Co.  The calendar goes perfectly with the organizers I made a few weeks ago.

After uploading the SVG file to the Cricut Design Studio, I needed to make a few changes, so that it would cut correctly with my Cricut Maker. Below you will find the steps I took to prepare the file for cutting.  I opened the “solid” version of the SVG in Cricut so I could use my score tool.

Ungroup the SVG file.  Change the Linetype of the fold lines on the calendar base and sticky note holder to score marks. Attach the score lines to calendar base and sticky note holder pieces.  For help on this process, see this video on Lori’s YouTube Channel.
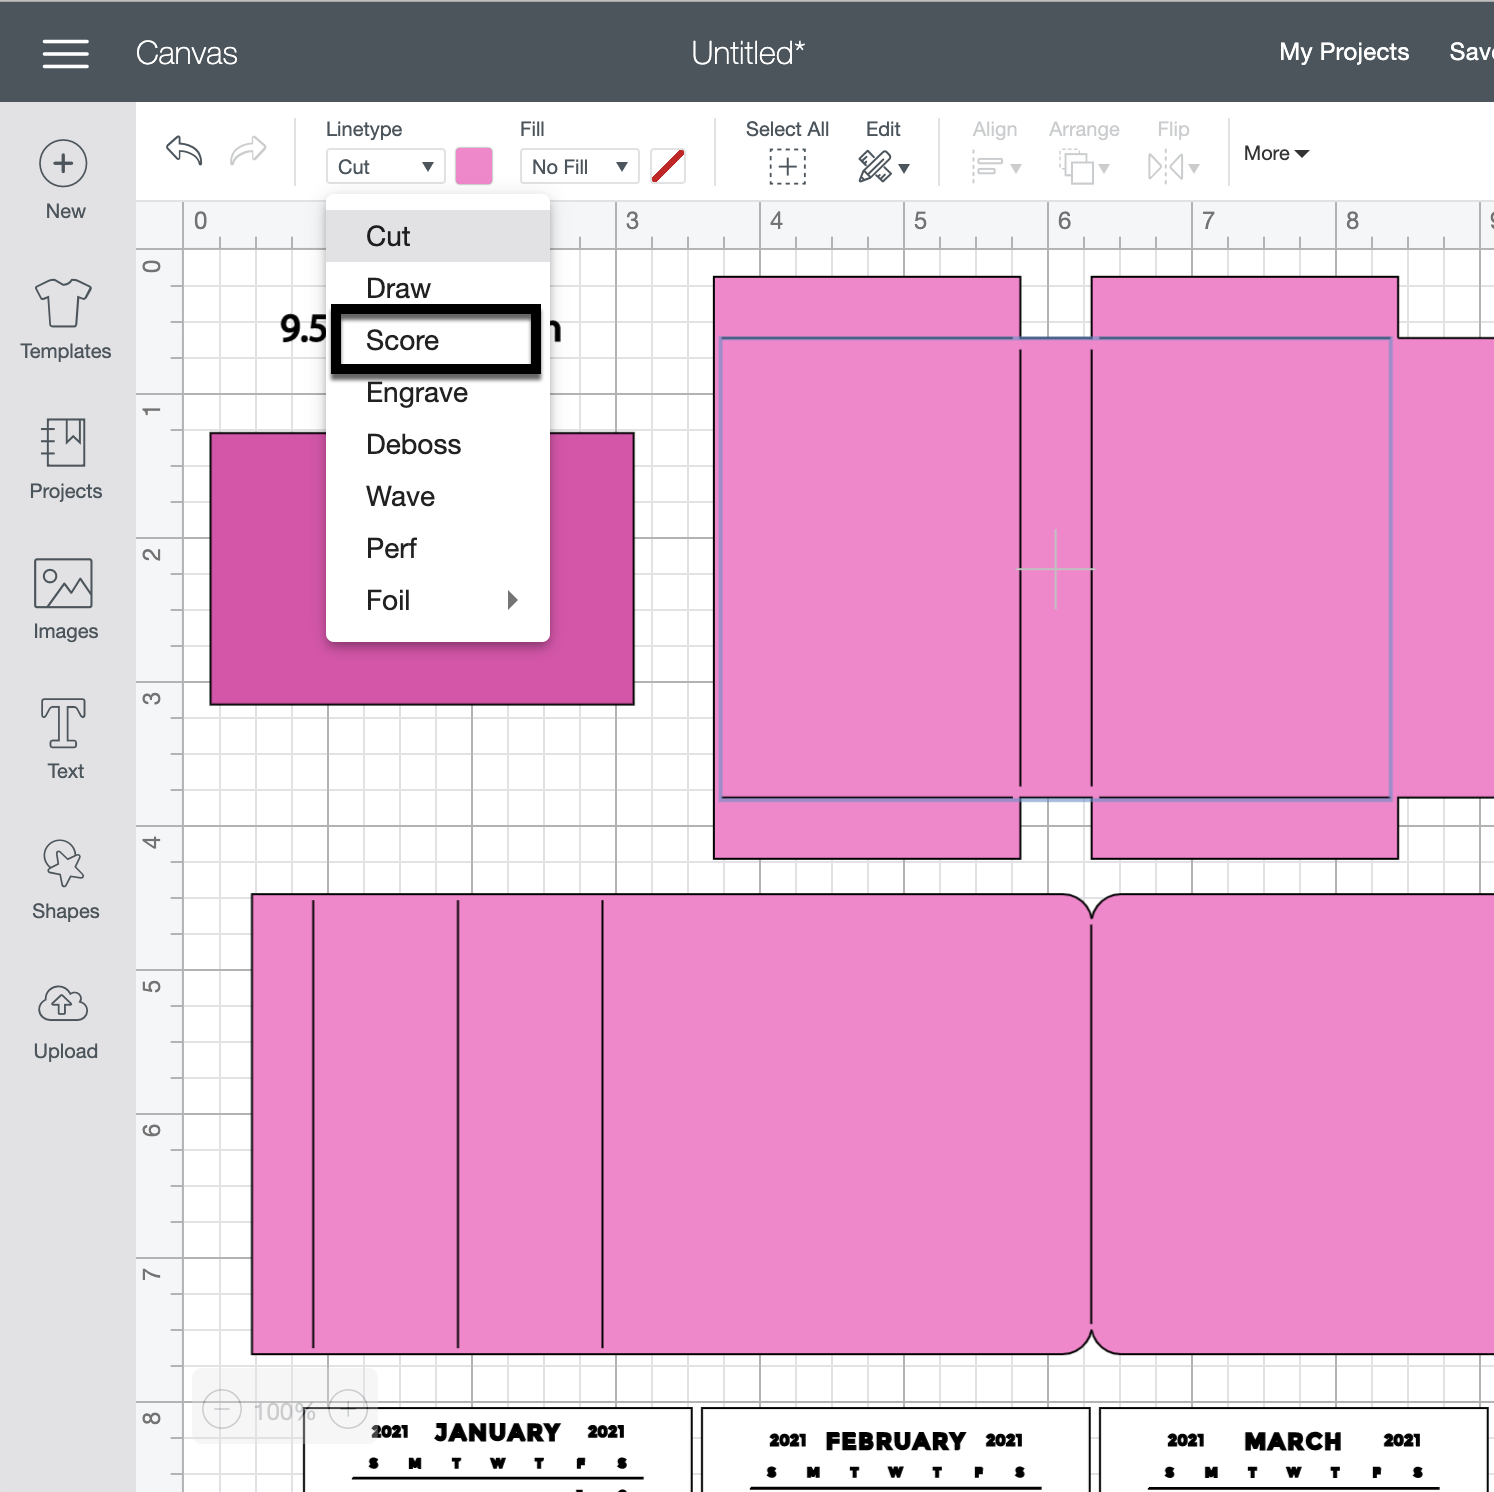
Next, change the Fill calendar pieces to Print.  You can save yourself some time by holding the control (PC) or command (Mac) key and clicking each month’s calendar.  Then change the Fill to Print for all 12 months at the same time.

The final step is to Flatten each calendar piece to the white rectangle below.  Unfortunately, you will need to do this 12 times.  Don’t forget to hide or delete the size note (9.5343 in =width).

You are ready to print and cut your project pieces.  Toggle off the Add Bleed option in the print window.  It will be grayed out when in the off position.  When I sent mine to the printer, it printed both pages.  After printing, it was time to cut all the pieces using my Cricut Maker.

After cutting all of the project pieces, I folded all the pieces with score marks and added adhesive to the joining tabs.

Then I adhered the calendar back (the red polka dot piece) to the front of the sticky note holder and added adhesive tape to the back of the sticky note holder.  Next, I assembled the stand and attached the sticky note holder to the stand.


I chose to attach the January 2021 calendar piece to the front of the sticky not holder and tucked the rest of the pieces behind my sticky notes.  I will add the new months to the front of the sticky note holder as the year progresses.  You can also staple the months together in a stack and add as a group to the front.
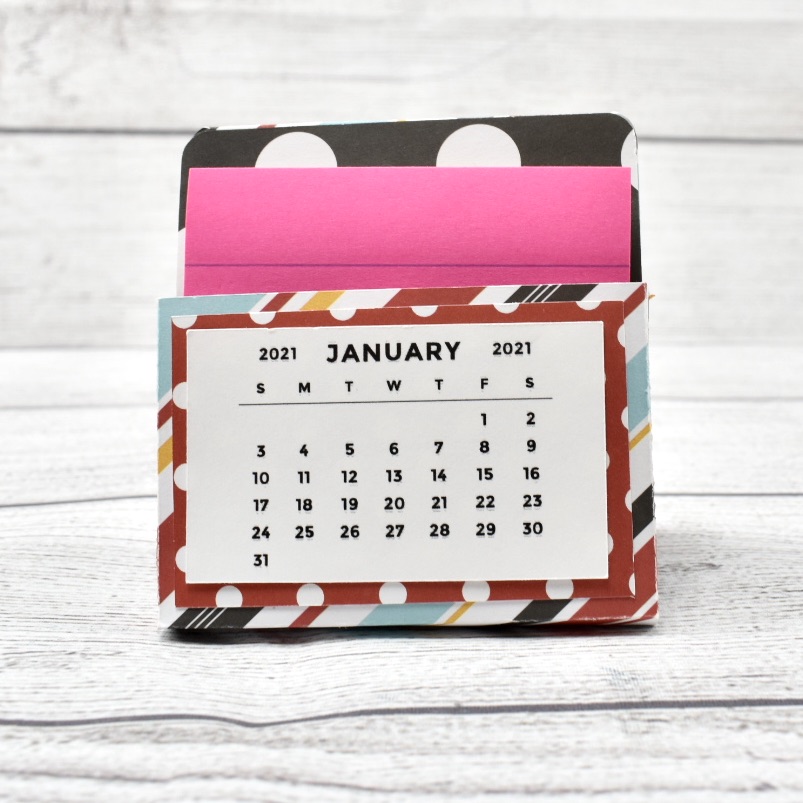
 

I hope you enjoyed making the Sticky Note Calendar 2021  (SVGSilhouette) as much as I did! Looking forward to 2021 and using my sticky note calendar.

Until next time,

Michelle

Canvas Halloween Projects

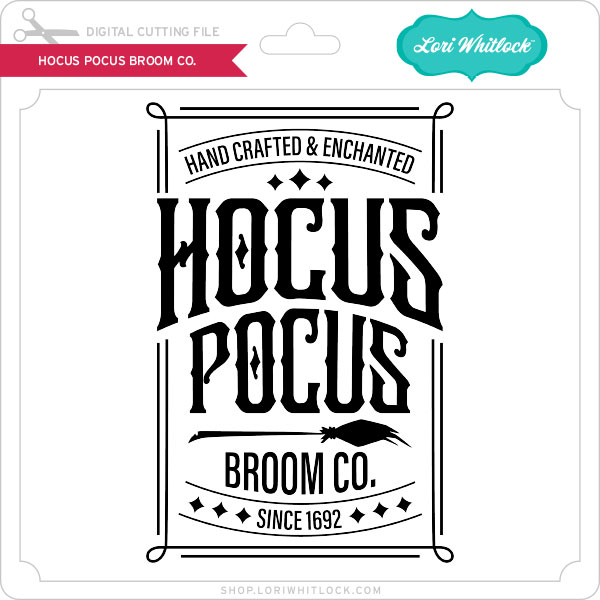
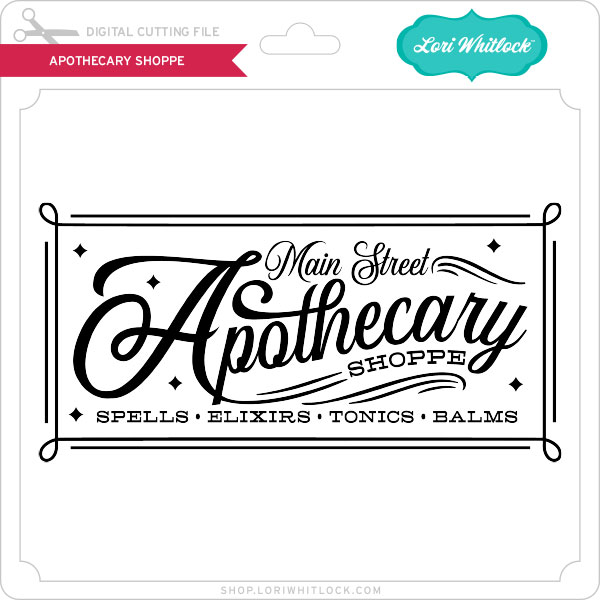
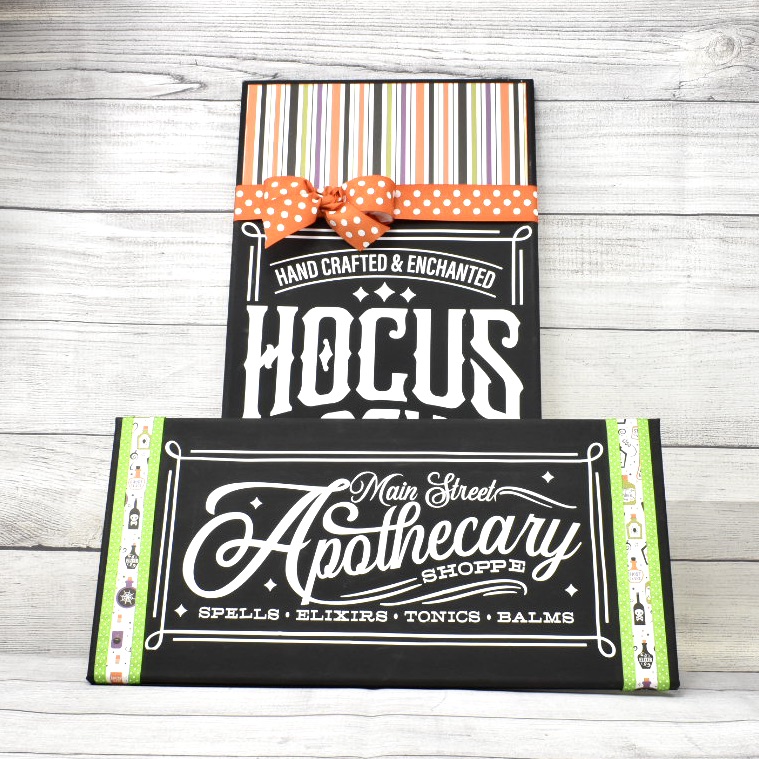
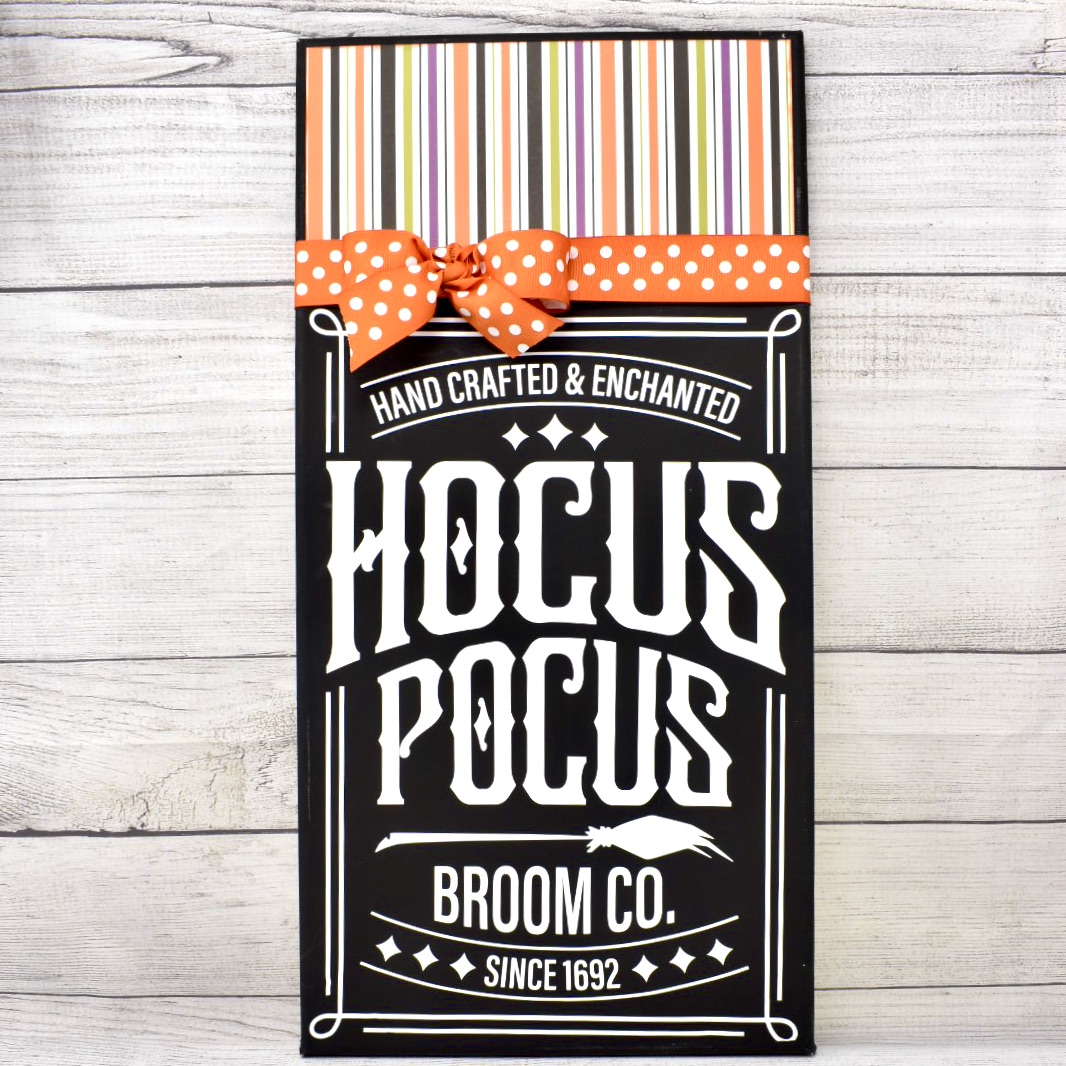
Hi there paper crafting friends!  It’s Michelle Starcher, aka the Bookish Designer, popping in on the blog to share a few canvas signs I put together this weekend.  Both signs feature paper from one of Lori’s newest collections from Echo Park Paper, I Love Halloween.  This set is loaded with spooky, cute graphics and traditional Halloween colors.  For my signs, I used two Halloween word art files:  Hocus Pocus Broom Co. (SVG, Silhouette) and Apothecary Shoppe (SVG, Silhouette).

I have been wanting to create a canvas project using Lori’s word art files for awhile now, and these Halloween files were the perfect excuse!  For both projects, I used black canvases available at Michaels. The canvases come in a variety of sizes, including the 10×20 and 12×24 sizes I used for my two canvas projects.  Typically, I use white canvases, but for my Halloween projects, I wanted to try using the black.

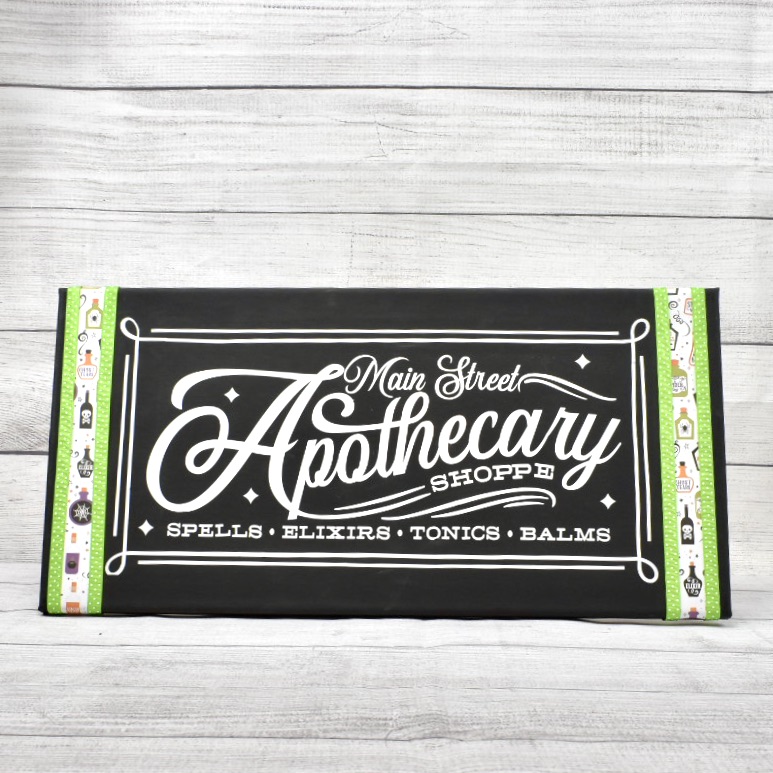
When I opened the files in Cricut Design Space, the files were a lot smaller than I needed them to be for my canvases, so I resized them to fit my canvases.  For the Apothecary Shoppe canvas, I resized the file to be about 8×16 to fit on the 10×20 canvas.  I used permanent white vinyl for this project.  I added paper from Lori’s I Love Halloween collection and lime green ribbon for a little extra color on the project.

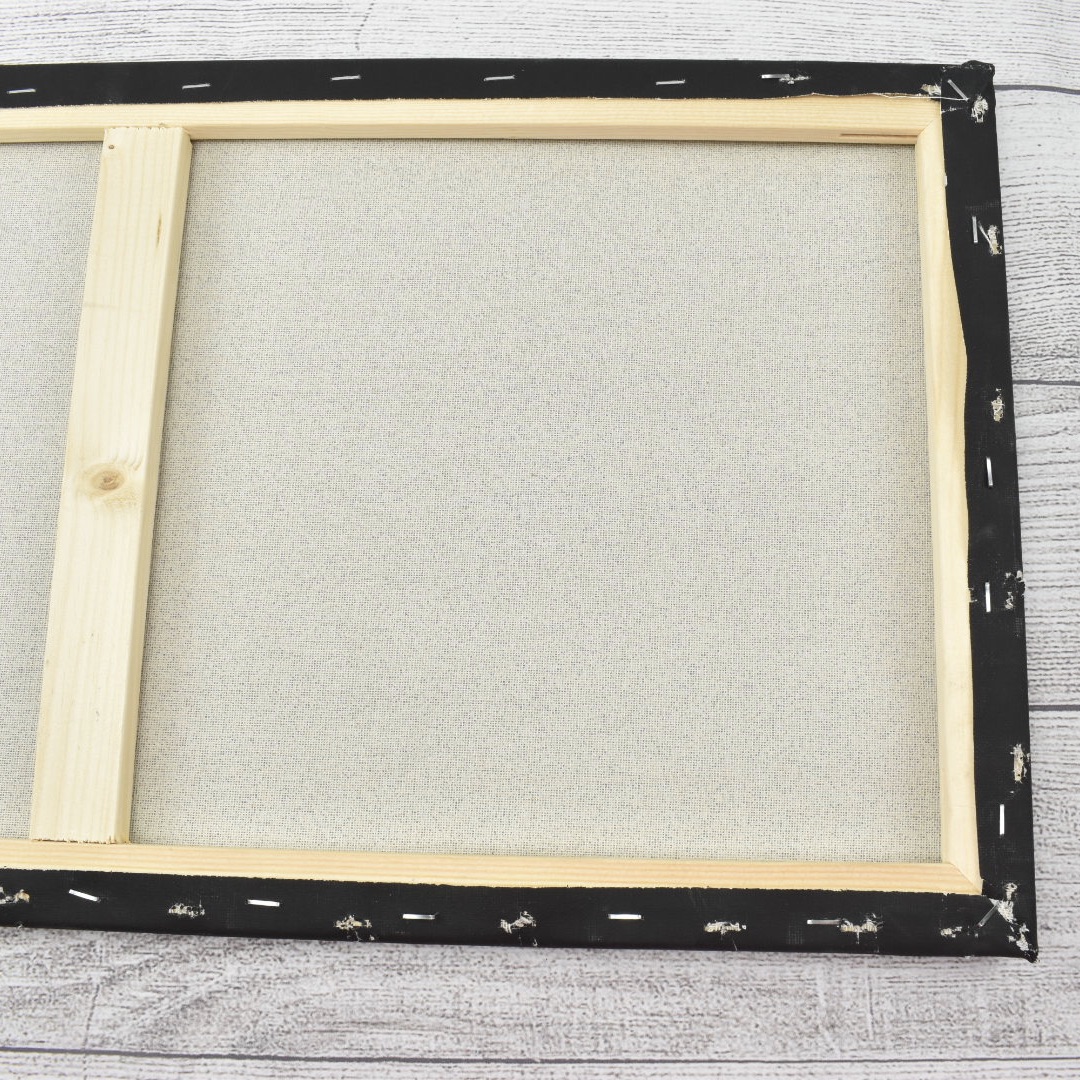
For the Hocus Pocus Broom Co. project, I resized the file to about 11×17.  For this project, I used Iron-On vinyl and my Cricut Heat Press.  Using the iron-on material was much easier than using the vinyl when it came to weeding the project and transferring the word art to the canvas.  However, I had to remove the canvas from the wooden frame in order to apply the word art.  It wasn’t hard to do though, just make sure you have a staple puller and staple gun on hand to put it back together.

For my final touches on the Hocus Pocus Broom Co. canvas, I added striped paper and some orange polka dot ribbon to finish the project off.  I added the paper using Tacky Tape.  In my experience this works really well when adhering items to the canvas.

I really like how the projects turned out, and I am excited about all the new word art Lori has available in the shop this week to create some Christmas canvas projects.

Until next time,

Michelle

Haunted House Centerpiece

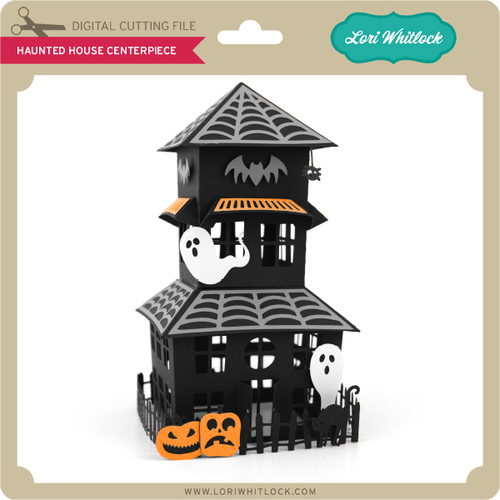
Hi there paper crafting friends!  It’s Michelle Starcher, aka the Bookish Designer, popping in on the blog to share the Halloween project I created using  Lori’s Haunted House Centerpiece (SVGSilhouette). 

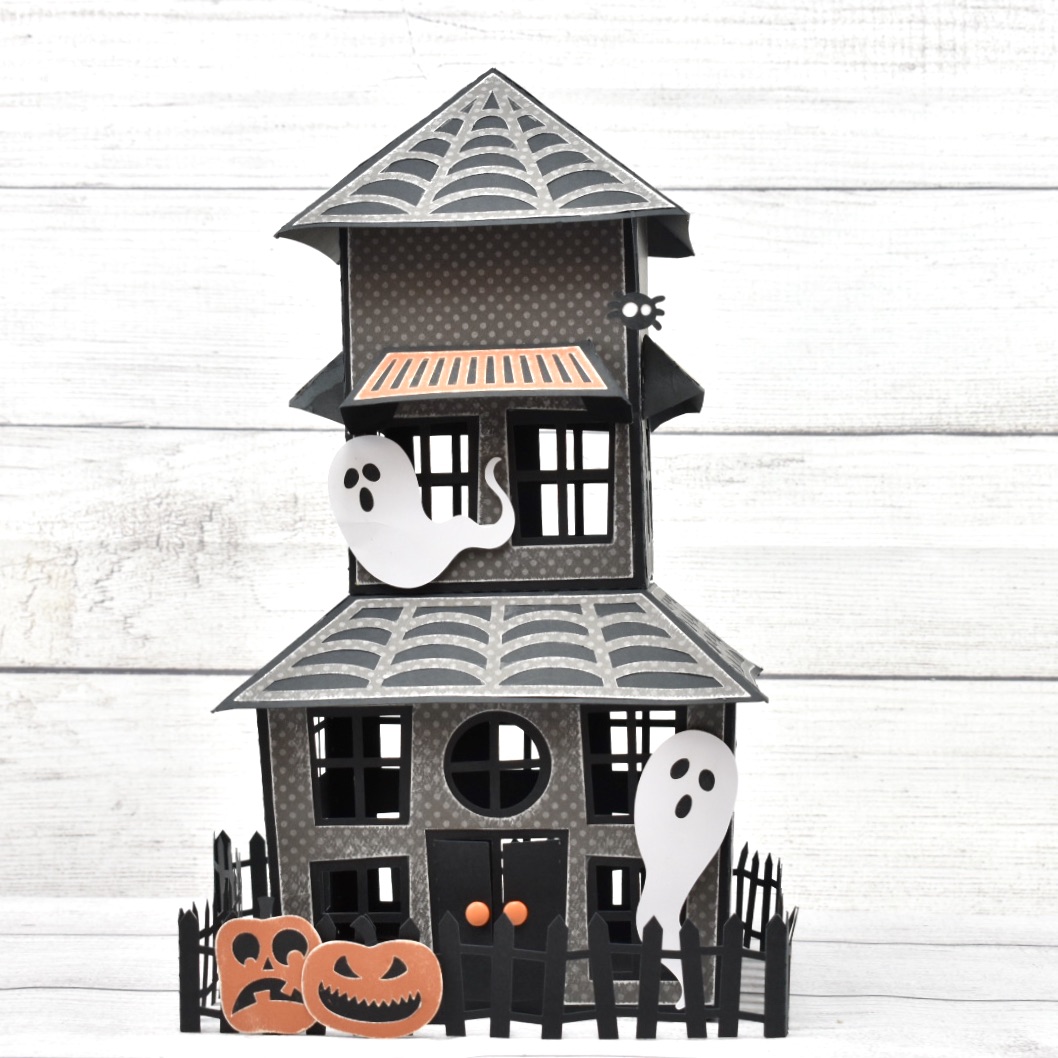
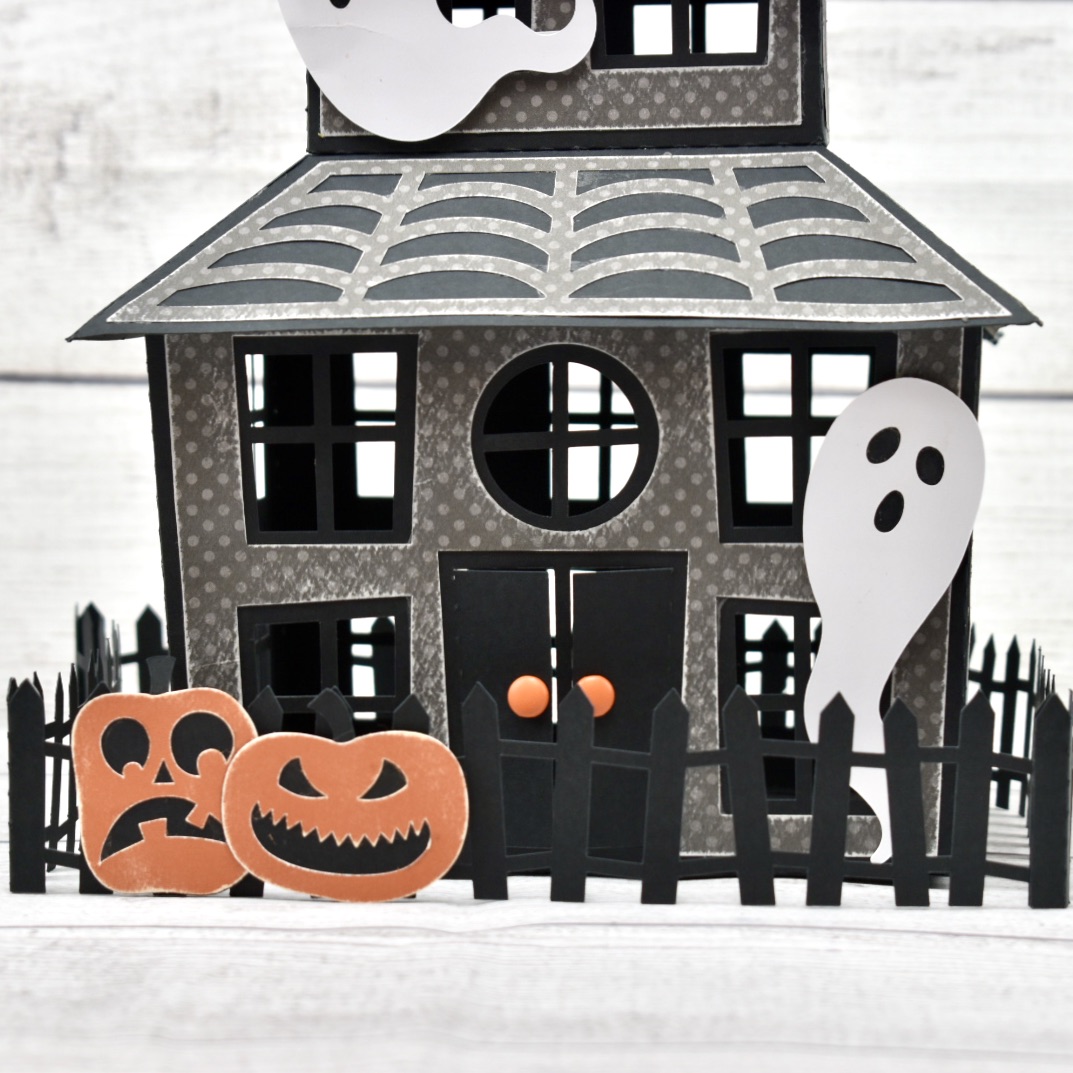
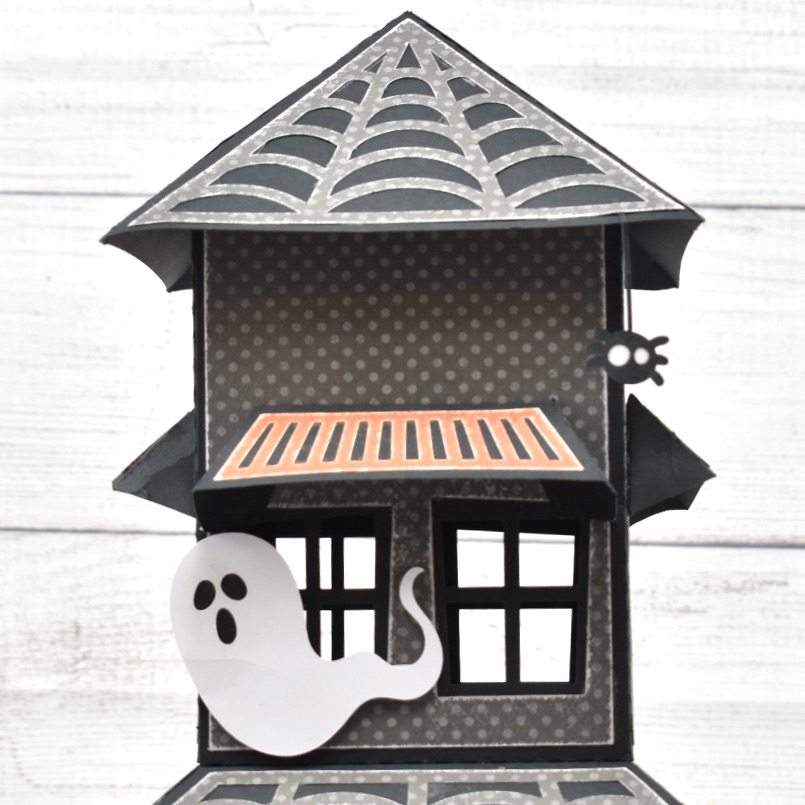
This cute, but spooky Haunted House measures about 13″ tall by 7.25″ wide when cut at original size, which is what I used.  However, you can scale the file up or down as desired. Lori also includes optional covering panels for the sides of the haunted house to add some additional flair to the project.  I took advantage of those extras and included gray polka-dot cardstock panels on my version of the Haunted House.  In addition, I sanded the edges of the gray panels to create a more weathered look.

After sanding the pumpkins a little, I used foam tape to adhere them to the fence that goes around the house.  I used foam tape on the ghosts as well.  For the finally touches, I tucked the spider under the webbing on the roof and added orange brads to the doors.

I found the project to be fairly easy to put together once I had all the pieces cut.  However, Lori has a great tutorial for this project on her YouTube channel.  Lori gives some great tips for this project in her tutorial, including how you can adjust the file to be able to add a tea light candle inside the house.  I wish I had watched it before I started!

In addition to the Haunted House Centerpiece, Lori has several 3D projects for Halloween that would work really well with the Haunted House to create a spooky scene including the 3D Haunted House Bundle (available as individual files in the Silhouette Design Store).  I can’t wait to pick them up and continue building my Haunted Village for Halloween.

Until next time,

Michelle

Purse with Pocket Tutorial

Hi there paper crafting friends!  It’s Michelle Starcher, aka the Bookish Designer, popping in on the blog to walk you through the steps to create Lori’s Purse with Pocket  (SVGSilhouette). In this photo tutorial, I will break down the steps to create this super cute project for all those purse lovers out there.  I used papers from Lori’s All-Girl collection from Echo Park Paper Co.  I just love the colors in that collection!

After uploading the SVG file to the Cricut Design Studio, I needed to make a few changes, so that it would cut correctly with my Cricut Maker. Below you will find the steps I took to prepare the file for cutting.

  1. Ungroup the SVG file.
  2. Ungroup any portions that have cut/score marks. I had to do this for the purse base, the front pocket, the purse handles, and the handle attachment pieces.
  3. Attach the cut/score marks to the main image. Again, I had to do this for the purse base, the front pocket, the purse handles, and the handle attachment pieces.
  4. Once you are done attaching all of the cut/score marks, you are ready to cut your project pieces.  When I sent my pieces to my Maker, I was informed that the purse base exceeded 11.5″ and that I would need to resize or use a 12×24″ cutting mat.  Luckily, I had a mat and cardstock in that size.  If you don’t, you may need to resize your project before starting.  If so, resize before you ungroup the SVG to make sure that all of the elements keep their proportions.

After cutting all of the project pieces, I folded all the pieces with cut/score marks.  Then I adhered the floral paper to the purse base and pocket as shown.  Make sure you line up the holes for the straps on the front and back panels.  I placed a small amount of adhesive along the edges of the purse base and pocket and assembled those pieces.

Once the purse is assembled, it is time to add the handles.  You will need 8 mini brads to attach the handles.  I started with the “metal” pieces that attach to the base of the purse, and then added the handles.

I attached the front pocket, using a slightly larger brad on the pocket.  I used a small piece of Velcro to the pocket and the flap, so that it could be opened and closed (you can also use a glue dot)   After the front pocket was attached, I added the flowers to the purse handle.  To assemble the flower, stack the three flowers, slightly off centered from the other flowers.  Then stack the three starbursts and adhere to the stacks of the flower.  Attach the leaf to the back of the flower, and then adhere the entire flower to the purse strap.

I hope you enjoyed making the Purse with Pocket  (SVGSilhouette) as much as I did! I’ve been wanting to make this project since I saw it a couple of weeks ago.  Now, I can’t wait to fill this purse with gift cards and little trinkets for my best friend.  Do you think she’ll like it?

Until next time,

Michelle

A2 Insert Card Bundle 4

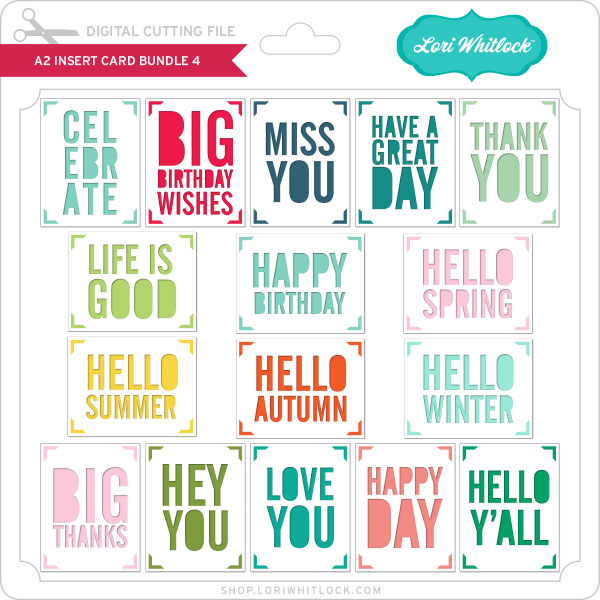
Hi there paper crafting friends!  It’s Michelle Starcher, aka the Bookish Designer, popping in on the blog today to show you four cards I made using the A2 Insert Card Bundle 4 When I saw this card bundle debut last week, I knew I had to have it.  It contains 14 different designs for several different occasions.  Each design is available individually in my SVG Shop and the Silhouette Store as well.

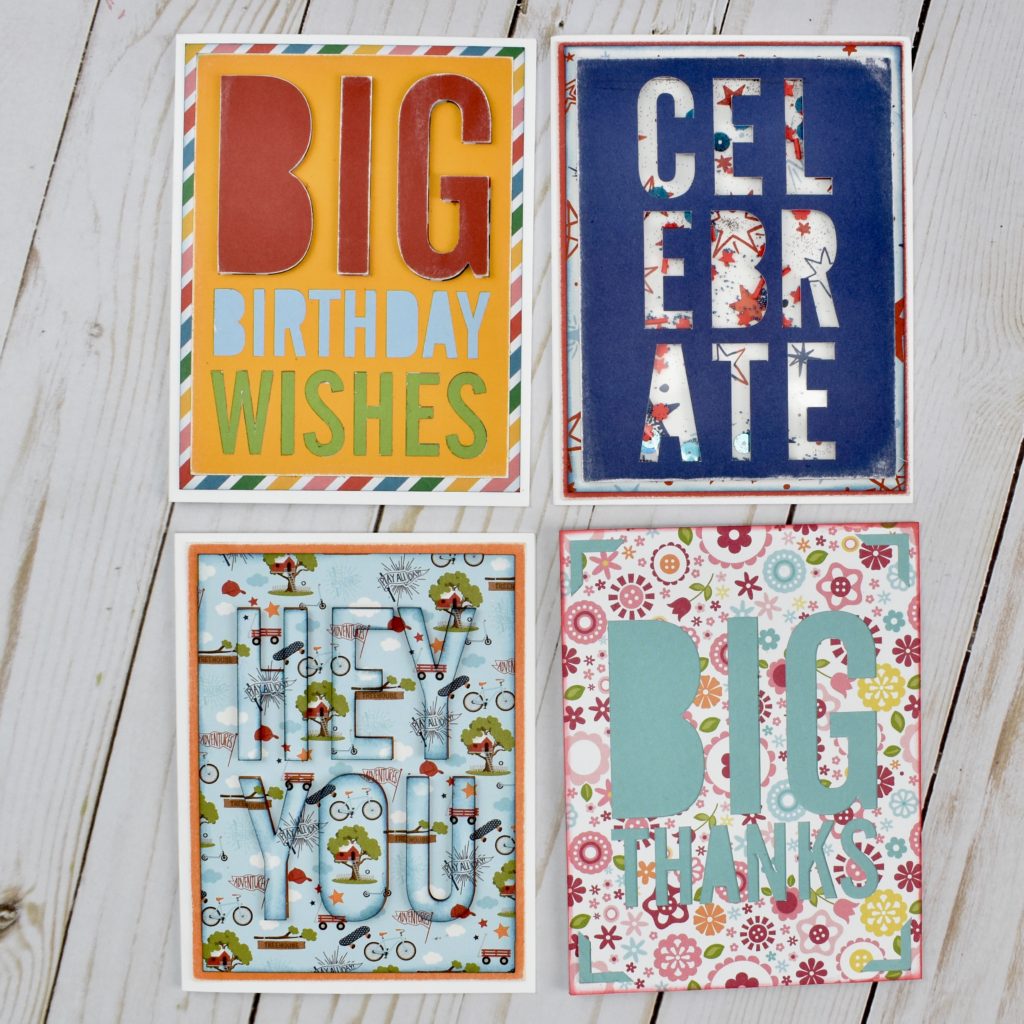
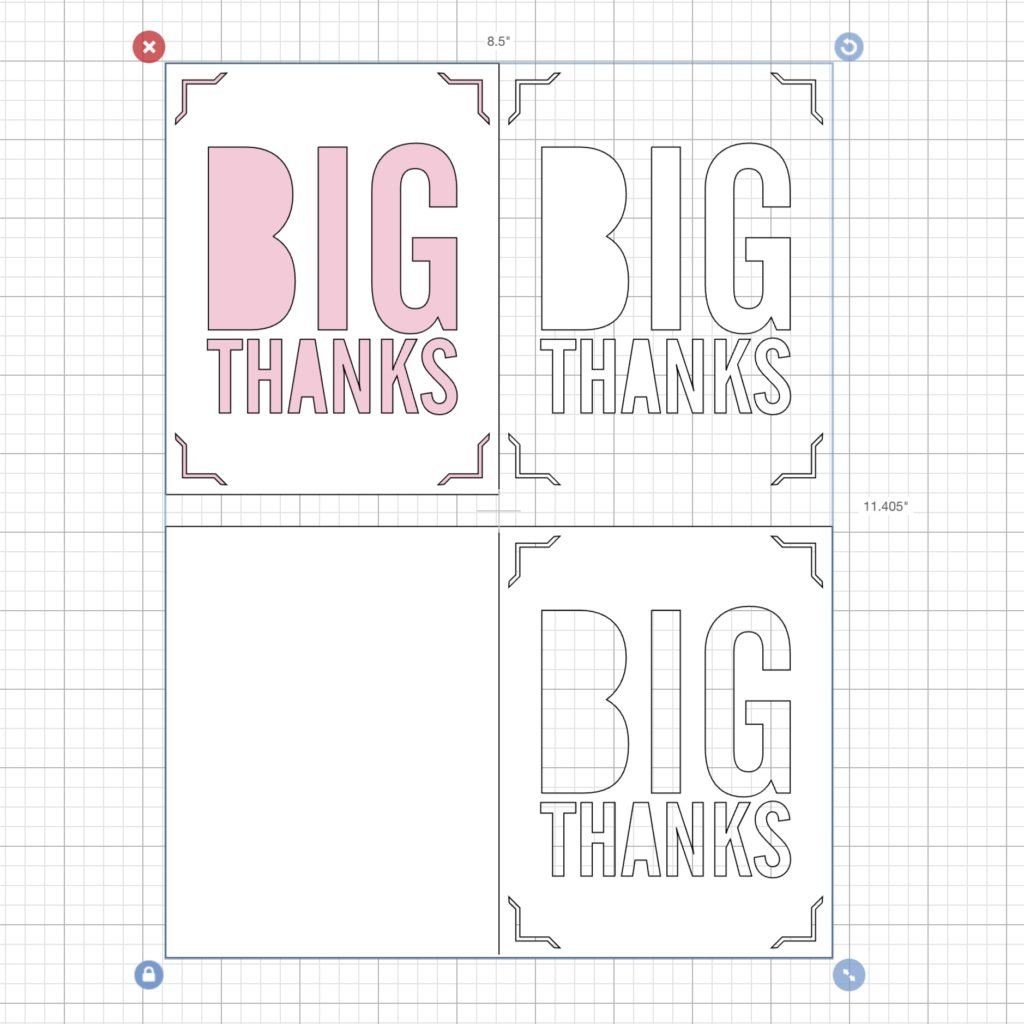
For my first card, the A2 Insert Card Big Thanks (SVG, Silhouette) I went pretty traditional and used the file as intended.  When opening any of the SVG files in Cricut Design Studio, there are three different options for cutting the sentiment.  One option is to cut the sentiment as a part of the card (bottom).  The other two options are to cut just a card front (top-left) and to cut the words only (top-right).  Each file includes an insert that can be used with any of the sentiment options (pink).

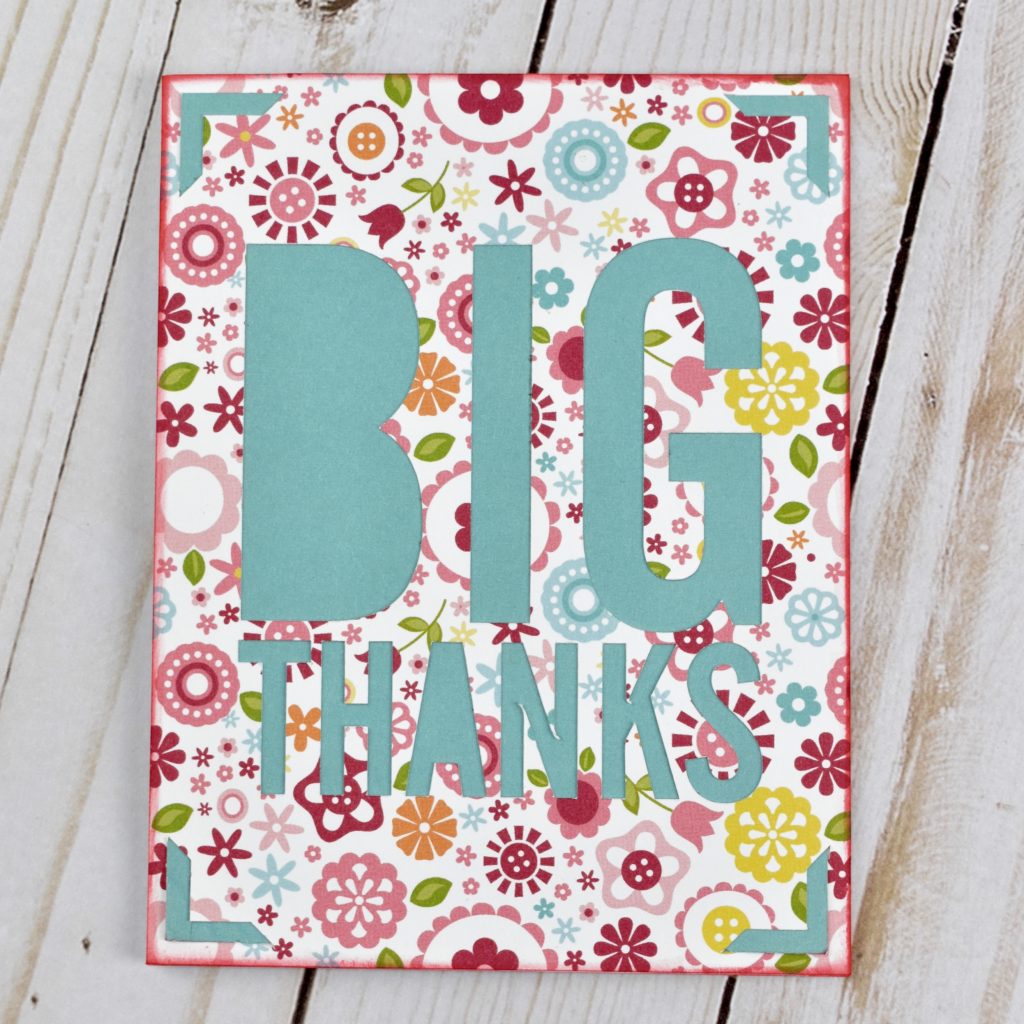
For the majority of the cards, I used only the card front because I knew I was going to have multiple layers for my card fronts.  I ungrouped the elements in the file and deleted the sentiment options I wasn’t going to use.  For this first card, I stayed pretty simple in my design.  I used patterned paper for the sentiment and a contrasting solid for the insert.  I inked up the edges of the pattern paper a bit, and adhered the pieces to a white, cardstock card.  (Both the patterned paper and the cardstock are from Lori’s All-Girl collection from Echo Park Paper Co. )

The next card I made was the CELEBRATE shaker featuring Lori’s America collection from Echo Park Paper Co.  For this card, I cut the A2 Insert Card Celebrate (SVG, Silhouette)  card front and trimmed the card front down to remove the insert tabs.  Next I trimmed a photo flip to the same size as the CELEBRATE sentiment card front.  I used foam adhesive tape along the edges to create my shaker.  After adding glitter, sequins, etc., I closed up the shaker by adhering it to the layered card front.

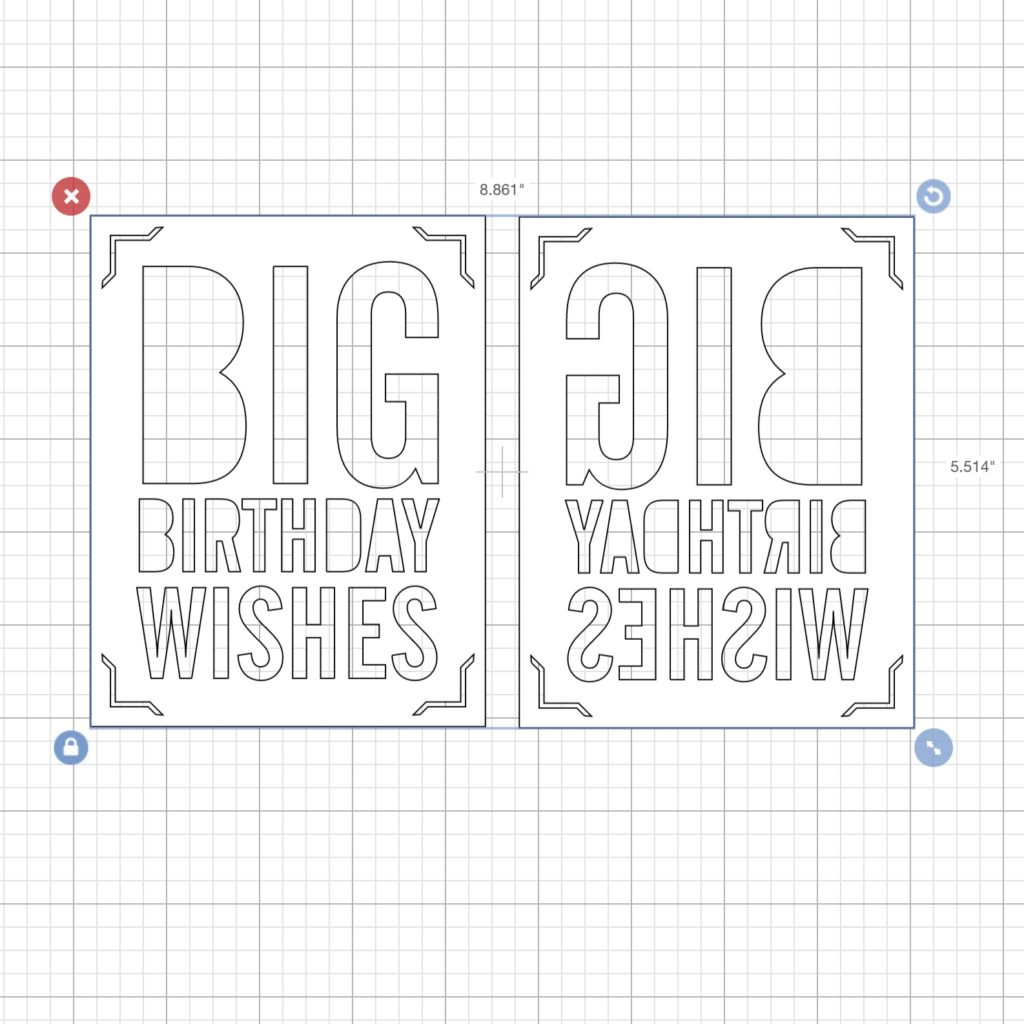
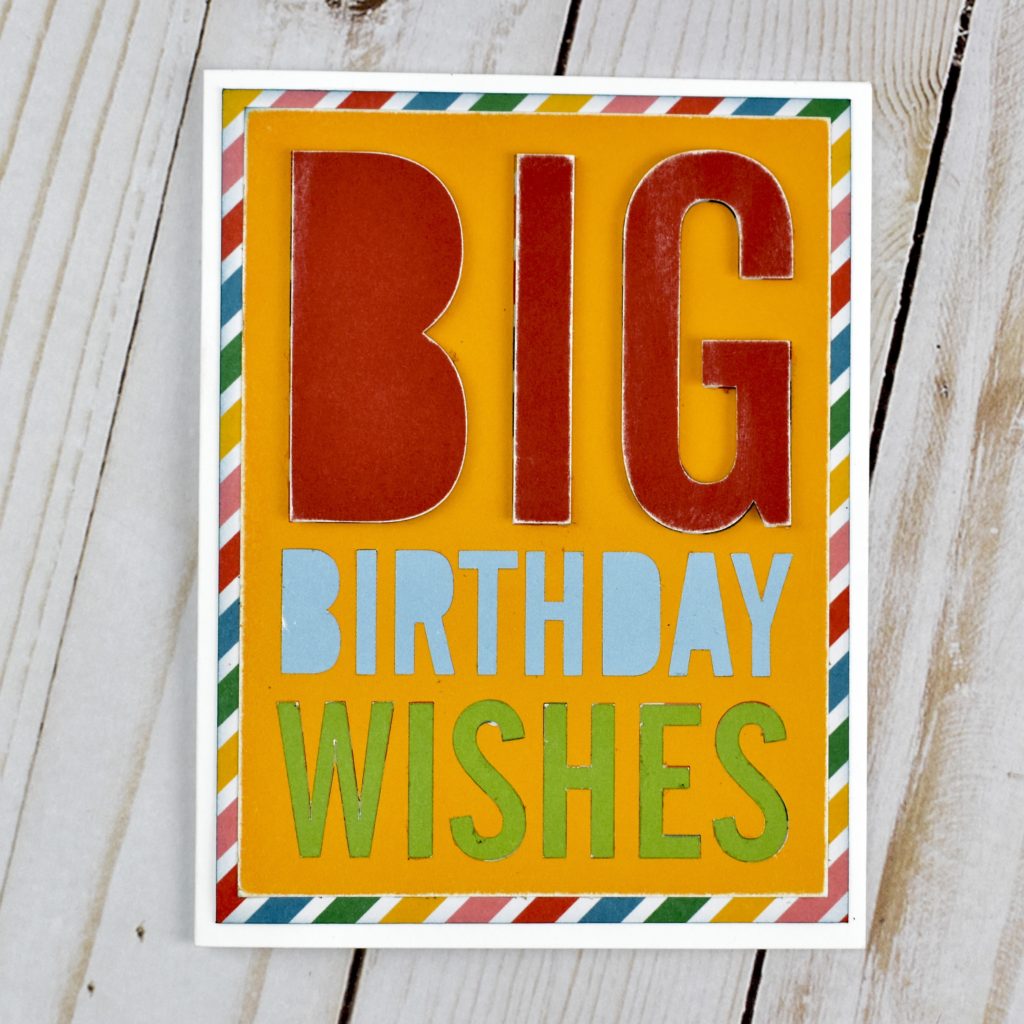
For the A2 Insert Card Big Wishes (SVG, Silhouette), I used double-sided cardstock.  This allowed me to cut multiple card fronts at the same time.  Once again, I ungrouped the files elements and left only the card front.  For this card, I made a duplicate copy of the file and flipped it horizontally, so that I had a mirror image.  This allowed me to get two different colored card fronts from one piece of double sided cardstock.

I did this twice with two different pieces of  double-sided cardstock to have the yellow, red, blue, and green you see on the card.   Again, I trimmed the insert pieces and layered the yellow front on a piece of patterned paper and adhered to a white, cardstock card.  I used foam tape to adhere the BIG letters to the card and my Xyron sticker maker to adhere the birthday wishes letters to the card.  I have enough pieces to make four cards just like this one.

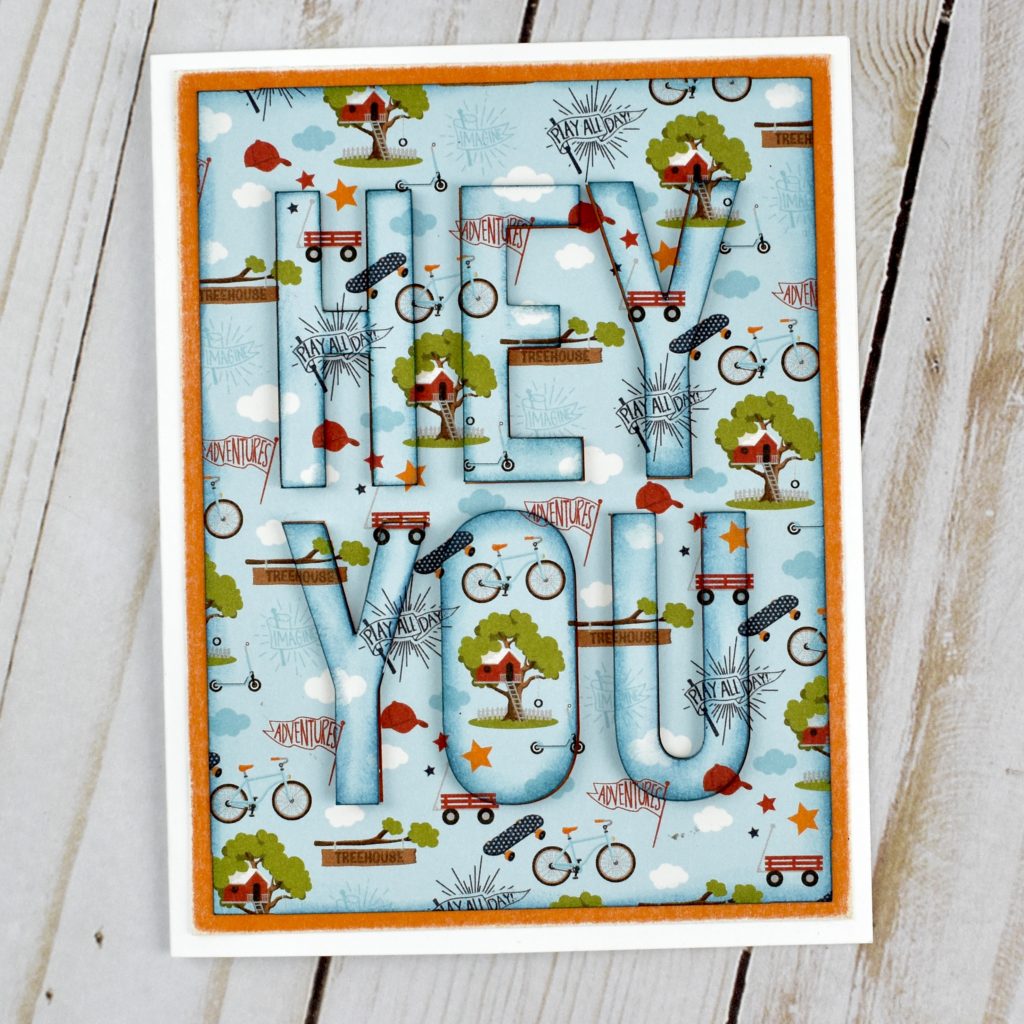
For my final card today, I create a camouflaged sentiment by layering the letters cut from the card front.  I inked the edges and used foam adhesive, so that the A2 Insert Card Hey You (SVG, Silhouette)  sentiment would stand out a little bit from the background.  This card features Lori’s All-Boy collection from Echo Park Paper Co.

I really love the versatility of  the A2 Insert Card Bundle 4 , and I can’t wait to get back into my craft room to make more cards using this set.

Until next time,

Michelle, aka the Bookish Designer