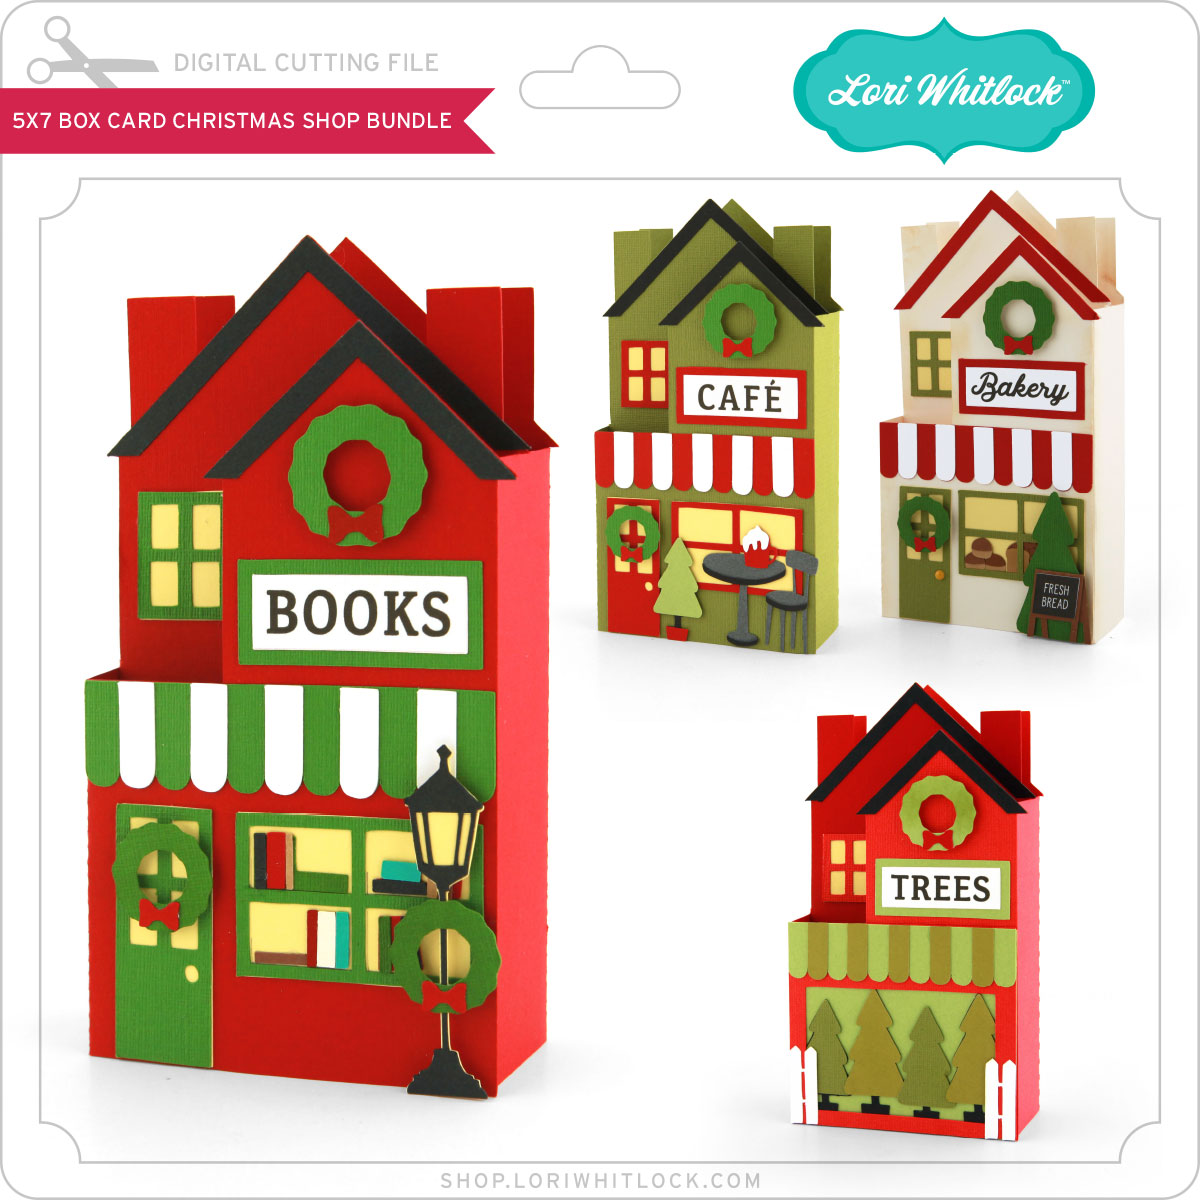
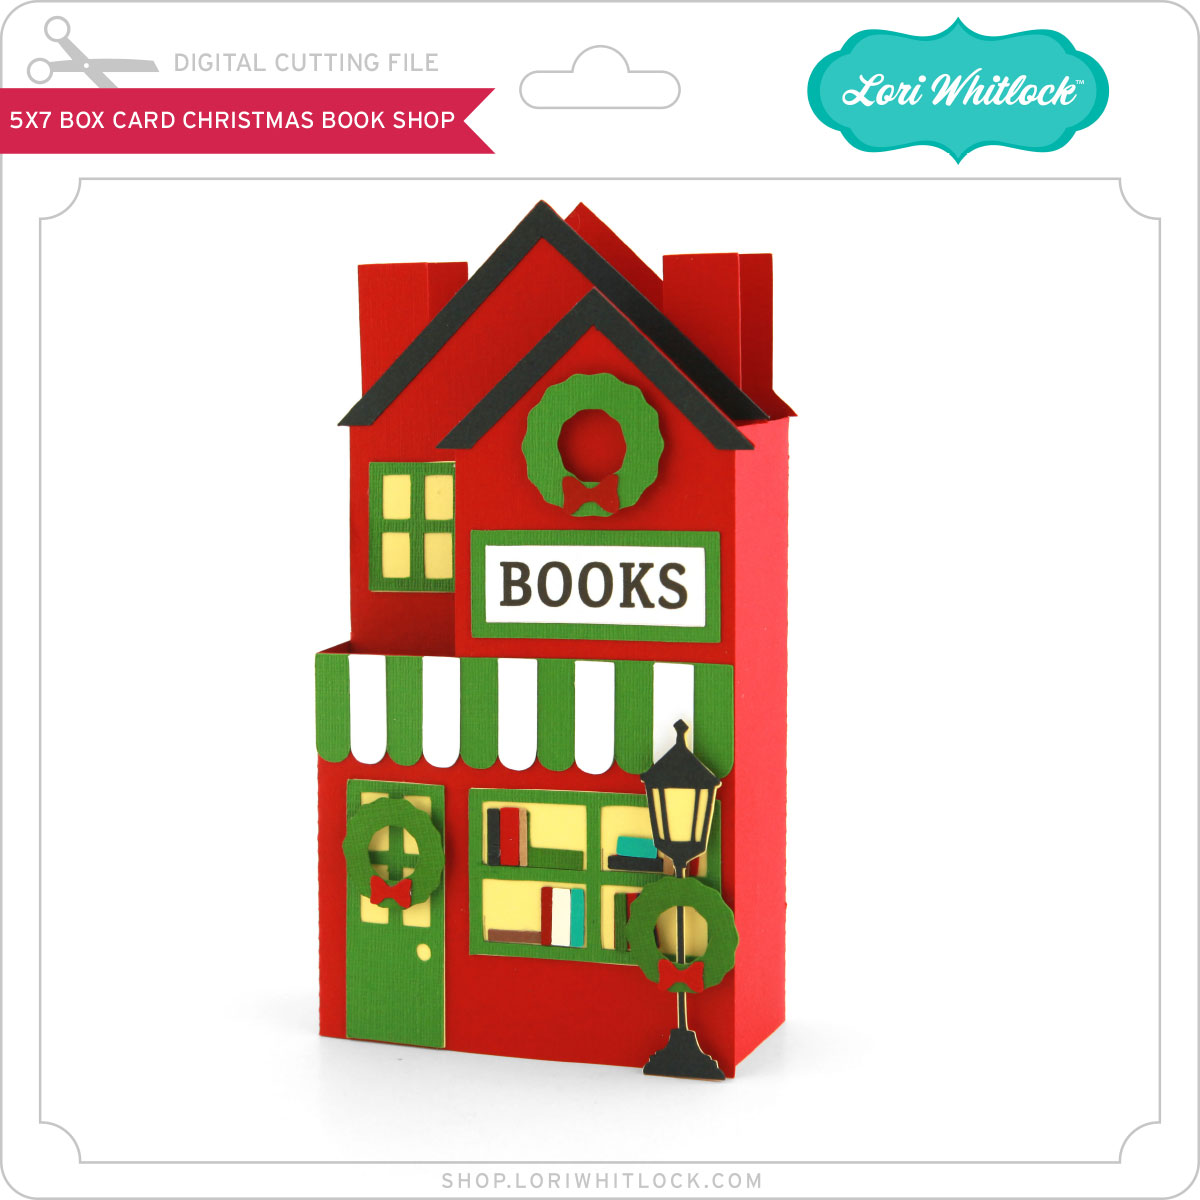
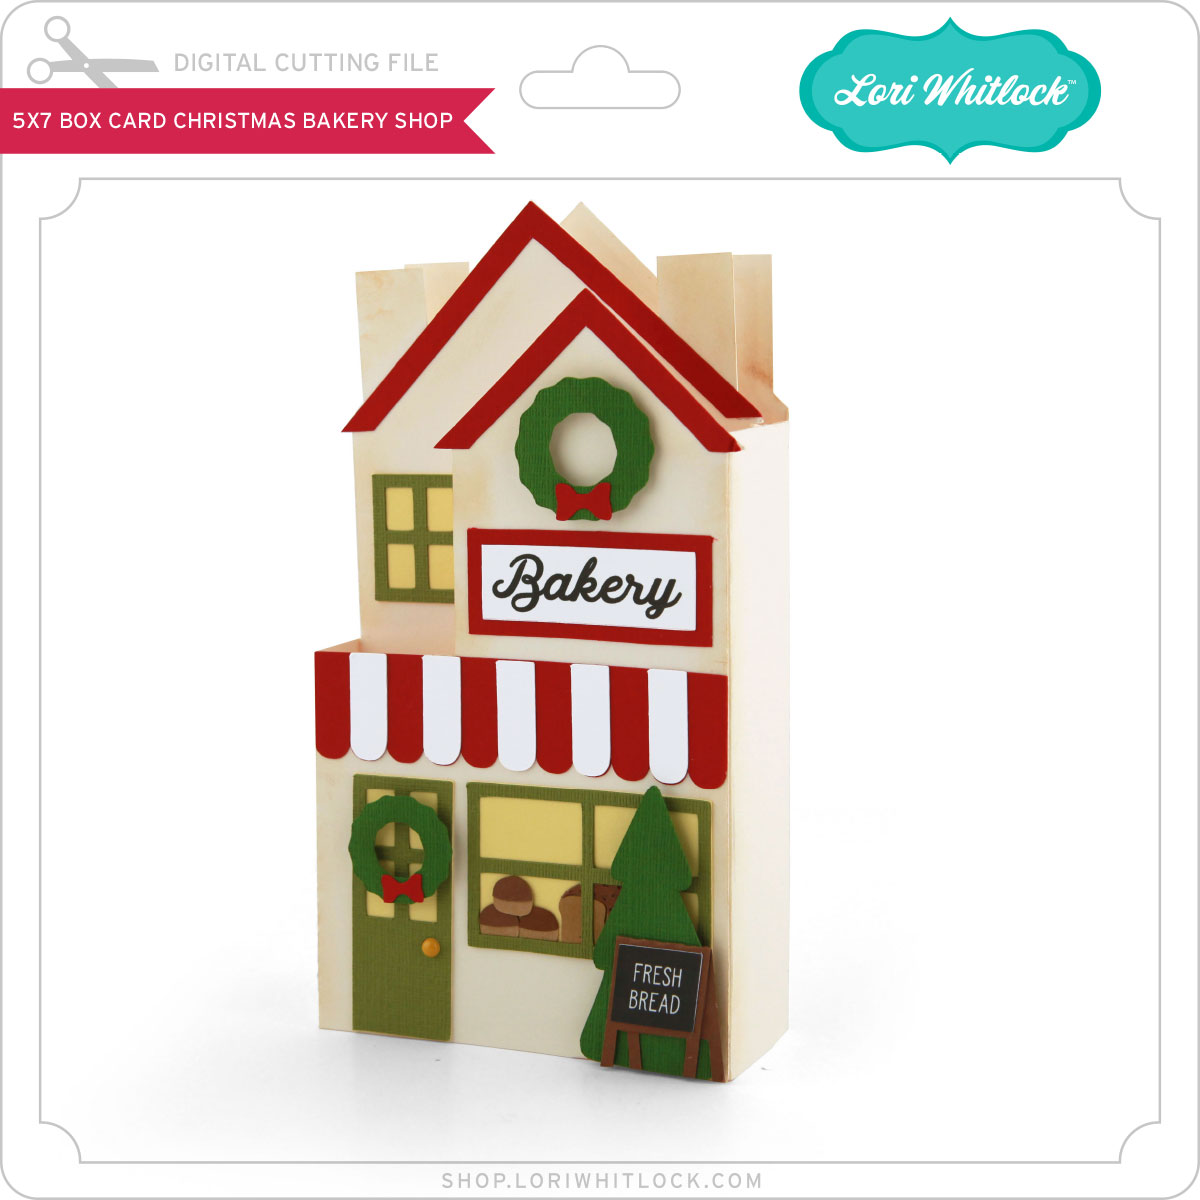
I’m on the Lori Whitlock Blog today with a few easy tips for making these new release festive 5×7 Box Card Christmas Shops.
Today I am going to show you a few tips for making these fun Christmas Shop Cards from Lori’s latest release.
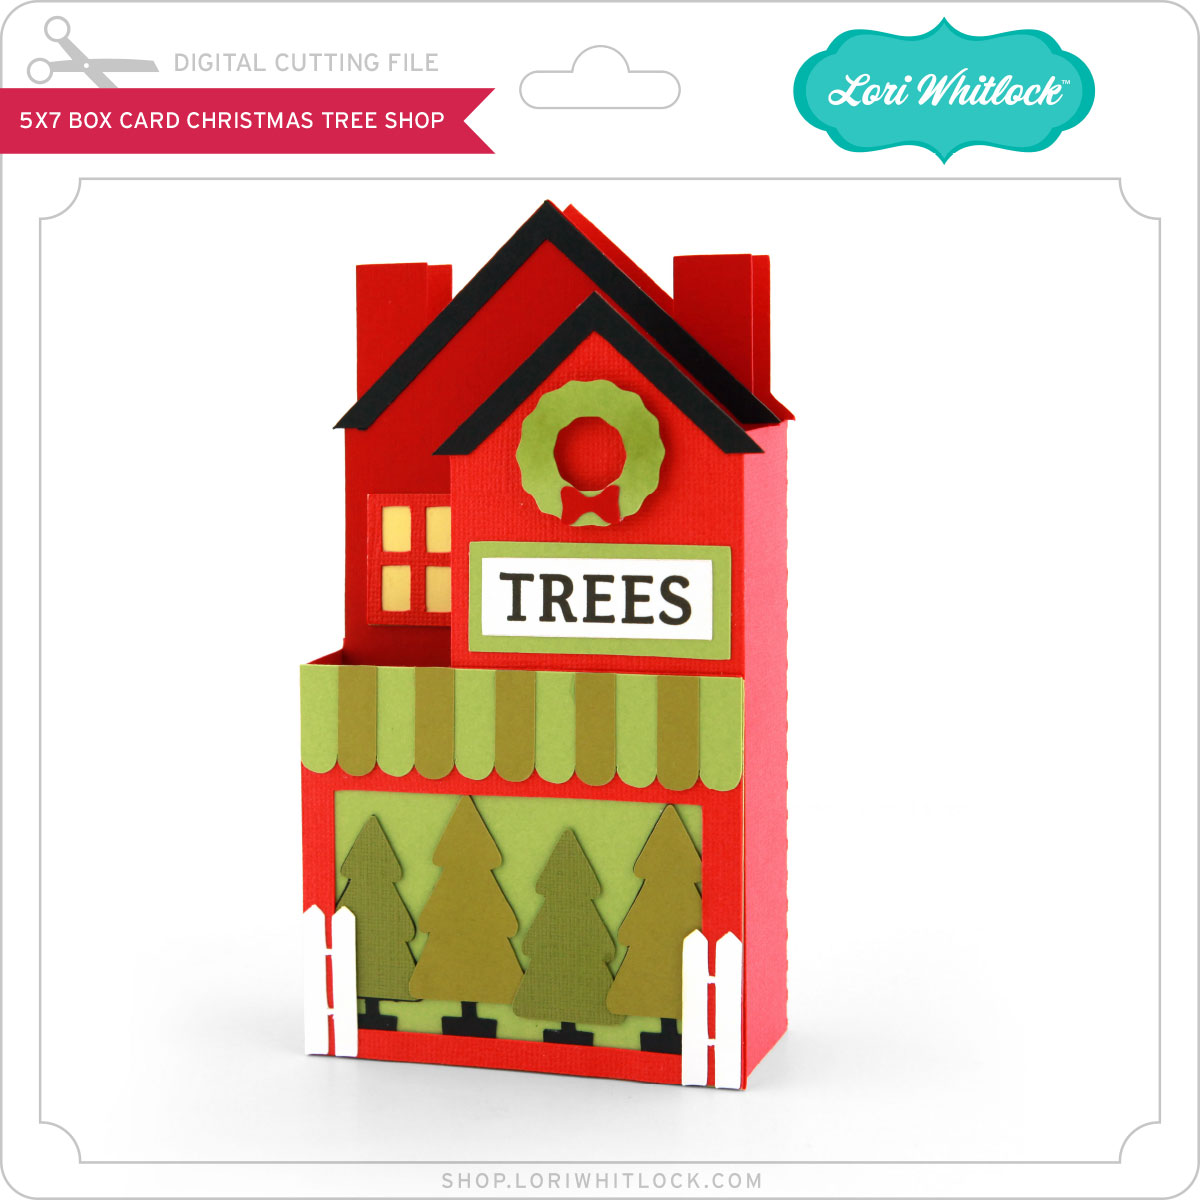
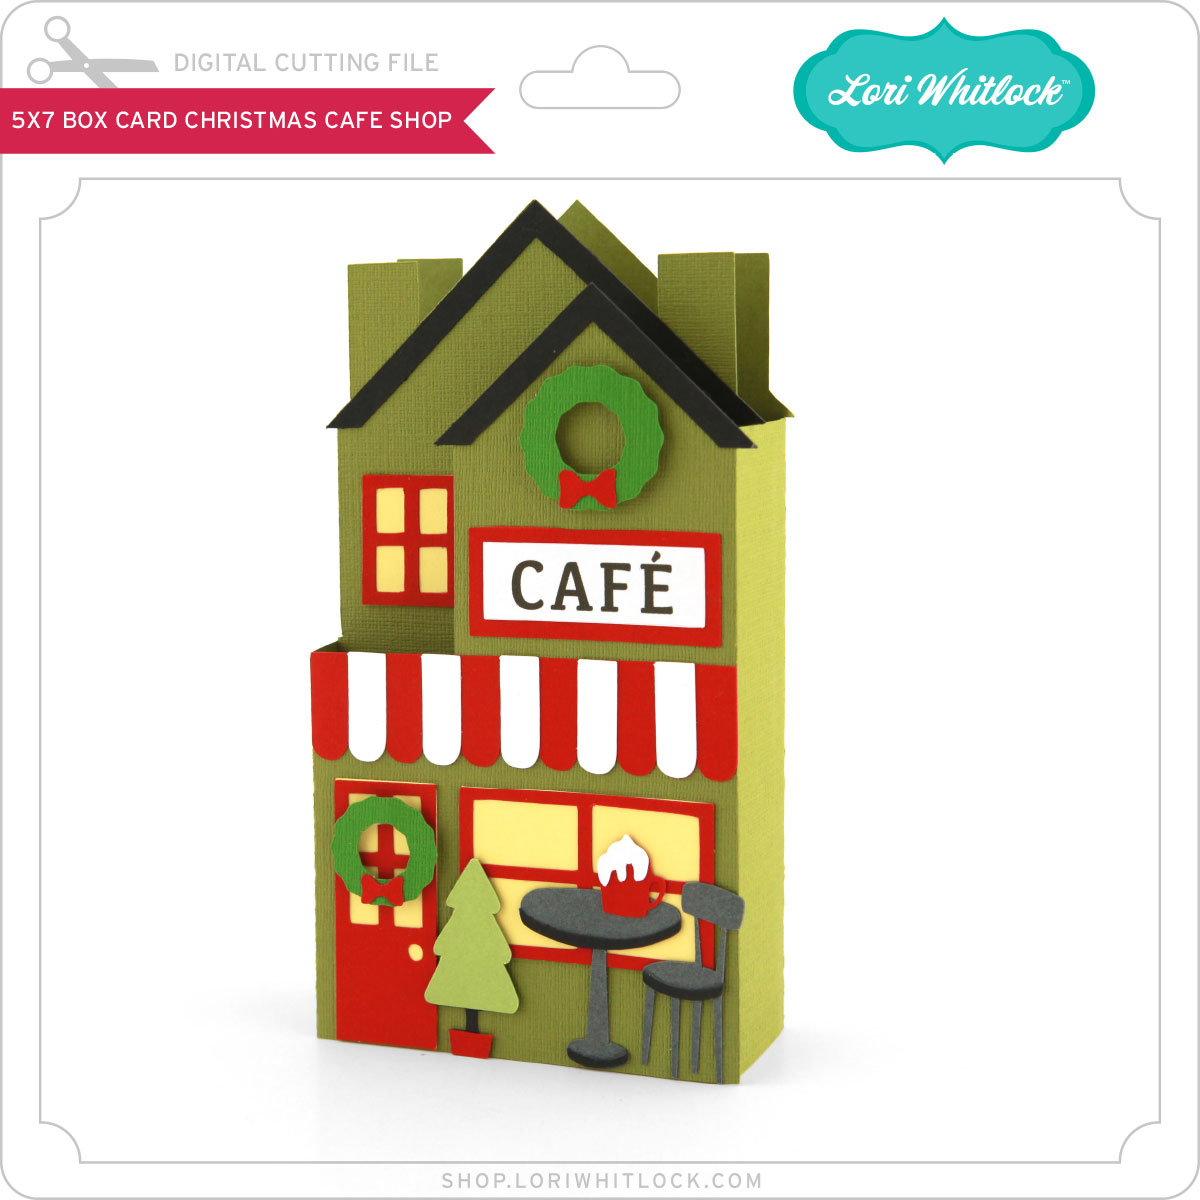
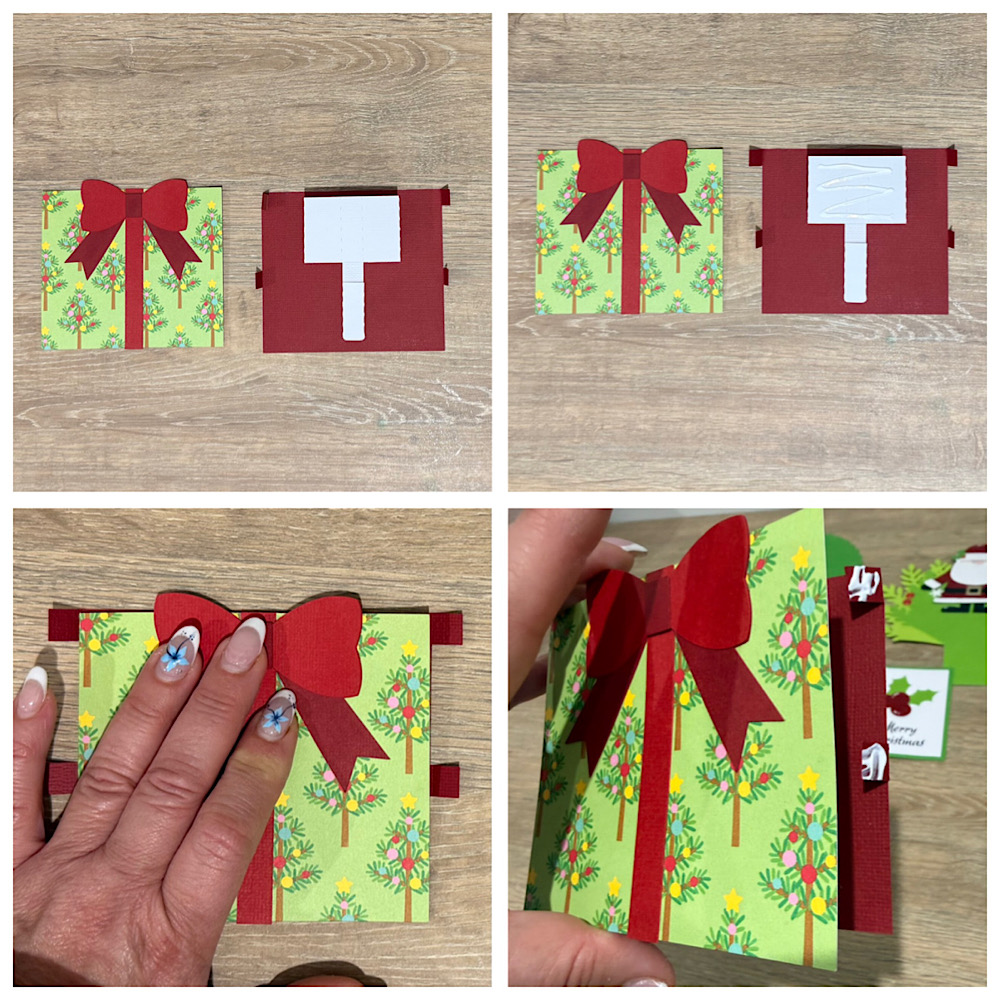
The main ‘building’ pieces are all the same for each shop and the decor changes for each house. As always, I cut extra’s of all the small pieces because I always lose something! Does that happen to you?
Glue all your pieces on the front of your shop
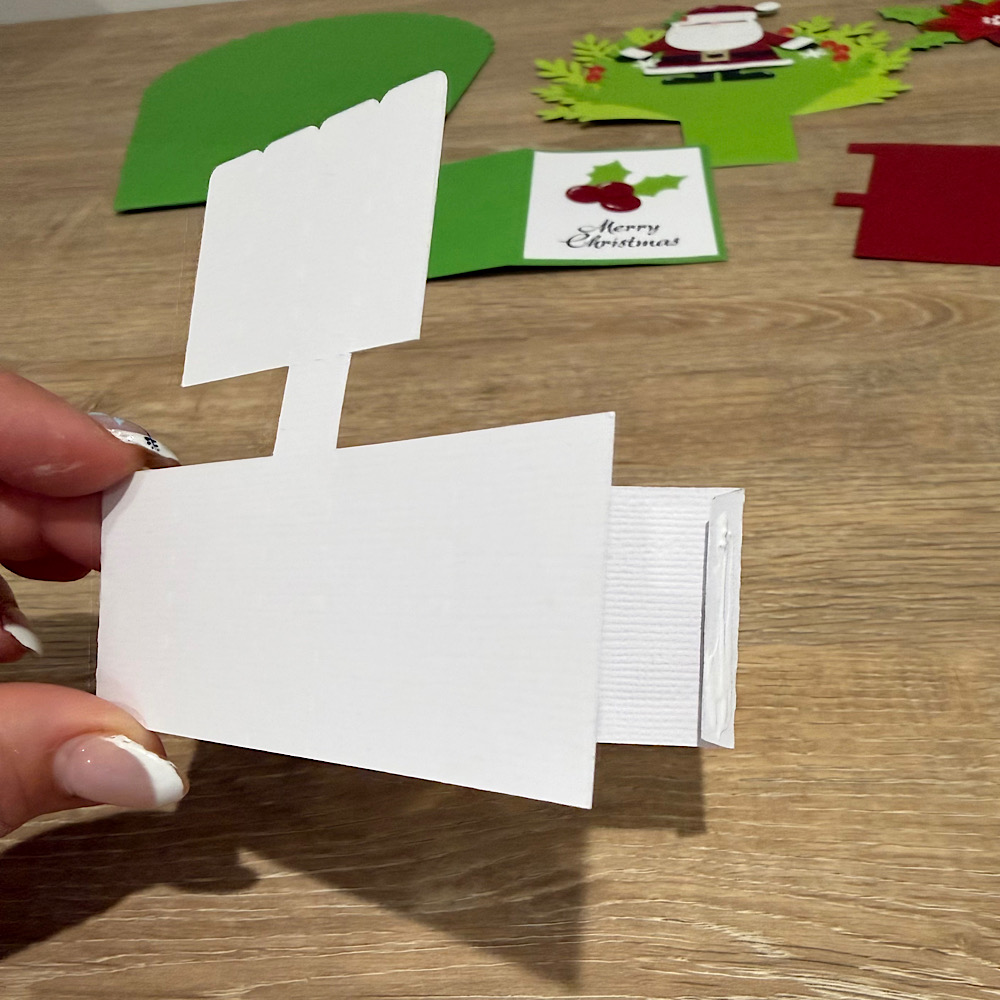
This is the insert for inside the box card. Notice the window is added on the side with the short tab. Add glue on the short sided tab.
Turn over both decorated house pieces. Take the insert and glue the short tab right up to the fold of the tall house (back of the house that has the white piece glued to it).
Here you can see how it looks after it is glued.
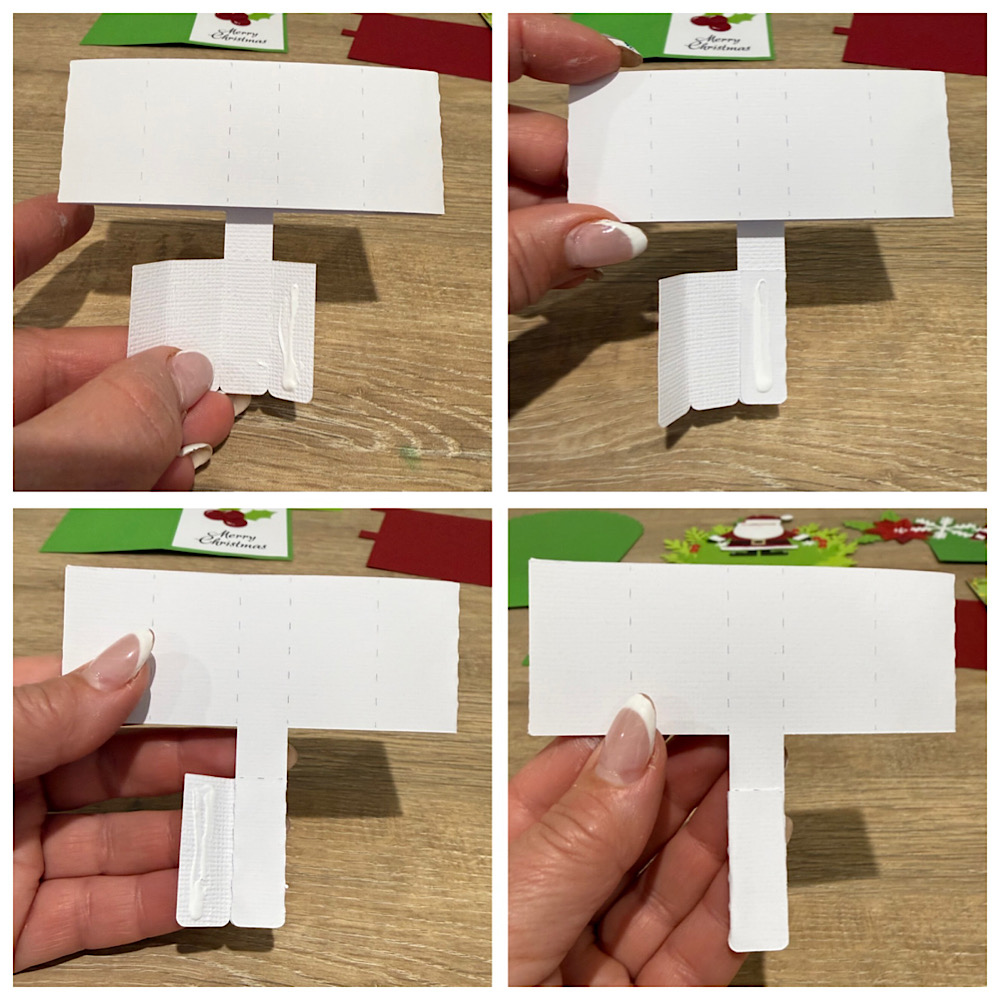
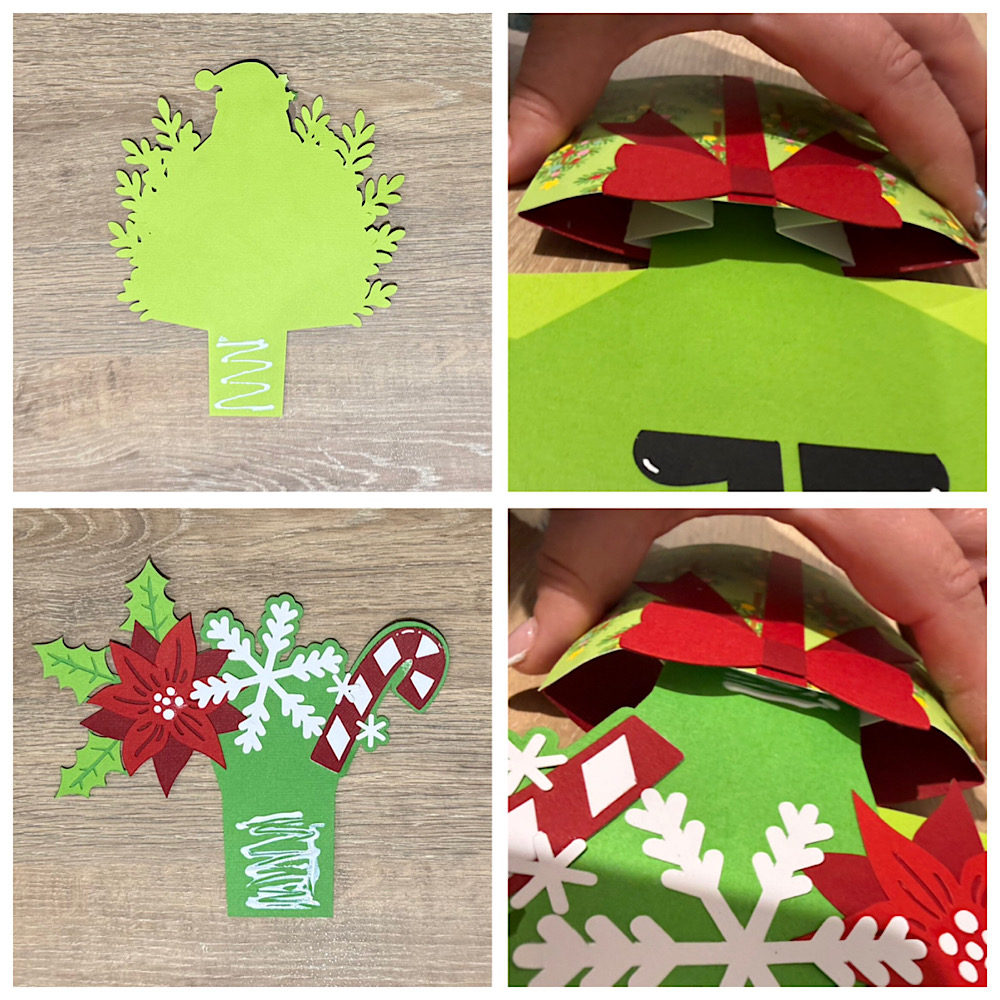
After your first tab is dry, fold over the insert with the tiny window and add glue the long tab on the right side. Flatten the insert and fold over the right side piece. (Always make sure the bottom of the pieces line up evenly). See below
Hold the right side piece down to make sure the glue is dry on the underneath tab. Fold over the left side house piece and it will line up perfectly with the glued tab. Pretty slick that Lori’s files are so well designed that everything just fits!
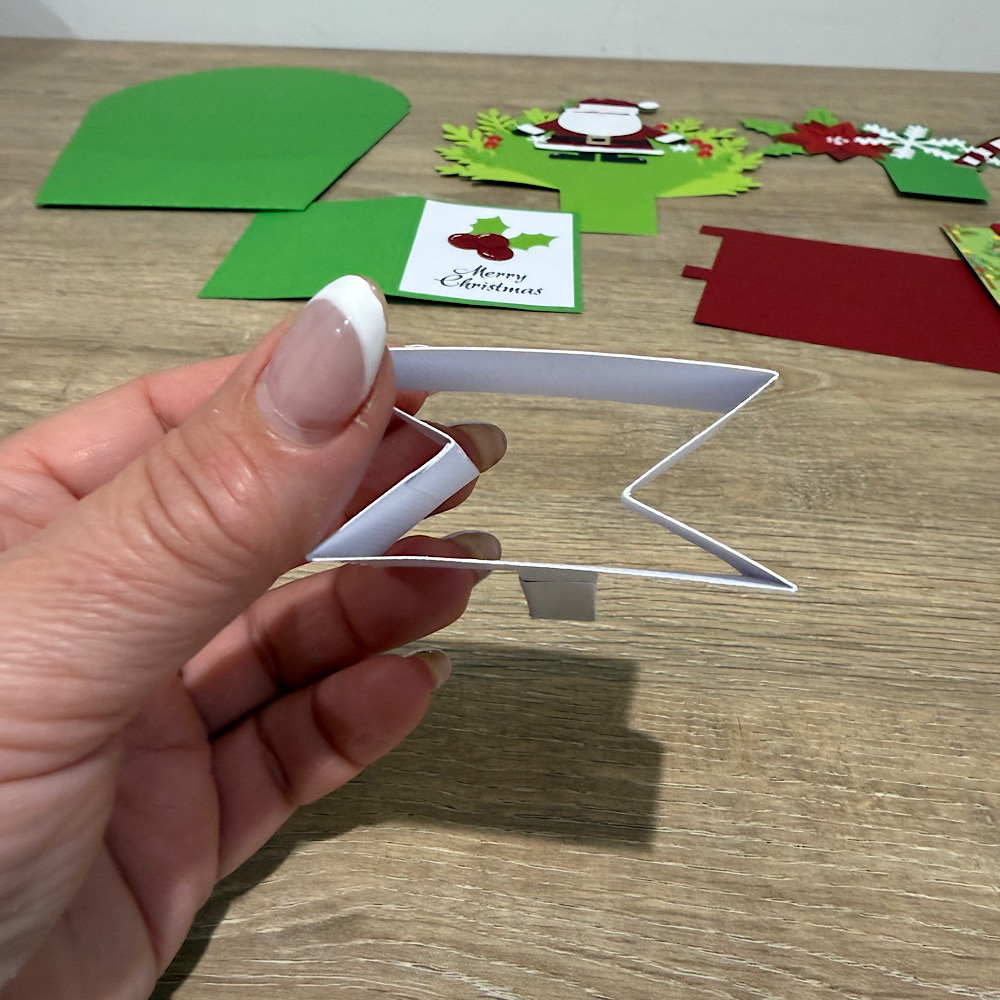
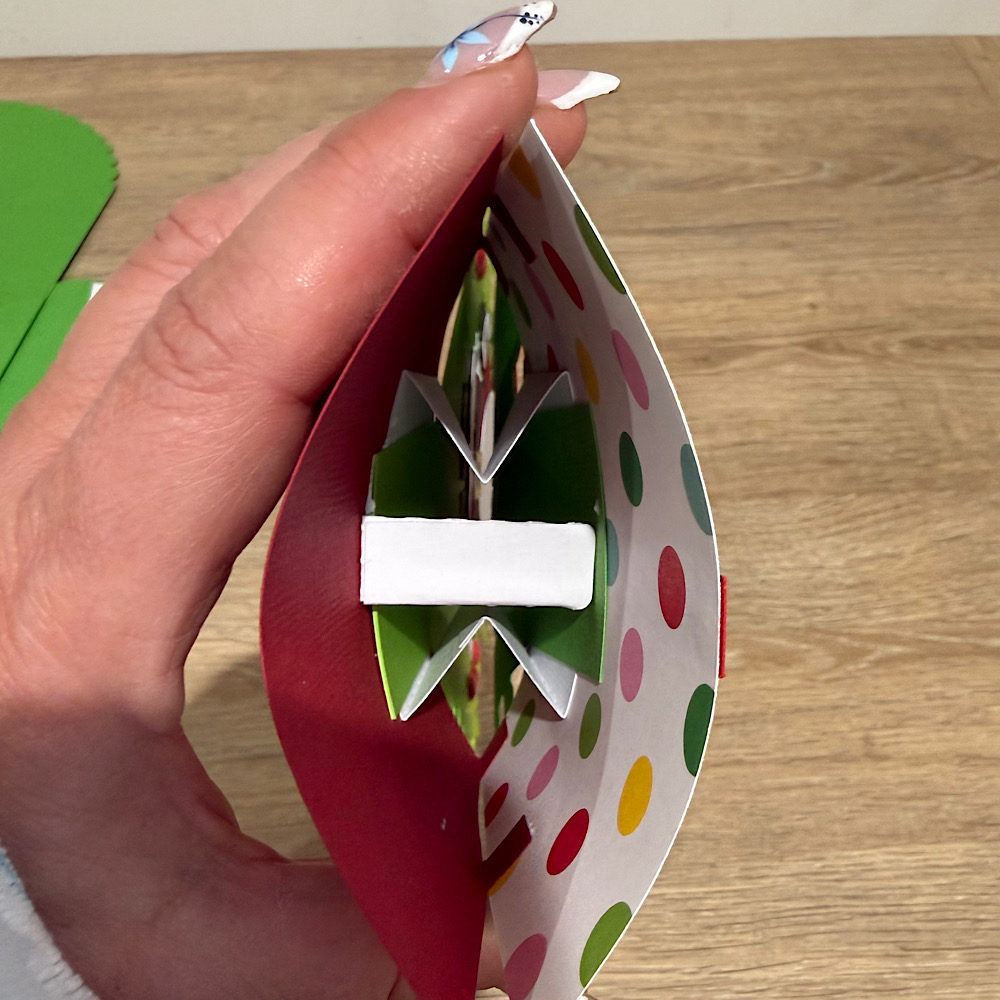
I would add pressure on the right side where the tabs are to make sure the tabs are really stuck. Flip the card back and forth to make sure it folds flat so it slips into the envelope easily. These cards fit nicely in a 5×7 envelope.
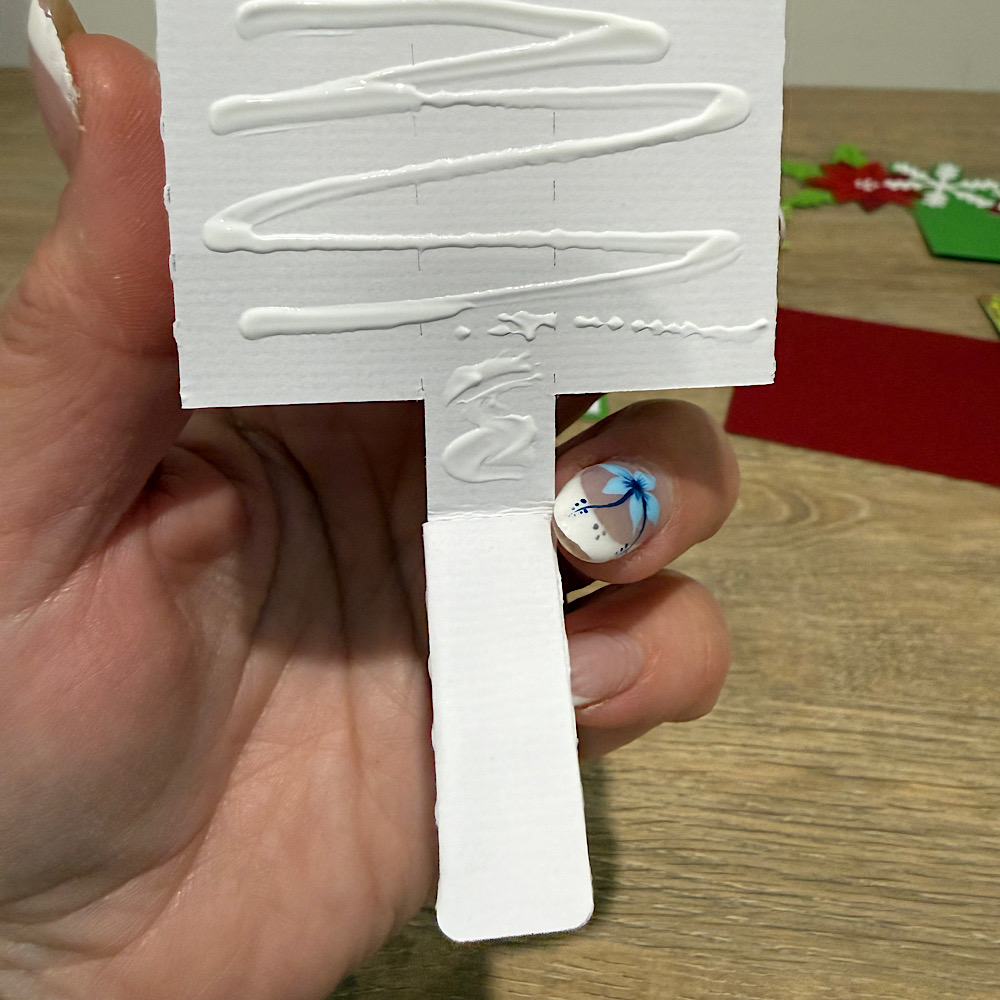
Added tip for the awning—glue on you second color tab and then flip it over.
The awning is designed to glue on flat but I wanted to have it pop out a bit on the bottom like a real awning. Add glue to the top of the piece and a foam strip on the bottom. When you glue it on, it looks so darned cute!
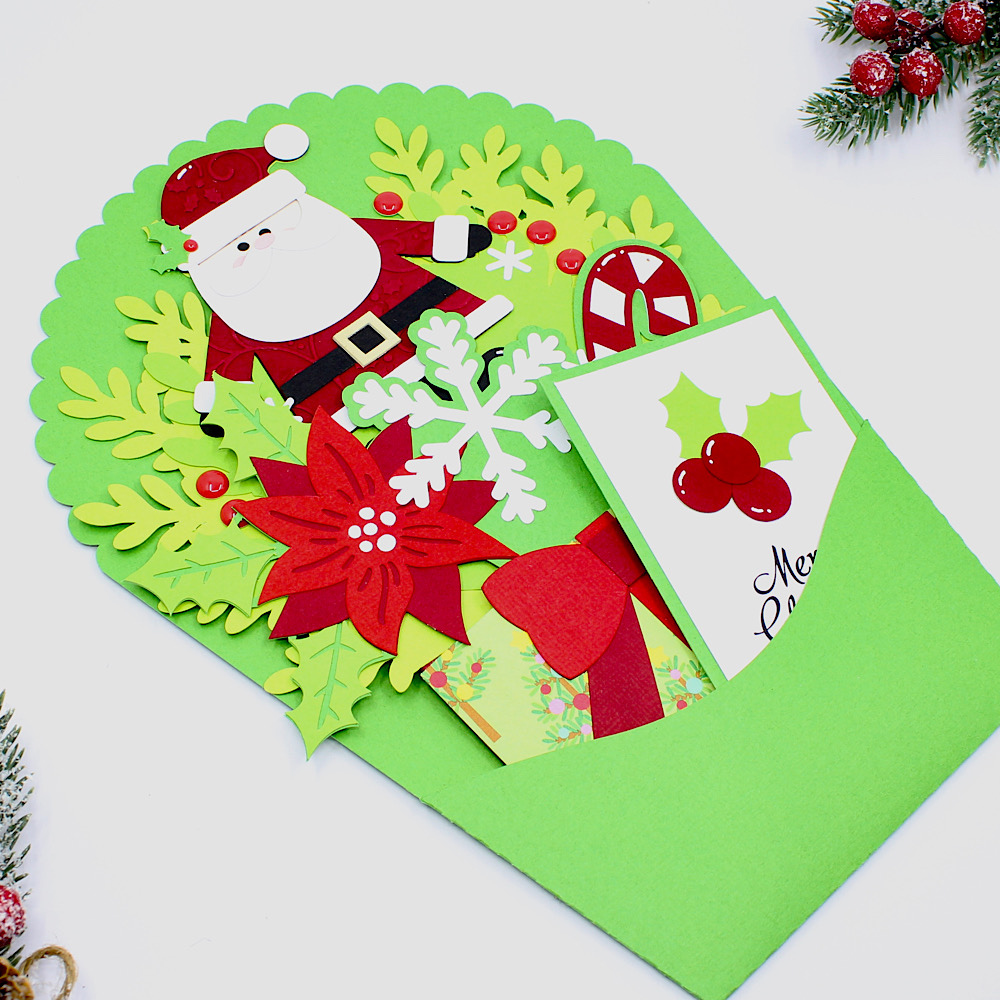
I hope you will give these cards a try, they are striking made up as a little village.


.jpeg)