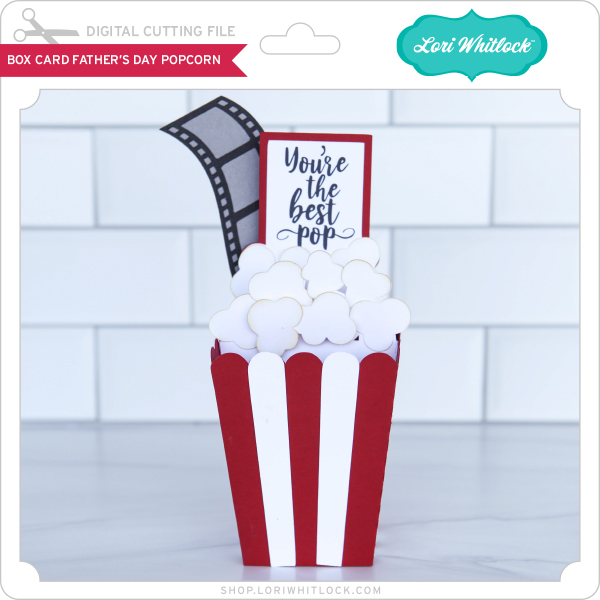
Hi there paper crafting friends! It’s Michelle Starcher, aka the Bookish Designer, popping in on the blog to walk you through the steps to create Lori’s Father’s Day Popcorn Box Card (SVG, Silhouette). In this photo tutorial, I will break down the steps to create this fun project for all those popcorn, movie loving pops out there.
After uploading the SVG file to the Cricut Design Studio, I needed to make a few changes, so that it would cut correctly with my Cricut Maker. Below you will find the steps I took to prepare the file for cutting.
- Ungroup the SVG file.
- Ungroup any portions that have cut/score marks. I had to do this for the white popcorn base, the red message base, and the red popcorn box.
- Attach the cut/score marks to the main image. Again, I had to do this for the white popcorn base, the red message base, and the red popcorn box.
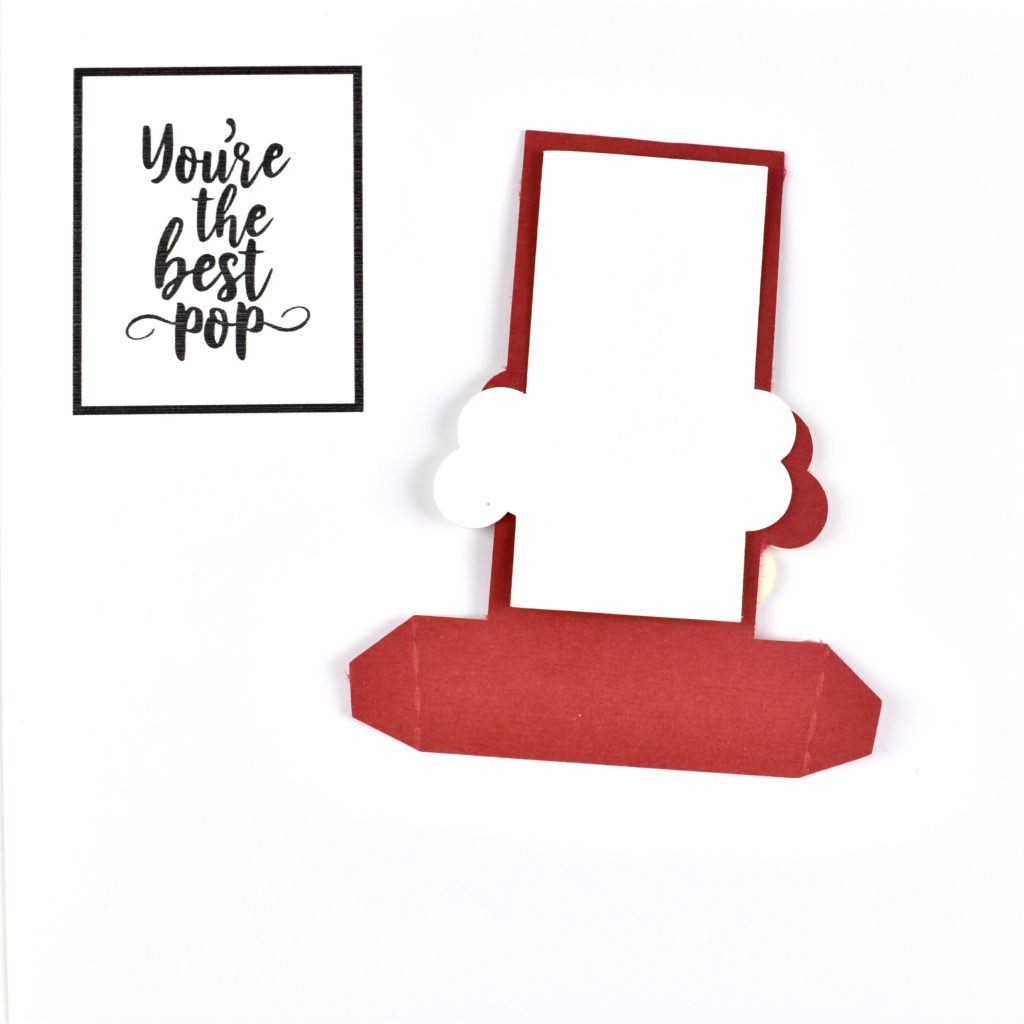
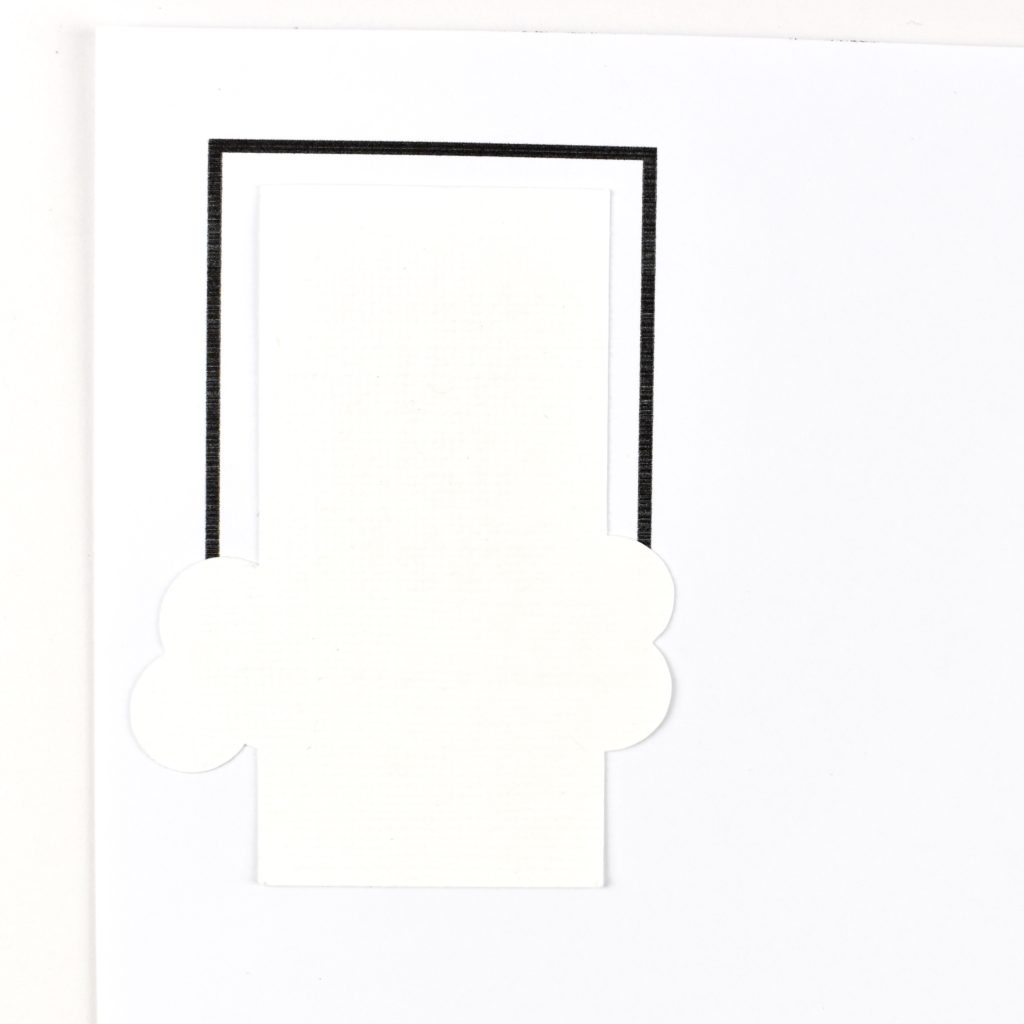
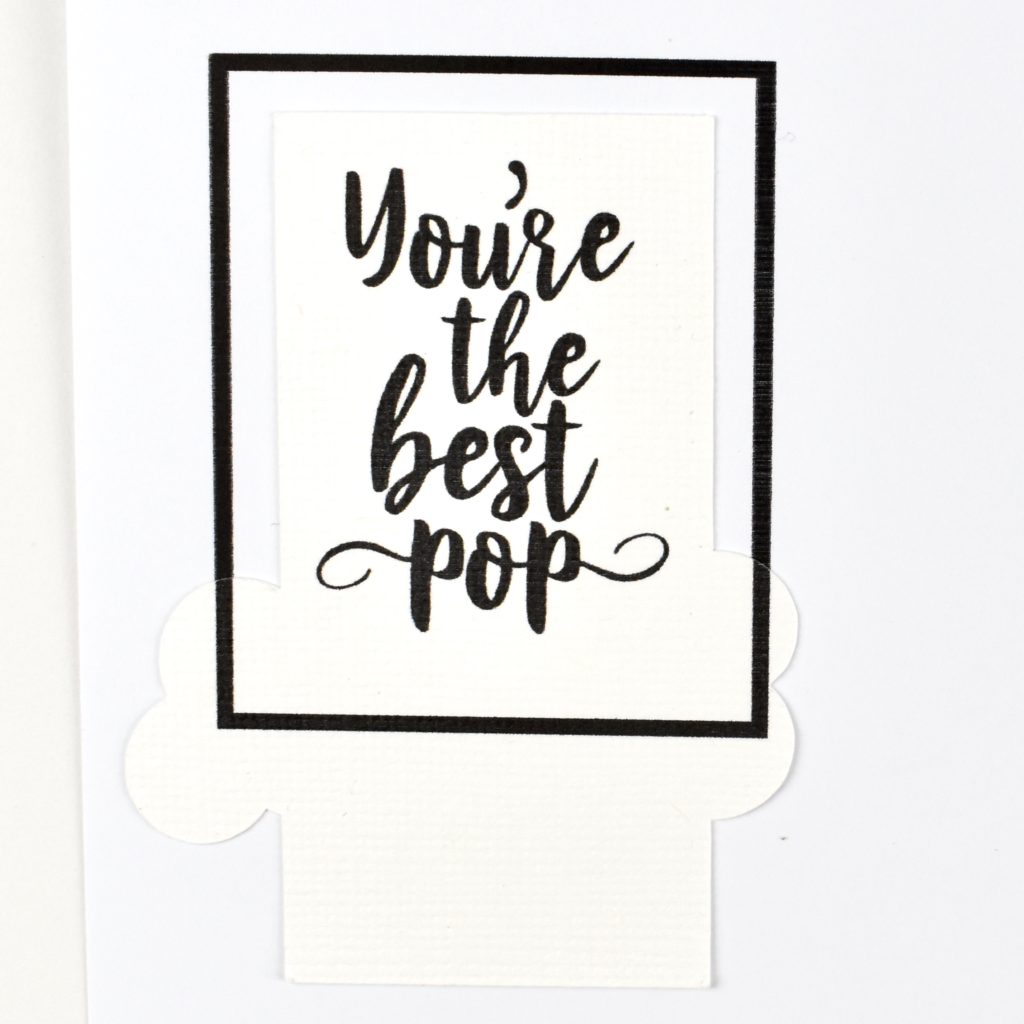
- Change the sentiment to Print. To do this, you will change the Fill to Print. Another option is to hide the sentiment (click on the eyeball) and print it after you have cut everything else. I actually cut the sentiment the first time, and it was just too small for me to use. To reprint just the sentiment, I hid all the other pieces, and printed the sentiment without a bleed. Once I had the sentiment printed, I positioned the pre-cut white cardstock piece over the sentiment and sent it back through the printer. Don’t worry about the black box that appears. It is going to be covered by popcorn pieces:)
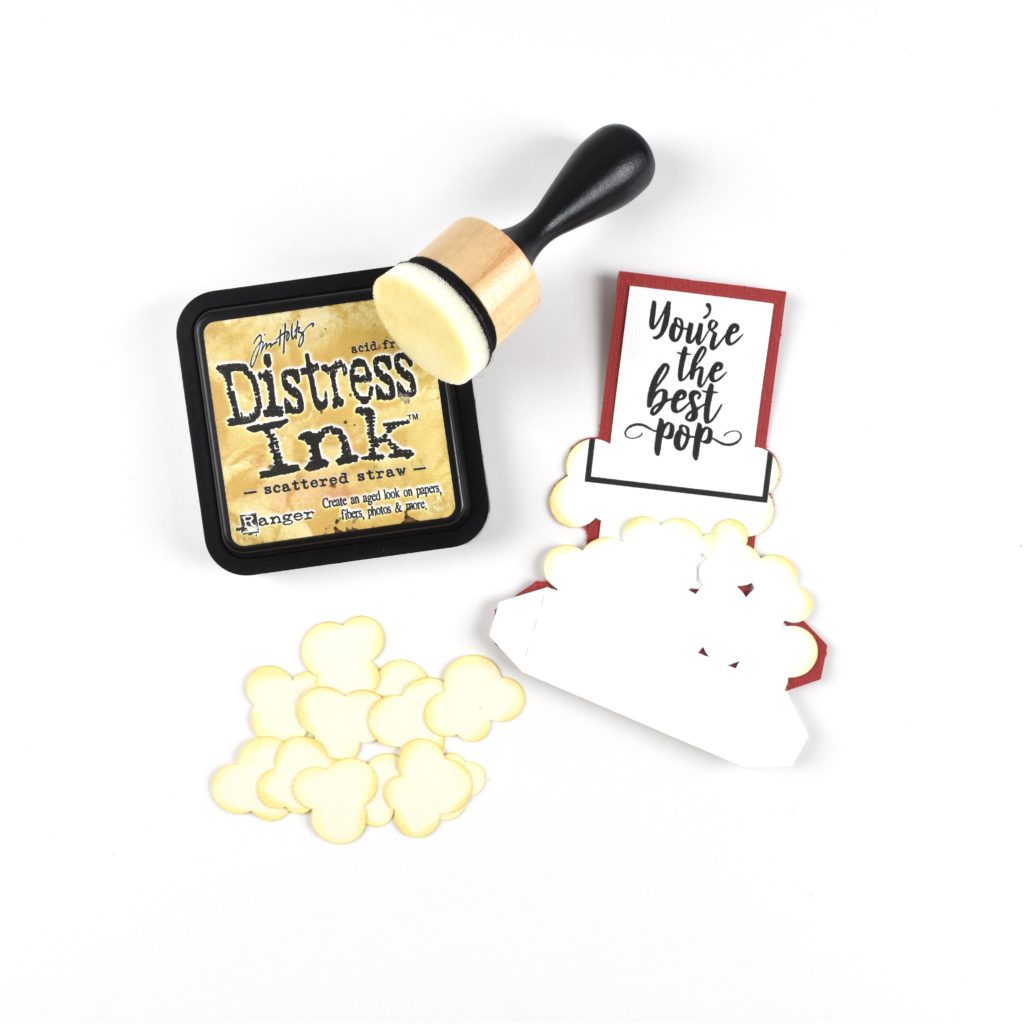
I wanted to give my popcorn pieces a little extra “pop”, so I inked the edges using Scattered Straw Distress Ink and an ink blending tool. The ink blending tool gives me a little more control over the placement of the ink than when I use just the ink pad. I inked the edges of the two pieces where I would attach the popcorn pieces as well.
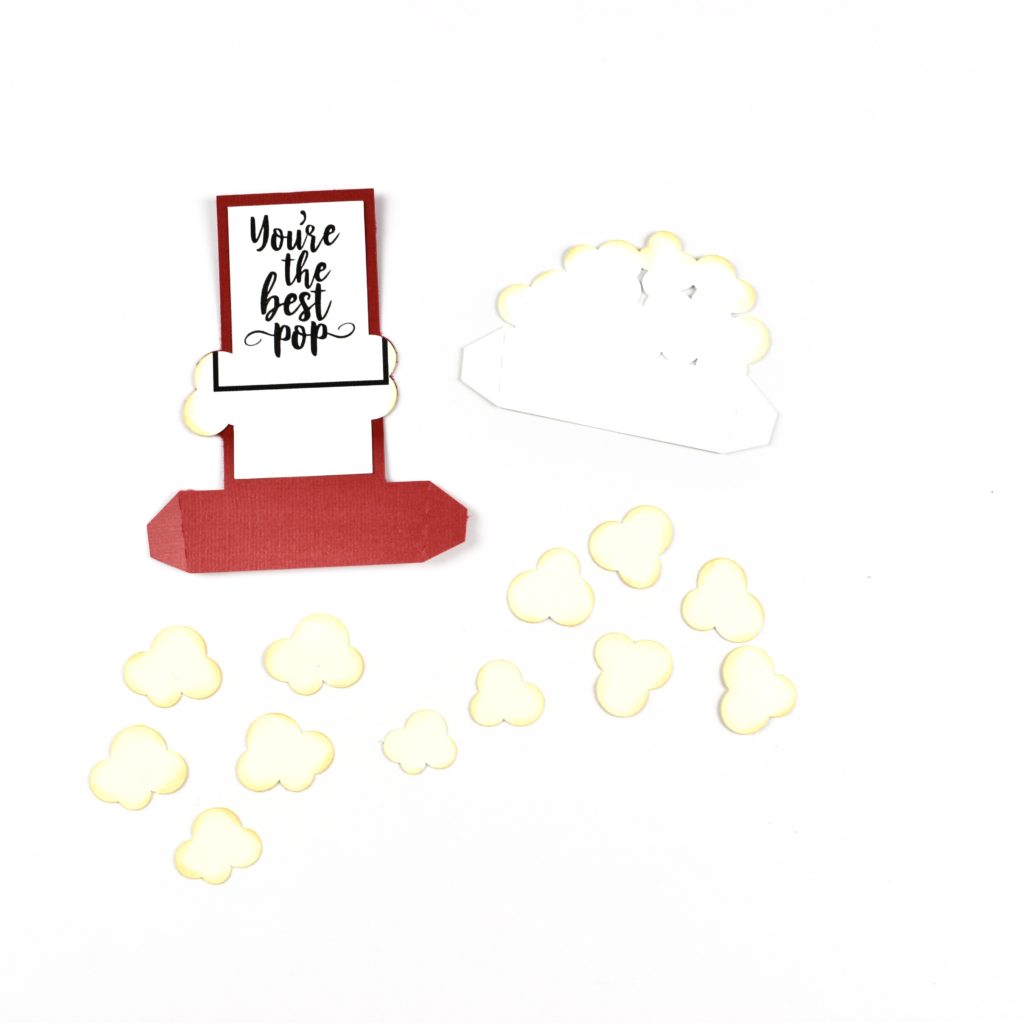
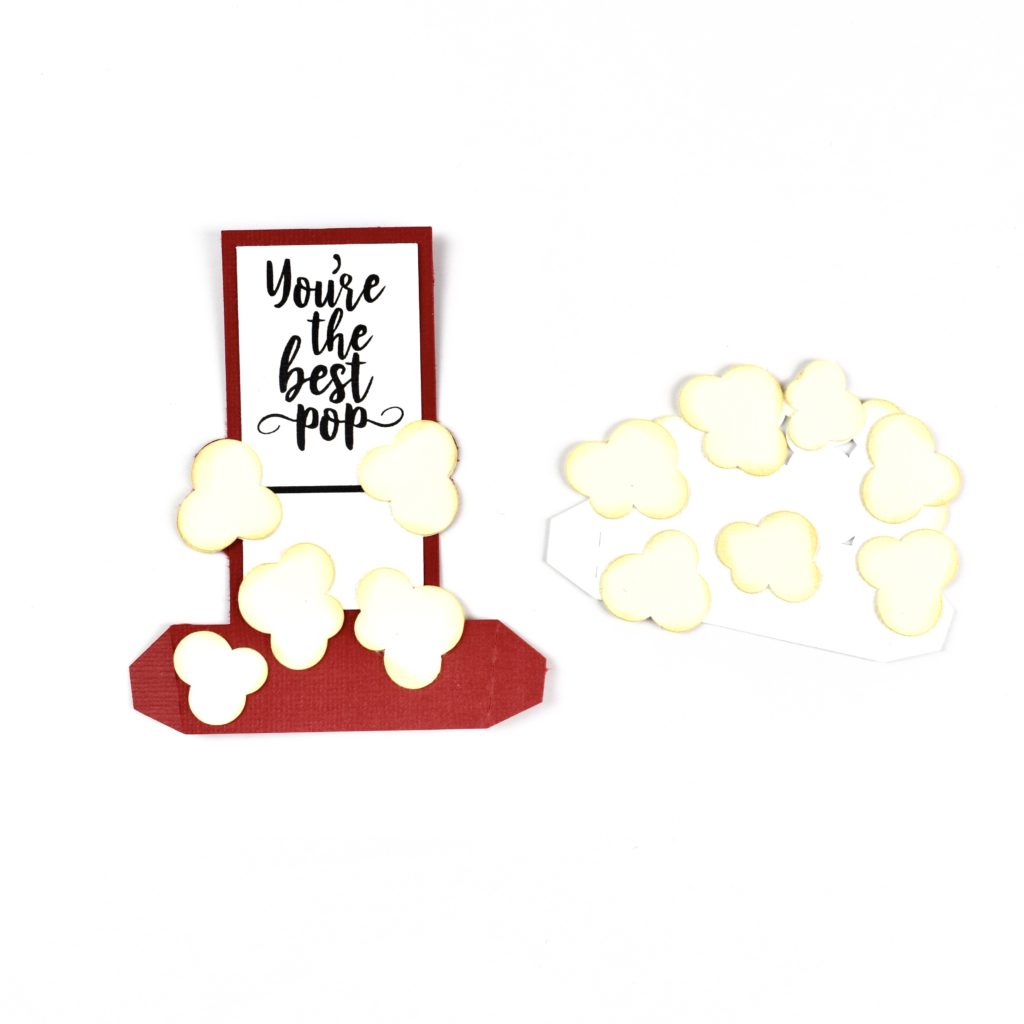
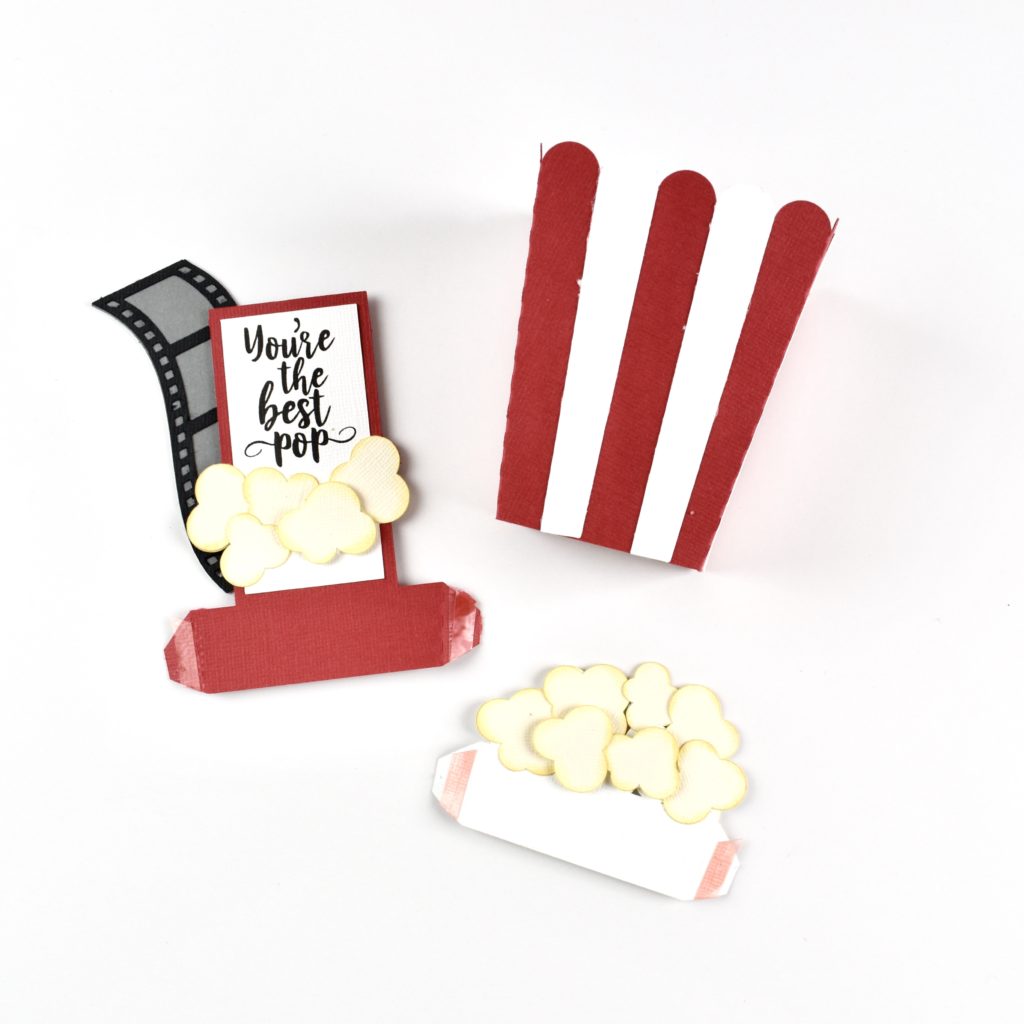
After preparing all of the popcorn pieces, I used the SVG file image to know which popcorn pieces went on which white cardstock base. I sorted the popcorn pieces by shape and then laid them out on the cardstock bases before adhering. I used pop-dots on a few of the popcorn pieces to give a little extra dimension. After I placed all of the popcorn pieces, I used the SVG file image to know where to place the white stripes on the popcorn box.
Next, I layered the film strip and attached it the back of the sentiment card using pop-dots. Once all of the pieces were layered, I assembled the box. I played around with the placement using repositionable adhesive. I felt like the box had more balance by placing the pieces in the center about a strip away from each other. Once, I was ready to make things permanent, I used Tacky Tape on the tabs provided on the two popcorn pieces and the popcorn box.

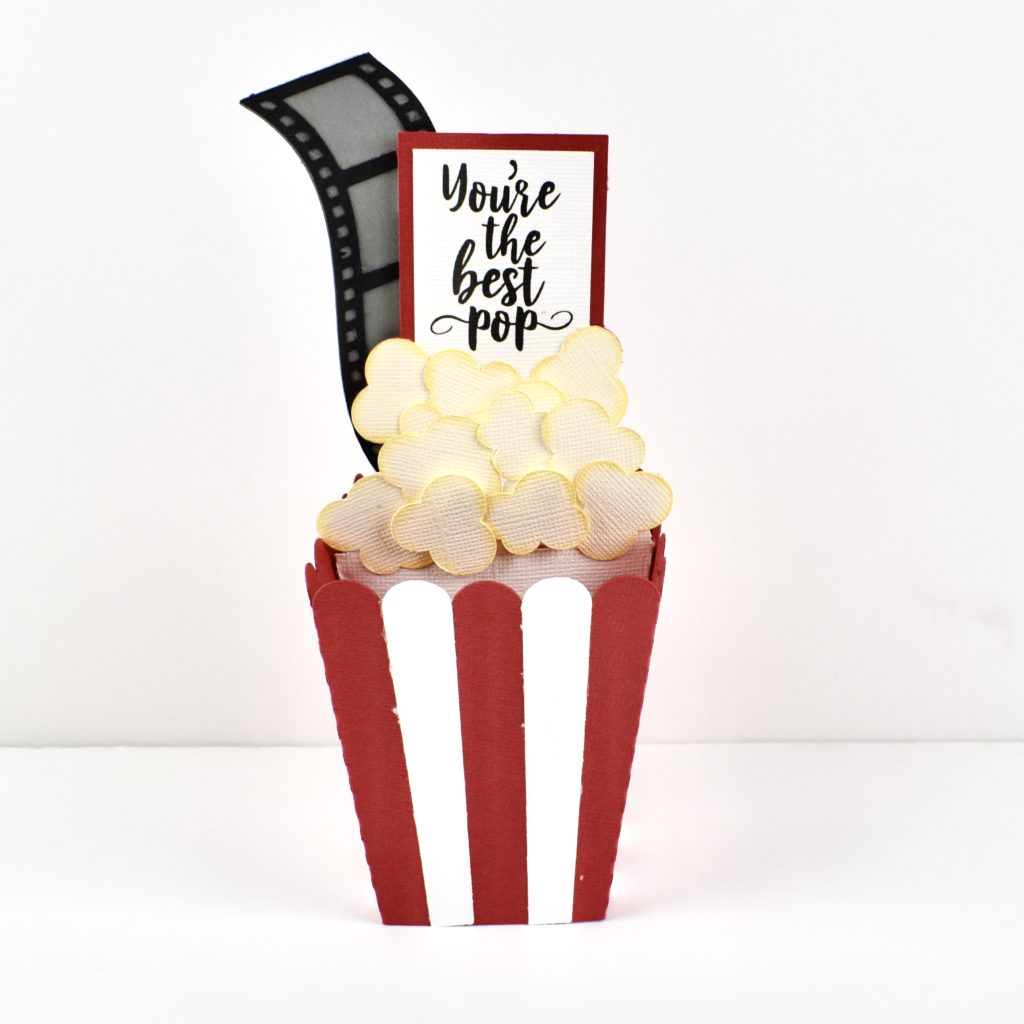
I hope that you’ve enjoyed this tutorial as much as I have. The Father’s Day Popcorn Box Card (SVG, Silhouette) will make a great addition to your Father’s Day celebration! Happy crafting!