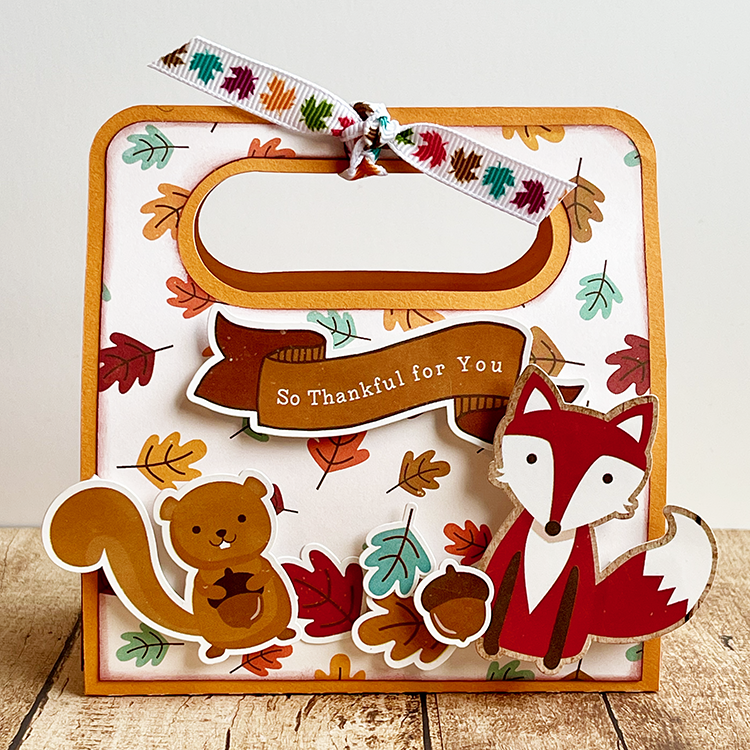
Hi there paper crafting friends! It’s Michelle Starcher, aka the Bookish Designer, hopping onto the blog to share the Thanksgiving gratitude box I made using the Fry Box Turkey (SVG, Silhouette). This box creates the cutest little turkey that can be filled with notes and treats.

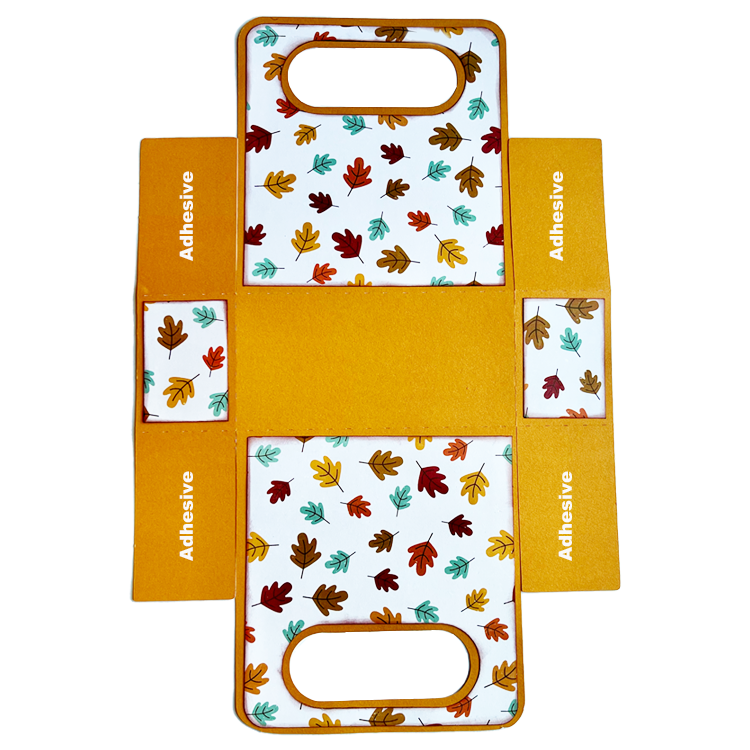
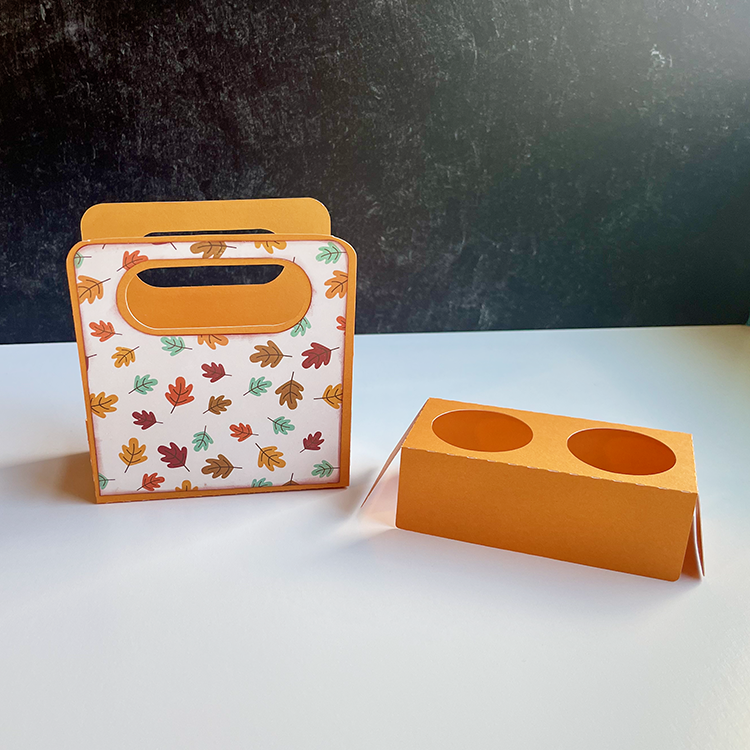
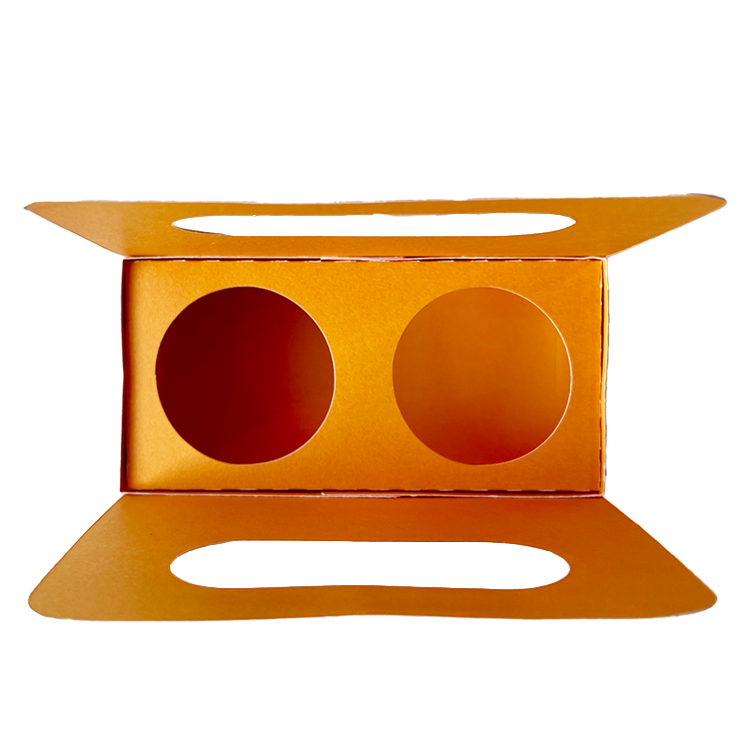
When assembled, the Fry Box Turkey measures 4.25×1.5×8.25 when cut at original size, but it can be sized up or down as needed. It’s super easy to assemble. Before I assembled the fry box, I adhered all the pieces for the turkey’s face and hat to the fry box base. Next, I use distress inks to add a little dimension to the feather pieces and then layered them together. After assembling the box, I added the partial feather insert into the box and used it to line up the main plumage to the back of the box. I filled the box with little gratitude cards, but you can fill with pretty much anything that fits.

There are several turkey themed gift boxes available in Lori’s shop if you are looking for some last minute Thanksgiving ideas. Be sure to check out Lori’s selection of Thanksgiving cut files in the shop.
Until next time,
Michelle, aka the Bookish Designer