Nuggets of Love: Valentine Nuggets Heart Box Tutorial

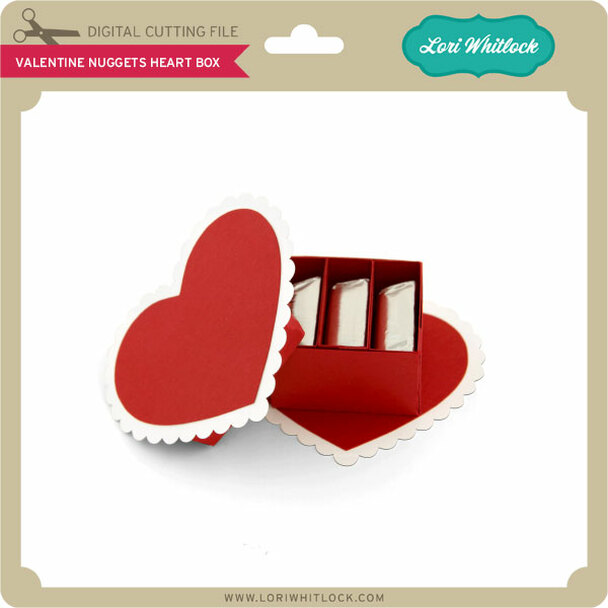
Hi there paper crafting friends!  It’s Michelle Starcher, aka the Bookish Designer, hopping onto the blog to walk you through the steps to create Lori’s Valentine Nuggets Heart Box (SVGSilhouette).  This adorable little box holds three Hershey’s Nuggets and is perfect for spreading some love this Valentine’s Day.
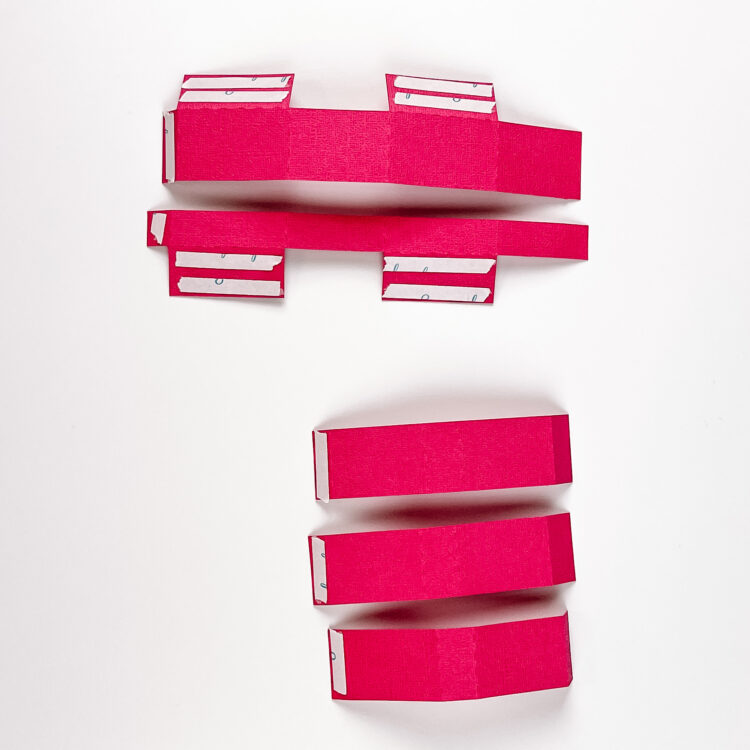
I used my Cricut Maker to cut the pieces for the Valentine Nuggets Heart Box.  For this step, I had to ungroup all of the pieces and attach the score marks to the pieces that would be used to make the box.  There are two pieces that make up the outer box and three for the individual nugget holders.  Once I cut out all of the pieces, I folded along the score lines and added adhesive tape to the tabs.
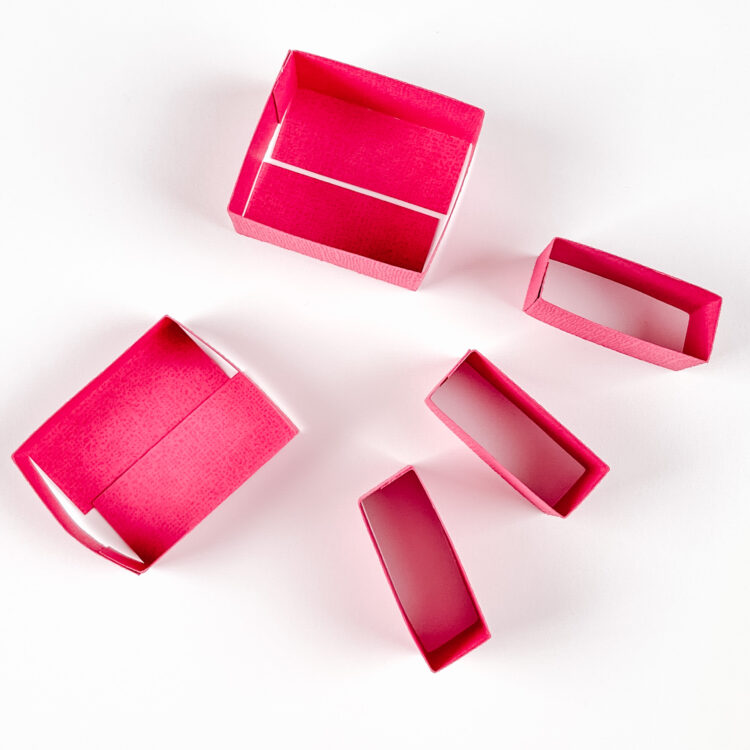
Next, I built the box, lid, and nugget holders using the adhesive tape to connect the tab with the other side of the paper strip to form a “box”.  The bottom flaps of the box and lid do not connect to anything at this point.
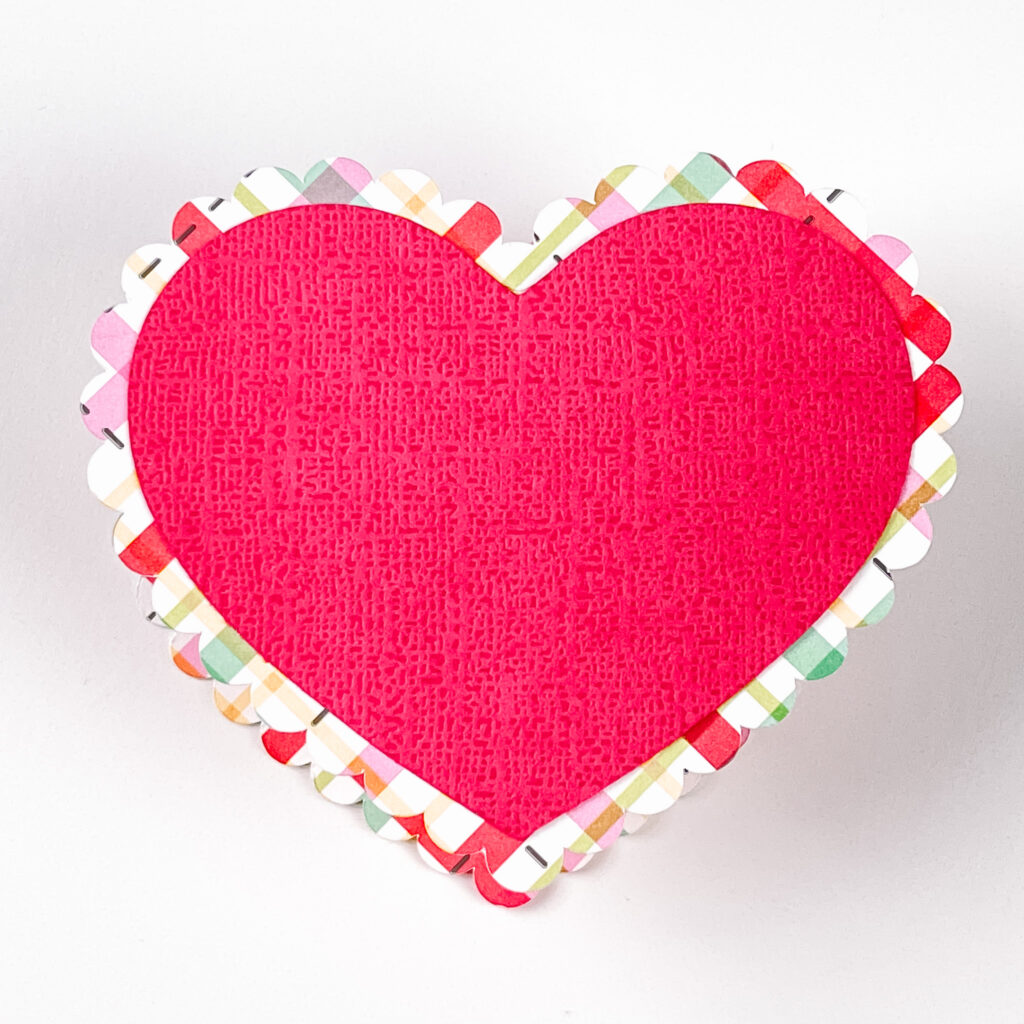
Attach the smaller hearts to the larger scalloped hearts.  These will form the base for you box and lid.  Attach the lid (shorter piece) to the back of one of the hearts.  Small notches on the scalloped heart will help you to line up your lid in the appropriate place.  Next, insert the box into the lid with the tabs/flaps on the outside. Then attach the other scalloped heart to the box using the adhesive on the tabs/flaps.  Use can use the lid’s heart to help you align the top and bottom pieces.  (Note:  You want to attach the bottom tabs/flaps of the box to the side of the heart where you can see both hearts.)
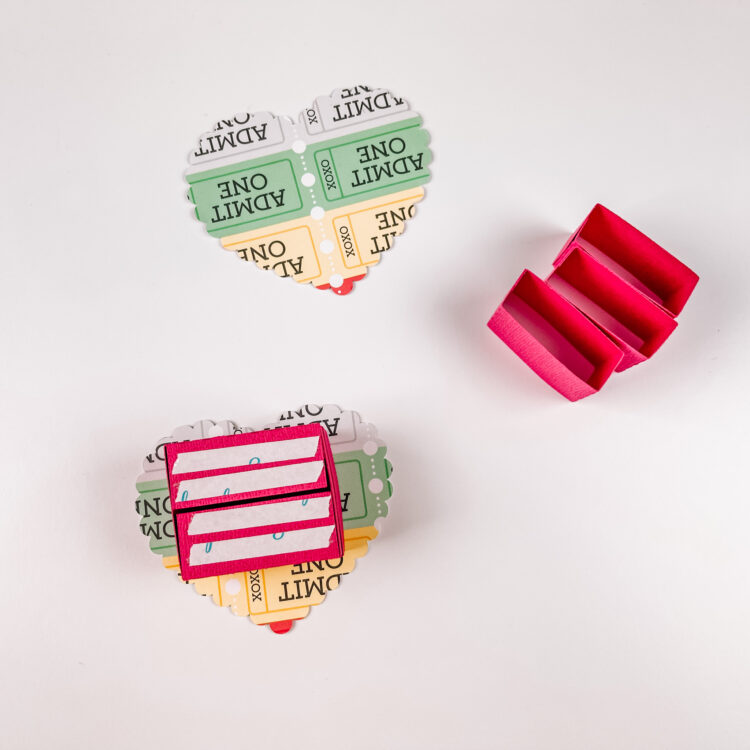
Finally, you need to insert the nugget holders into the box.  You can use adhesive to connect all three nugget holders, but I just placed them inside the box without any adhesive.
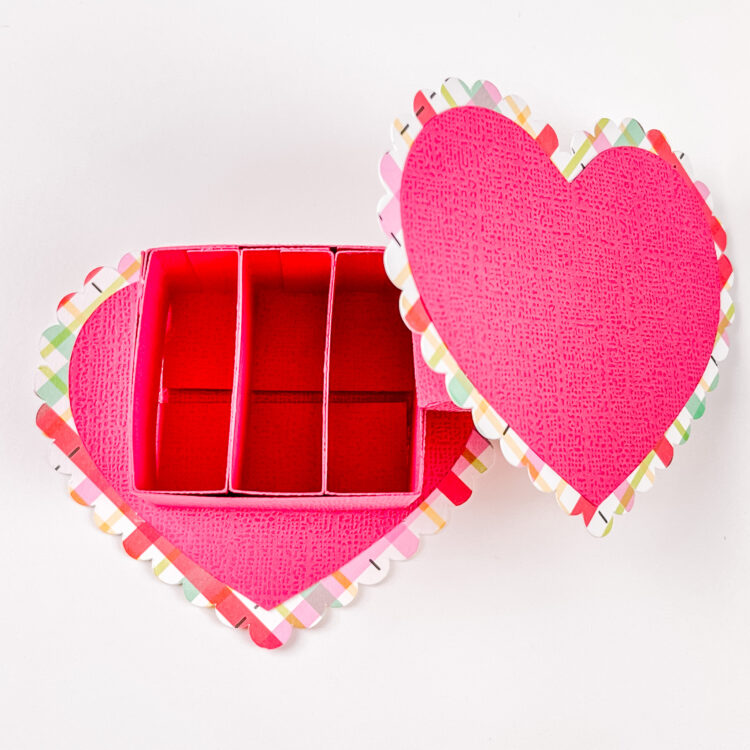
You can add stickers or other embellishments to the top of the box to give it a little more flair. Otherwise, it is ready to fill up with yummy chocolate nuggets.  In addition the the Valentine Nuggets Heart Box, Lori has a couple of other Valentine’s Day heart boxes available that hold Hershey’s Kisses.   Here are the links to all of the Valentine’s Heart Boxes.

Valentine Kisses Heart Box Small (In Silhouette Store here)  Holds 4 Kisses
Valentine Kisses Heart Box Large (In Silhouette Store here)  Holds 9 Kisses
Valentine Nuggets Heart Box (In Silhouette Store here)  Holds 3 Nuggets

Until next time,

Michelle


12 Days of Christmas – Day 6 & ‘Tis the Season of Gift Cards

Welcome to Day 6 of our 12 Days of Christmas! Each day from December 1-12, there will be a free SVG file of the day, along with a special promotion!  For Day 6 we have this Fa La La Holiday Penguin will be free today only, so don’t miss out!

In addition, today only, you can get 50% off all items under the Bundle Category in my SVG shop!  Just use code BUNDLE50 at checkout!


And check out these amazing projects by Michelle!

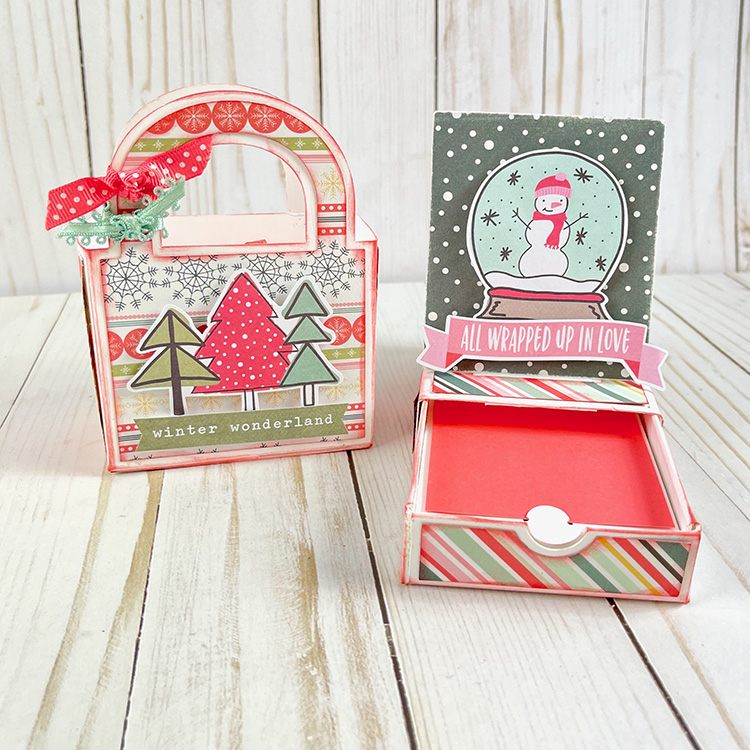
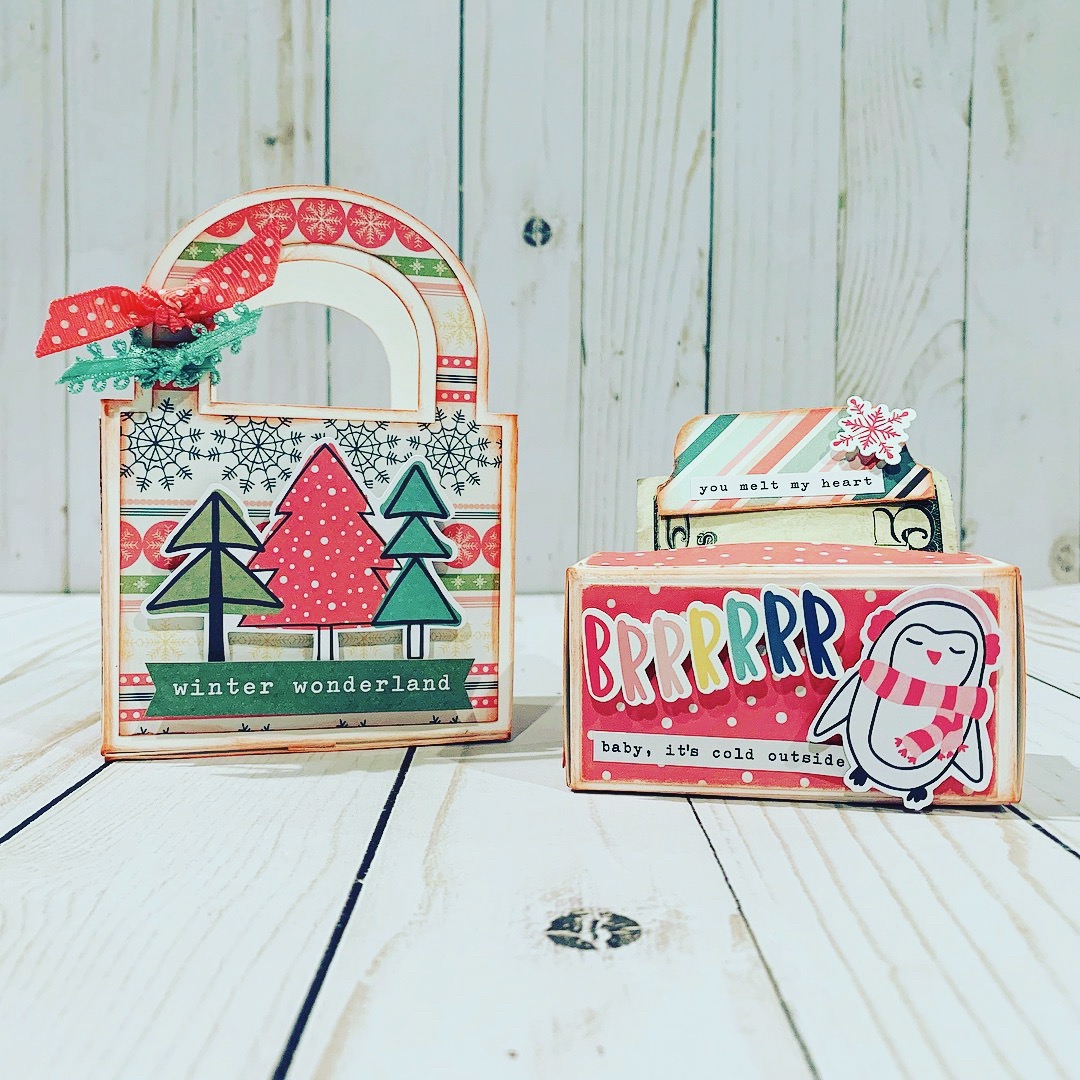
Hi there paper crafting friends!  It’s Michelle Starcher, aka the Bookish Designer, popping in on the blog to share some of the projects I have been working on for Christmas gift giving. There have been so many news stories about shipping delays and empty shelves in stores, I know a lot of us are looking at giving gift cards and cash for Christmas this year.  If you are looking for a way to add a personal touch to these gifts, Lori has the solution.  There are so many different options available in the shop when you are giving the gift of cash or a gift card.  Today I am sharing two that I made- one that holds a gift card and another that holds the gift of money.

When you aren’t sure what to give your niece or nephew for the holidays, I am pretty sure you will never go wrong with the gift of cash.  The Money Roll Gift Bag (SVG, Silhouette) is a great option to use if you want to give the gift of money in a creative way.  After all,  it’s all in the packaging! Tape some bills together and roll them up. Insert them into the box and stick one end of the roll out of the slit. Then, apply the tab to the exposed end of the “money roll.” There is a tutorial showing how easy it is to assemble here.

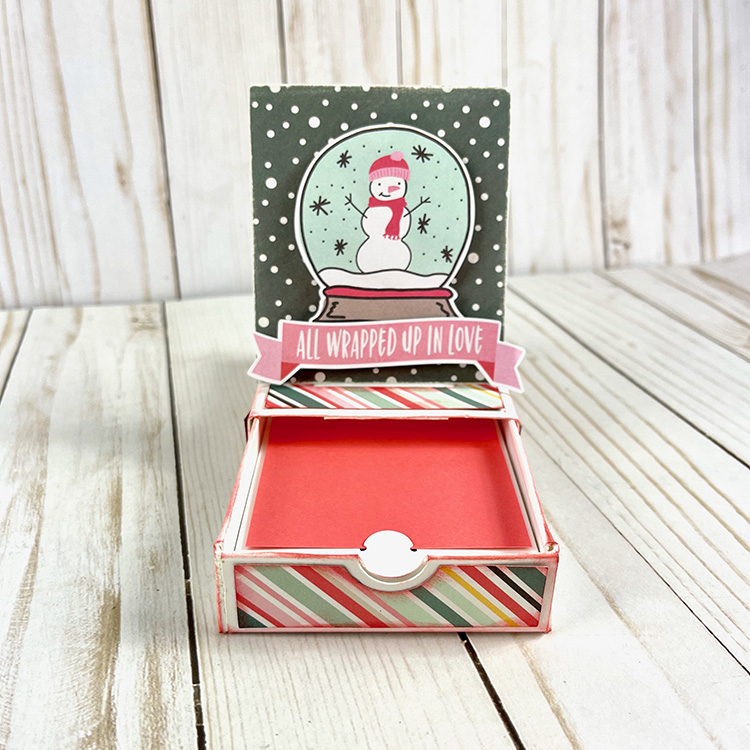
If you are looking for a fun, interactive way to present a gift card, I suggest the Pop Up Drawer (SVG, Silhouette).  For my project, I converted the Birthday Penguin file and used leftover stickers, papers, and journal cards from an older Christmas collection.  This interactive box features a drawer that when opened automatically “pops up” the card on top! This file is versatile you can give a small gift or candy in this box or use the included gift card holder to house a gift card, like I did.  Here is an easy tutorial.

If you are running out of time or just can’t find the perfect gift, you’re not alone.  Thankfully, Lori has so many amazing options in the shop that we can give the gift of cash or a gift card without feeling guilty about not giving a more personalized gift.  Let me know your favorite file in the comments below.

Until next time,

Michelle
Vintage Bucket Tutorial

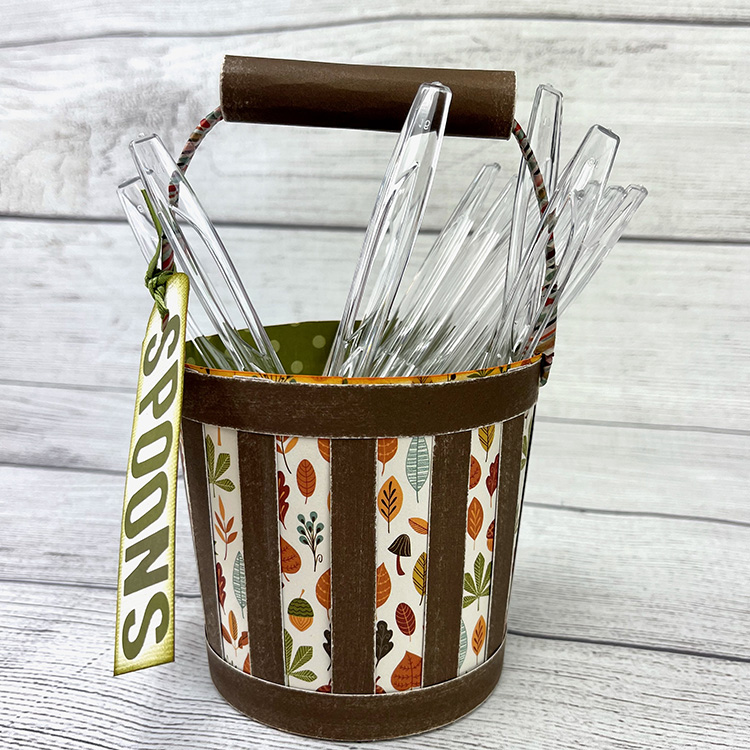
Hi there paper crafting friends!  It’s Michelle Starcher, aka the Bookish Designer, hopping onto the blog to walk you through the steps to create Lori’s Vintage Bucket (SVGSilhouette).  I was looking for something festive that I could use to hold utensils for Thanksgiving dinner, and I came across the Vintage Bucket.  This file is the perfect way to set out plastic utensils for any party or event.

VIntage Bucket

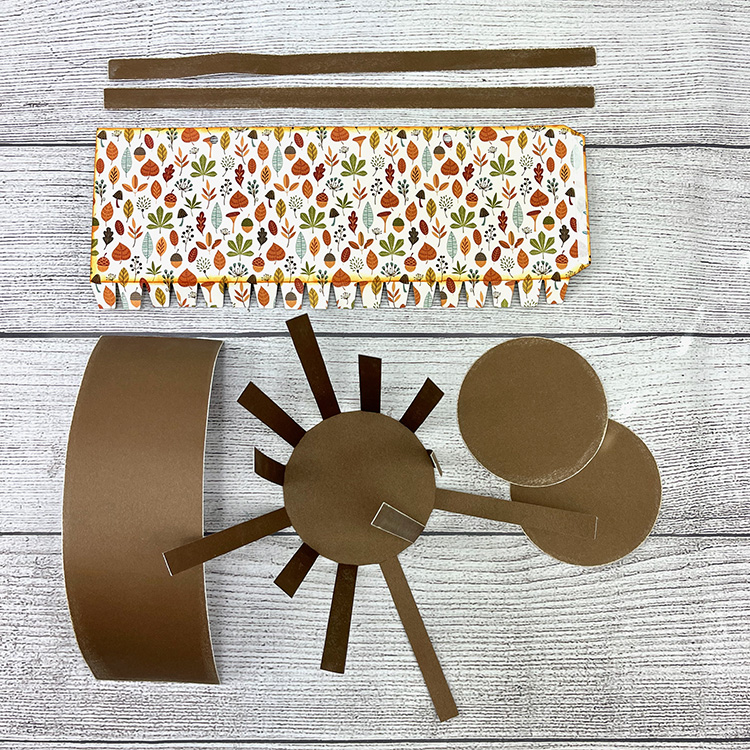
In this photo tutorial, I will break down the steps to create the Vintage Bucket.  In the cut files, you will find everything you need to complete the Vintage Bucket, expect for the floral wire or pipe cleaner used for the handle.  After cutting all of the pieces, I sanded the edges of my dark brown cardstock and inked the edges of my pattern paper to create a more vintage look.  In addition, I folded down the tabs on pattern paper and rolled it along the edge of my desk to give a little bit of curve to my paper.  I did the same thing to the long brown rectangle that will become the bucket handle.

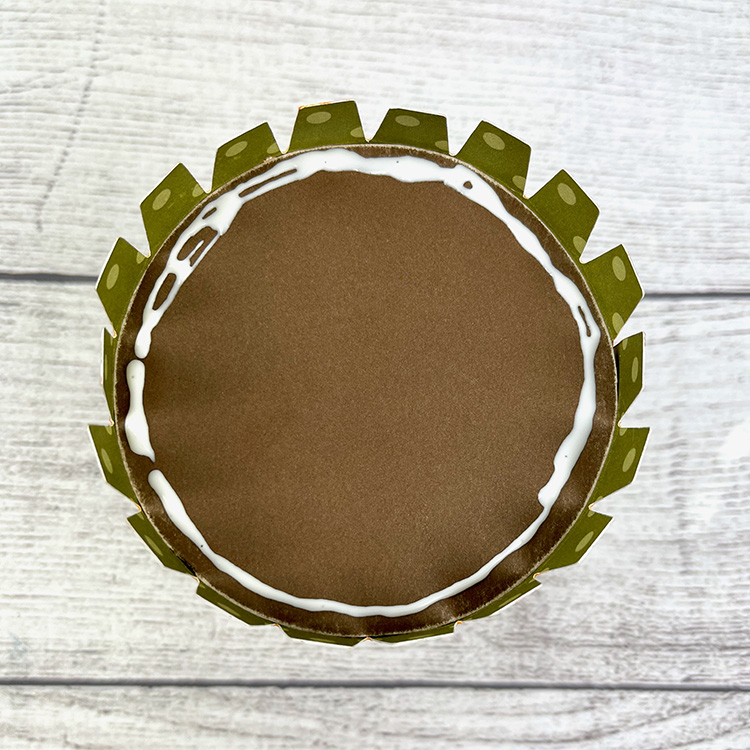
Next, I added adhesive to the tab of the “bucket” and attached it to the other side.  Be careful to line up the two sides as perfectly as you can to create the cylinder shape.  Then, place one of the circles inside the bottom of the cylinder.  Flip the bucket over, add glue along the edge of the dark circle, and fold down the little tabs.  Once you have done that, add more glue and place the second brown circle on top to cover the little tabs.

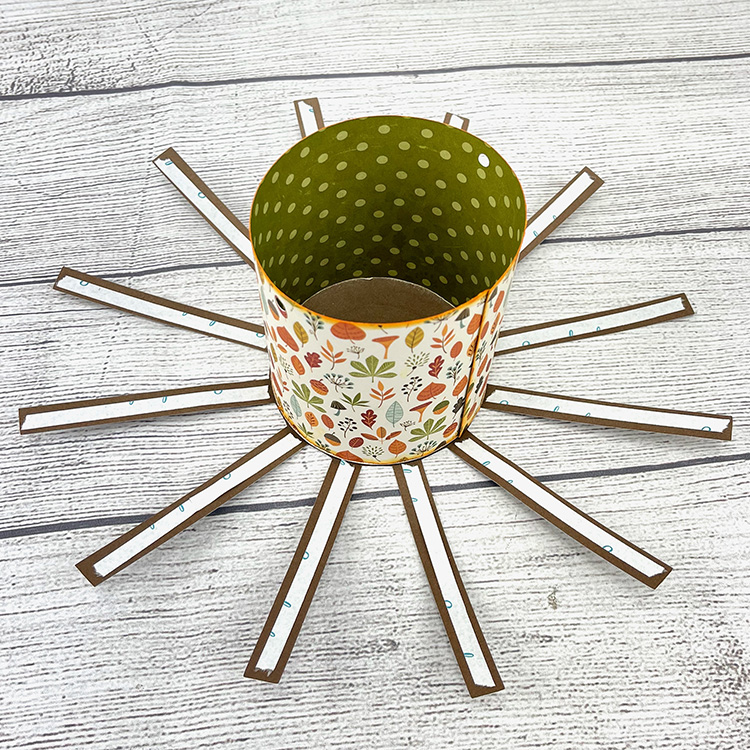
Once you have assembled your bucket, you will adhere it to the “sun” shape.  I used glue to adhere the bucket to the “sun” shape and adhesive tape to adhere the “sun’s rays” to the bucket.  I lined up one of the “sun’s rays” to cover the seam in the bucket.  This caused the holes for my handle to be covered up, but I was able to use a hole punch to create new ones when I was ready to add the handle.

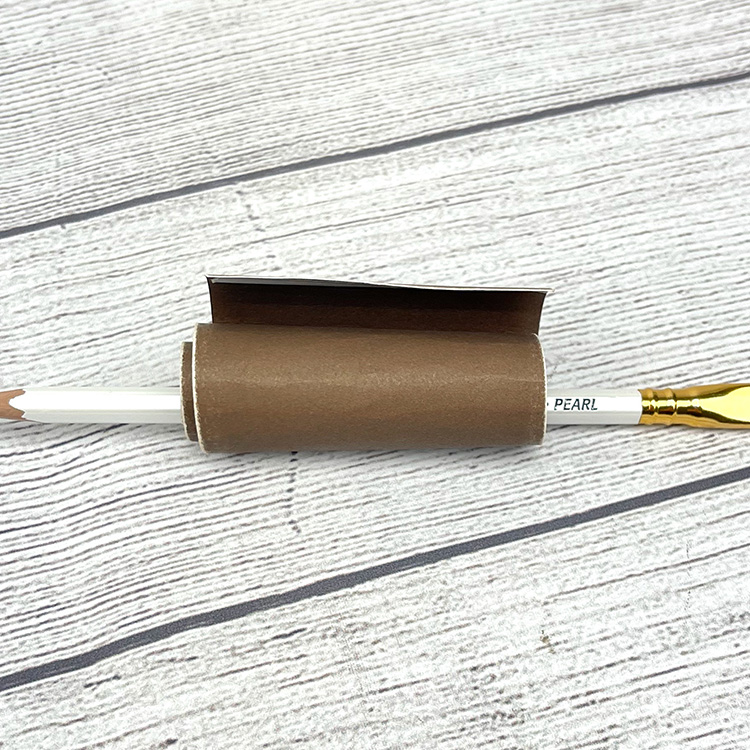
Next, I added the rectangle strips to the top and bottom of my bucket.  I added adhesive tape to both ends of the rectangle and used a pencil to help me role the rectangle piece into a tube shape. To finish the tube shape, I took the pencil out and held it in between my thumb and index finger to tighten the tube.  I used adhesive tape to close the tube.  For the handle, I used washi tape to cover the floral wire and added add the paper tube to the top to form the handle for the bucket.  Insert one end of the floral wire into one of the holes in the bucket and pinch to close. Repeat on the other side as well.

Once my bucket was finished, I made a quick tag and used alphabet stickers to spell out “Spoons”.  I inked the edges and attached the tag to the bucket using ribbon.  I am planning to make two more Vintage Buckets to hold my forks and knives as well.

If you are interested in a more detailed video tutorial on how to put together the Vintage Bucket, Lori has one available on YouTube.

Until next time,

Michelle
Milk Carton Haunted House

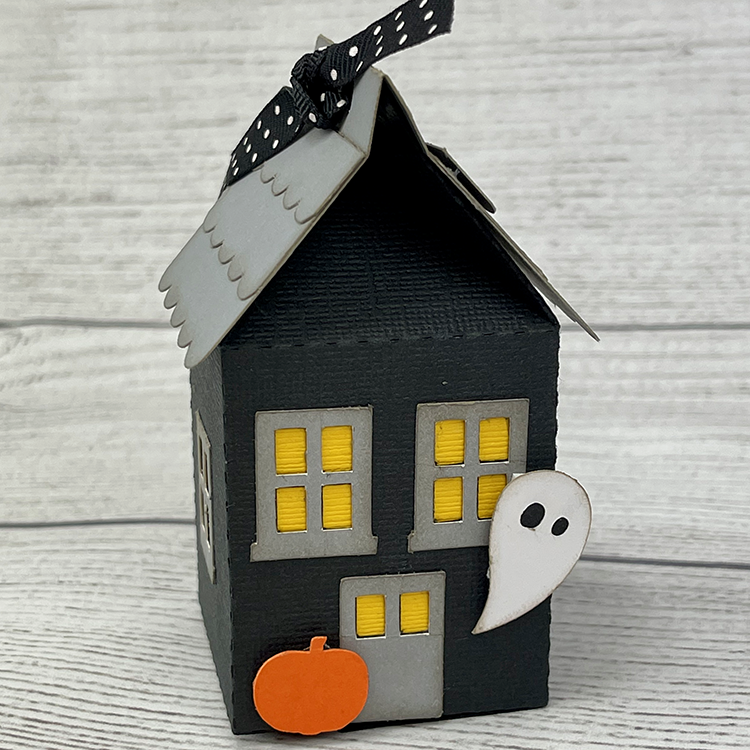
Hi there paper crafting friends!  It’s Michelle Starcher, aka the Bookish Designer, popping in on the blog to share Halloween treat boxes I made for family and friends.  Lori has a wide selection of treat bags and boxes available in her shop.  This week, I made the Milk Carton Haunted House (SVG, Silhouette), and I plan to several of these to fill with yummy treats for the kids.

This cute box is a perfect little size for a holiday treat or favor. It measures 1.8×1.8×4.25.  The Milk Carton Haunted House treat box was super simple to put together,(it’s assembled like the box in this tutorial) and I love that it has the ribbon holes on the top.  This makes it so much easier for the recipient to open and close the treat box.

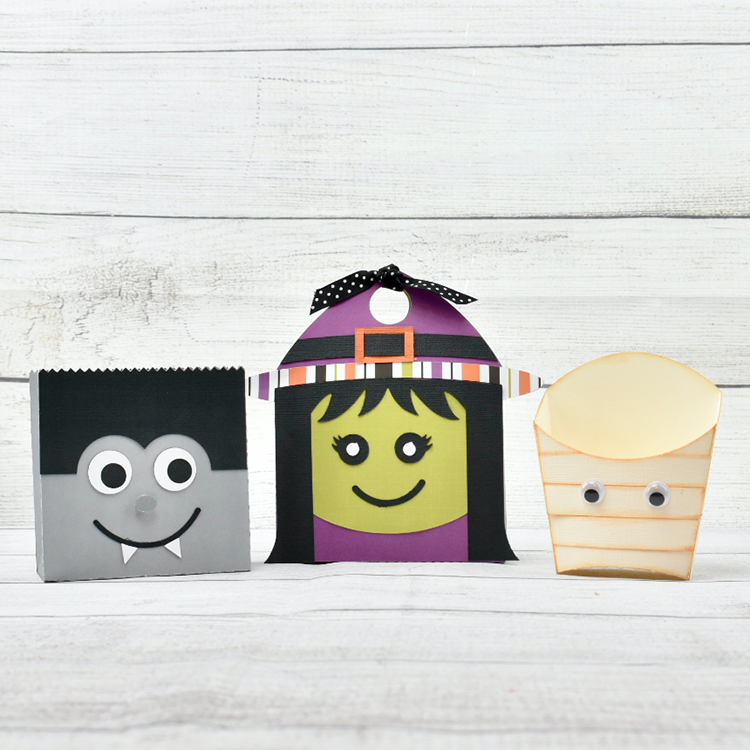
As I mentioned, Lori has so many awesome treats for Halloween gift giving.  Last year, I made several different Halloween treat boxes for my friends at work. I wanted something a little different for each of them, so I picked out several different files from Lori’s shop.  For the treat boxes below, I used the Vampire Gift Bag (SVGSilhouette), Halloween Witch Tote Bag (SVGSilhouette), and the Mummy Halloween Treat Box (SVGSilhouette).

There are just a few of the Halloween treat boxes available in the shop.  Be sure to check out Lori’s selection of treat boxes for all your holiday needs.

Until next time,

Michelle, aka the Bookish Designer


Spooky Eats Menu Cards

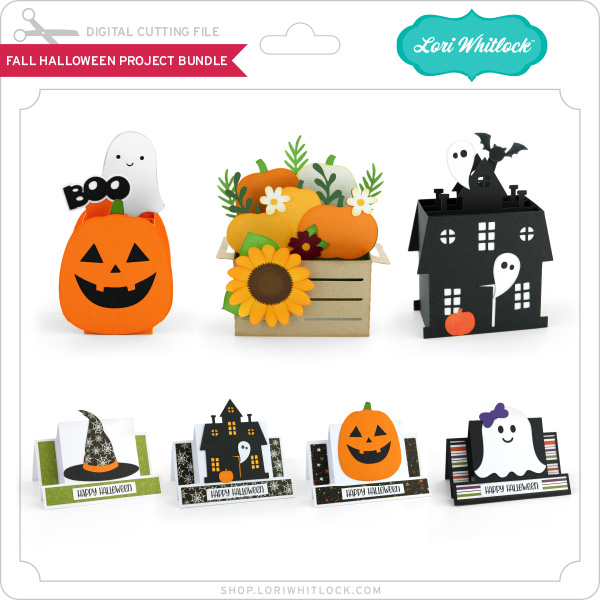
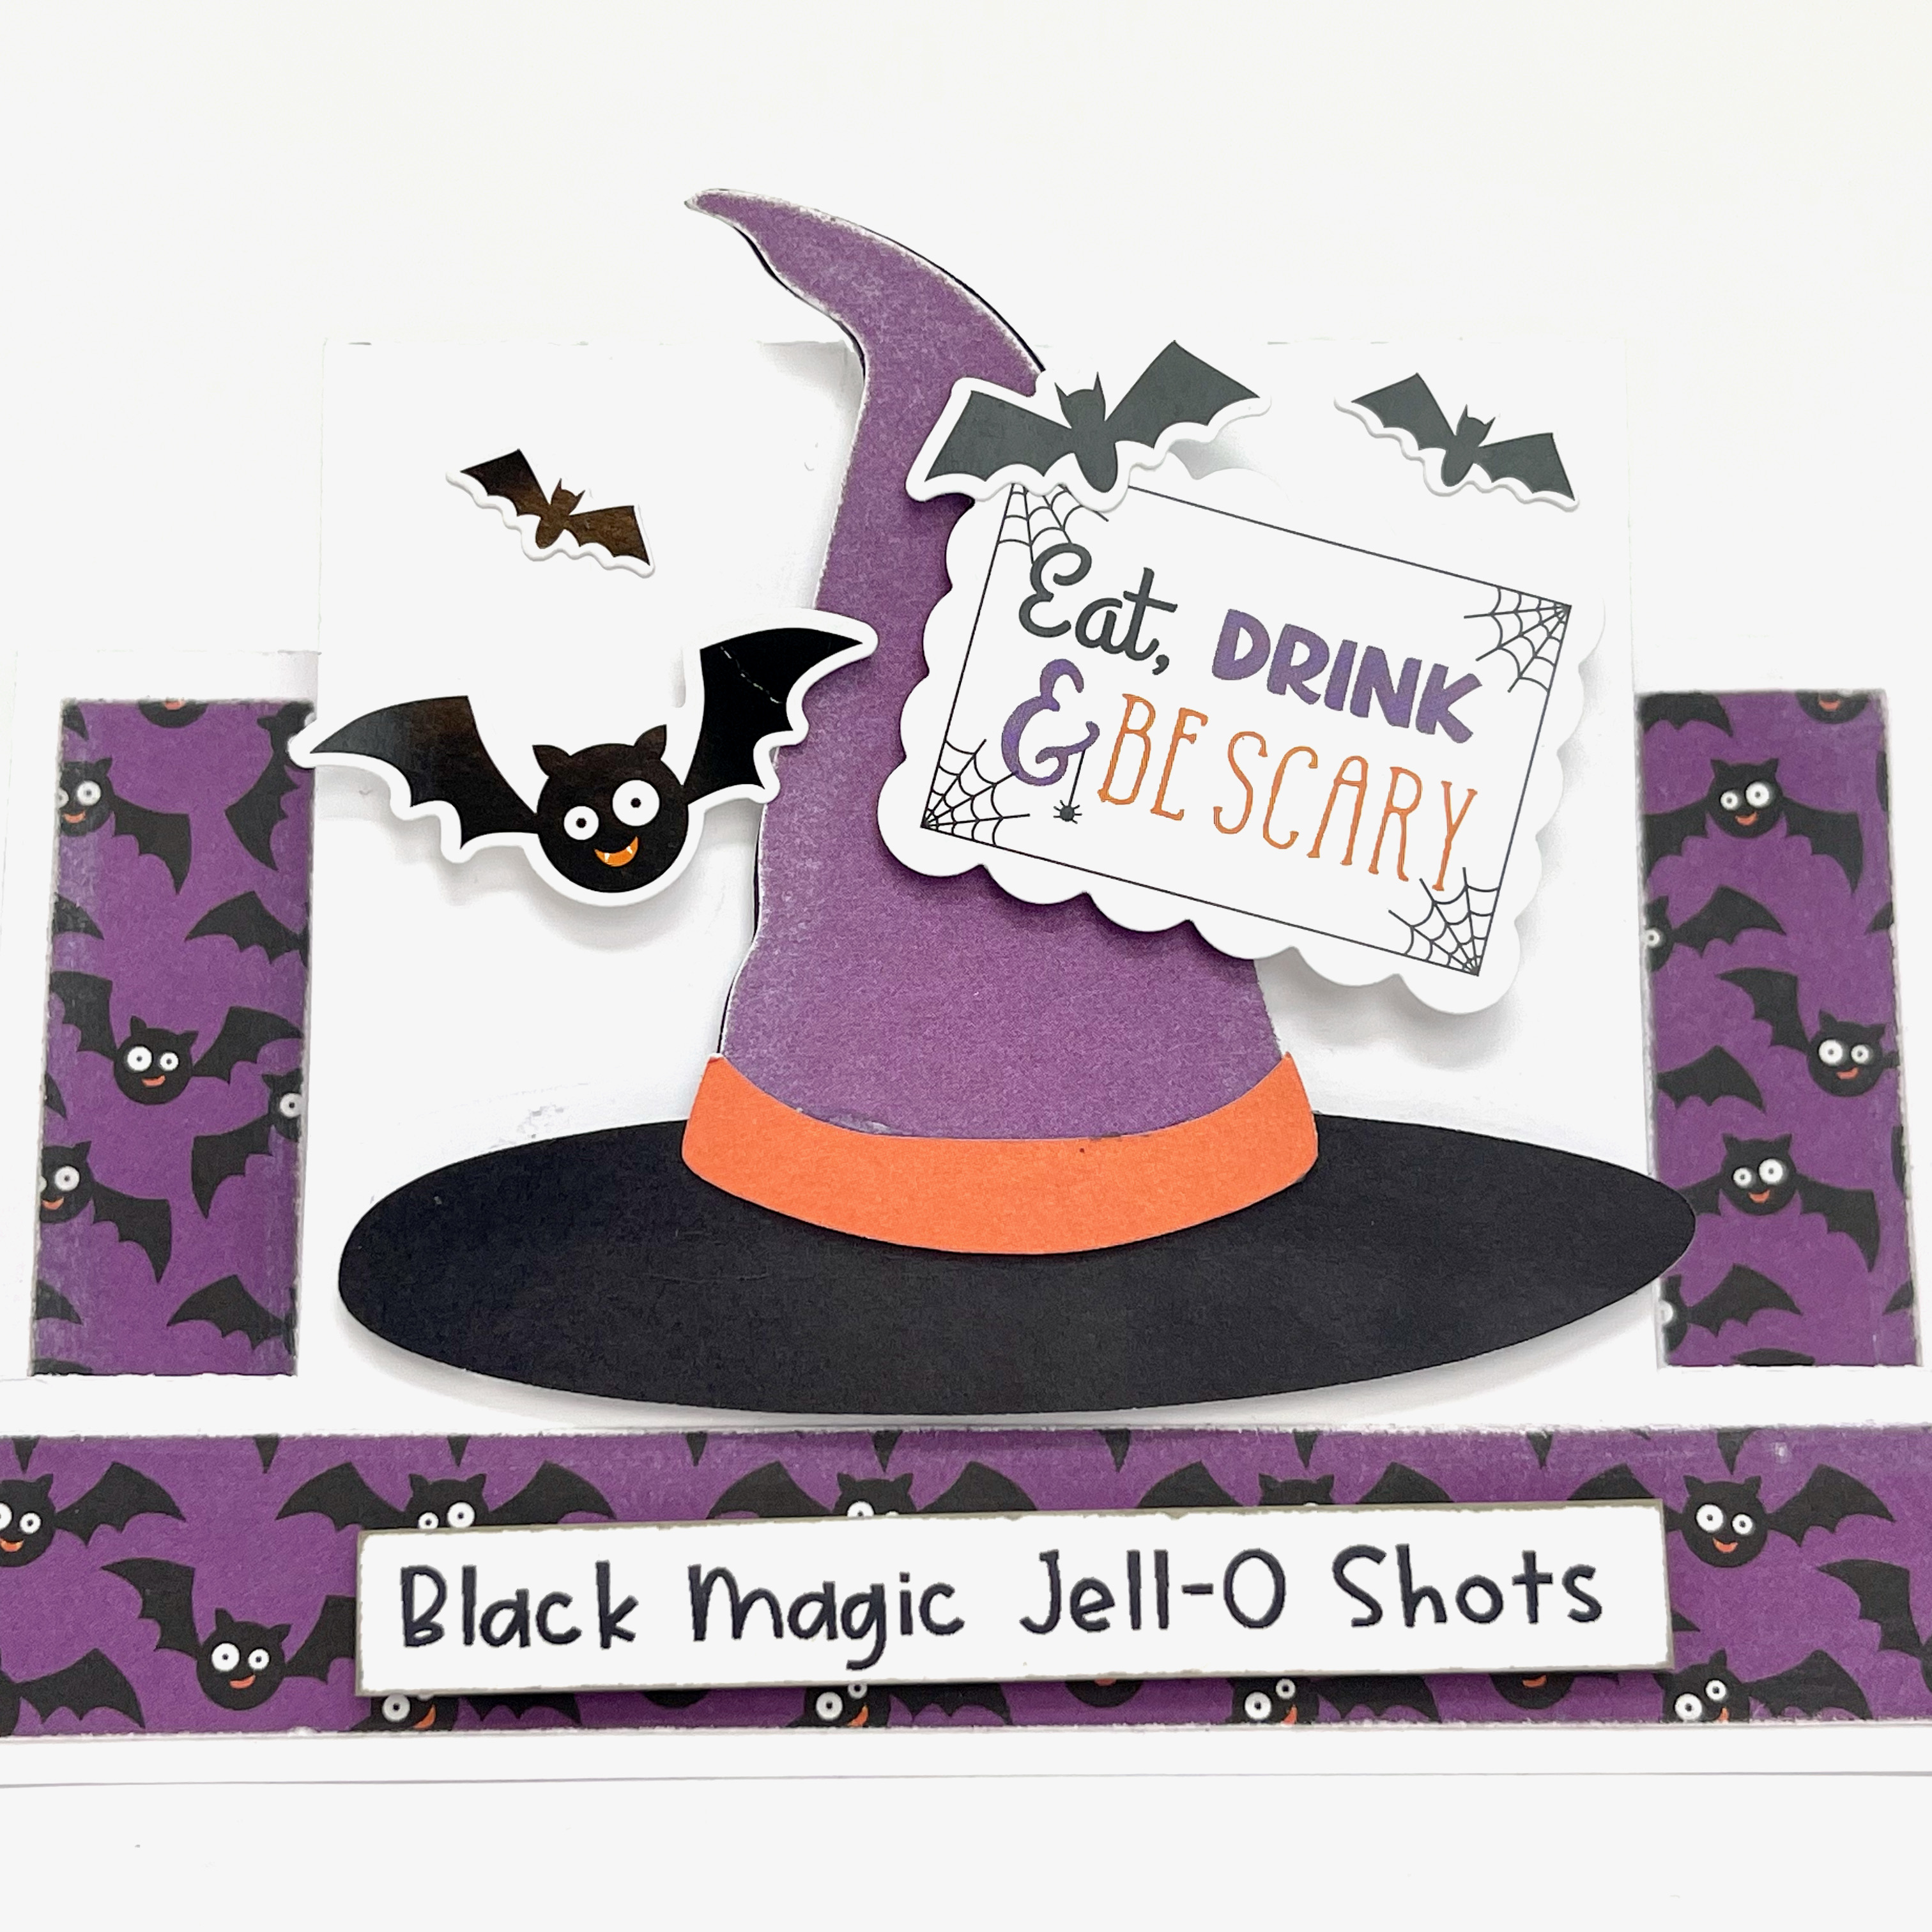
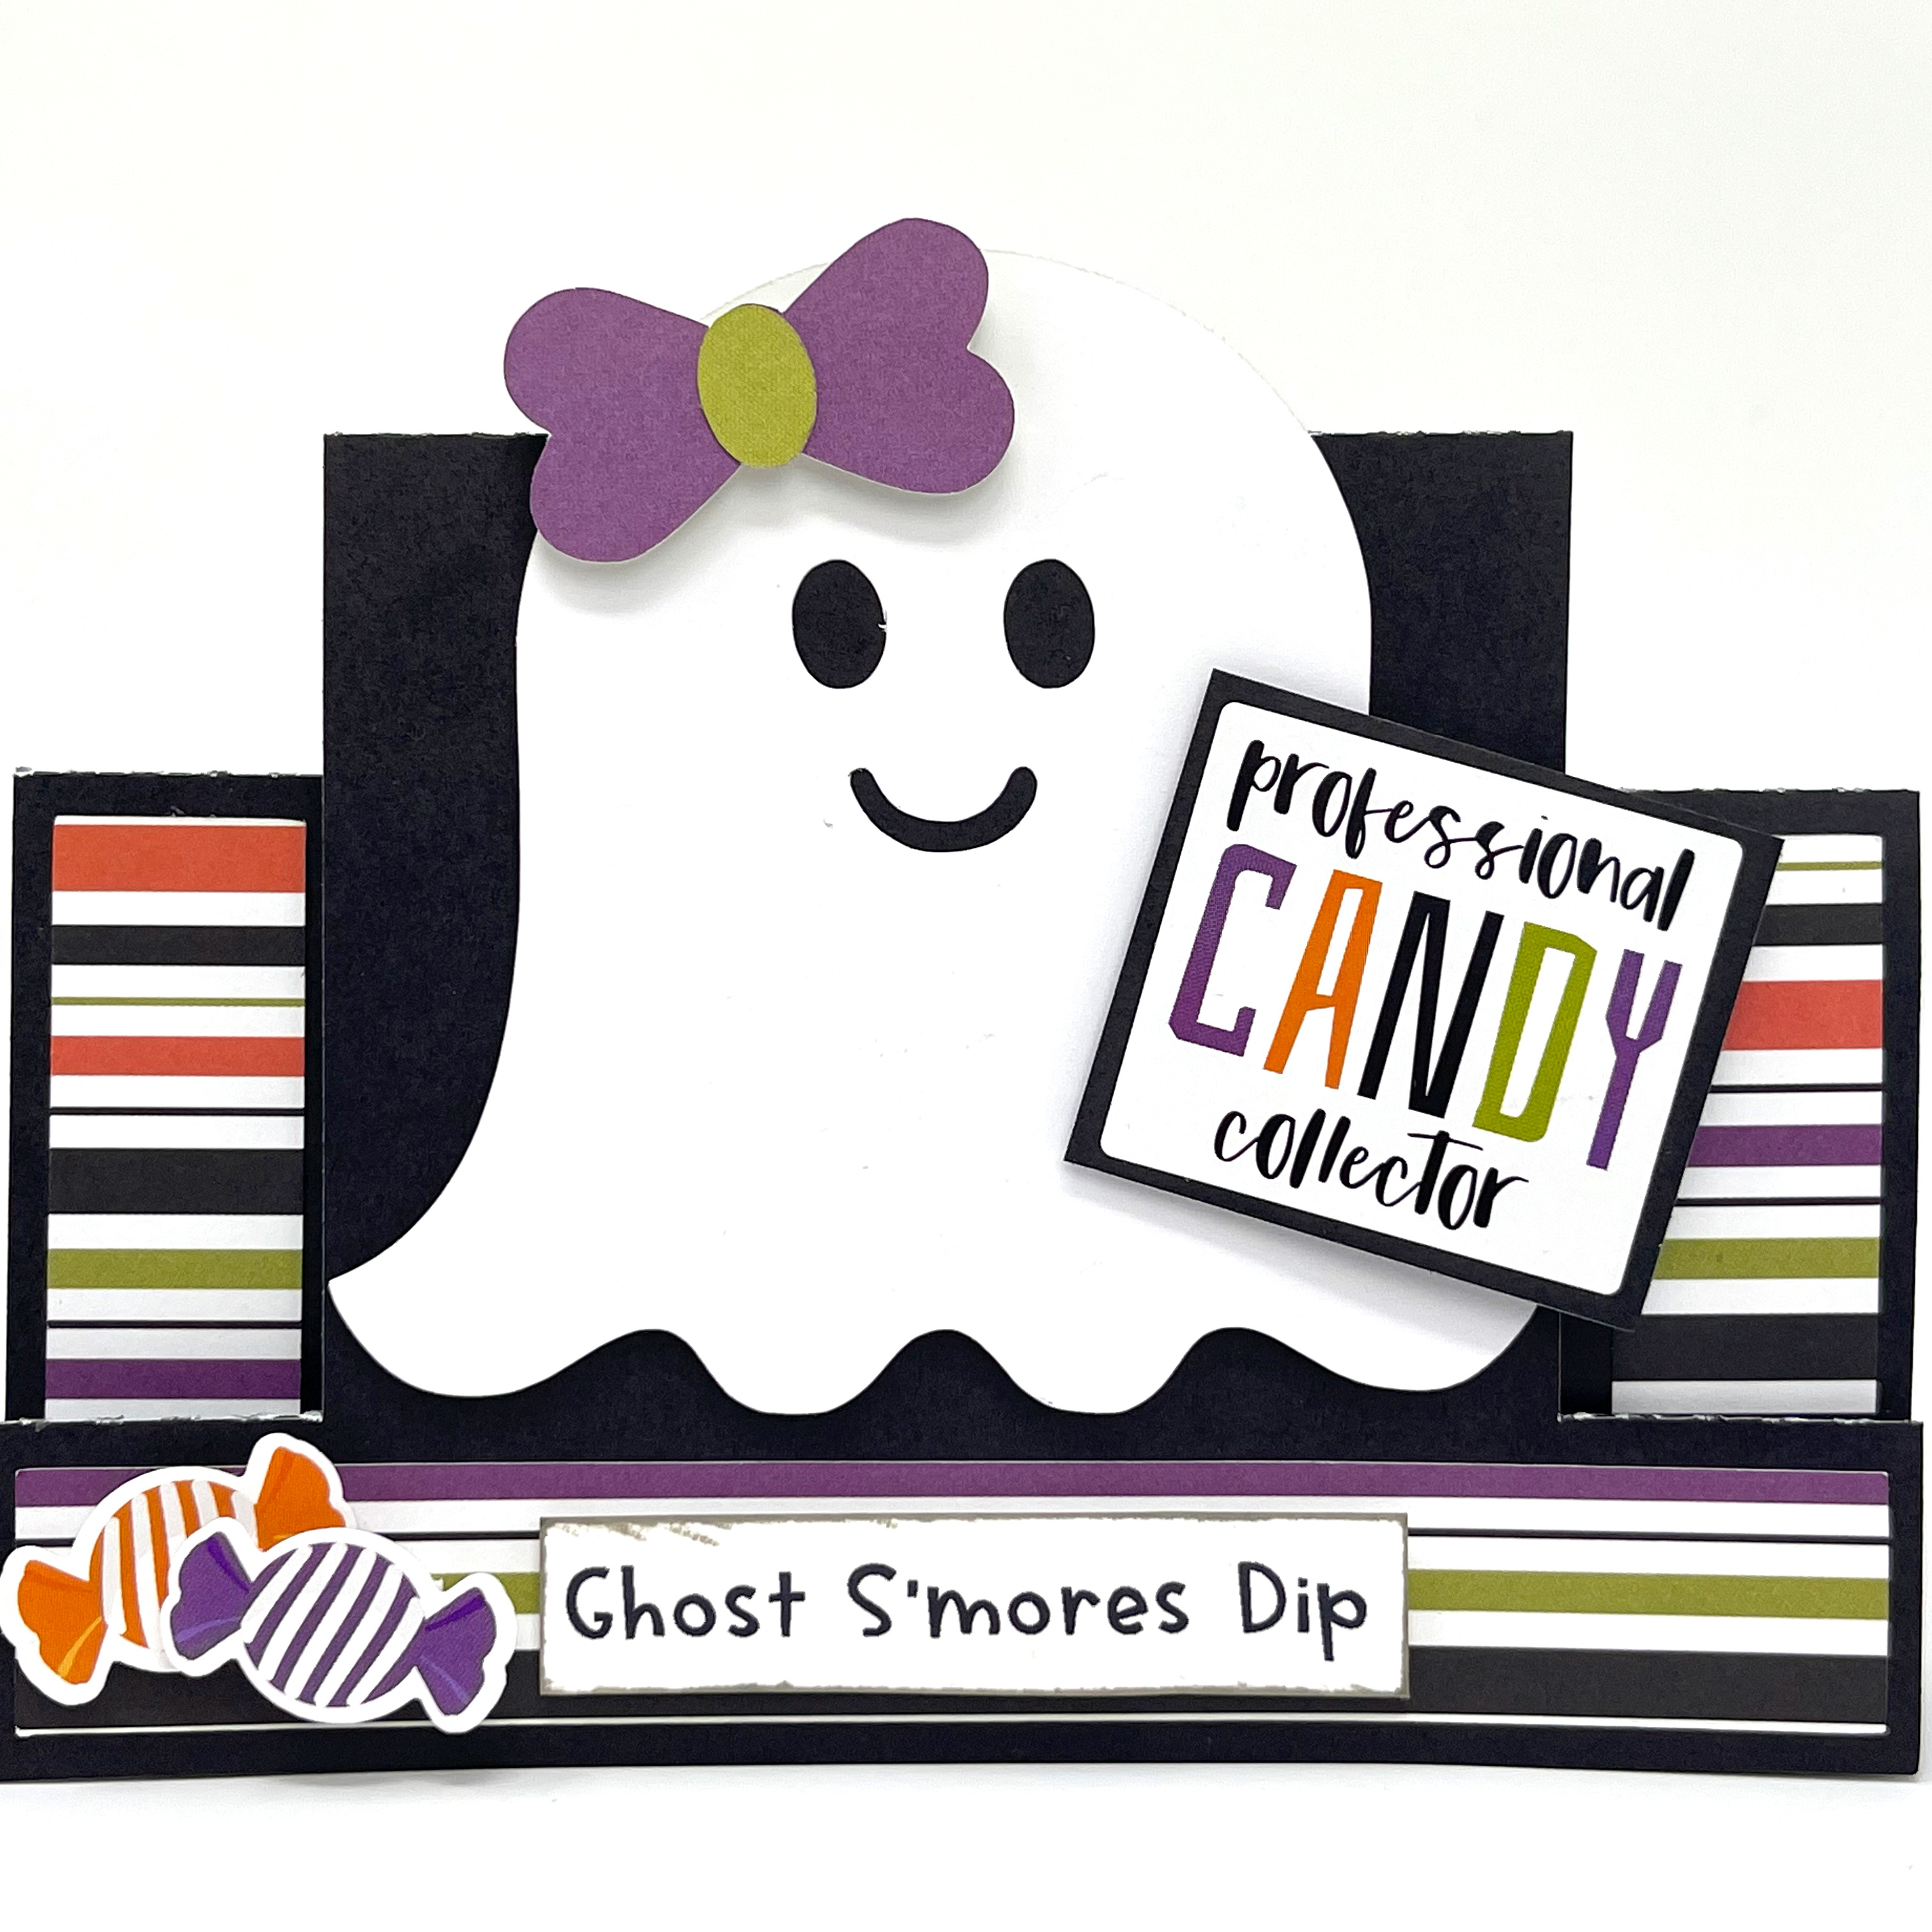
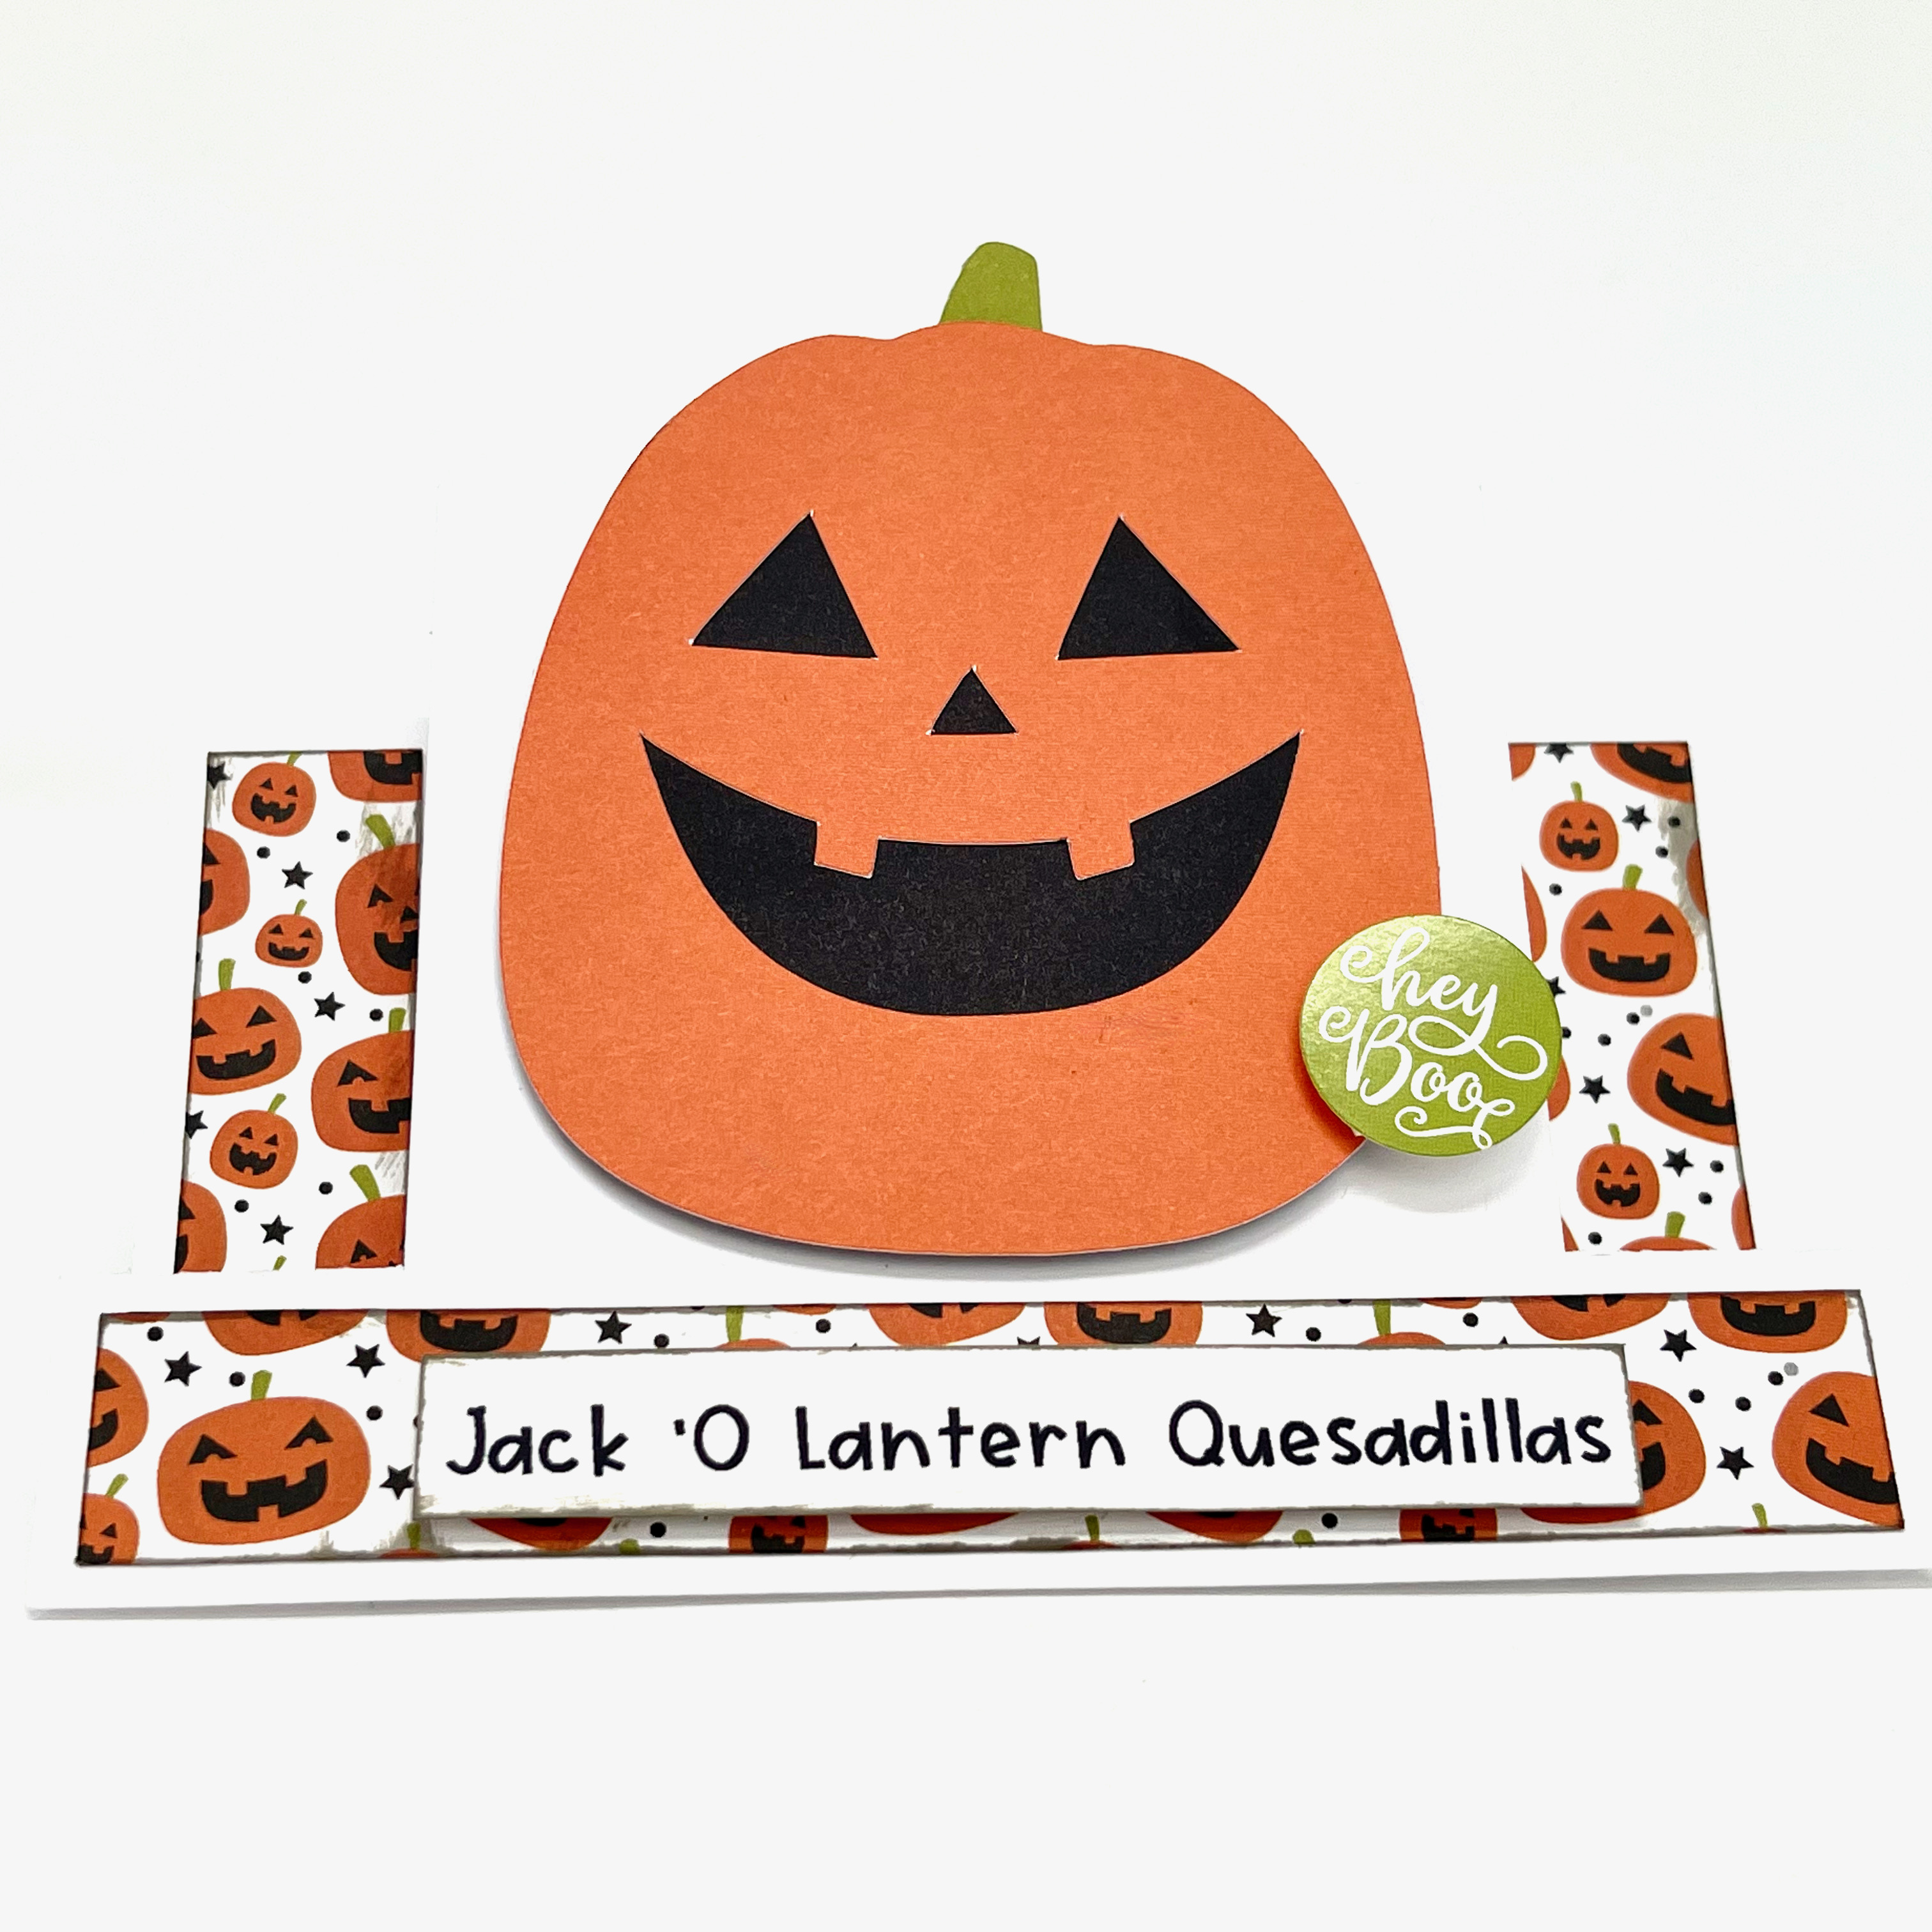
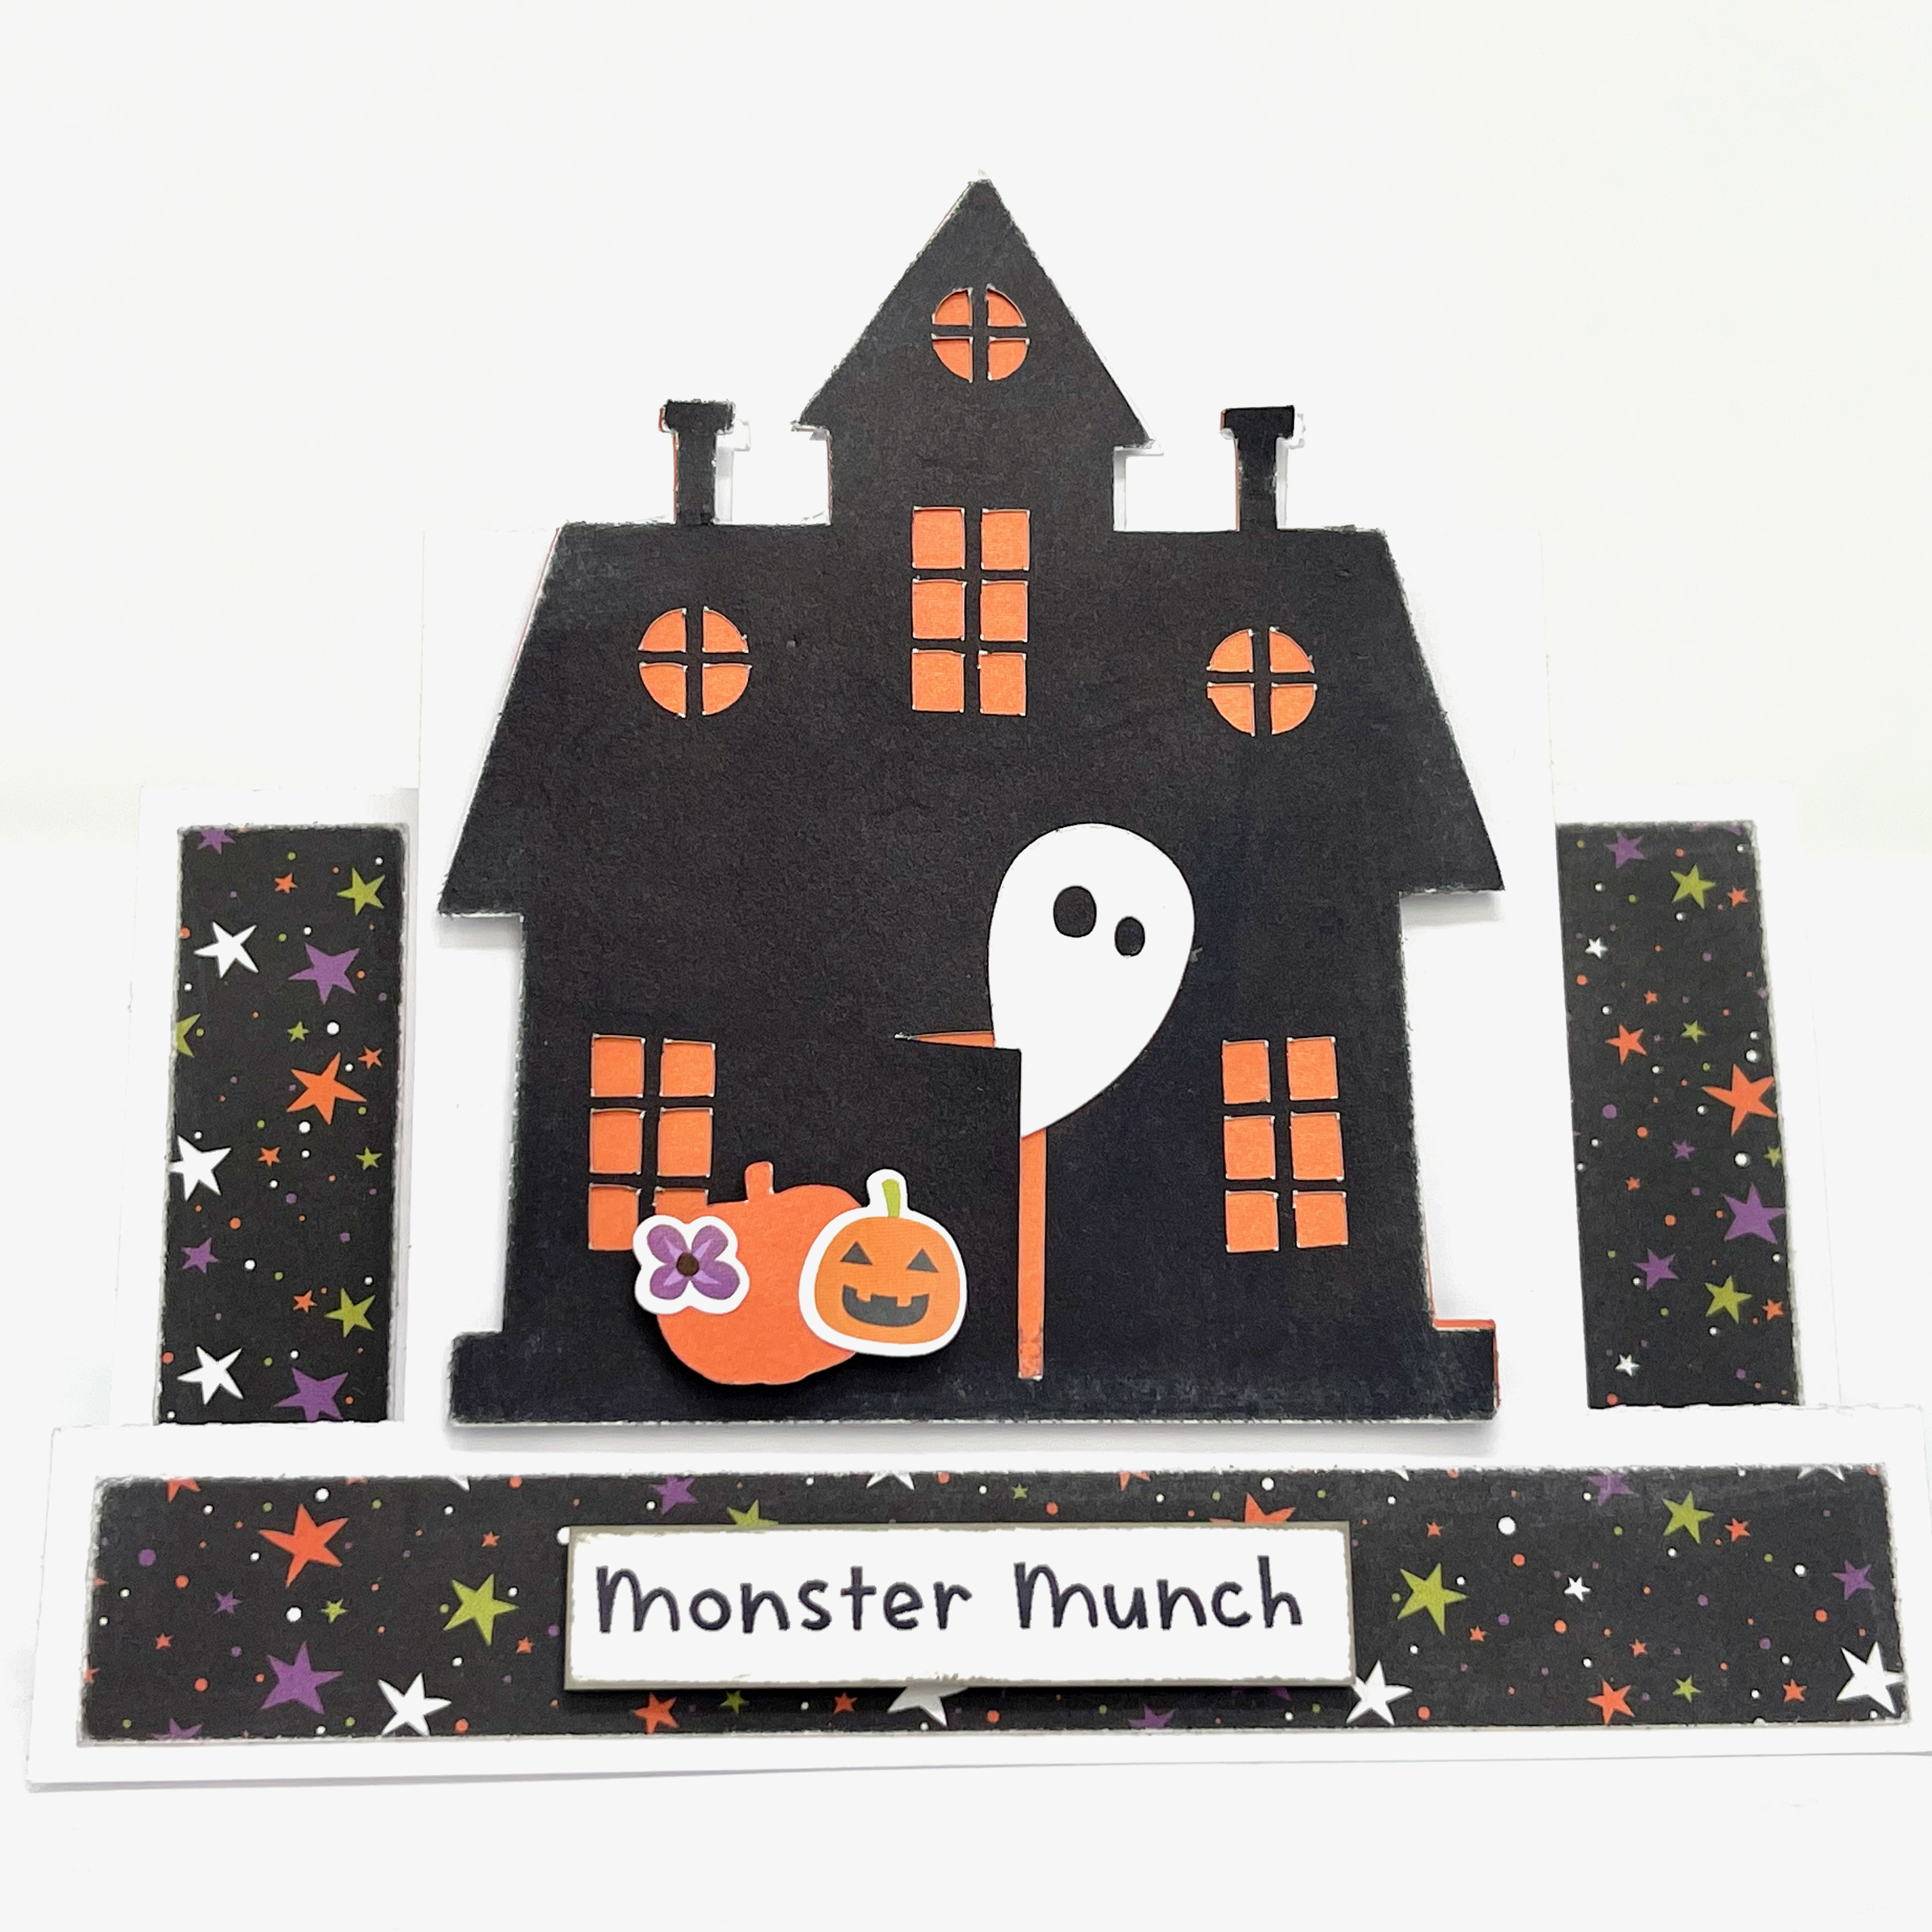
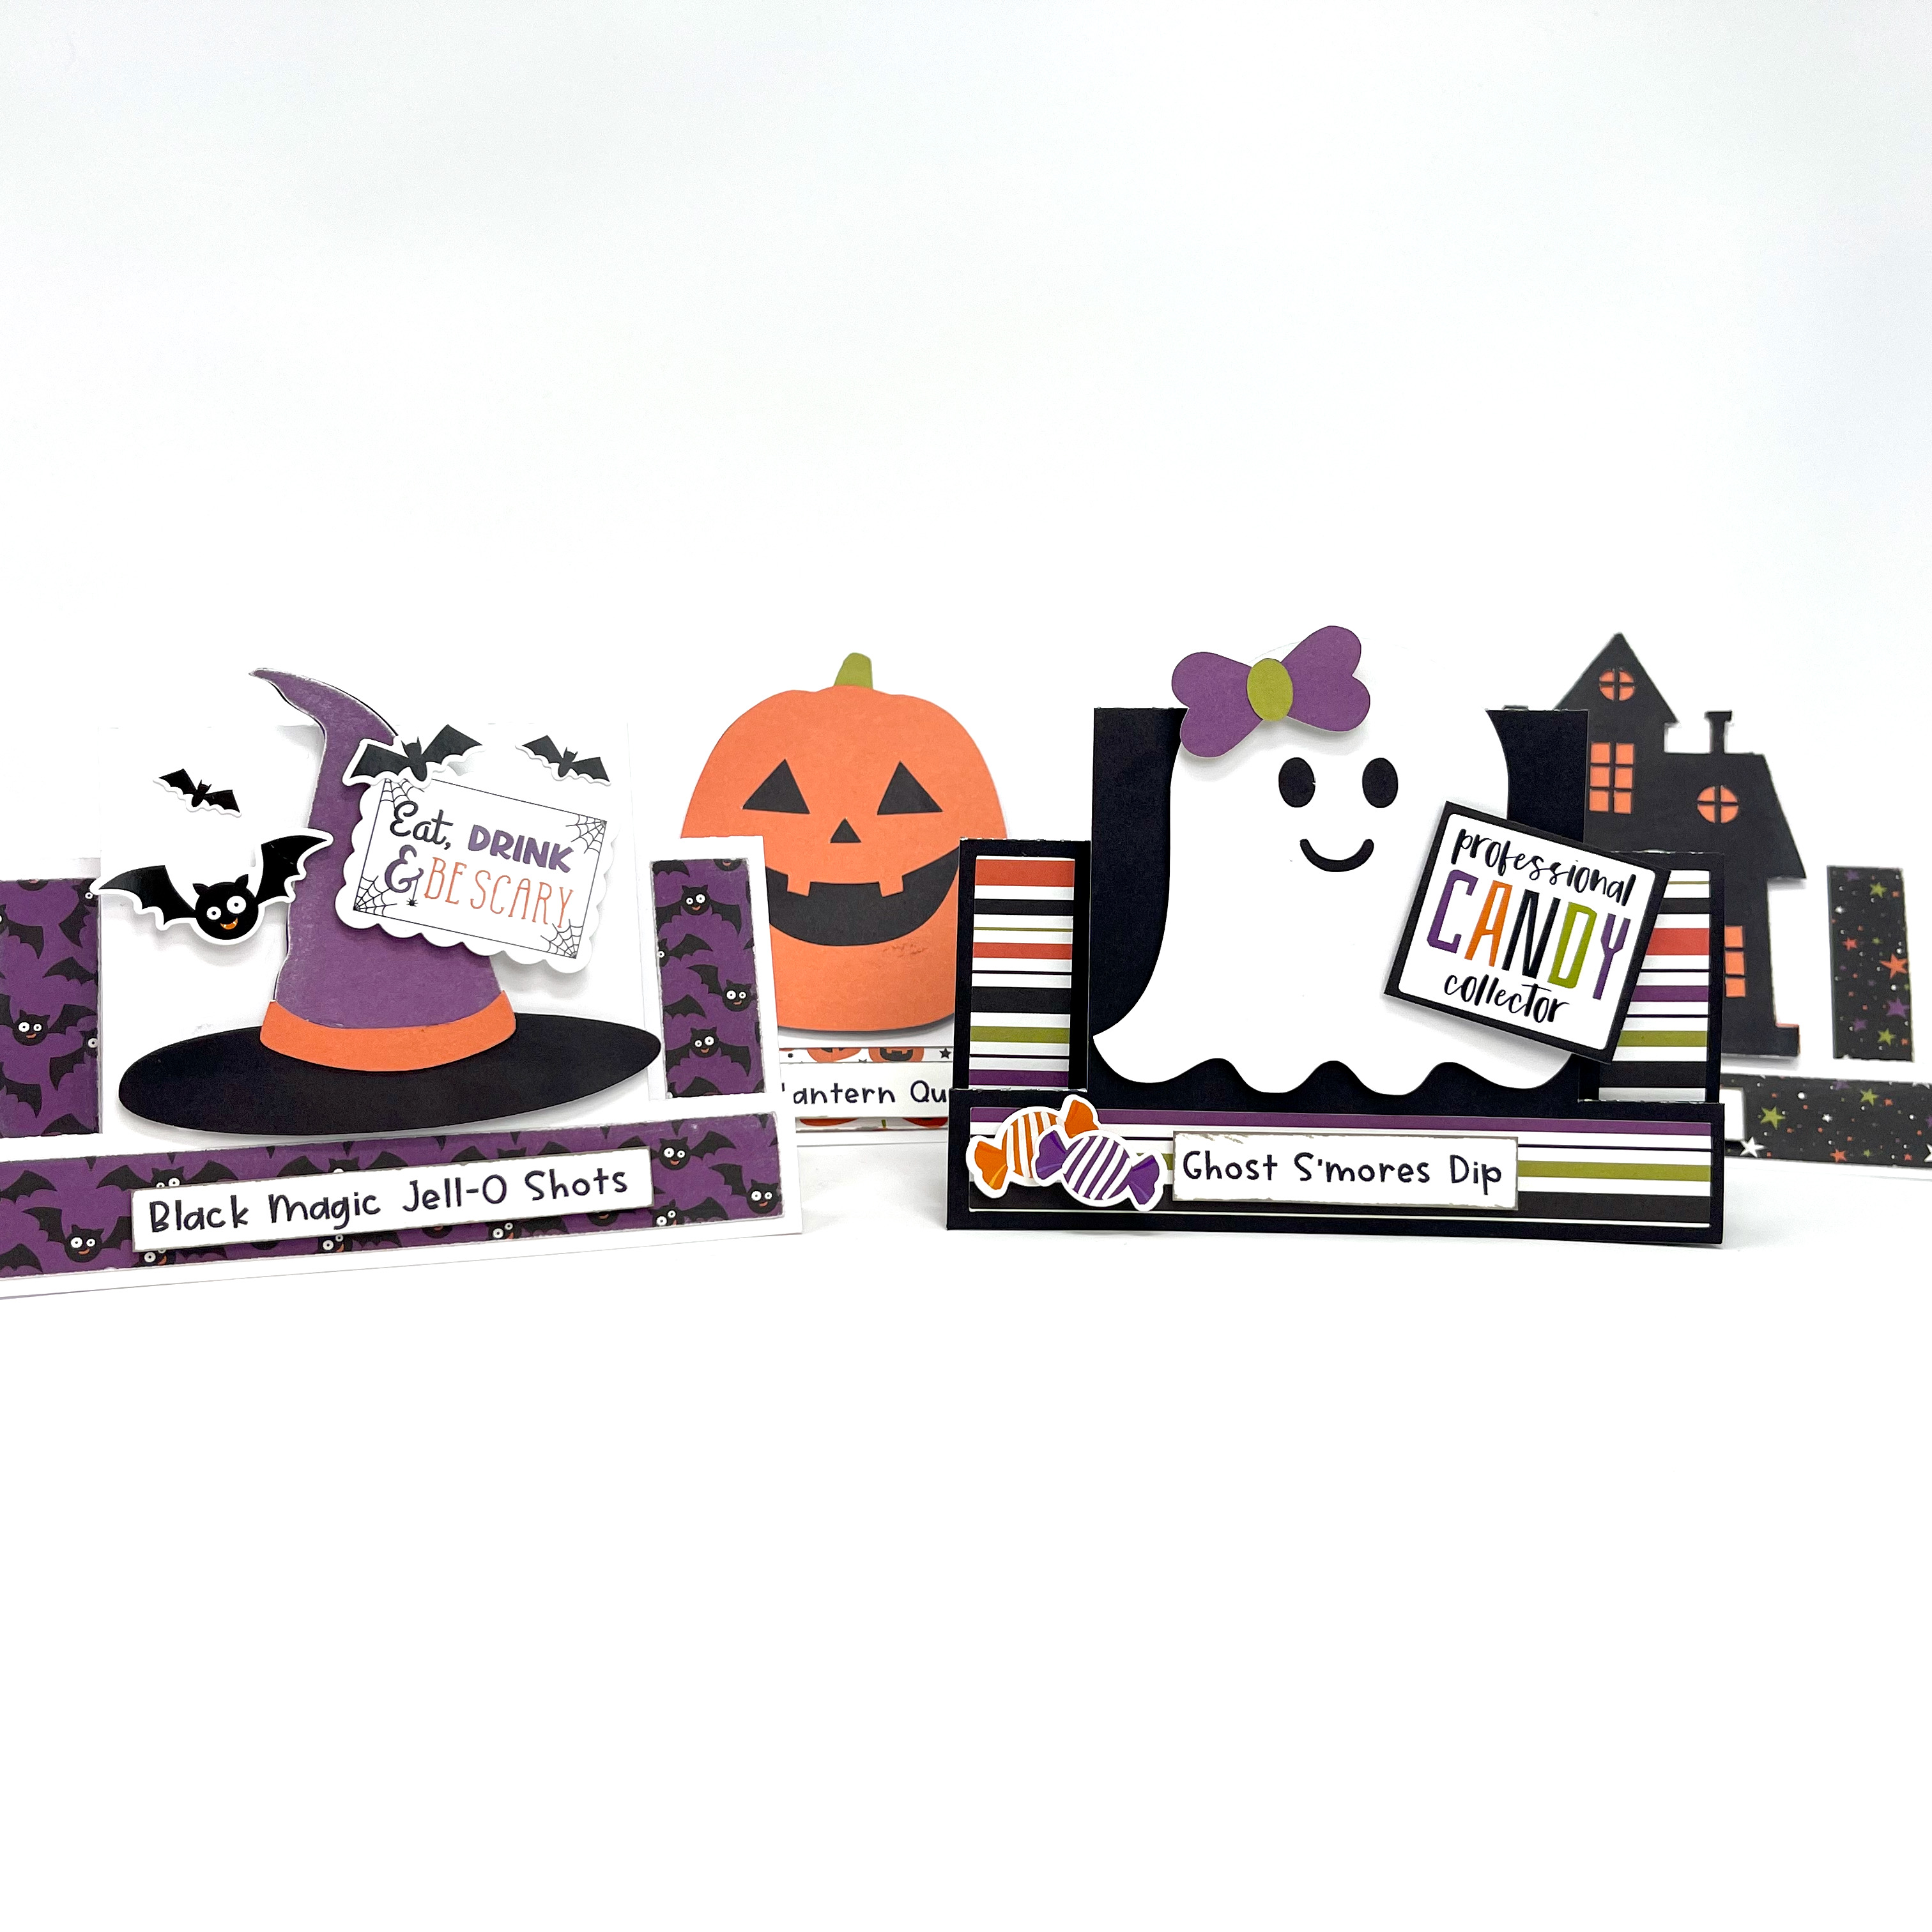
Hi there paper crafting friends!  It’s Michelle Starcher, aka the Bookish Designer, popping in on the blog to share the menu cards I made using Lori’s I love Halloween collection by Echo Park Paper CoLori has a wide selection of cards available in her shop.  This week, I used the Halloween Center Step cards to make menu cards for an upcoming Halloween Party. I used all four of the center step cards available in the Fall Halloween Project Bundle (SVG).  You can find the four cards individually in the Silhouette Design Store (Witch’s Hat, Haunted House, Jack ‘O Lantern, and Ghost).

Although the center step cards are cute as cards, I just knew they would make perfect menu cards to let guests know what they were eating.  I cut and assembled the files, but I didn’t use the sentiments.  Instead, I printed the names of my dishes into white cardstock and trimmed them with my paper trimmer.  I used a 24 point font (Cake Batter), which was the perfect size for the menu cards.  I inked the edges for a little extra texture.

If you’ve read any of my other posts, you know I am a big fan of foam tape.  I used foam tape to adhere the focal shape to the cards and embellished the cards using stickers from the I Love Halloween collection.  In addition, I used foam tape to adhere the menu labels to the cards.

If you are looking for super cute menu cards for all your holiday parties, I suggest you check out Lori’s collection of center step cards.  They make great cards and adorable labels for all your menu items.

Until next time,

Michelle
//z-na.amazon-adsystem.com/widgets/onejs?MarketPlace=US&adInstanceId=7998607c-41e0-46a5-9a17-c3447412360f&storeId=loriwhit03-20