Flower Mason Jar

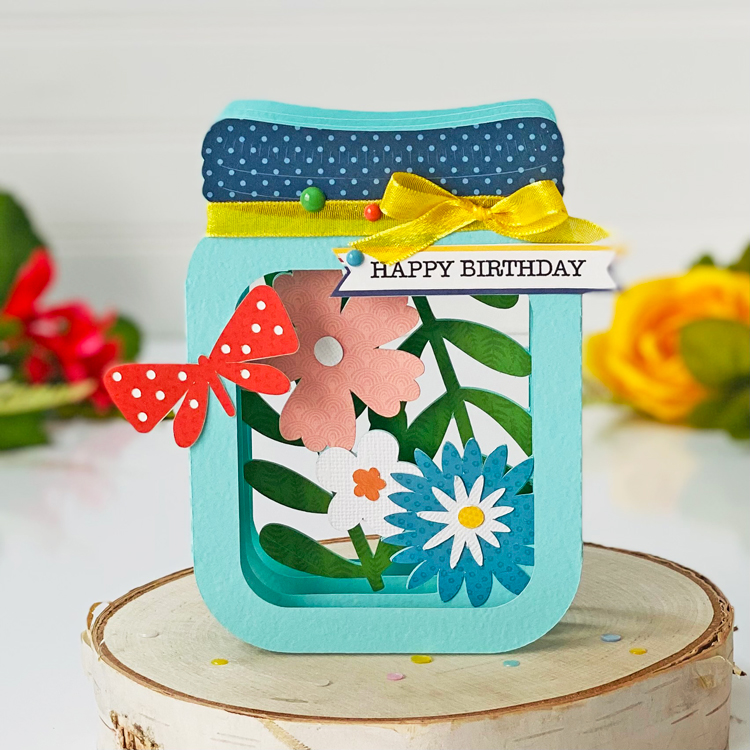
Hello crafty friends! Aimee here today with a tutorial on a beautiful new SVG file called Box Card Flower Filled Mason Jar (SVG, Silhouette). This box card is really stunning and is a bigger card that measures a tad over 7″ tall and 4″ wide. So, whoever you give this card to, they will most definitely want to put this on display! And like I said, I am here with a tutorial to help you assemble this little beauty!

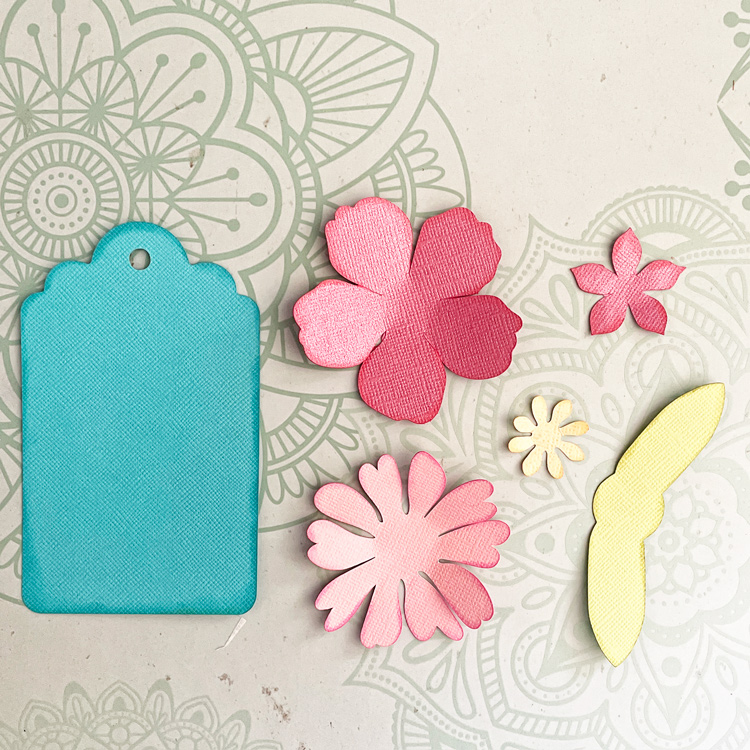
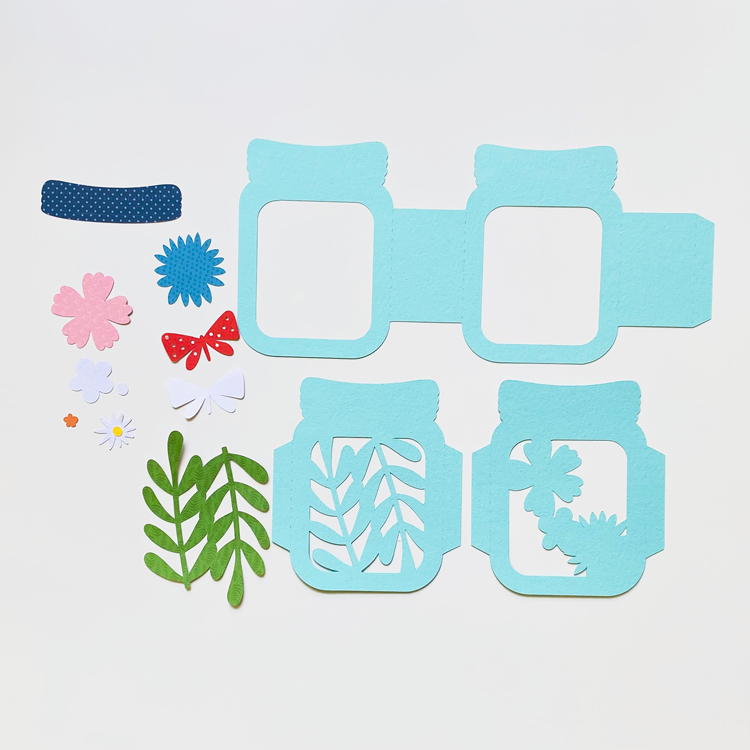
To start off, you will want to pull your papers together and cut out the pieces. For the base of the card, I used an aqua blue cardstock. The flowers, vine, and butterfly are from the Endless Summer collection and the lid is from the Birthday Boy collection, both from Echo Park Paper.

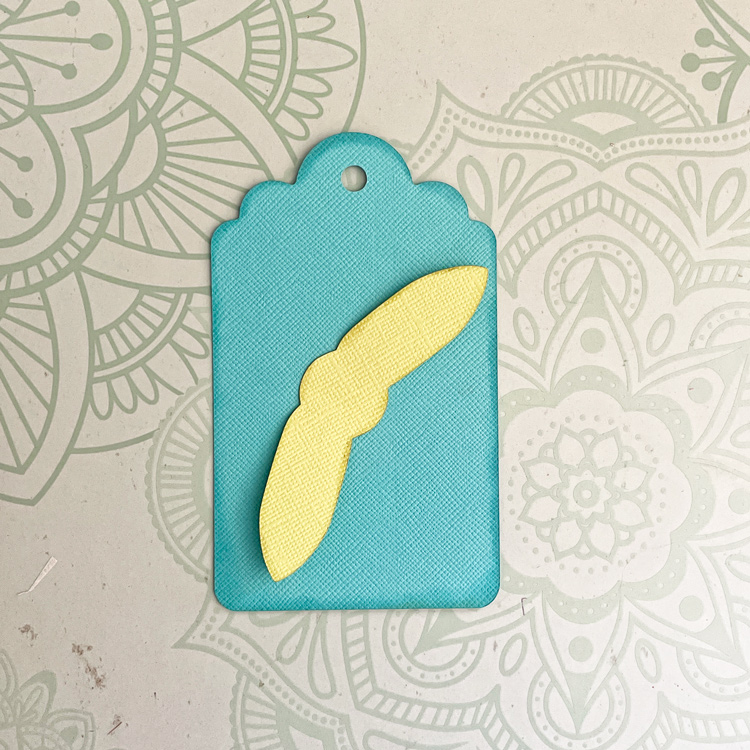
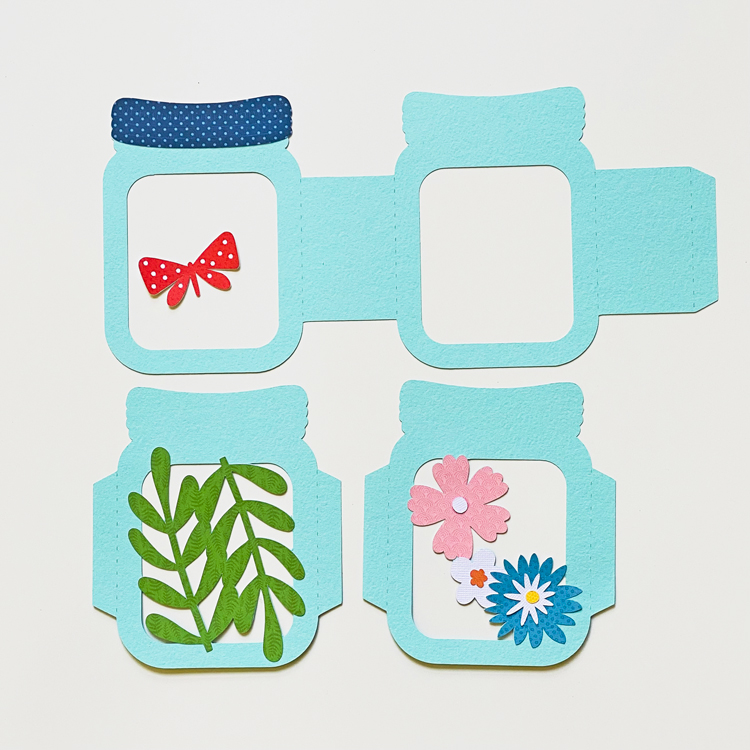
Next you will want to adhere all of the flowers, vines, and lid to the base pieces. Set the butterfly aside until the box card is completely assembled.

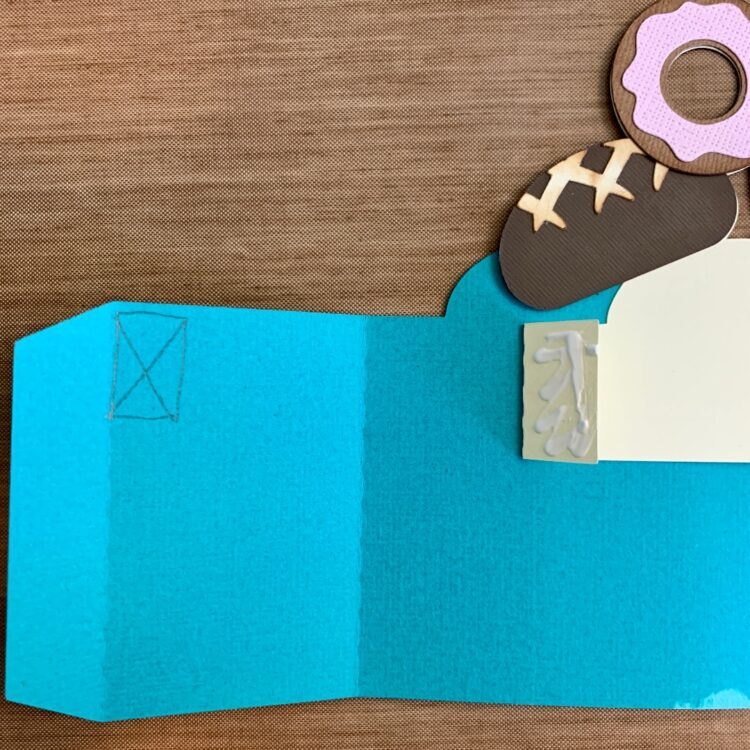
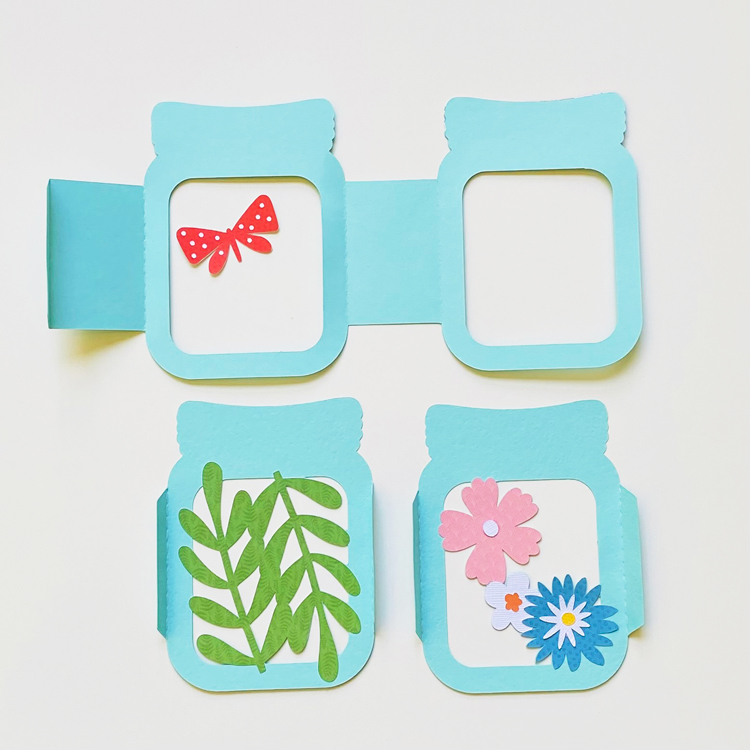
Next step is to take a bone folder and run it along the perforated lines. The 2 middle jar layers should have the flaps folded upwards.

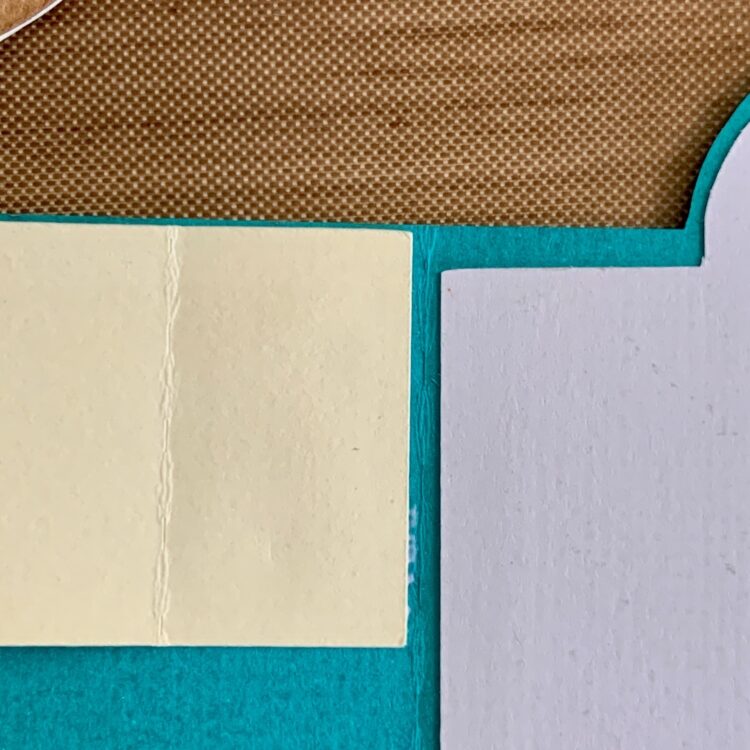
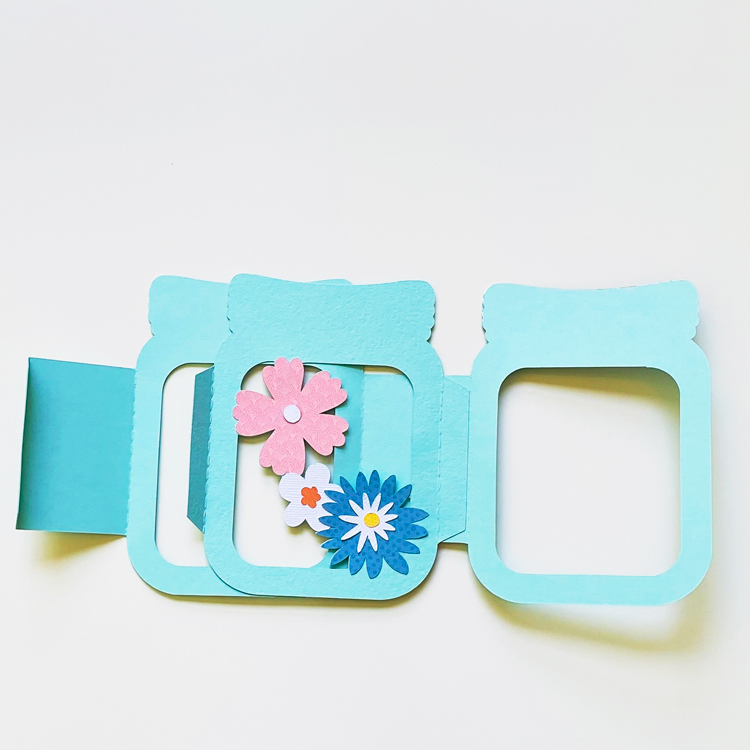
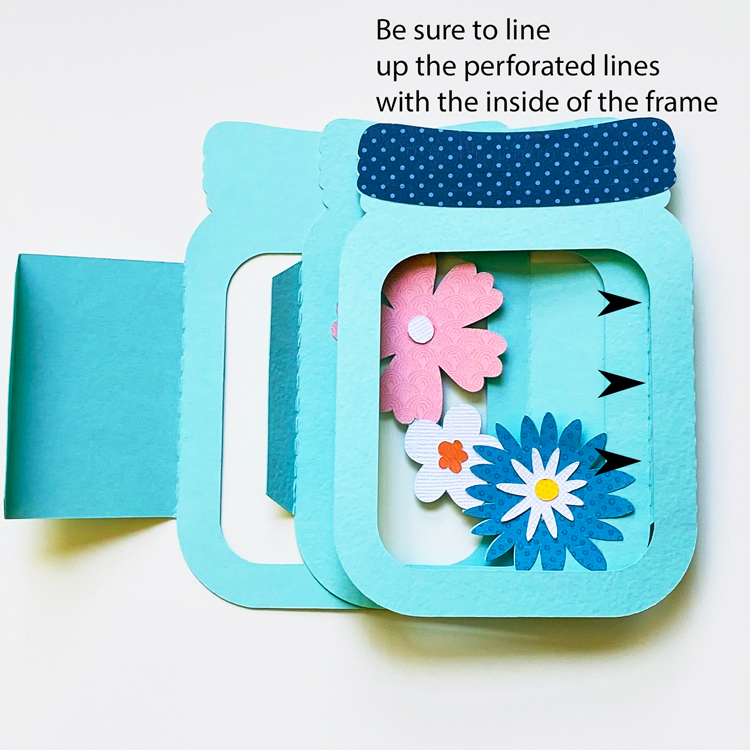
Now comes the assembly part. Flip the card base over so that the front cover (with the lid) is on the right side. Now you will want to adhere the right flap of the flower layer to the base of the card making sure to line up the tab with the perforated line of the main card base.

To check that you have lined up the tab of the flower layer, flip the front of the card base back to see that it is indeed lined up. See picture below.

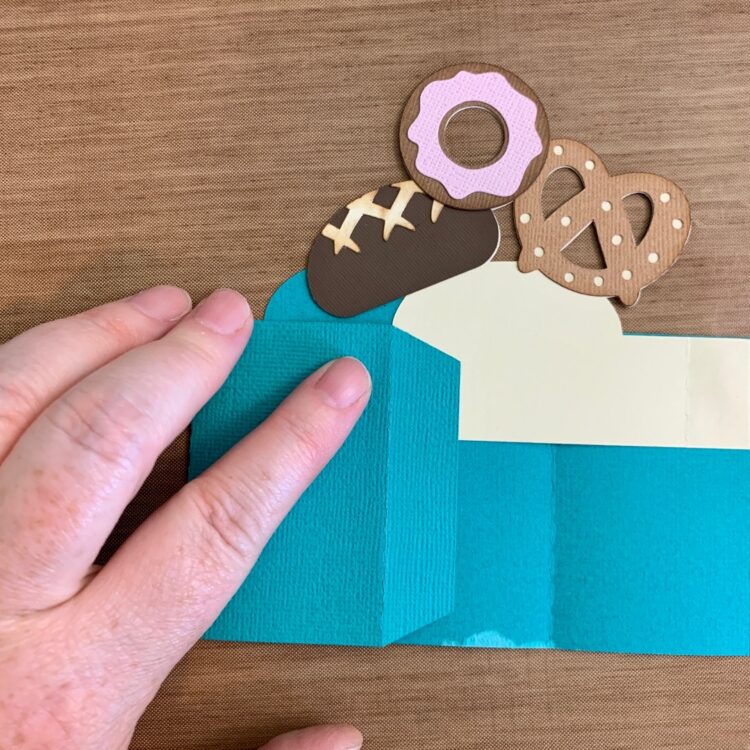
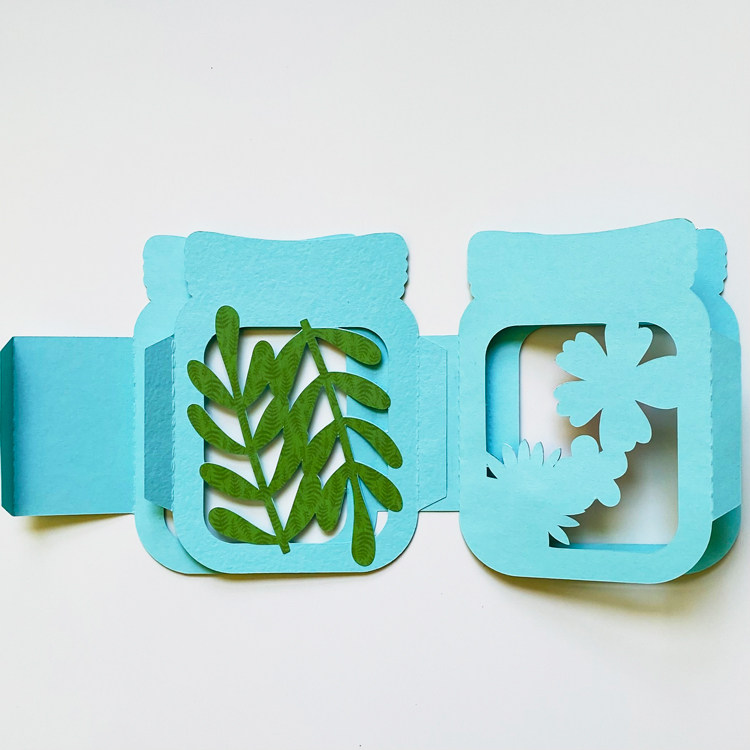
Next you will adhere the vine layer to the base card making sure to line it up with both the base card and the flower layer.

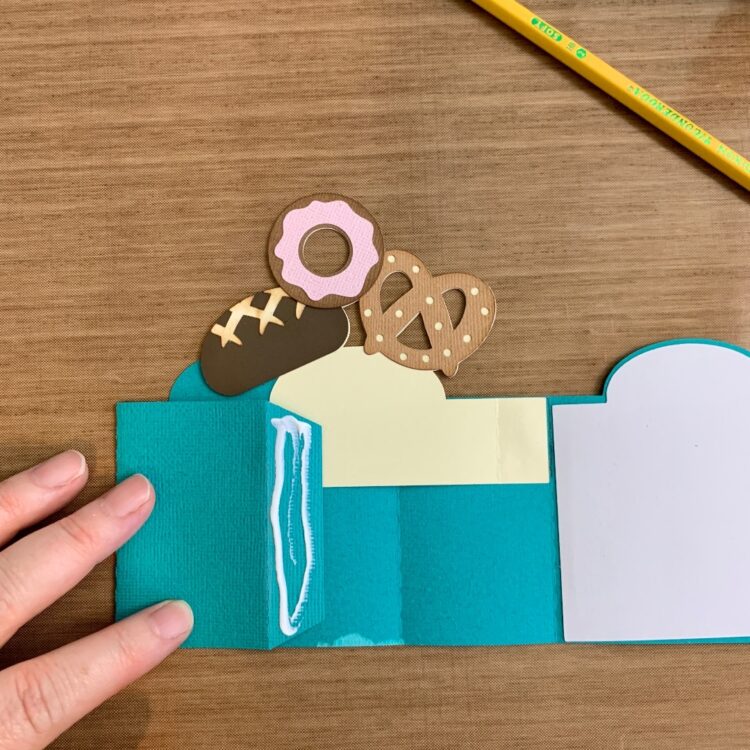
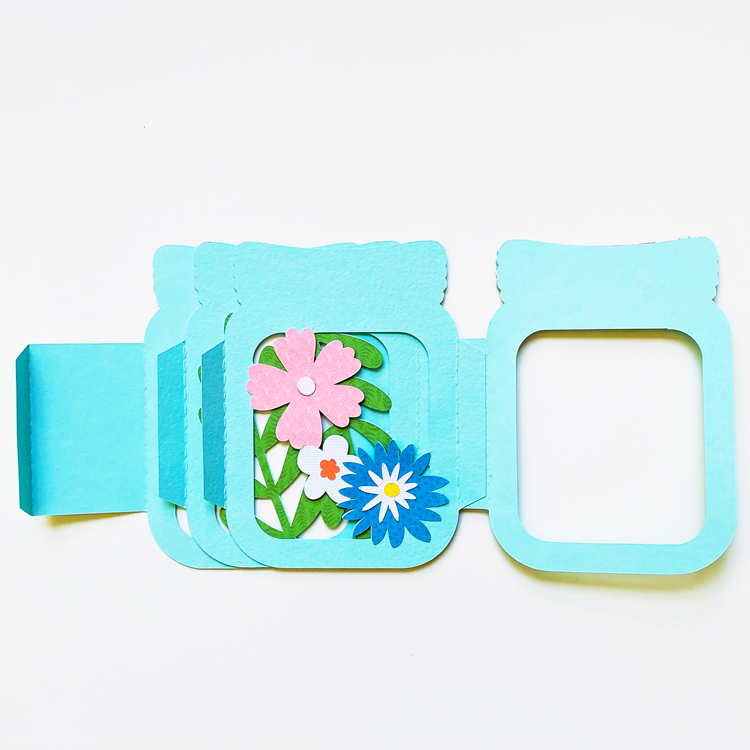
And the last step is to apply glue to the 3 tabs on the left side of the pieces and adhere the box card together.

Now that the main pieces are adhered together, you can adhere the butterfly to the front and then add some embellishments! For the birthday sentiment, I took this Happy Birthday piece from the Box Card Envelope Birthday Cake Girl (Lori’s SVG, Silhouette). I can’t tell you how much I love this card! I will have to make myself one because it will be difficult to give it away.

That’s all from me today…hope you enjoy all of these fun new box card files!

Aimee

Layered Heat Transfer Vinyl Tutorial

Anita here with a fun and easy tutorial on how to apply layered heat transfer vinyl to your projects.  My daughter got engaged recently and I wanted to make her a fun t shirt to wear.  I used Lori’s SVG including Hand Lettered Bride and Groom (SVG, Silhouette) and Wedding Rings Card (SVG, Silhouette).  I prewashed the shirt first and gave it a good press.

Here are the pieces that I cut out of Vinyl.

Here are the pieces laid out on the t shirt for placement.

I removed all the pieces from the t shirt except for the gold ring.  I lightly pressed that down at 315 degrees for 30 seconds.  You have to work from the bottom most design piece and build your way up.  I have a Cricut Easy Press and if you don’t have one you can use a regular iron.  The wool, silk and polyester settings on a standard iron are at around 300 degrees so if using a regular iron I would just increase the time a little bit.

Once the item was cool to the touch, I peeled off the protective plastic over the design.  Next, I put on the white layer which is the background for the stone.  I  pressed that down at 315 degrees for 30 seconds.  I  removed the plastic layer from that piece once it was cool to the touch.

Lastly, I applied the top of the diamond stone and adhered that in the same manner.  Once it had cooled to the touch I removed the plastic topping from the stone.

Next, I laid out the bride word and the decorative swirl.  I like to put it where I think I want it to be and lightly press one edge to make sure that it did not move when I adhered the last two pieces.  I pressed the bride and swirl for 30 seconds at 315 degrees and there was some overlap with the ring and it did not cause any issues.  After waiting for it to cool, I peeled the last two plastic protective layers off, flipped the shirt over and pressed the back for 15 seconds.

I find that these t shirts are best cleaned and dried inside out and that they design holds up well.

And don’t forget, that there’s a sale in the Lori Whitlock SVG shop through Saturday.  Get 30% off all SVGs, Fonts, Pattern Fills and Commercial Licenses when you use code JUL2022 at checkout.

That’s it for me today.  Have a great day.

Hugs,

Anita

Pop Up Cards 101

I love a good pop up card.  Looks like a regular card on the outside, then open it up and you get a fun surprise.  We get a lot of questions on how to assemble these cards, so I thought I’d put together a quick tutorial showing how easy they are to make!  For my sample, I put together the Pop Up Card Birthday Present Hat (SVG, Silhouette).  Take a peek…

That little hat is just so cute!  Here are the basic steps for putting together this card, and pop up cards in general…  First I cut the pieces of the file.  I used Echo Park Paper’s new All About a Girl Collection to make this card.

I pieced together the present and the hat.  I used pop dots for the 2nd bow layer and the hat’s pom pom.

Next, I folded the insert with the pop up mechanism.  Below are 3 different views of how it is folded.  For this card, and all pop up cards in general, there’s a bump-out section that you want to fold so it sticks out into the center of the open card.  The last photo shows how it should look when folded flat.  You want it to be inside the folded card.

Once you have the insert folded correctly, you want to glue it into the card base.  On the left, you can see that I added adhesive everywhere EXCEPT under the pop out section.  You don’t want any adhesive there, so it will stick out into the card when opened.  Starting with one side, I centered the insert in the card base, and then folded over the other side to secure.  Now when the card opens, the bump-out pops out into the center of the card.

Now you want to attach the hat to the bump-out so that it will pop up when the card opens.  I added adhesive to the only the front portion of the bump-out.  I then lined up the hat with the bottom score line on the side with the adhesive, centered it in my card, and pressed to secure.  Now when the card is opened the hat pops up.

To finish my card, I added the print and cut sentiment to the bow with some twine.  It’s all ready to send off now!

I hope this helped to show how easy pop up cards are to make!  That’s it for me today, thanks for stopping by to peek!

BLOG | INSTAGRAM

How to Change the Color of Stickers in Cricut Design Space

Hi friends! I’m stopping in today to share a quick tutorial on how to change the color of your print and cut stickers in Cricut Design Space. I used the new Summer Stickers 2 (SVG, Silhouette). These stickers are so cute, but I wanted something a little less pink.

I uploaded the stickers into Design Space and ungrouped the large group of stickers and moved out the images I wanted to use for this project. Be sure to keep the individual stickers grouped together.  Then I deleted the rest of the sticker I wasn’t using from the mat.

I then added a 5×7 rectangle and resized the stickers to fit my card.

Using the layers panel on the right side of the design mat select the individual pieces that need to be color changed. With the image selected in the layers column move to the Operations tab on the top left and select the colors drop down, pick the new color, and repeat for the rest of the pieces on the sticker. Be sure to keep the stickers grouped together.

Now that the sticker colors are changed they are ready to be flattened, sent to the printer, and cut.

I used the printed stickers and the Endless Summer collection by Echo Park Paper Co. to finish off this card.

That is it for me today. Thanks for stopping by!

Brandie

Patriotic Bird House Tutorial

Have you seen the new Patriotic Birdhouses in Lori’s SVG shop and in her Silhouette Store Gallery?


Today I’m featuring the 3D Birdhouse with Stand Patriotic File (SVG,Silhouette)  I put together a quick tutorial for you.

1. First, cut out all the pieces of the Birdhouse:

2. Next, glue all the roof layers starting with the biggest piece and stacking and adhering each smaller piece on top of it.

3. Adhere the star to the birdhouse door.

4. Fold the tabs on the body of the birdhouse, and fold to form and glue.  All tabs are folded in the same direction.

4. Glue the bird pieces together.  Black piece is the back, the light piece in the middle, and the blue piece on top with the wing.

5. Fold the base pieces and glue the tabs together.  These form a little box that will hold the post.

6. Fold and adhere the post.

7. Use glue or glue dot to attach the bird to the front of the birdhouse.  Stick the post into the base and glue. And stick the birdhouse onto the post and glue.

It is such a fun birdhouse to add to your décor for the summer!

Have a great day!

Ashley