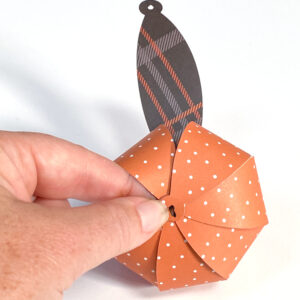
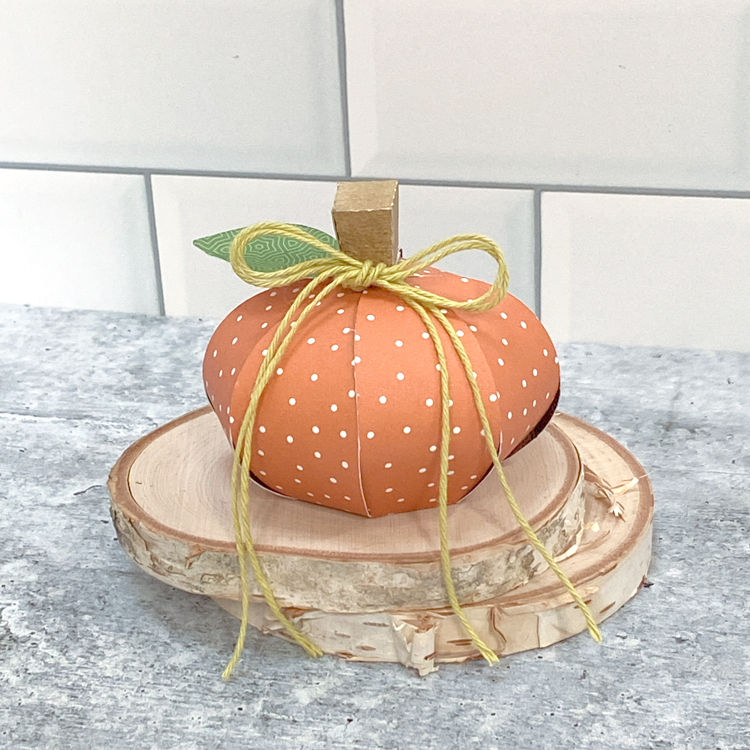
I wish I could say fall is in the air… not quite yet in New England… so I’m making my own “fall” today! This adorable 3D Pumpkin (SVG, Silhouette) was the perfect little project to make me feel more autumn-like! It’s such a cute little decoration, you could fill it with a treat or use it as part of your seasonal tiered tray décor! Take a peek…
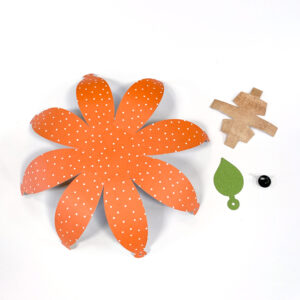
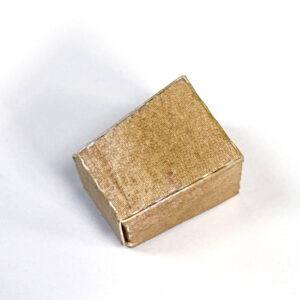
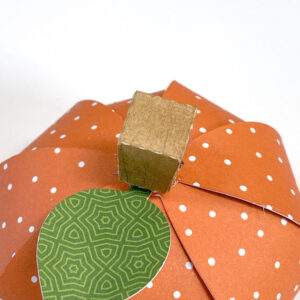
I put together a quick assembly tutorial for this file… it’s really pretty simple…. I started by cutting my pieces. I curled the pumpkin sides using a pencil. I also went to my stash to find a brad. It really does not matter what color brad, it gets covered up. A smaller brad would be best. Next, I folded the score lines of the stem piece all in the same direction. I maneuvered the pieces to create the stem shape and glued it together.
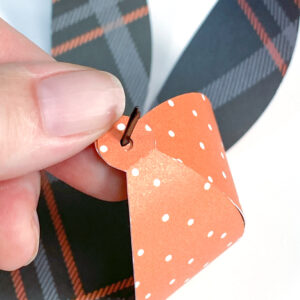
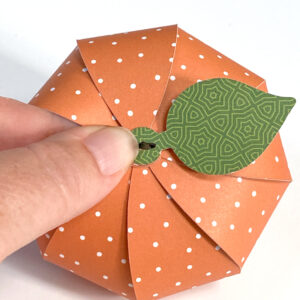
Next I gathered up the pumpkin sides to form the round pumpkin shape. I chose to place my brad on the inside and have the prongs on the outside. I found that easier. You could always do it the other way. I started bringing up each side, and sliding it over the brad tongs to keep it in place.
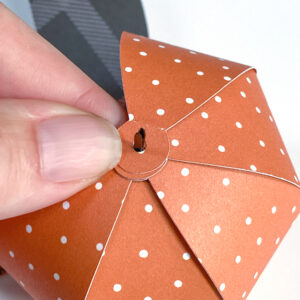
When I got to the last few sides, I gently stuck my hand into the pumpkin between 2 of the sides and then folded over the last piece. If you are going to add a small treat to your pumpkin you will want to add it before you bring over the last side.
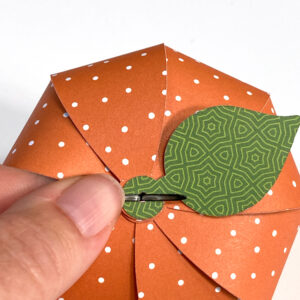
Once I had the last side in place, I then added the leaf. I folded out the prongs of the brad to hold it all in place. I then glued the stem on top of the brad to cover. I did have to snip the ends of my brad, but if you used a smaller brad you might not have to. I only had a large one.
All that was left was to add some fun twine!

That’s it for me today, thanks for stopping by to peek!

