
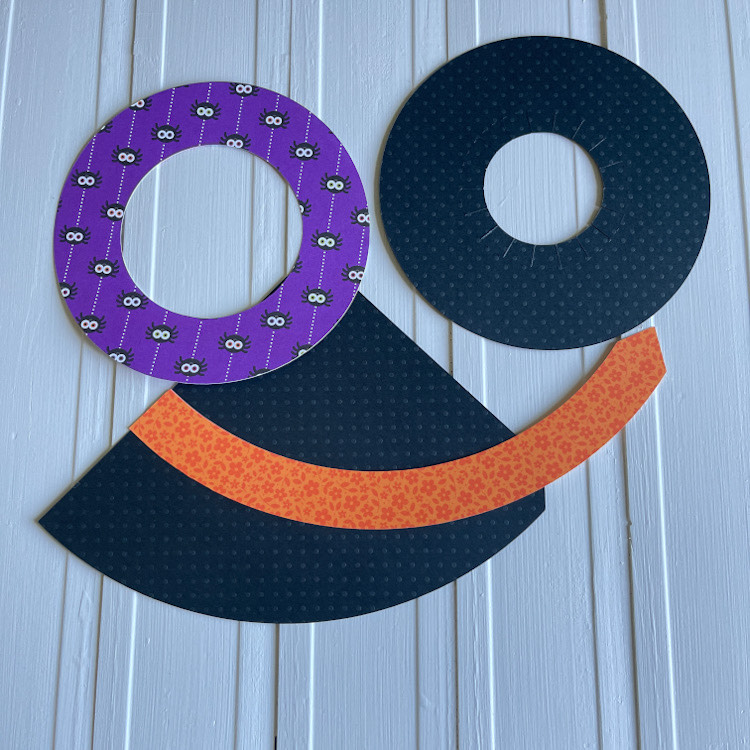
Happy almost Halloween! My very favorite time of the year to paper craft. I just love all things Halloween….seriously my favorite holiday. I have a fun, simple quick project for you. Just a few simple steps and you have a cute little decoration to add to your décor. I started with Lori’s 3 D Witch Hat (SVG, Silhouette). It’s a simple file to cut, only 3 colors! After cutting, this is what you will have.
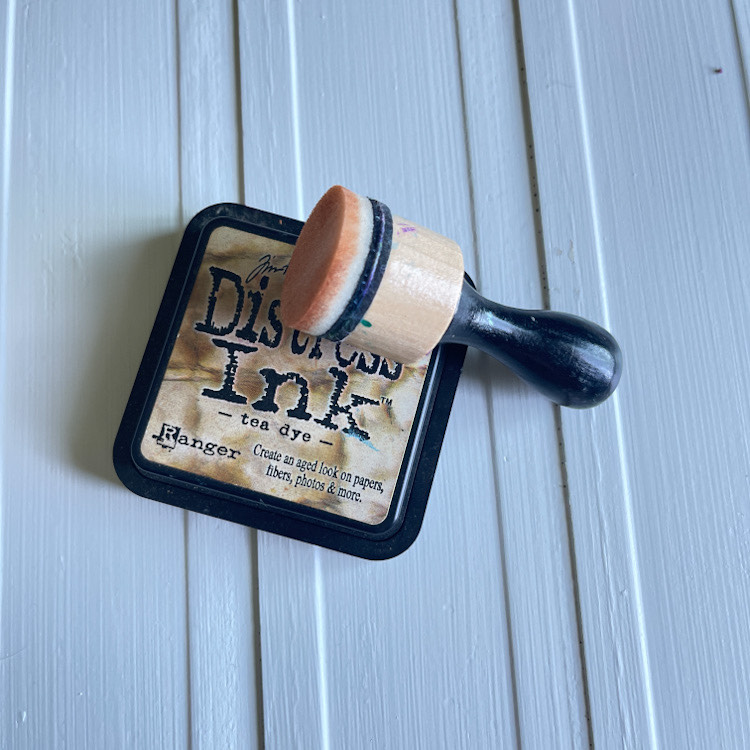
Next, I just inked the edges of my patterned paper.
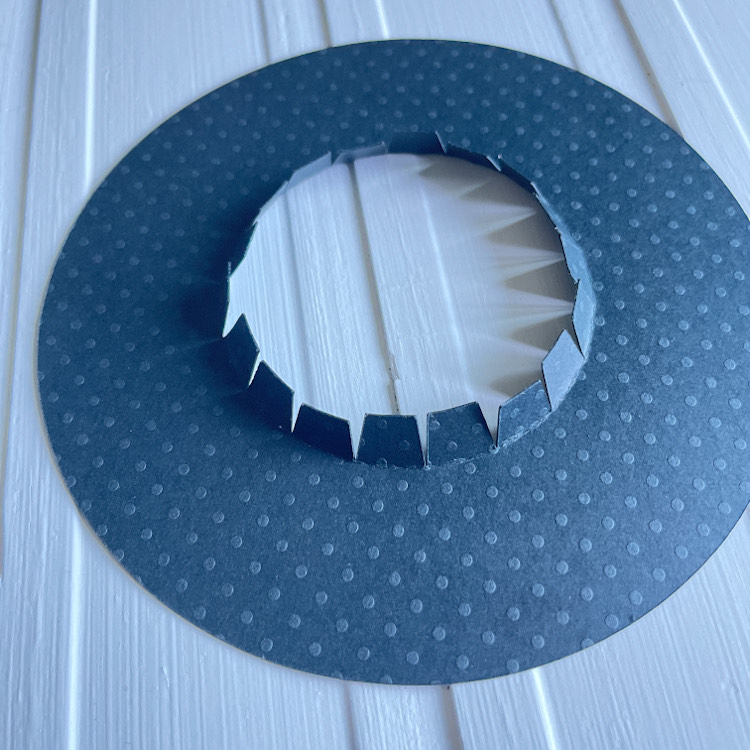
Fold up all the tabs of the brim of the hat.
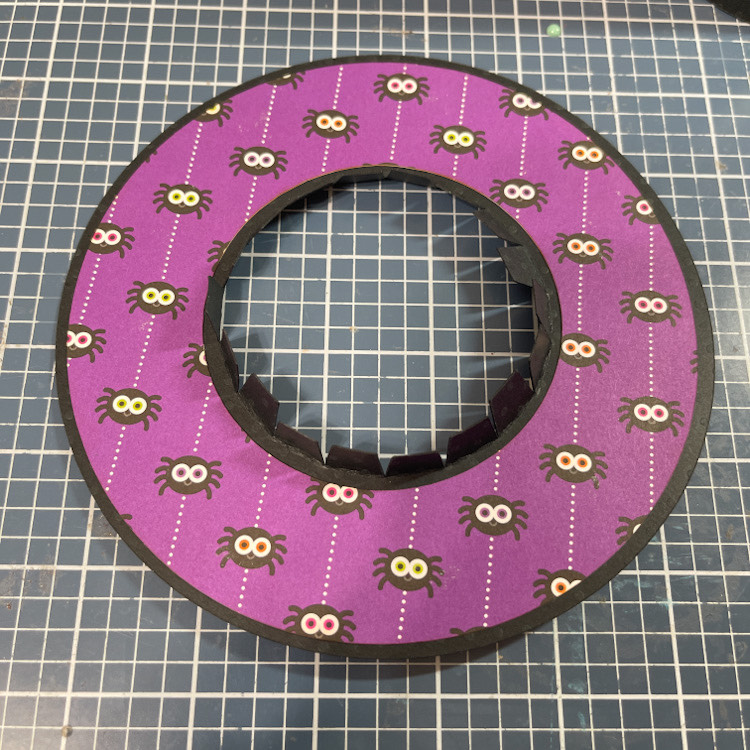
Add your pattered paper circle to the brim.
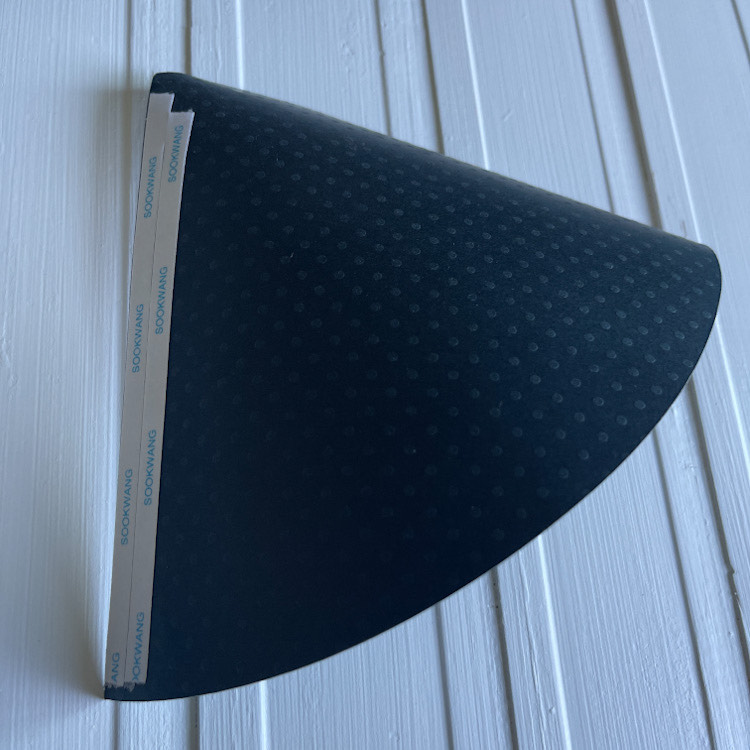
Now your ready for the rest of the hat. I ran my black card stock over the edge of my table a few times to get a nice curve and break down the fibers in the card stock to make it roll easier.

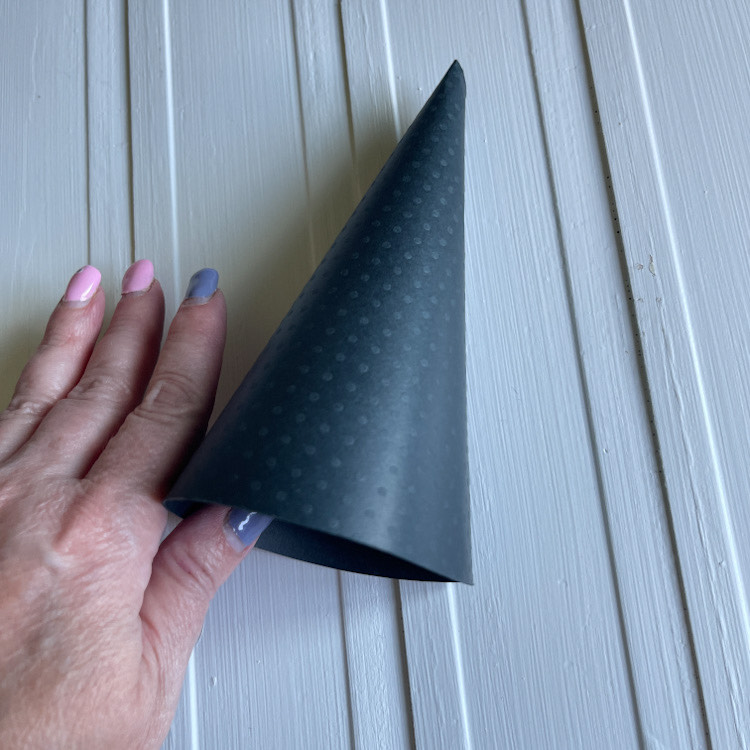
Then add double sided tape to your seam and roll until you have a cone shape….
Like this….
Now insert your cone into the brim of the hat, with all of those tabs going up.
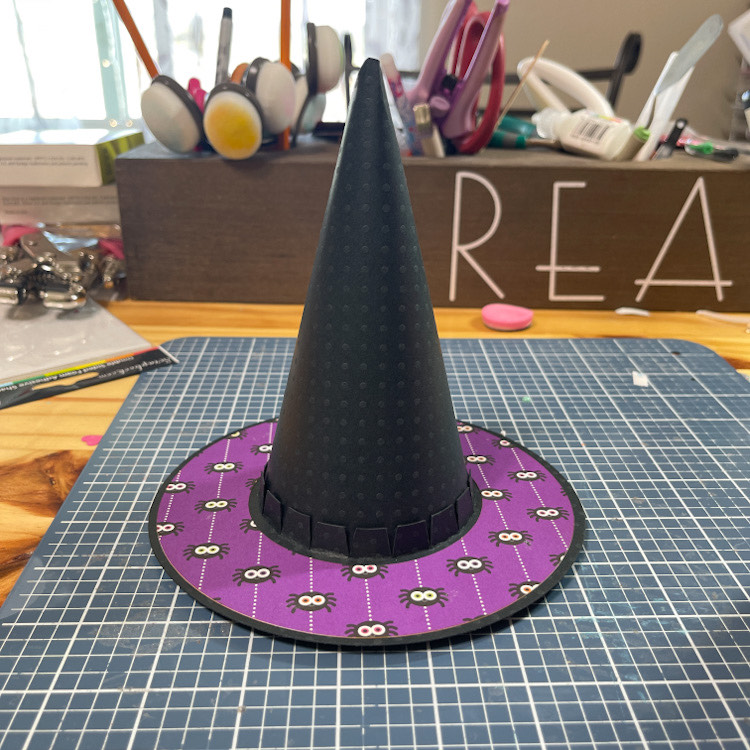
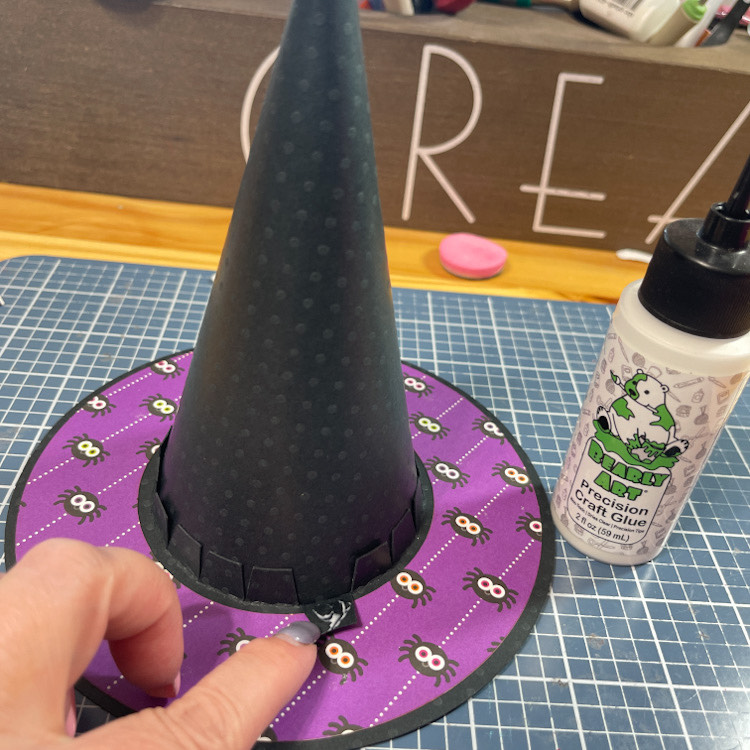
One by one, I glued the tabs with some strong glue. Then add your band for the hat around the bottom of the cone and over those tabs and adhere. Yes, I forgot to take the last picture.
Then I just added some fun embellishments with a few pop dots and a little baby powder for they wouldn’t stick in certain places.!
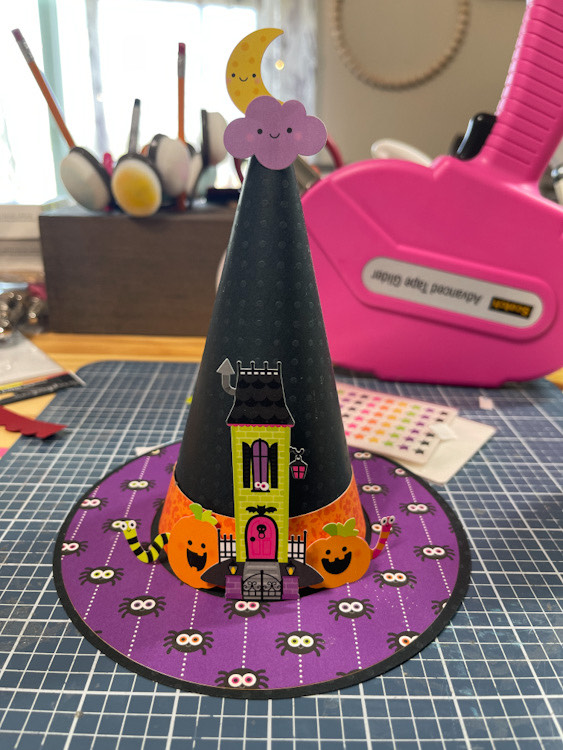
It just makes me happy. I love it!
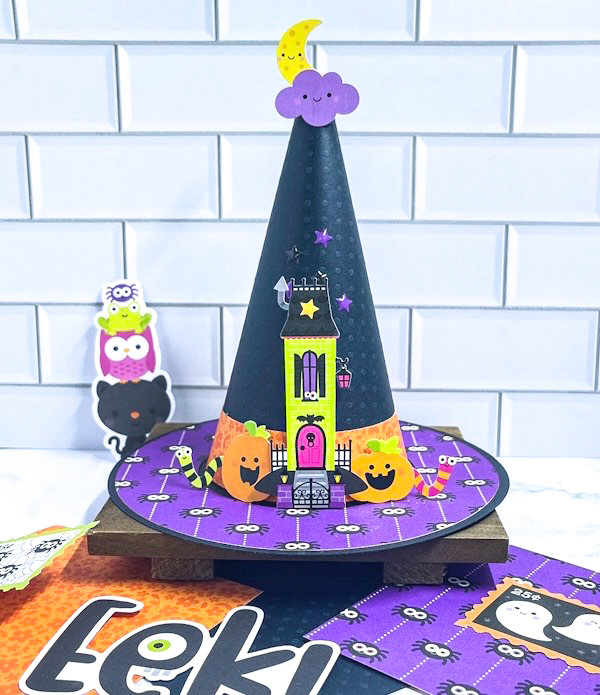
Here’s a little close up of the scene. EEEEEKKKKKKK! So cute! 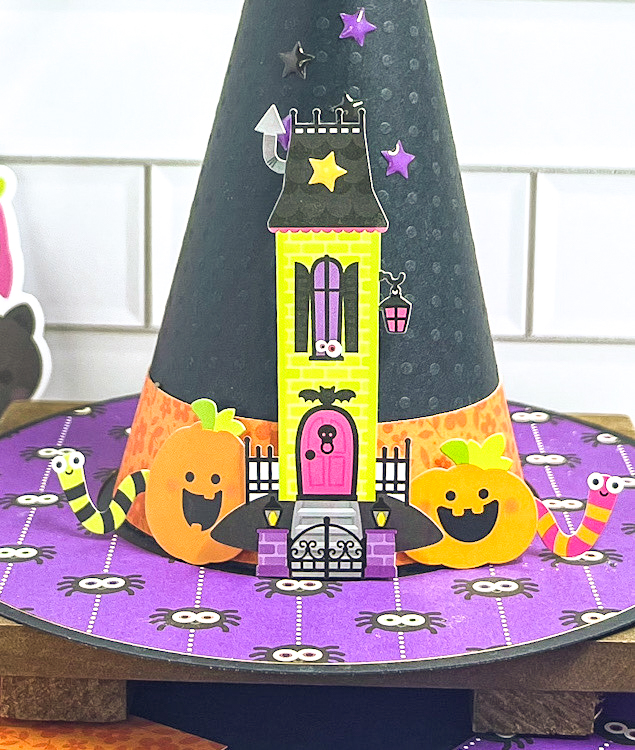
Thank you for stopping by ~Cathy