5×7 Box Card House Merry Christmas Tutorial

Hi everyone!  Cathy here today to share a box card tutorial with you.  I’m always telling you that Lori’s box cards and envelope cards are my favorites to create, so I thought I would share my process for putting them together.  So easy and they are loved by everyone that receives them.  This is Lori’s new 5×7 Box Card House Merry Christmas (SVG, Silhouette).  The file also includes an envelope.  Remember, these fold flat for mailing and pop right back up for display.

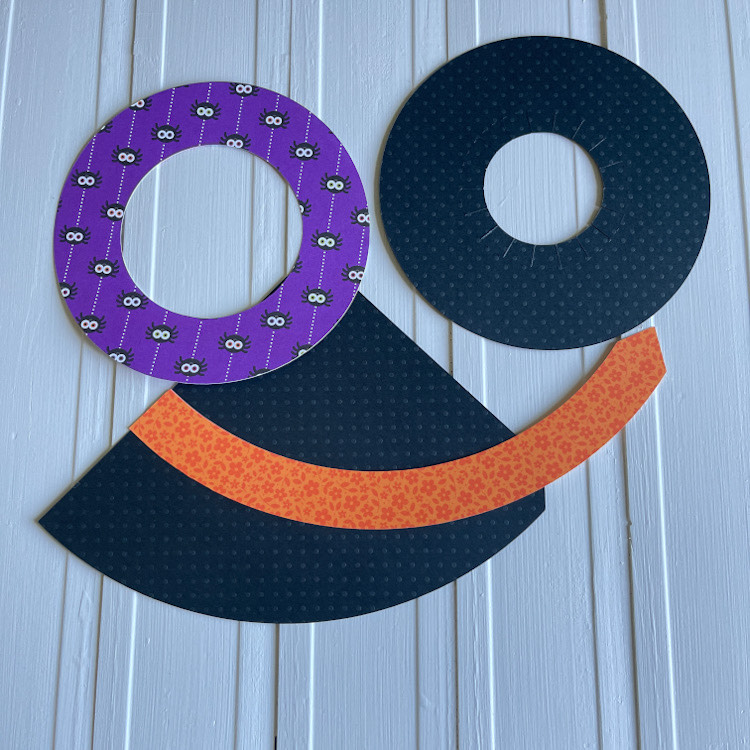
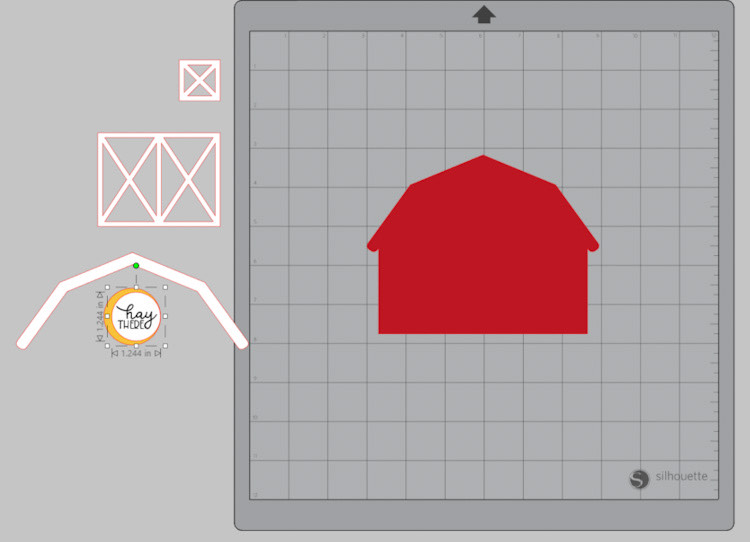
Here is how the file looks when you first open it, I always ungroup everything and separate by color.  It make it easier for me to see what I need for paper and also how to arrange paper on my mat.          

You can see how I sorted everything out here.  Then I go back, group and cut my pieces.

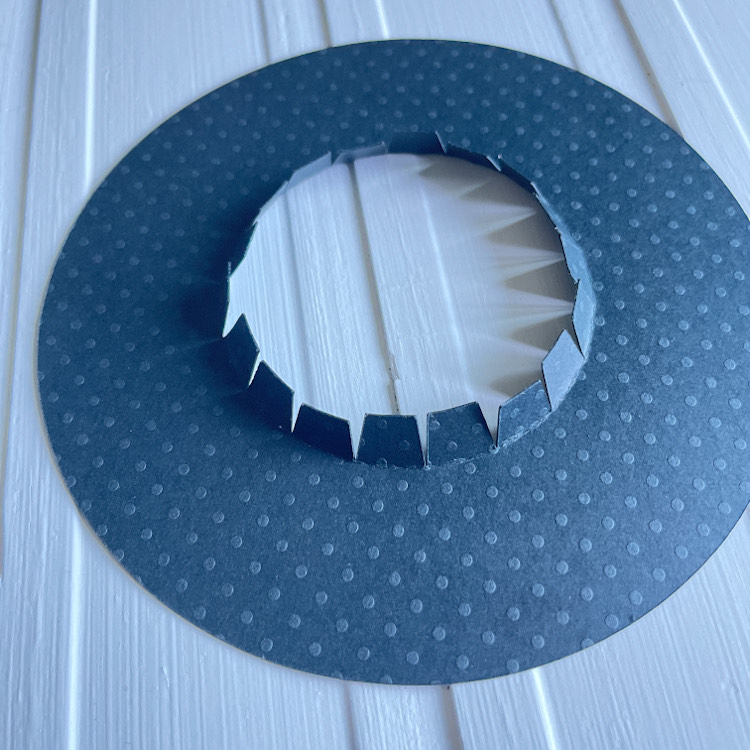
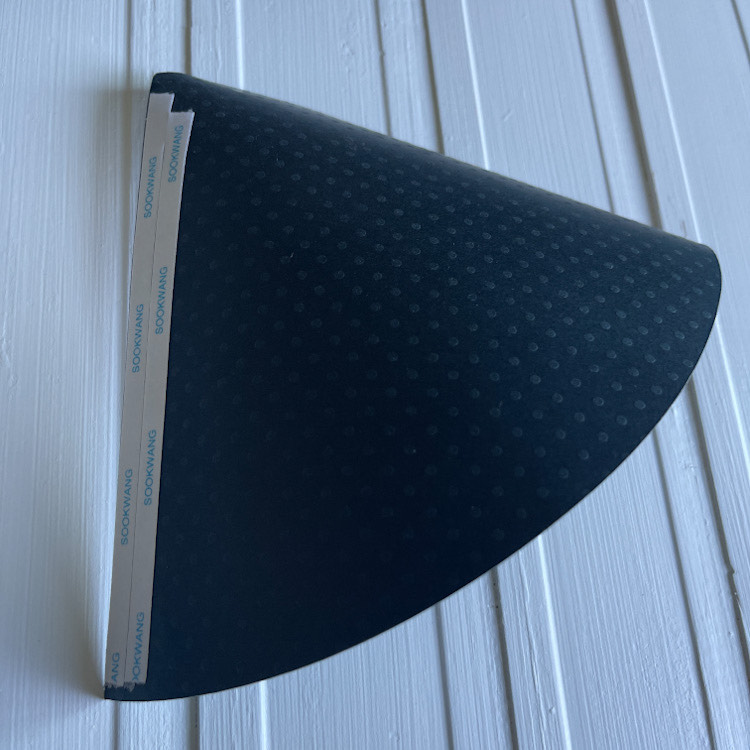
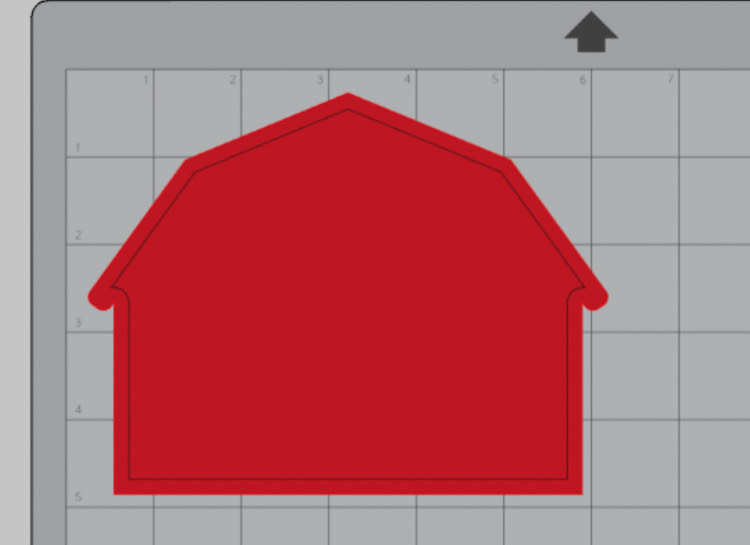
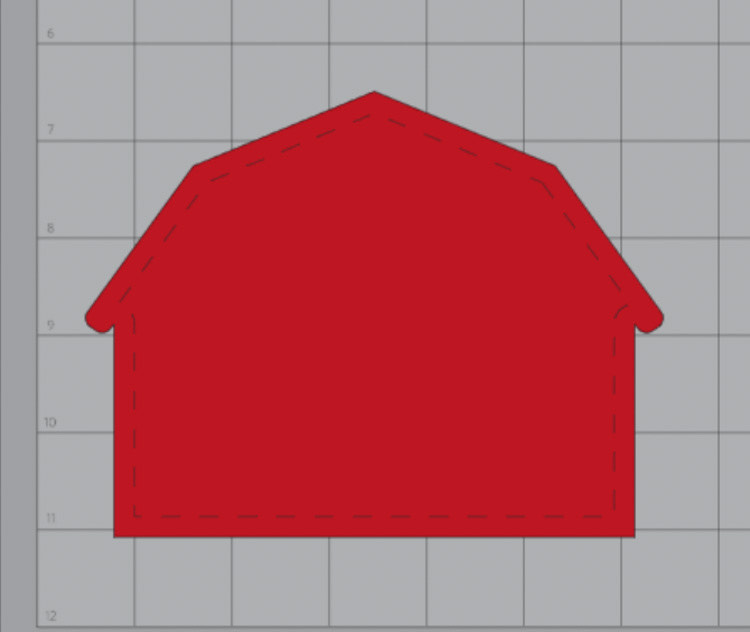
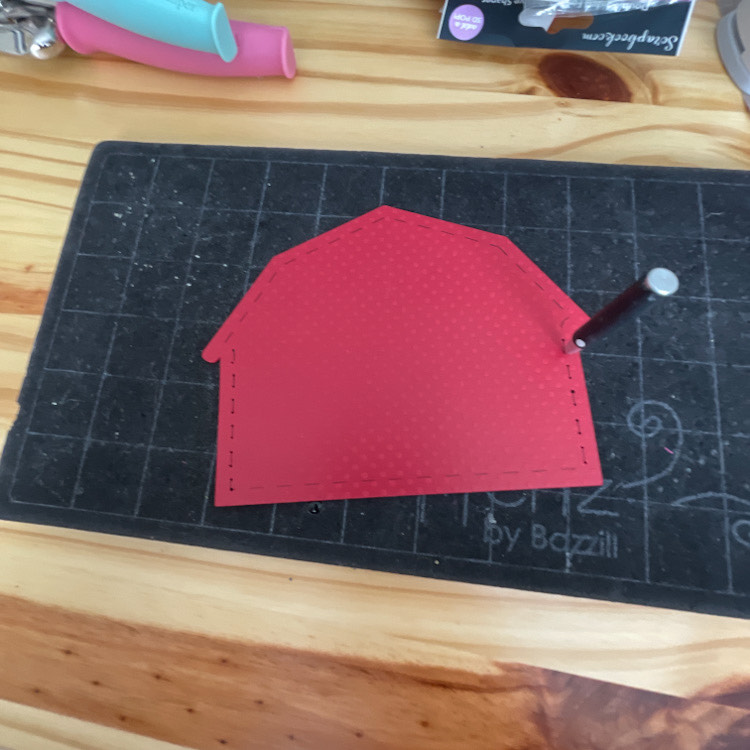
After all your pieces are cut, fold the score lines on the red house pieces.
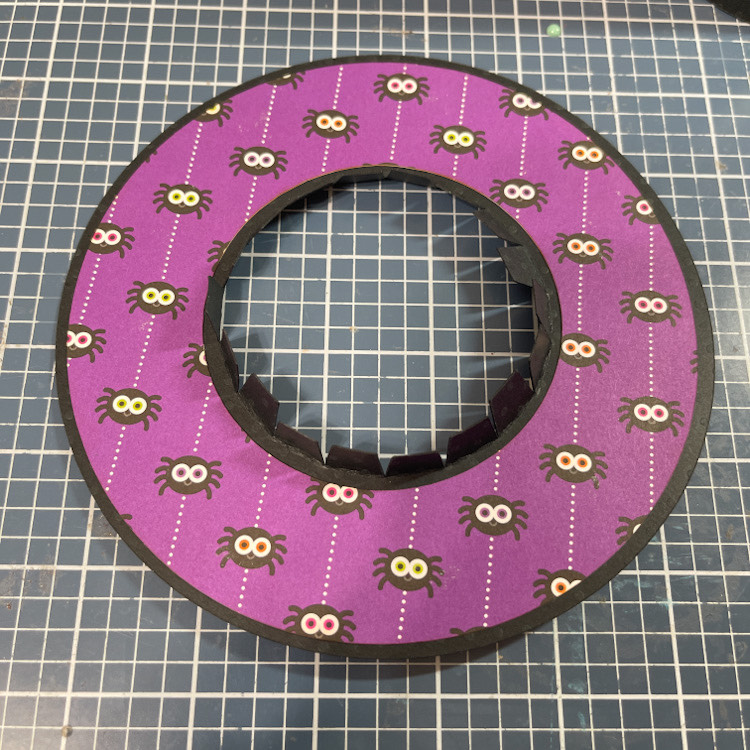
Next, I laid all my pieces out…flattened my red pieces and started to adhere the embellishments to the box.  I find easier to work with when it’s flat on a work surface. I used a glue pen for most of this detail work.
I start with adhering the gold window pieces to the inside of the house.
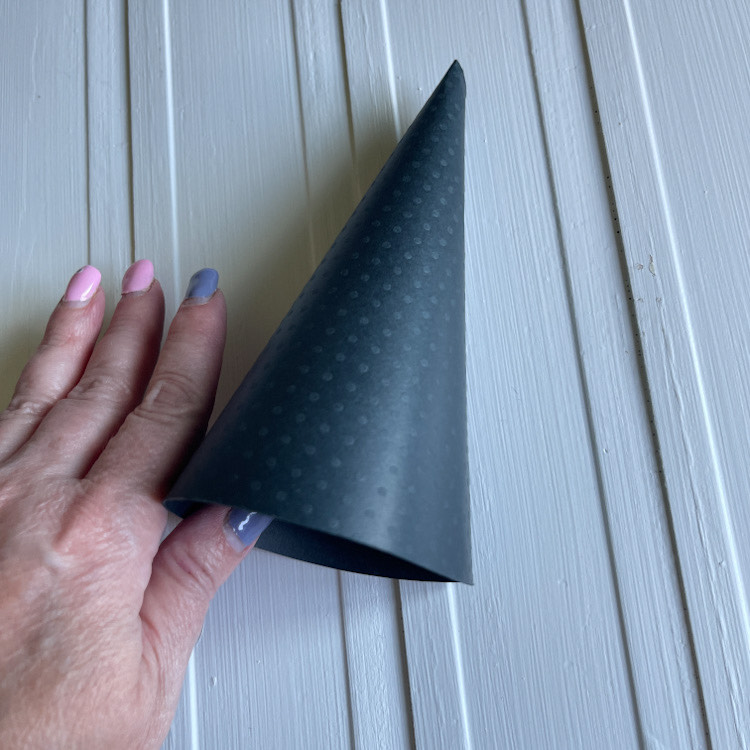
After I had most of the embellishments added, I then added scor- tape to the two ends.  You want a good strong adhesive to put these together.
So now you have created a little box or your little house and you are ready to add the inserts!
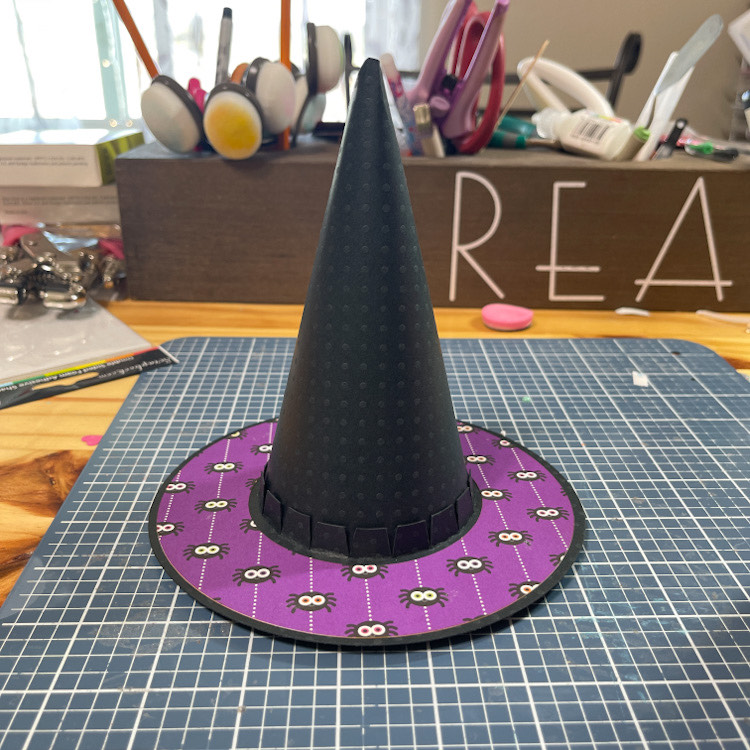
There are several of these house box cards in Lori’s shop, and I love that the little inserts make the roof, how incredibly clever.  The inserts are labeled 1 and 2.  The first insert just goes in as is.  Just add scor-tape on each side and insert into the box.  The cool part with these is you can’t go wrong as the roof line makes for perfect placement.
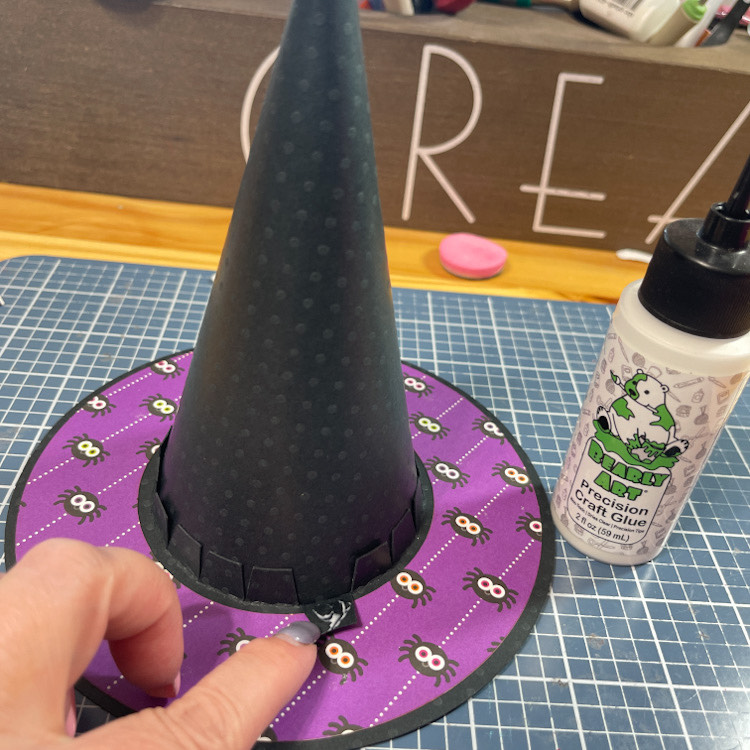
Now for the second insert, lay it flat and add your embellishments.  Again, I used a glue pen for this detail work.
This insert gets a bit heavier with all the extra paper added, so it has wider tab.  I added two strips of scor-tape for this insert.  Then just slide it down into the box, again you can’t go wrong cause the roof top will stop you.!


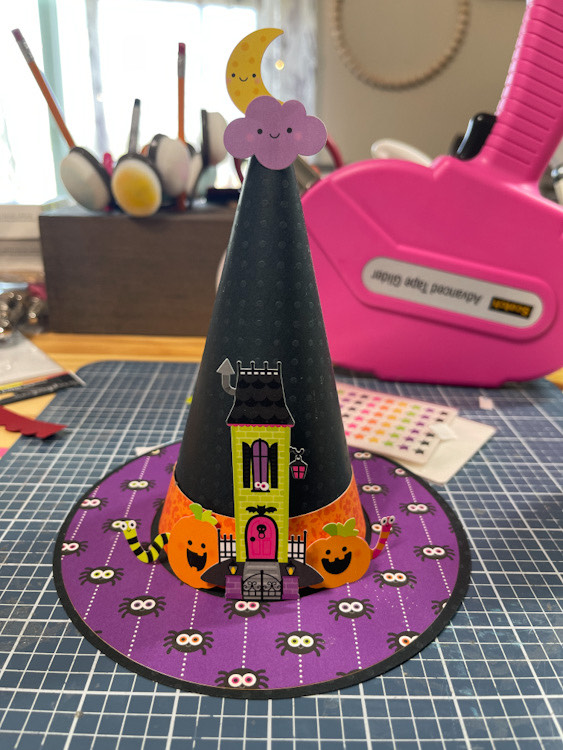
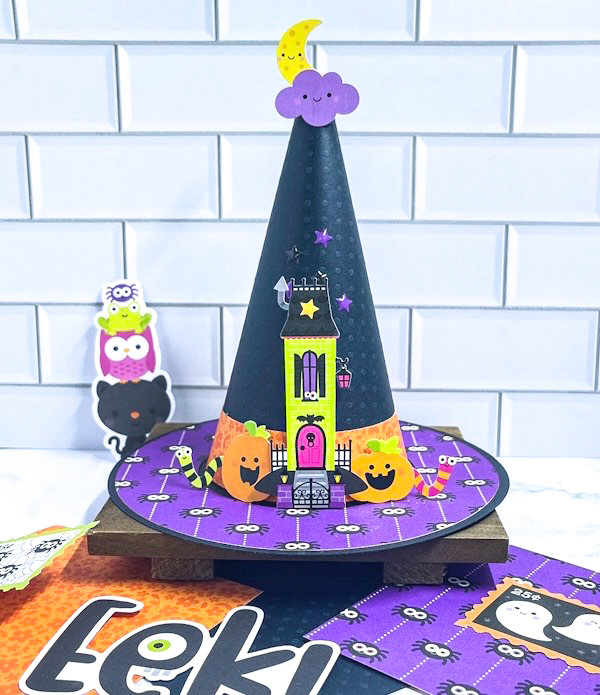
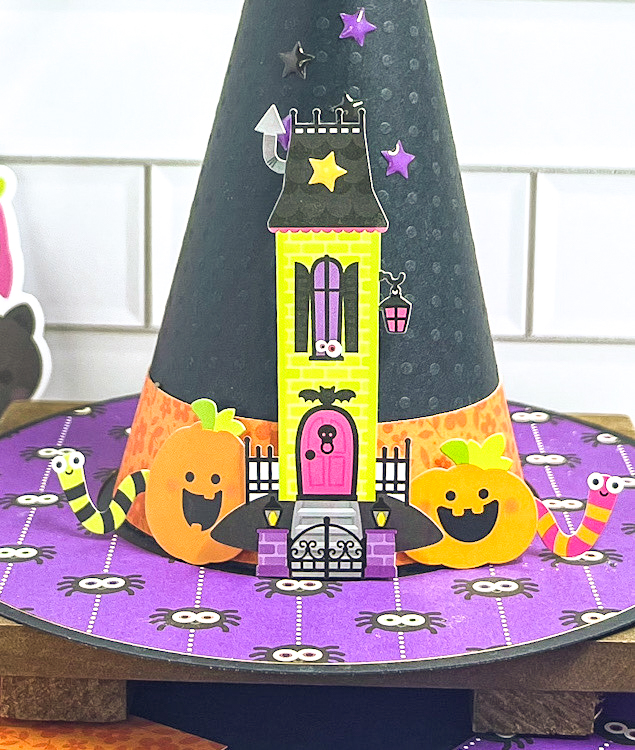
When you are all finished, you have this amazing little house.  I used Lori’s The Magic of Christmas to create this.  The Merry Christmas is from the brad set.  I did add the Santa in the Chimney Sticker for this collection.  I just simply couldn’t resist.  It was just too perfect not to add it.  Lol.
And don’t forget, all SVG files in Lori’s SVG shop are 30% off through Saturday, November 12th when you use code NOV2022 at checkout!


Thanks for stopping by!
~Cathy

Halloween Mixer Fun

It’s almost Halloween and it’s my favorite time of year to paper craft with all the fun colors.  I also love to bake this time of year too.  This year I created these fun little mixer shaker cards to go along with my baked goods.  I used Lori’s Mixer Shaped Card (SVG, Silhouette) and just added a shaker to the mixing bowl.

I created the shaker on my Silhouette by offsetting the mixing bowling by .125 and cutting just the frame of the bowl.  I then cut the regular bowl shape our of acetate.  Next, I added dimensional foam to create the shaker window and added fun little Halloween Shaker bits for more mixing fun!  I love how these turned out and they will be the perfect addition to my Halloween baking!

Have a great day!

~Cathy

3D Witch’s Hat Tutorial

Happy almost Halloween!  My very favorite time of the year to paper craft.  I just love all things Halloween….seriously my favorite holiday.  I have a fun, simple quick project for you.  Just a few simple steps and you have a cute little decoration to add to your décor.  I started with Lori’s 3 D Witch Hat (SVG, Silhouette).  It’s a simple file  to cut, only 3 colors!  After cutting, this is what you will have.

Next, I just inked the edges of my patterned paper.

Fold up all the tabs of the brim of the hat.

Add your pattered paper circle to the brim.

Now your ready for the rest of the hat.  I ran my black card stock over the edge of my table a few times to get a nice curve and break down the fibers in the card stock to make it roll easier.

Then add double sided tape to your seam and roll until you have a cone shape….

Like this….

Now insert your cone into the brim of the hat, with all of those tabs going up.

One by one, I glued the tabs with some strong glue.  Then add your band for the hat around the bottom of the cone and over those tabs and adhere.  Yes, I forgot to take the last picture.

Then I just added some fun embellishments with a few pop dots and a little baby powder for they wouldn’t stick in certain places.!

It just makes me happy. I love it!

Here’s a little close up of the scene.  EEEEEKKKKKKK!  So cute! 

Thank you for stopping by ~Cathy


A Back to School Backpack

Hi everyone!  It’s that time of year, the kiddos are headed back to school and summer is coming to an end.  I love back to school time and even though my kids are raising their own families now, I still love to shop for school supplies.  There are always so many fun things, I just can’t resist!

My grand kids all went back to school last week and one started Kindergarten, so I wanted to send her a fun little surprise in the mail.  She loves to get mail!  I created Lori’s Box Card Backpack School (SVG, Silhouette) for her.  Her backpack this year is covered in flamingos.  She loves them, so I tried to incorporate that into her card along with some fun tassels and beads like the one she has.  She loved this and also loved that it came with a little cash stuck inside.  Maybe that’s why she loves getting mail from Grandma.

Here’s a little tip to share with you, I cut the spiral little tiny pieces out of vinyl.  It just seems for little tiny detail work, vinyl works well for me.

I used Lori’s Endless Summer Collection to create my project today.  It was just the perfect collection with all the little things to match her real backpack.

Thanks for stopping by

~Cathy


Welcome To The Farm Mini Album

Hi everyone!  I’m so excited to share this little mini album created from Lori’s Pop Up Barn Card (SVG, Silhouette). I had so much fun creating this and added so many fun details!  I used Lori’s Echo Park Fun on the Farm collection for my project!

I started by opening the file and ungrouping it, saving the barn shape, the white doors and window.  I enlarged the card to be 4.5 x 6 inches.  You will need to cut 4 red barn pieces and two sets of the white doors and window.  One is your front cover, one is the inside of the front cover, one the back cover and the other will be for your stitching template and book ring template!

On of your template barn shape, you will do an internal offset and then go to line style, change it to the biggest stitched line.

Then using a Silhouette Sketch pen, I used black so that I could see it well, send it back through to draw the stitched lines.  This will create your template for stitching.  You can use the stipple on your machine too to create stitching holes but my cardstock was to heavy to really see the stippled holes….my eyes are getting old! Lol.  So this is what worked best for me.

I just pierced the lines on the sides of the barn so that I could add a bit of chain stitching to accent the cover. Place the barn piece with the stitched lines over another barn shape and pierce your holes.   I recently attended an event with the amazing and beautiful Paige Taylor Evans and she taught us to chain stitch.  I am head over heels in love with the stitch and technique.  I added the chain stitching to the little “Welcome to the Farm” tag too.  I just pierced the holes evenly around the circle!

After I was done stitching, I adhered one of the barn pieces to the back for the front cover, so it has a nice finished look to the inside, and that way you can’t see the back of the stitching.   Next, it was time to punch my book ring holes.  Again, place the barn piece with the silhouette sketch pen lines over all your pages, one by one, and punch your holes.  I punched in 1/2 inch for my two book rings. I have seven pages in my book, but you can make more or less.  I just had that many photos of my grand daughter’s visit to a farm.

I love how this turned out.  Eeeeeek!  It’s so cute and the Fun on the Farm collection is just adorable and so much fun!

I added lots of fun with ribbon, beads, a fun tassel, sunflower charm and even a cute little chicken bead up on top there!

I’ll just share a few of my pages here and I’ll share the rest on my blog.


Thanks for stopping by! ~Cathy