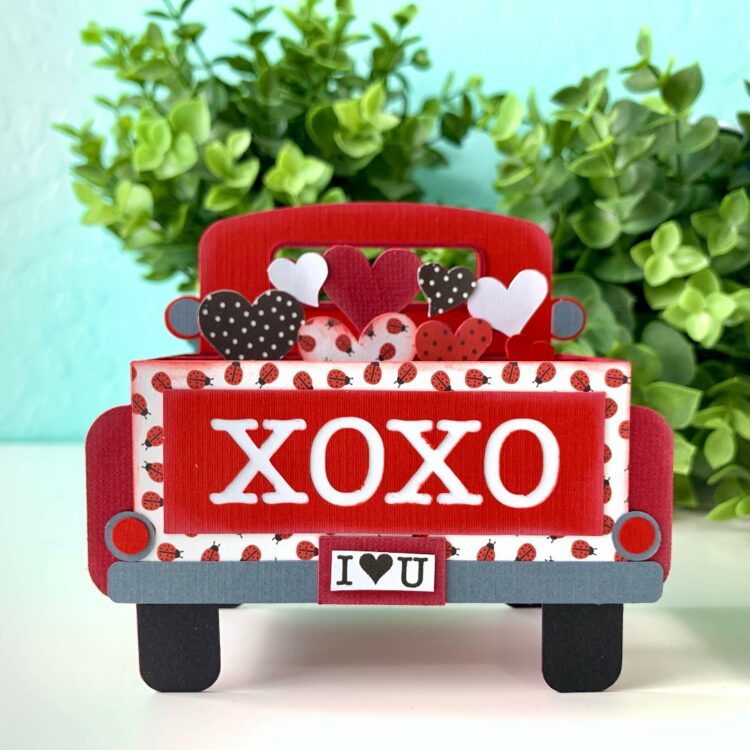
Hi friends! Today I am sharing an assembly tutorial for the Boc Card Valentine Truck Back End (SVG, Silhouette). I used 80lbs cardstock and a few designer papers from the Little Ladybug collection by Echo Park Paper Co. This cut file does have a lot of small pieces but totally manageable with a fine-tip glue bottle.
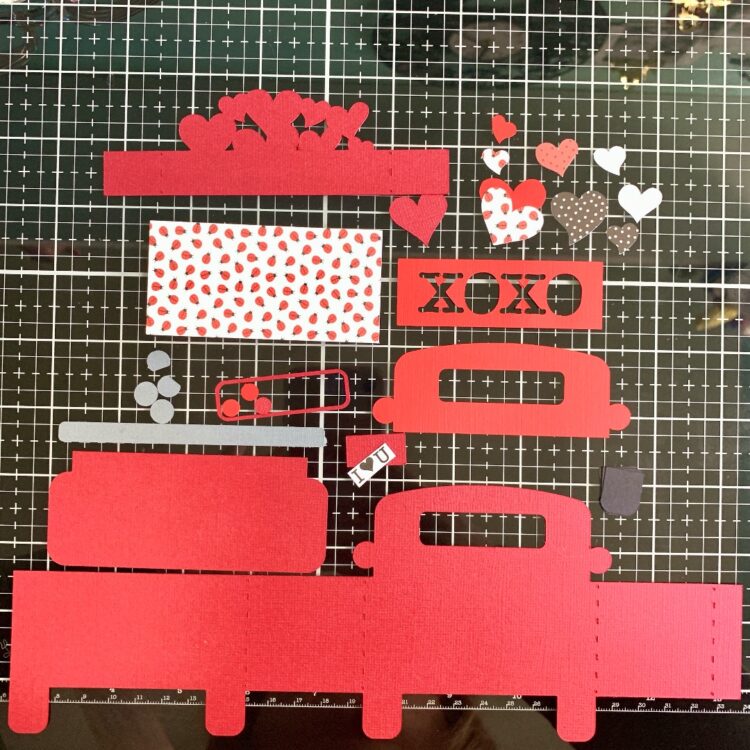
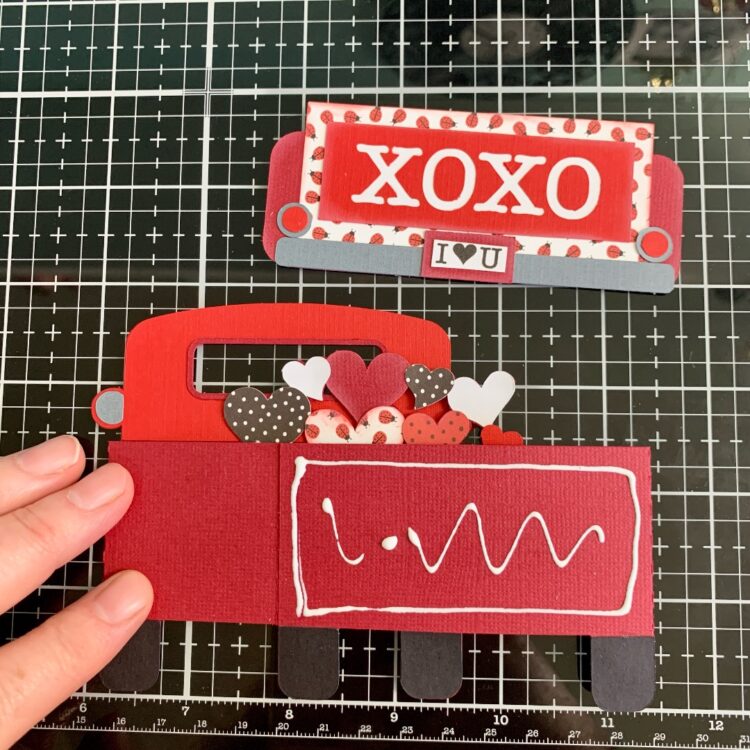
First, I assembled all of the decorative elements. The back of the cab of the truck has a border for the window and two rear-view mirrors. The tailgate has three layers. A foundation, a decorative layer, and the XOXO layer. It also has two taillights with two layers, a bumper, and a license plate with two layers. All of the hearts are for the inside insert of the box card. For the card base, I flipped the card over, folded all the scored lines as valley folds, and glued the black tires into place.
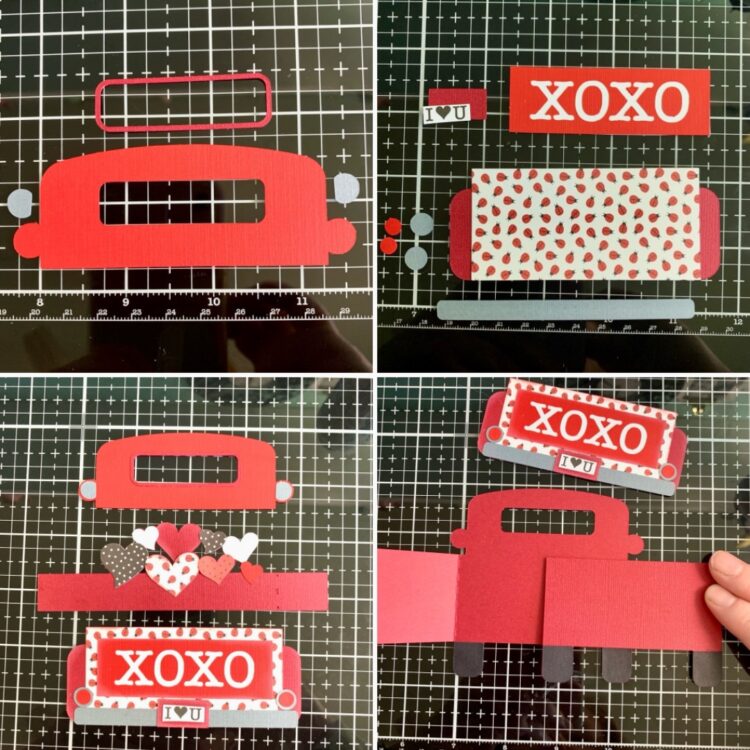
With the card base open I glued the back of the cab onto the inside of the card base. Then folded the score lines on the insert as valley folds and added glue to the tabs. I lined up the tab on the right next to the score line on the inside of the card base. Then folded over the left side of the card base on top of the glue on the left tab of the insert making sure everything was level and flat while folded down. I added glue to the tab on the card base and folded the right side of the card base down on the glue making sure it was lined up with the score line.
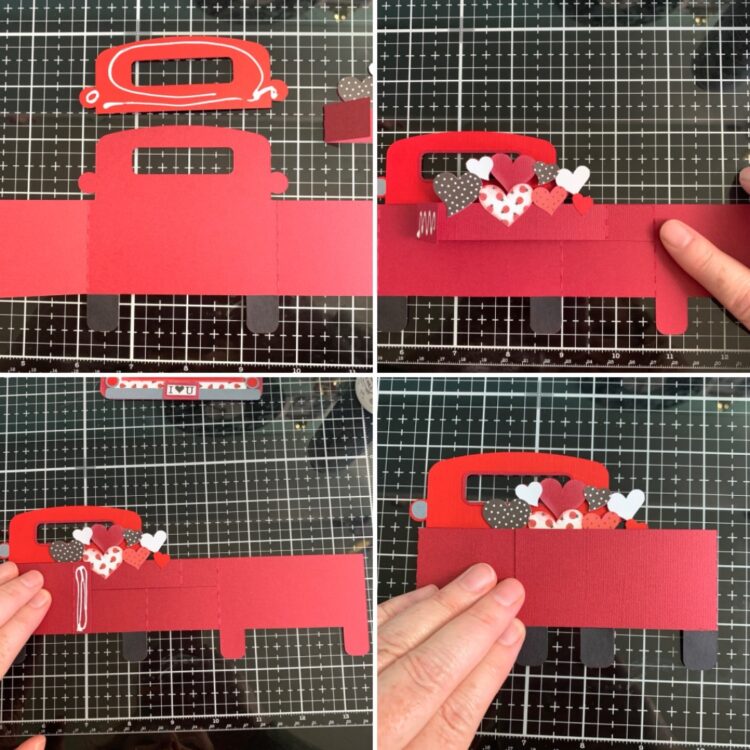
Now with the card folded flat, I added glue to the back/tailgate portion of the truck and added the tailgate to the box card.
Now it is ready to send to a valentine!