A Basket Full of Strawberry Fields Forever

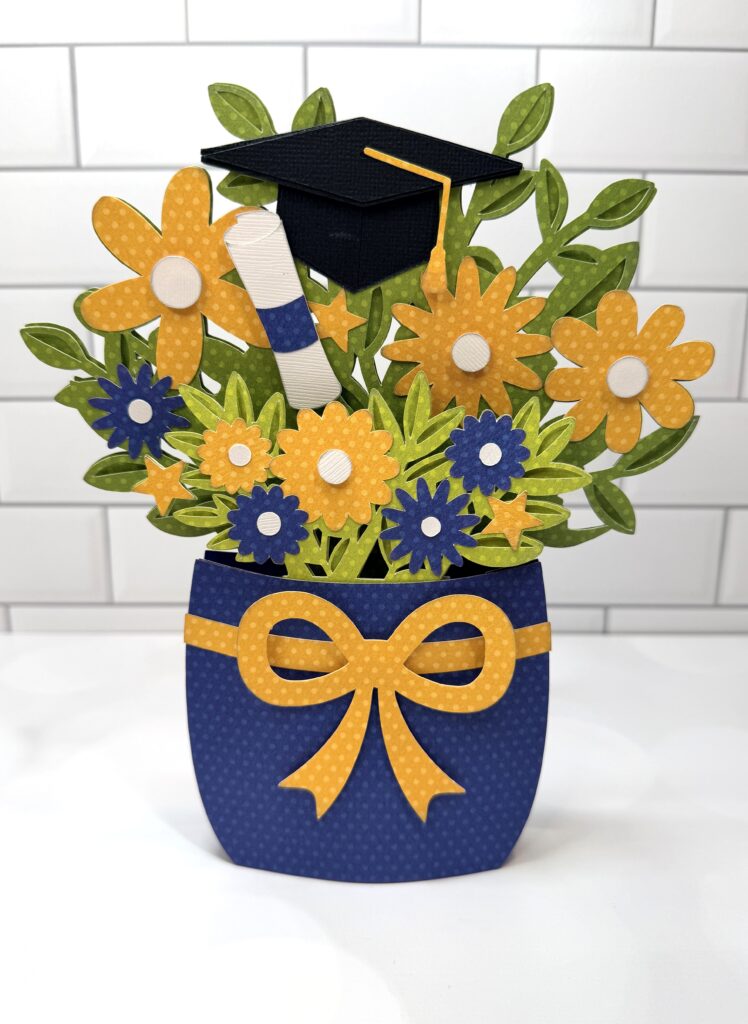
“Living is easy with eyes closed… “Well, maybe not when you’re trying to choose between all the adorable papers in Lori’s new Strawberry Fields collection!  From the sweet gingham patterns to cheerful strawberry prints, this collection instantly transported me to my own little version of Strawberry Fields.

I combined the Strawberry Fields Collection with two of Lori’s adorable files.  A charming berry basket that you can find here in the shop   and some little strawberry boxes that you can also find here in Lori’s Shop  Silhouette.  This project perfectly captures that carefree feeling of a sunny summer afternoon.

Start with your basket, this is really simple and comes together in seconds.  Cut, ink, fold, and adhesive and adhere together.  It is simplicity at it’s best.


Now for the strawberries, these were a bit tricky.  I think mostly because I scaled them down about 33% so that I could put quite a few in the basket.  I cut 7 strawberries and their tops.  I could do four different patterns at a time with the little 6×6 pad that comes in the collection.  You can see how they are cut here, then fold on score lines til you have the last shape on the bottom right.


So here we go with how to put these little cuties together.  I did have my hot glue gun out just in case I needed it.


1.  Start with a strawberry, fold along score lines…there is hole an all 6 tops for your brad.  Adhere the 1 st petal edge with the little flap to the 6th petal.


2. Insert a brad through one of the petals and begin shaping your strawberry…you simply pull each petal over the brad and practice patience here…lol, it took me a bit but I got it.  All six petals layer over that one little brad.

3.  Once you have all your petals overlapped, the strawberry begins to take shape into a little pouch or box. Open the brad prongs now and seal your little strawberry.

I glued my little tops on instead of messing and fighting with that little brad any longer.  The added buttons and twine to each one.  Adorable.


Now for the fun part.  Start embellishing your basket with all the fun elements from the collection.


The Beatles sang about Strawberry Fields Forever and while my version may be made from paper instead of growing in a garden, it has its own kind of magic.  Every fold, layer and embellishment are my escape to where creativity blooms.
Thanks for stopping by for my tutorial.
Cathy

3D Graduation Bouquet Tutorial

Hello, crafty friends! This is Lindsay, sharing a fun graduation project with you today. My oldest daughter graduated this past weekend, and we have been on the grad party circuit as we celebrate with her friends. It’s so fun to see how each party is uniquely decorated. We’ve also handed out a lot of cards and gifts at each stop. This project makes a beautiful centerpiece or card for that special graduate. The file is called “3D Graduation Bouquet,” and it includes the flowers, envelope, and a mini greeting card (svg, silhouette).

After I uploaded the file into Design Space, I decided to change the flowers to blue and yellow. All of the flower centers are white. This fits with the color scheme for the college that my daughter will be attending in the fall.

I began by assembling each layer. I used foam adhesive for extra dimension on the bow, flower centers and grad hat. I also popped up the top green layer for each floral bundle.

Next I shifted my focus to the white folding mechanism. This piece helps the bouquet flatten into an envelope, and it also uses a kickstand to keep the bouquet open and standing–perfect for a centerpiece! I used strong tape to hold the pieces together.   

Moving right along, I folded the piece that extends down from the long white strip. I refer to this piece as the kickstand. You will basically accordion fold the tabs until you have one sturdy piece.

Now it’s time to fold the larger part of the white mechanism and attach it to the blue vase/flower pot base pieces. The kickstand will be even with the bottom of the blue base, but it is not adhered.

Finally, it all comes together! I added adhesive to one set of the blue tabs, connecting the front and back tabs. I also added adhesive to the front of the smaller floral cluster and the back of the larger floral cluster. These get adhered to the front and back of the white X piece, which is now sandwiched between the blue vase.

I hope this inspires you to create a bouquet card or centerpiece today! This file truly has a wow factor when it is assembled! Click on the picture below, and it will take you right to the file on Lori’s site. Thanks for stopping by the blog today! — Lindsay


Birthday Card Organizer

Hi crafty friends!

Today I wanted to share something a little different than a card project. Instead of making a card, I decided to create this super cute organizer, and honestly, I think every crafty desk deserves one!

This sweet organizer is perfect for storing all your handmade cards safely in one place. You can keep your finished creations organized and ready to send, but it’s also wonderful for storing special mail and treasured cards you’ve received from loved ones. And yes…

there’s even room for your envelopes, postage stamps, pens, and other crafty essentials. Or fill it with any little treasures you want to keep close by, because crafters know tiny pretty things somehow multiply overnight!

I decorated mine with bright cheerful papers to give it a happy, playful look that instantly makes me smile when I see it on my desk.

Oh and a great extra is that the file comes with insert cards as well! and even a Calendar!

The cutting files for this project can be downloaded from Lori Whitlock’s shop HERE and they are such a joy to assemble. This project is both practical and beautiful — my favorite combination!

I hope I’ve inspired you to create one for yourself too. If you decide to make this organizer, I wish you lots of crafty fun and happy creating!

Happy crafting!
Tamara

Congrats Grad Money Cake

Hello crafty friends! Graduation season is here, and today I’m excited to share the Congrats Grad Money Cake (SVG, Silhouette). Giving money is always a hit with graduates, and this adorable display makes it a fun and memorable gift.

This charming cake is simple to personalize and quick to assemble, making it the perfect creative way to present a monetary gift.

That’s all for me today, thanks for stopping by!

Brandie