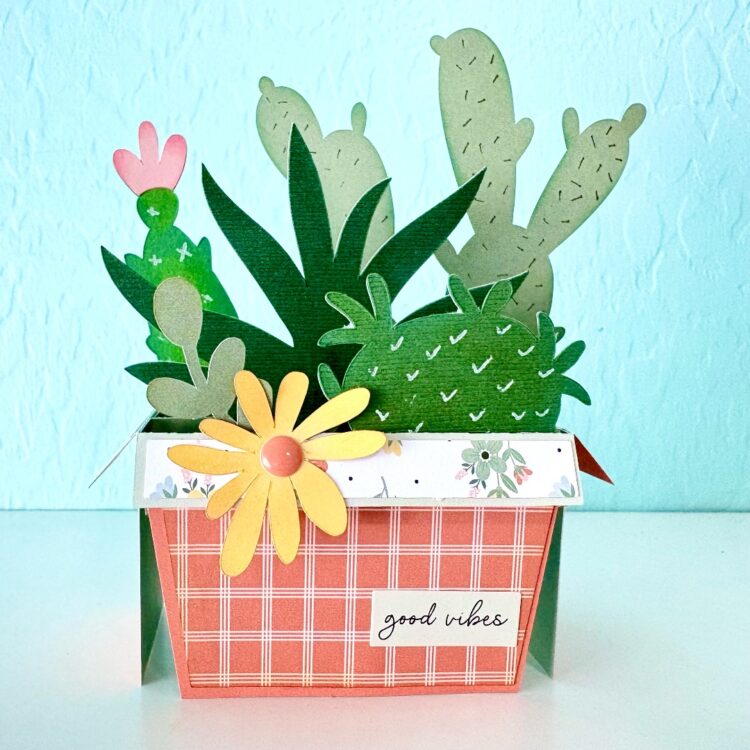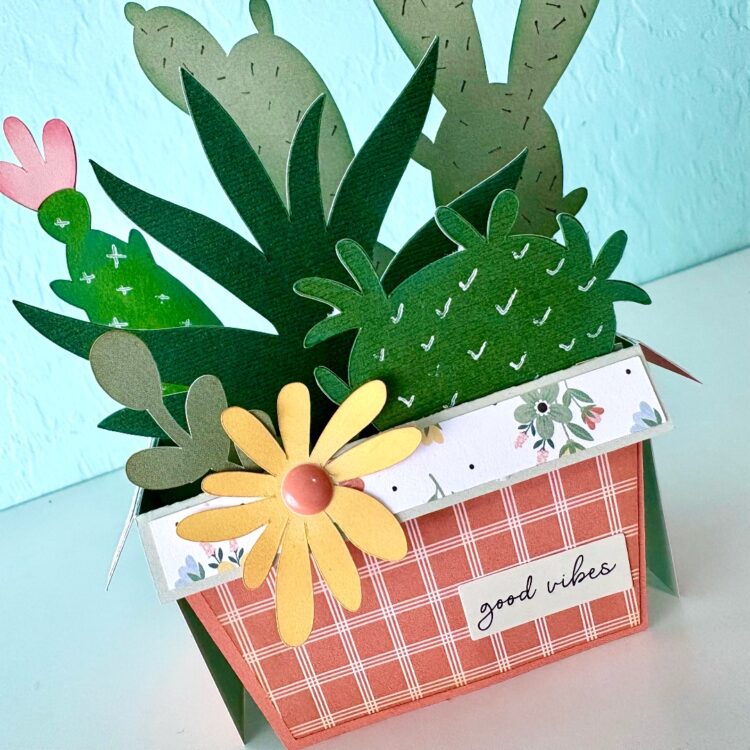
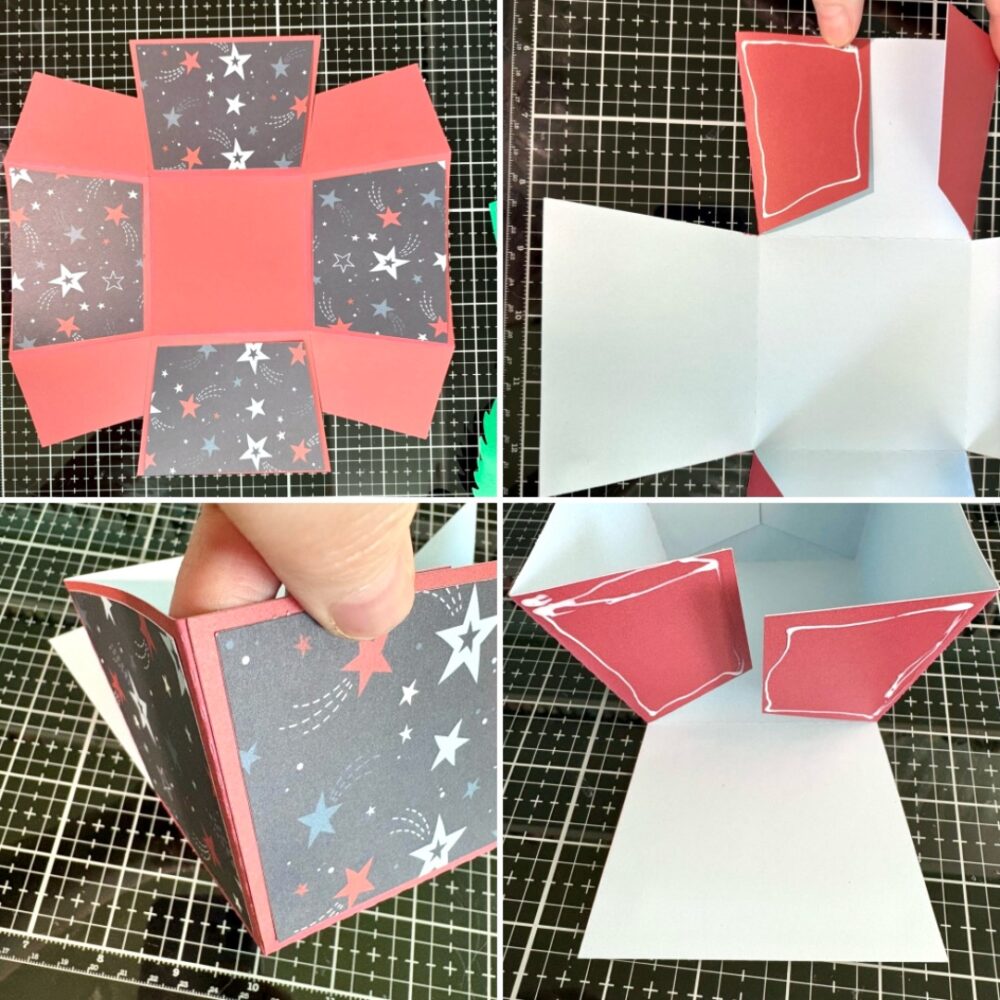
For the pot I folded all of the score lines into mountain folds, inked the edges, and glued the decorative panels in place. Two of the sides of the pot have two large tabs each. I added glue to one tab at time and made sure to line everything up with the edge of the pot. I repeated this process for all four corners.
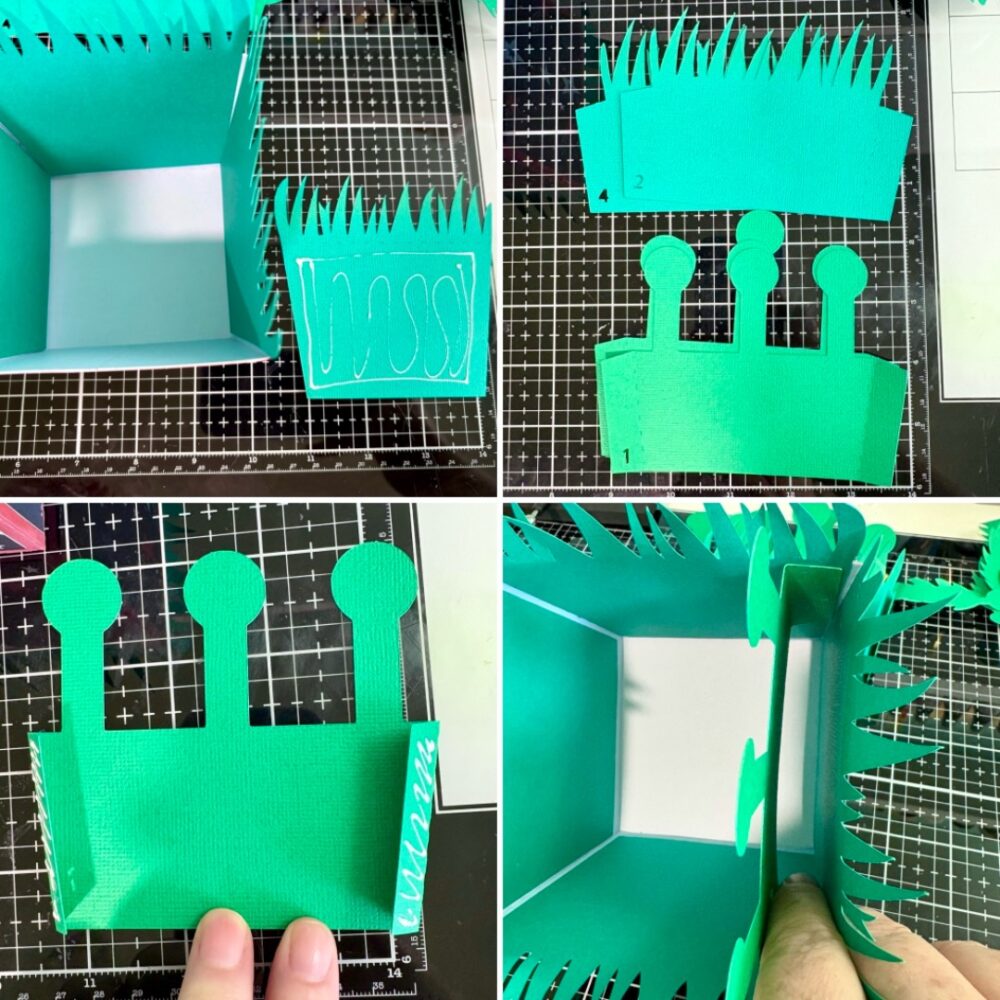
I then glued into place the four grass panels to the inside of the pot, one on each side. For the inserts I folded all of the tabs into a valley fold and added glue to outside of the tab. I eyeballed this part but I tried to make a sure the number three insert was in the middle of the pot. There is five inserts total, three for the flowers and two grass inserts. I inserts are numbered which makes gluing them in order easier.
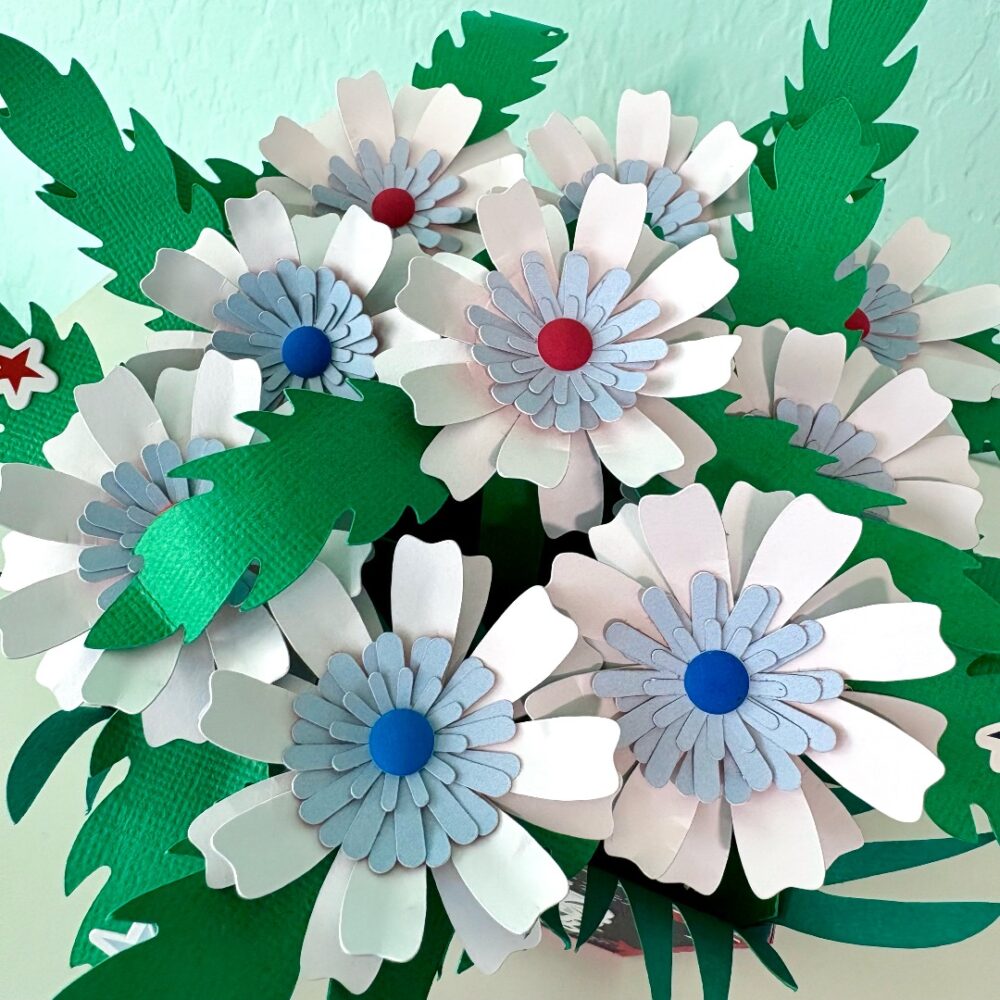
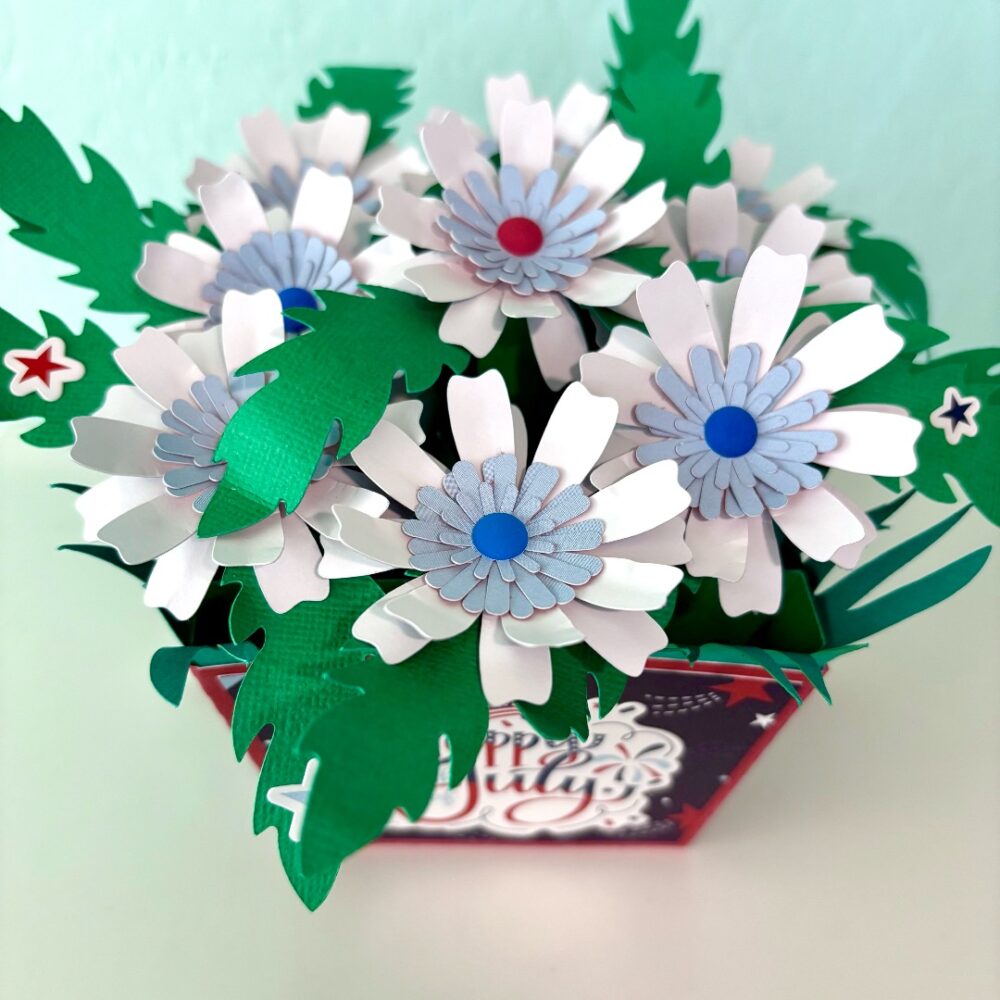
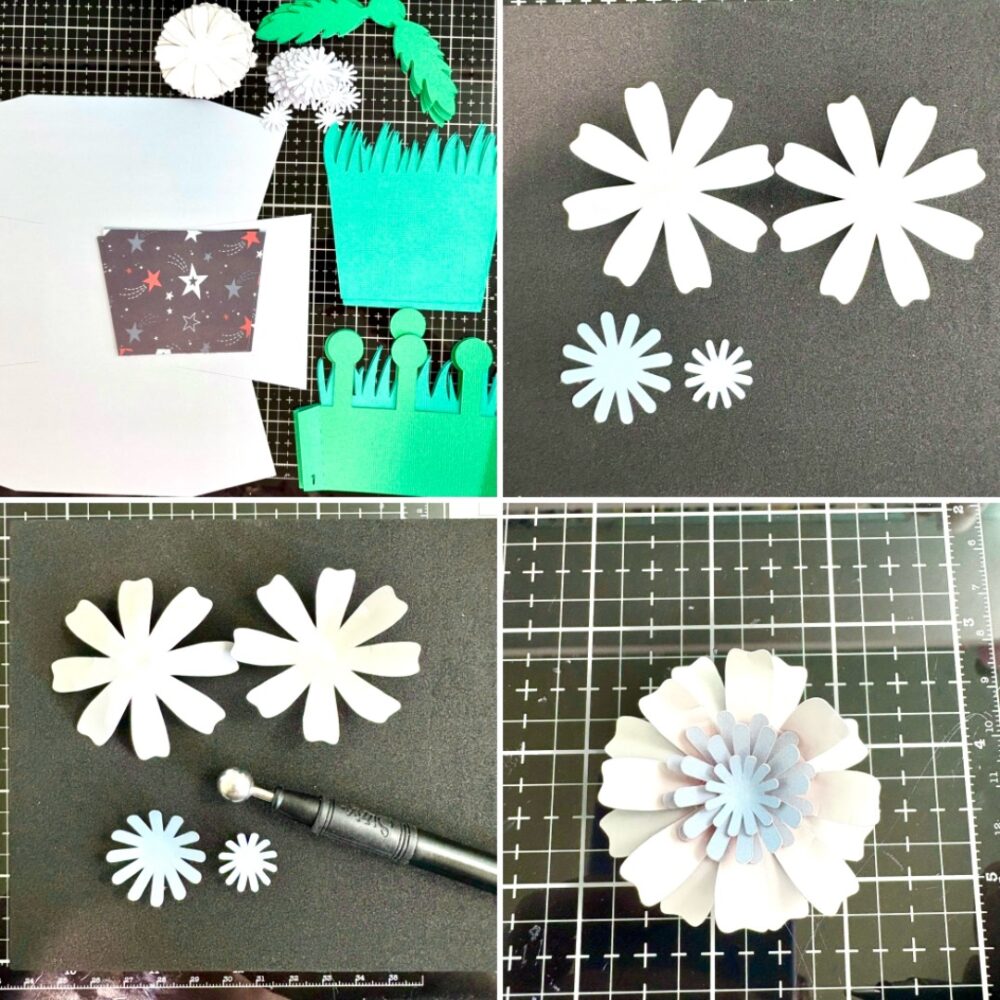
With all the inserts glued into the pot I folded down the round heads for the flowers and leaves. I glued the leaves on first then glued the flowers on top of that.
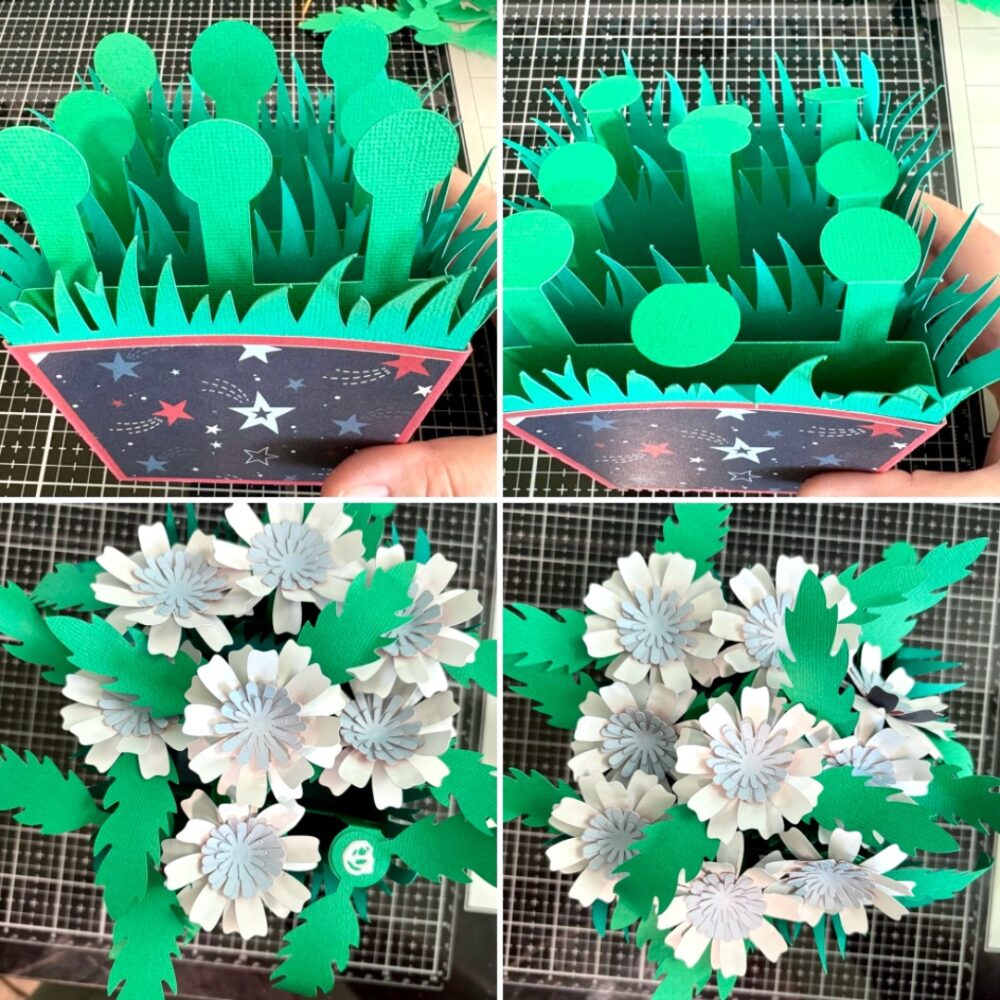
I embellished my pot with a sticker from the collection and added enamel dots to the centers of all of the flowers.