
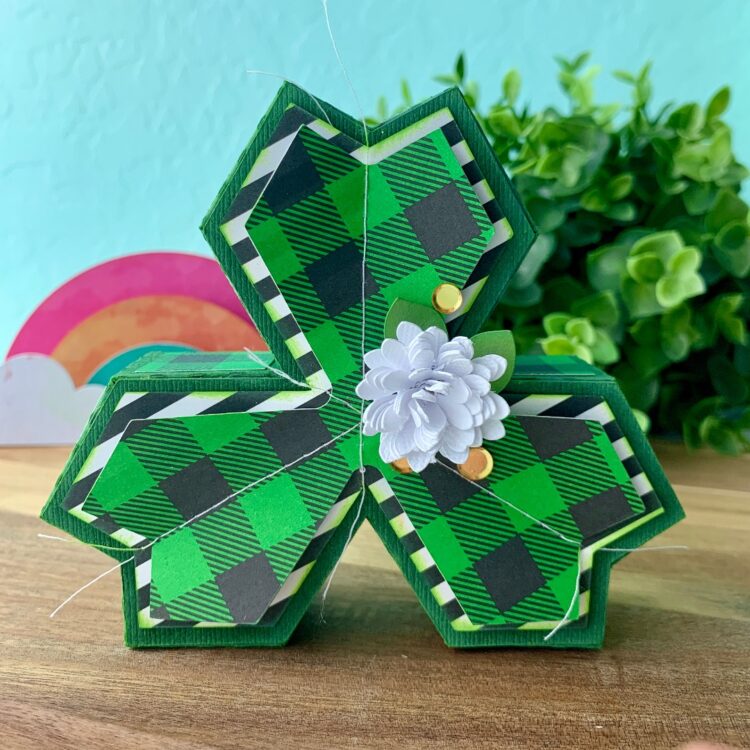
Hi there! Have you jumped on tiered tray bandwagon yet? I have! And have had a lot of fun making décor items for it. Lori has a new group of files for St. Patrick’s Day home décor that are perfect for a tiered tray. You can find it in her shop here. Today I’m going to show you how to assemble the 3D Clover (SVG, Silhouette).
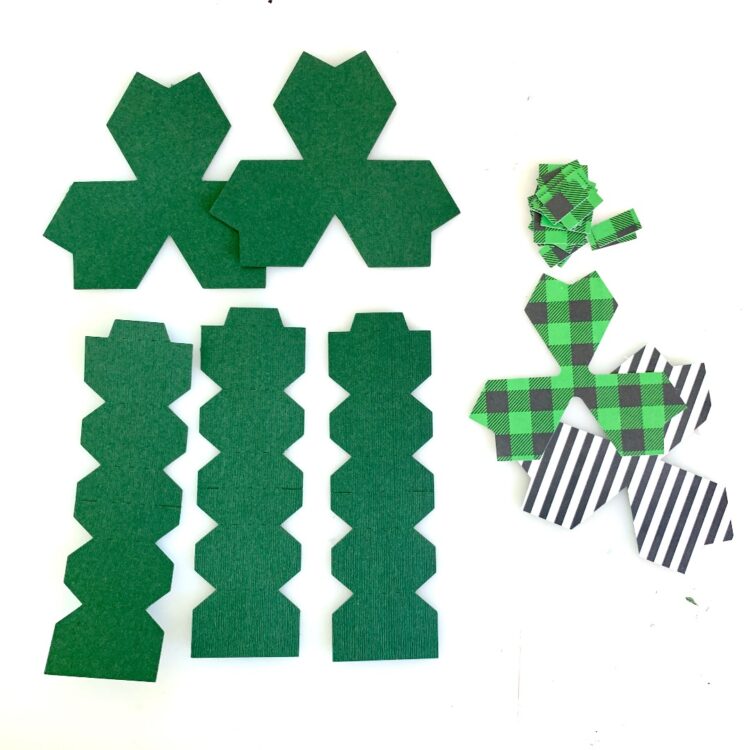
I started by cutting all of the pieces. In the file there is only one side of the clover, but you will need to cut two. I also wanted two layers of the front decorative panel, so I customized a piece by making an internal offset and cutting that out as well.
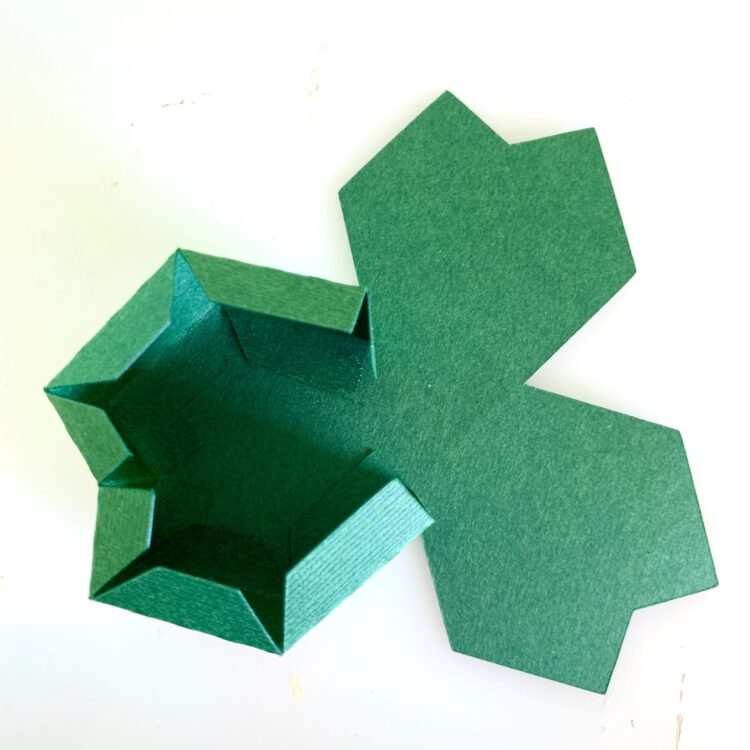
I folded all of the tabs. Most of the folds are mountain folds. The very middle score line is a valley fold as well as the tab on the end.
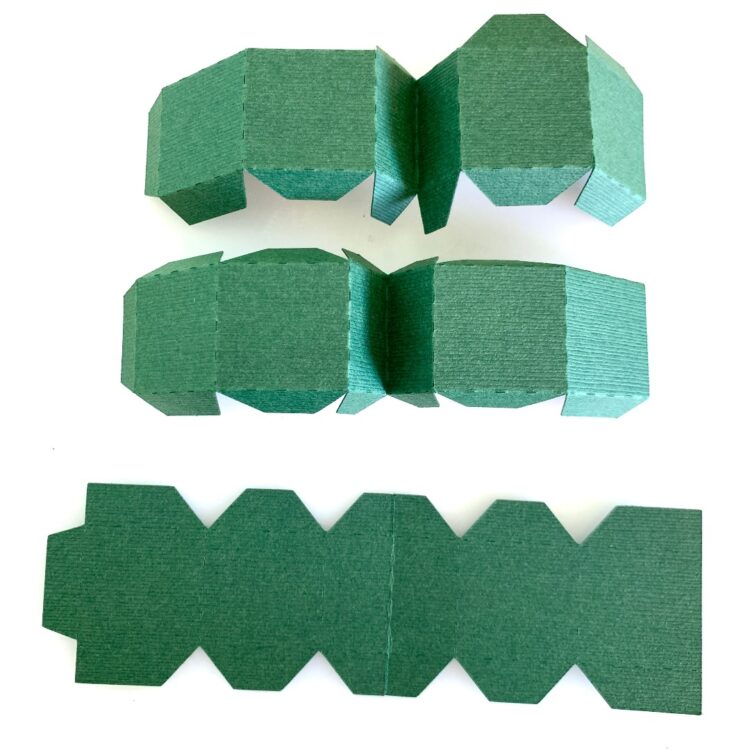
The middle valley fold will be in the middle of each of the clover petals.
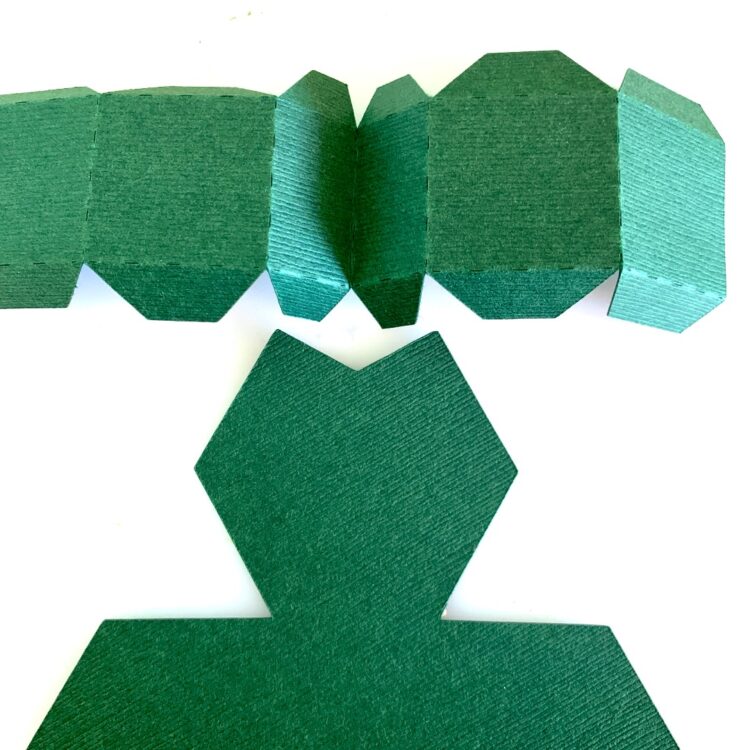
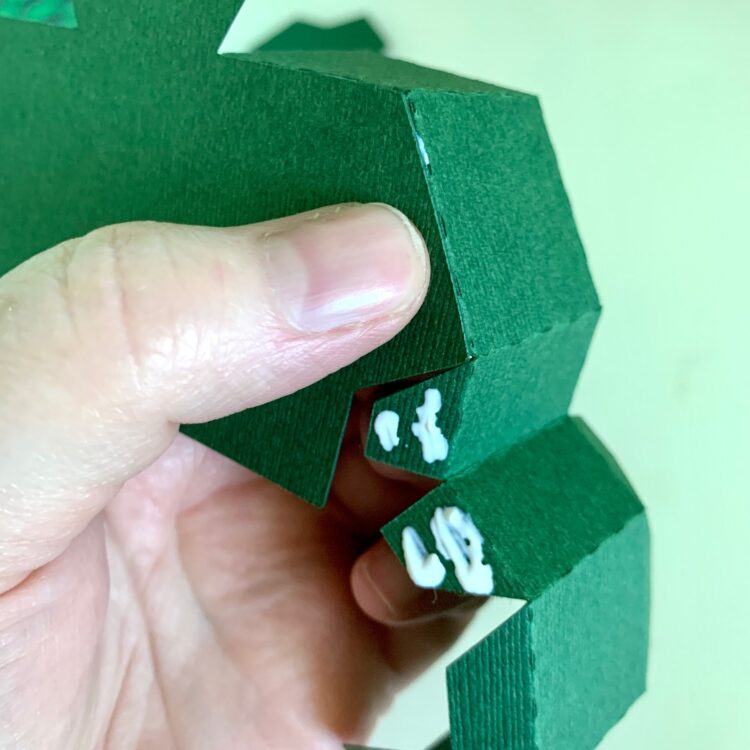
With some liquid glue I secured the first tab. I like to get a good anchor established before moving around the rest of the petal.
Then added glue to the next few tabs and secured them to the clover petals.
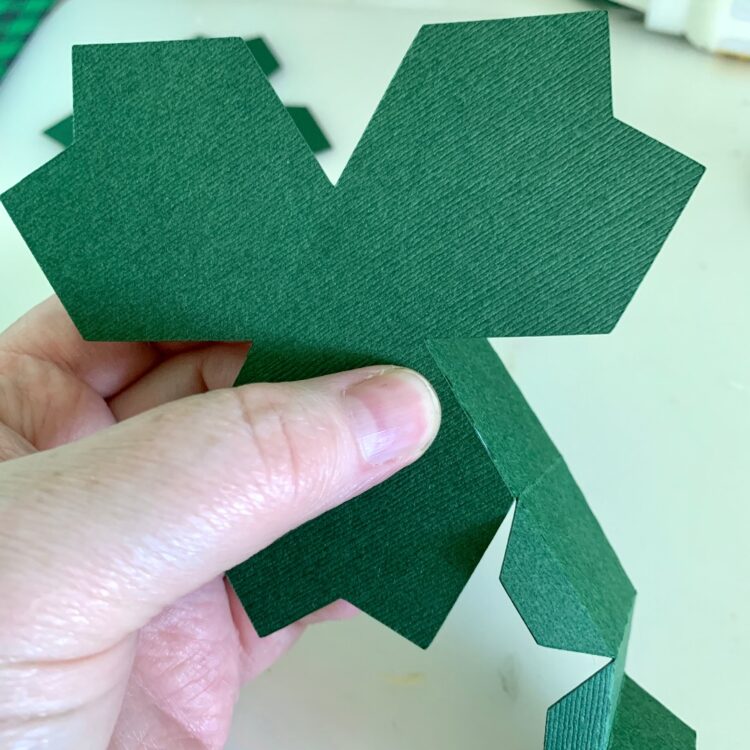
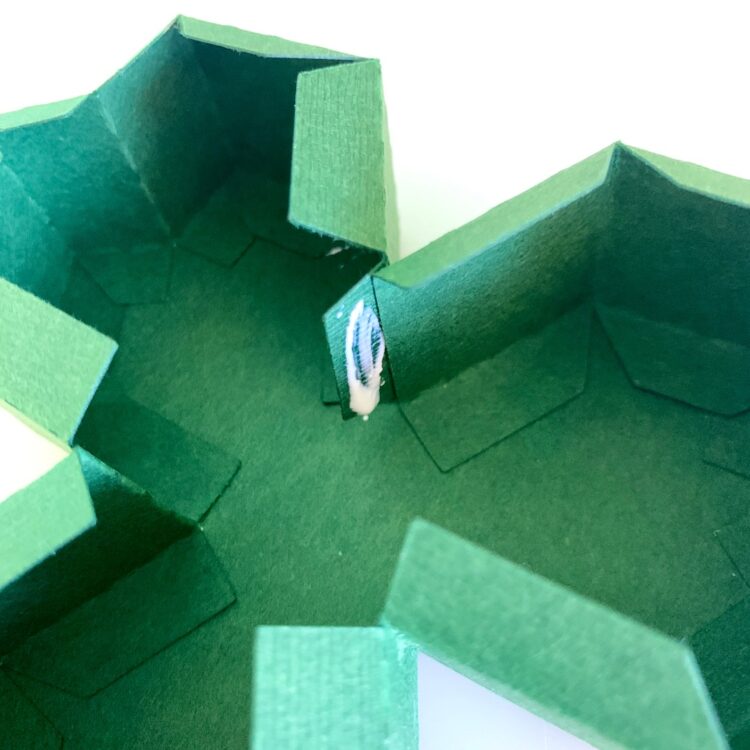
I repeated the process for the other two petals.
Once I had the other two petal edges complete, I glued the end tabs in place. It would also work really well to glue all of the edge strips together then glue them to the front of the clover. Rather than doing each petal separately.
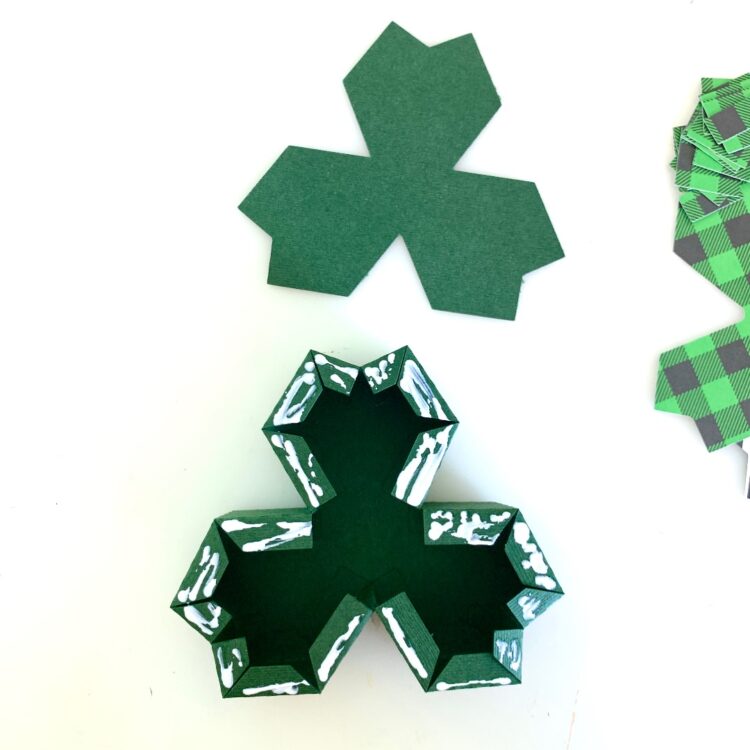
For the back piece I just went for it and added glue to all of tabs and laid the cover on top while I adjusted and lined up all the edges. It would probably be easier to anchor one tab then add the glue to the rest of the tabs and adjust/line up as needed.
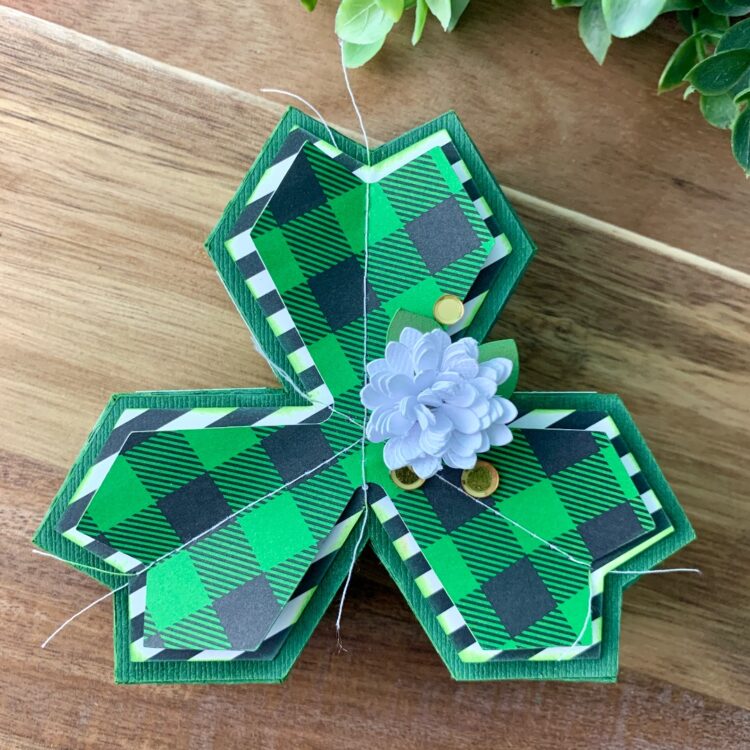
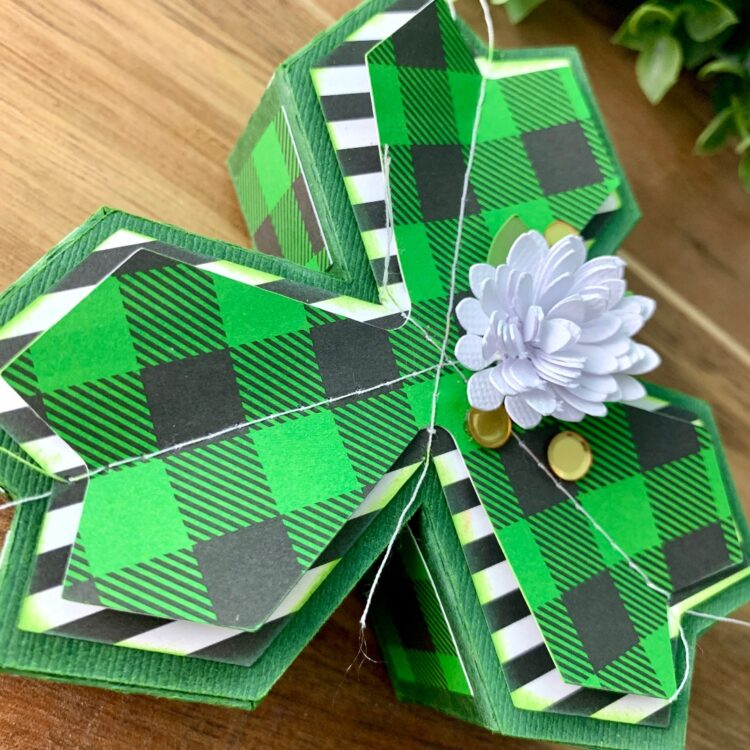
The last bit is the best part. I inked the all the edges. I glued all the decorative panels on the outside edges. I used my sewing machine to stich the two front decorative panels together. I added a rolled flower (SVG, Silhouette) and a few gold sequins.
And don’t forget, there’s a sale happening now in Lori’s SVG Shop! Get 30% off all SVGs, Fonts, Pattern Fills & Commercial Licenses when you use code MAR2022 at checkout. Don’t miss out, sale ends Saturday!

That’s it for me today. I hope you have a great weekend and thanks for stopping by!