
Today we have A LOT to share, did I mention A LOT. So be sure to stay tuned till the VERY end, I promise, you won’t be sorry! First up is Corri with a great project using sketch pens…
Hi everyone! Corri here today to share a quick tutorial for changing a cut file to a sketch.
I love this “Life is a Beautiful Ride” file and have been thinking of how I could use it on a project. I turned it into a sketch and it worked perfectly on my card. The paper on my project is from the Echo Park – Summer Bliss Collection that Lori designed.

It’s very easy to do. Here’s how I did it. First open open these 3×4 life cards, ungroup and delete the ones you do not need.

I resized the card to 4-1/2″h (keep aspect ratio). Next, open the ‘life is a beautiful ride’ file and scale it down to fit the card.

Next, select the card shape and click on the scissor icon along the top of your screen. Select “no cut”. The phrase portion need to remain on cut even though you won’t be cutting it….the pen will replace the blade.

Select the text and click on the sketch icon and click on plain. Now you are ready to send this to the Silhouette. Be sure to replace your blade with the sketch pen and select sketch pen in the cut settings.

Do not unload the mat. Replace your pen with the blade. Click on the card and change it back to cut. Select the phrase and change it to no cut. Adjust your settings back to blade and send it back to the Silhouette to cut. I cut a six petal flower and used a chipboard sticker from the paper collection to embellish my card. The finished size of my card is 6-1/2″h x 4-1/4″w.
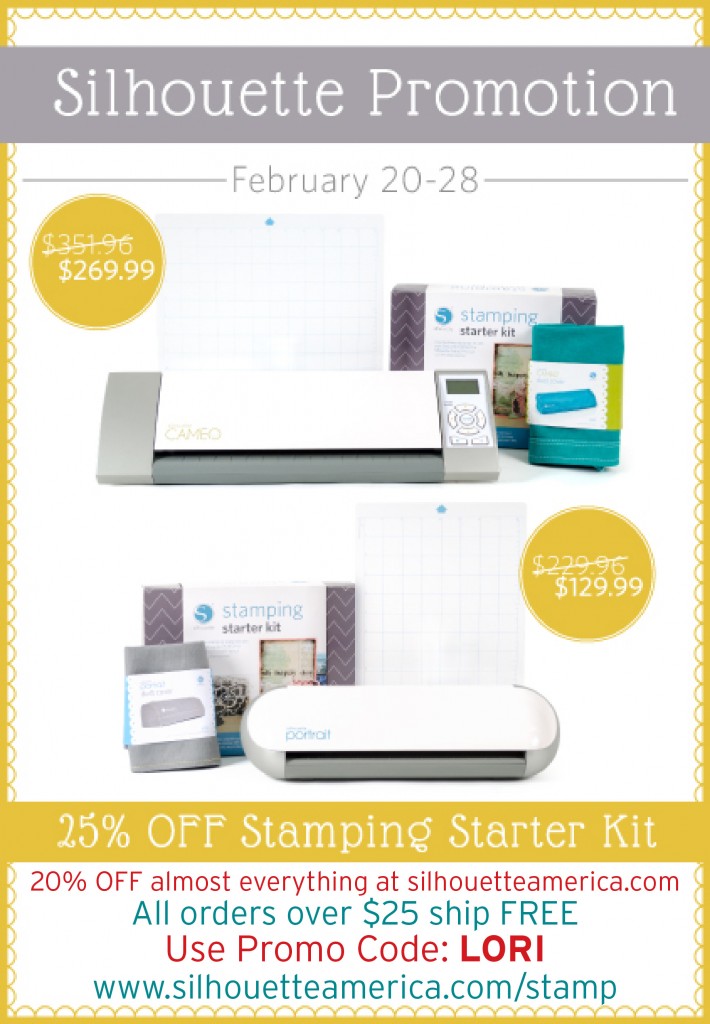
Next, I have some GREAT news! Silhouette is having an amazing sale!
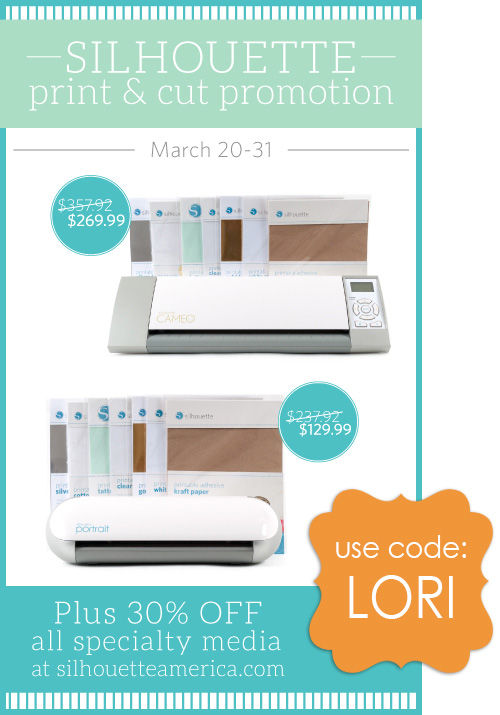
Beginning today, March 20th-31st Silhouette is running a promo on their Print & Cut items. In case you don’t know, this is one of the BEST features about the Silhouette! If you are unfamiliar, dig these details: http://www.silhouetteamerica.com/faq/solution/print-and-cut-capability. Check out all 3 of their offers below.
The first is 1 Silhouette CAMEO® plus the following print & cut related items
1 package of temporary tattoo paper
1 package of printable adhesive kraft paper
1 package of printable adhesive gold foil
1 package of printable adhesive silver foil
1 package of printable white sticker paper
1 package of printable clear sticker paper
1 package of printable adhesive cotton canvas
All of this for only for $269.99 (MSRP $357.92)
Be sure to use this link to the machine section of the shop, and coupon code LORI at checkout.
If the Silhouette CAMEO® isn’t your thing or not quite in your budget there is a second option, which includes 1 Silhouette Portrait™ plus the same print & cut related items with the CAMEO:
1 package of temporary tattoo paper
1 package of printable adhesive kraft paper
1 package of printable adhesive gold foil
1 package of printable adhesive silver foil
1 package of printable white sticker paper
1 package of printable clear sticker paper
1 package of printable adhesive cotton canvas
All of this for only for $129.99 ($237.92 MSRP)
Be sure to use this link to the machine section of the shop, and coupon code LORI at checkout.
If you already own the machine of your dreams but need some extra supplies to replenish your stash, ALL specialty media will be 30% off until March 31. Use this link to the media section of their shop (be aware it is a different link than the other two) and use coupon code LORI at checkout
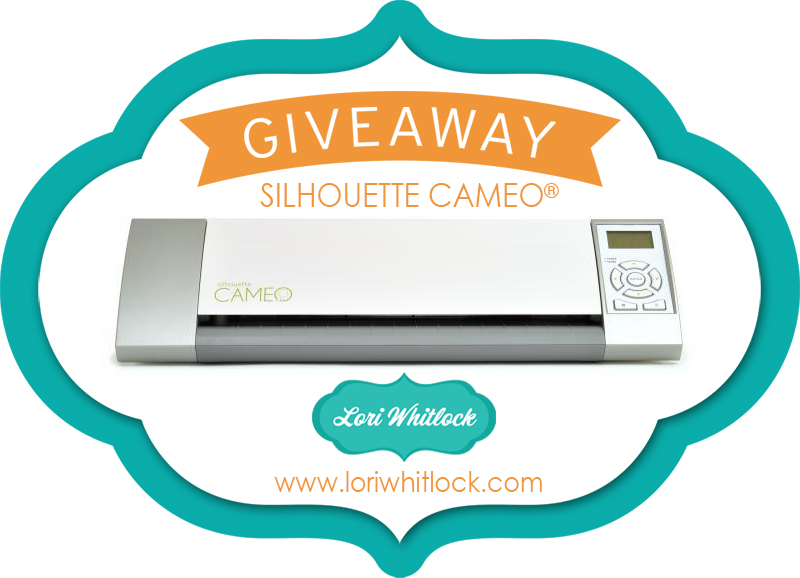
Silhouette has been so generous and provided a Silhouette CAMEO® to one lucky reader. Be sure to enter using the Rafflecopter link below. The giveaway will end March 25 so be sure to enter by then and tell your friends. We will announce our winner on March 26, 2014. Good luck to you all!
a Rafflecopter giveaway
THANK YOU for sticking it out till the VERY end, WHEW, that was A LOT of reading. I want to give you something too. We have today’s freebie here for you to download and enjoy. Thanks for being such great friends and sharing your projects with us. Be sure to come back tomorrow for another daily freebie. 
GOOD LUCK to all who enter the giveaway!


 In the following tutorial, I’ll give you step by step instructions on how you can make your own embossing plate out of plain cardstock. Of course you can also use chipboard but if you don’t have any on hand then it’s just as easy to make it out of cardstock.


