Hey everyone! Hope you are all enjoying your summer! Today I have a tutorial for you on how to change the color of a Print and Cut file. One of my favorite features of the Silhouette software is the ability to do a print and cut. Lori has some really cute Print and Cut files in her library and so I thought it would be fun to showcase one of these files today.
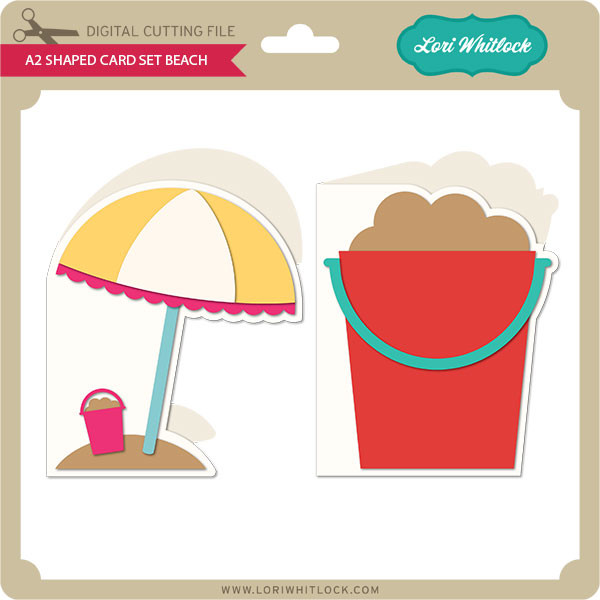
So I am using the a2 Shaped Card Beach (found here in the Silhouette Store). I loved all the fun colors of this card, but I wanted to add some patterns to spice it up a little . Let me show you the steps to do this.
Step 1-
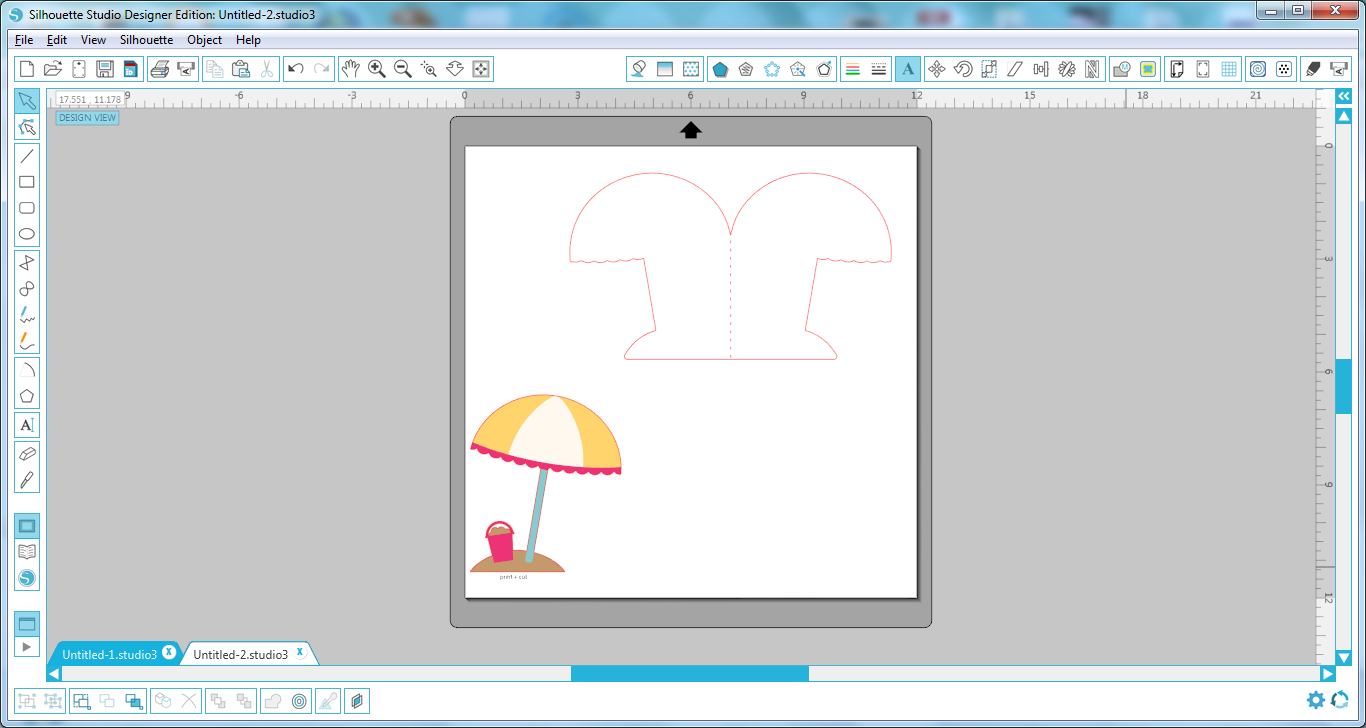
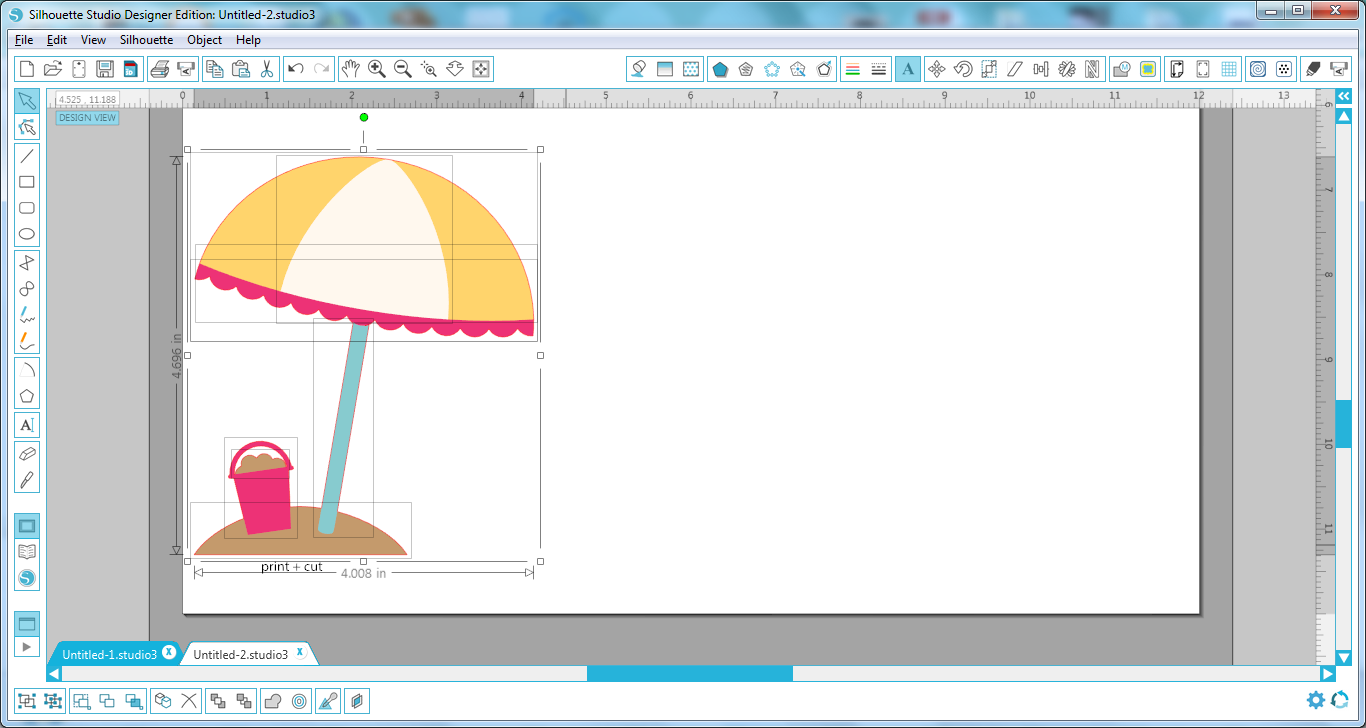
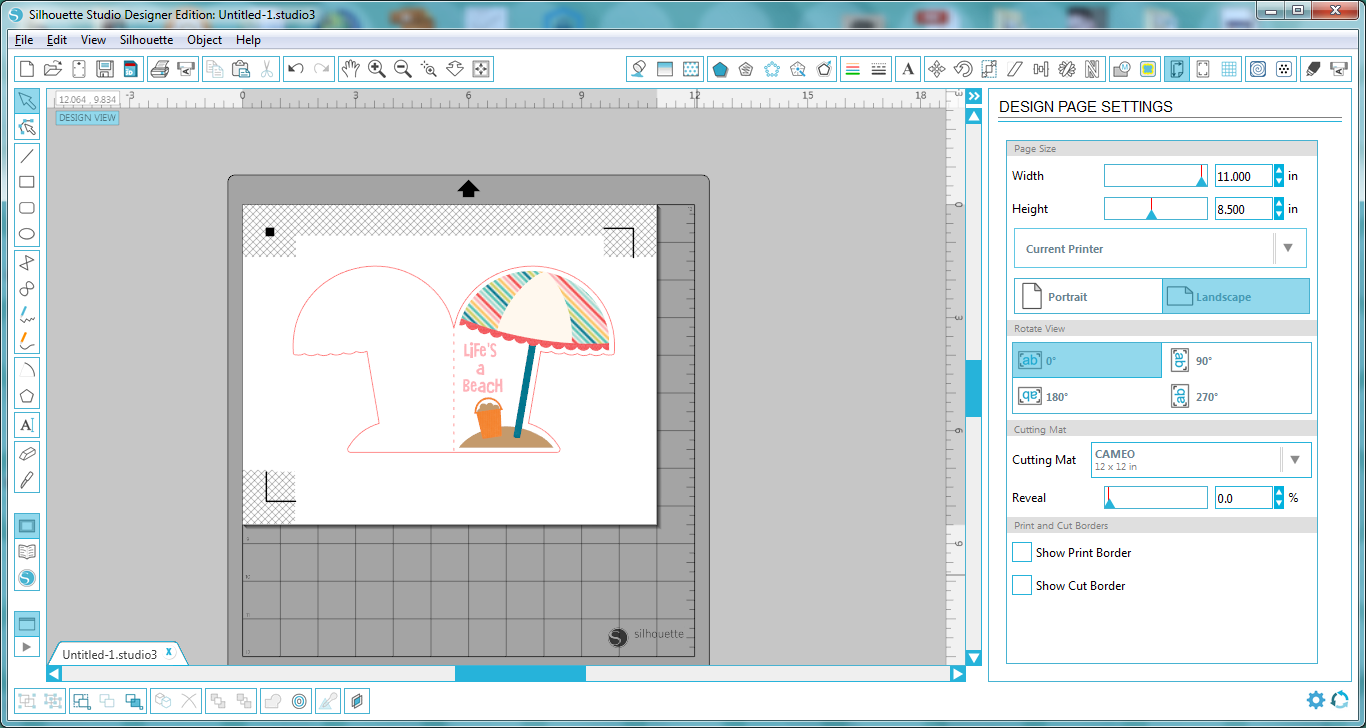
Open up the file in your Silhouette. Here is what it looks like in its original state.

Step 2-
Select all the pieces of the card and then ungroup them so we can work with each piece individually.

Step 3-
We only want to work with the Print and Cut part of the file, so go ahead and delete the other pieces.
Step 4-
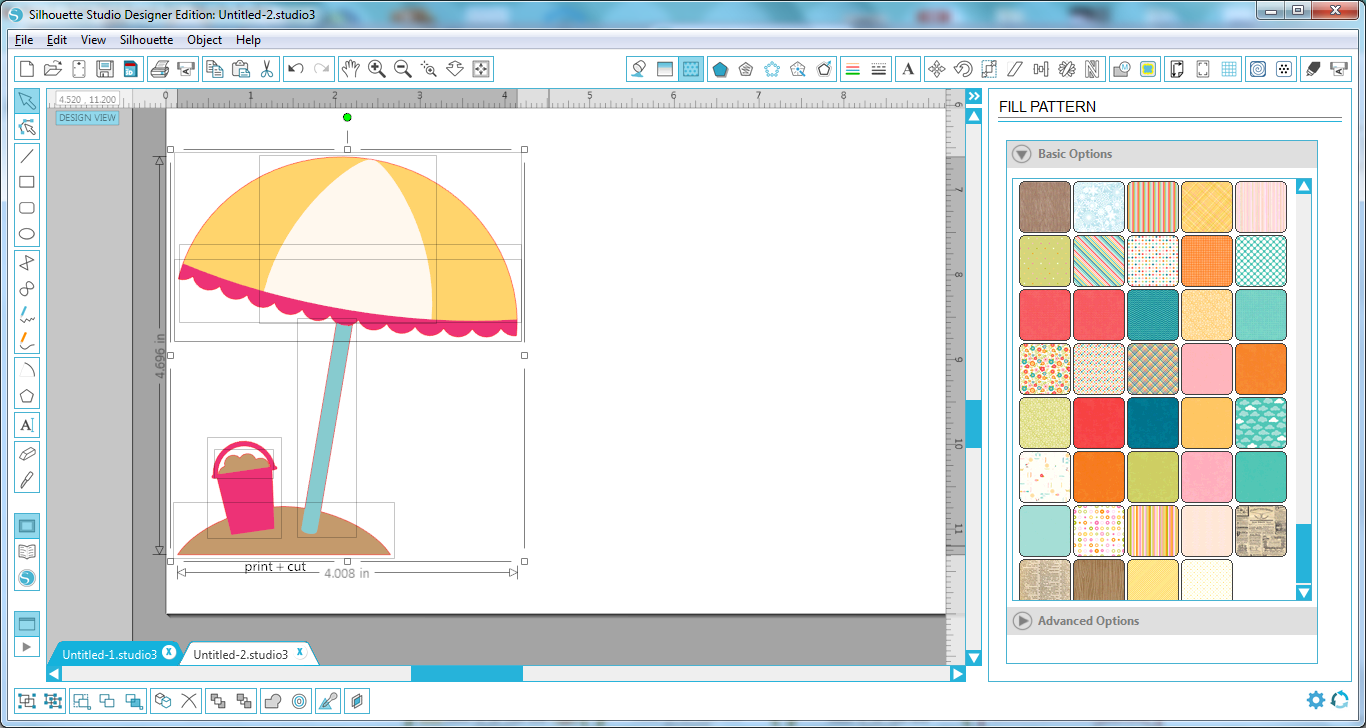
Select the shape and then again ungroup the shapes so we can separate all the different pieces.

Step 5-
I downloaded this digital paper set ( Summer Fun Papers found on Snap Click Supply). Adding digital papers to your Fill Patterns in the Silhouette software is super easy. Simply select the papers you want and drag them into your pattern bin in the software.

Step 6-
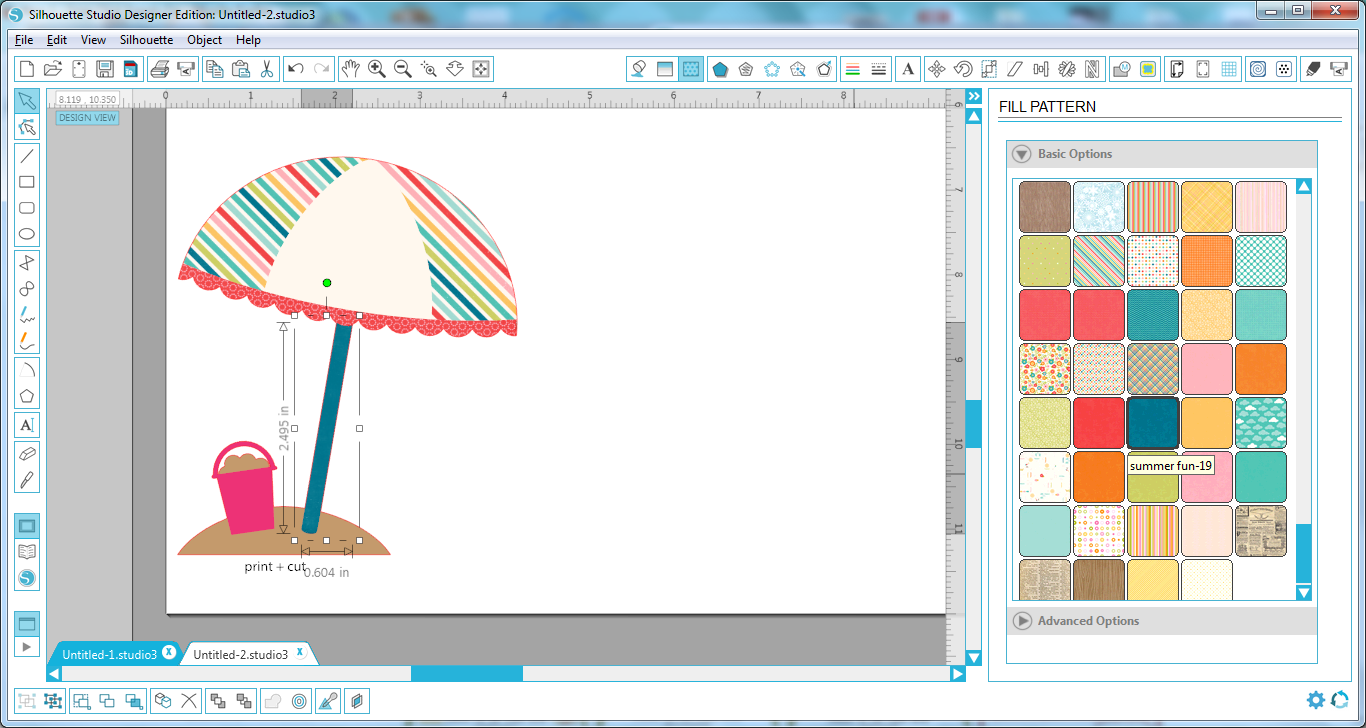
Select the part of the original file you want to change. Here I changed the yellow part of the umbrella to a fun stripe. Simply click on the fill pattern and the software does the rest.

Step 7 –
Go ahead and change the rest of the original elements to new ones by selecting the piece and then selecting a new fill pattern.


Step 8-
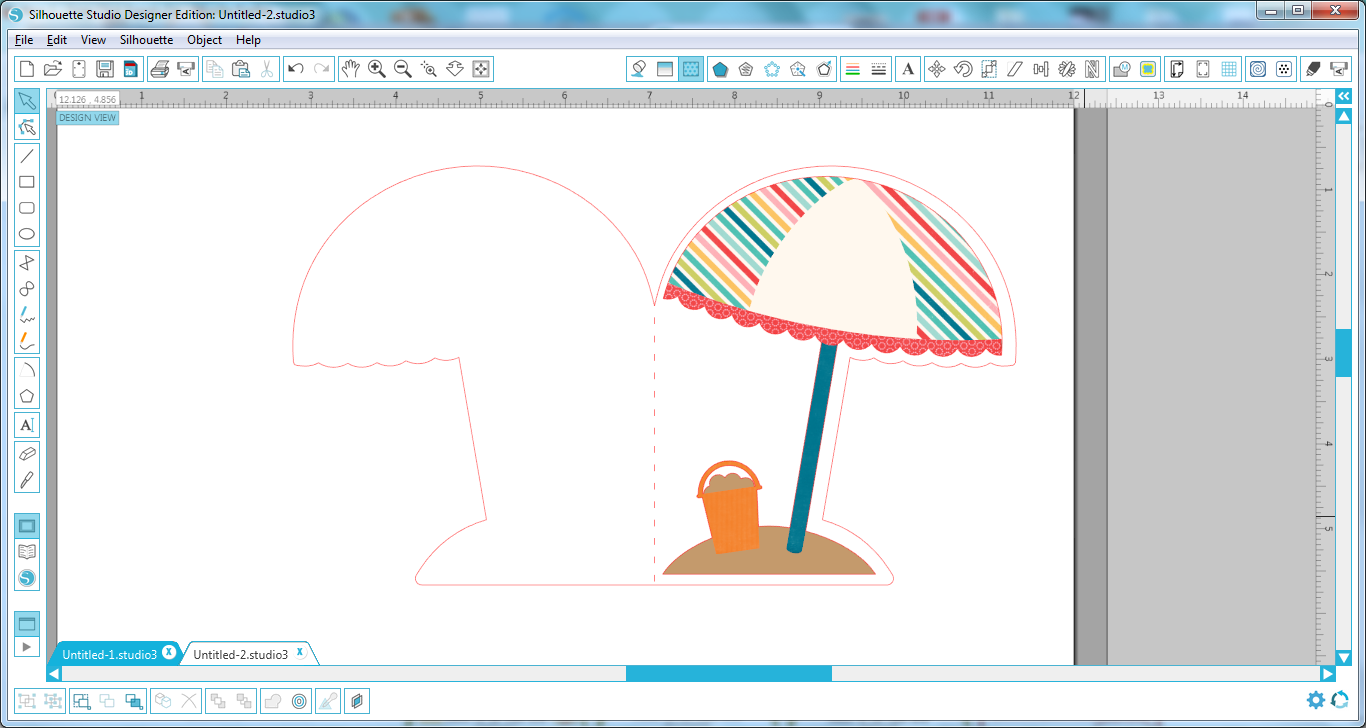
Once you have all the colors changed to your liking – go ahead and group the file back together again and then drag it onto the card base.

Step 9 –
Just for fun – I added a sentiment to the card front using the LW Fun font. (LW SVG shop) (Silhouette) .

Step 10-
Add registration marks for an 8 1/2 x 11 size page.
Make sure you adjust your cut settings as well to only cut the outer edge of the card and not the cute umbrella.

Select the No Cut option to make sure the umbrella does not get cut out.

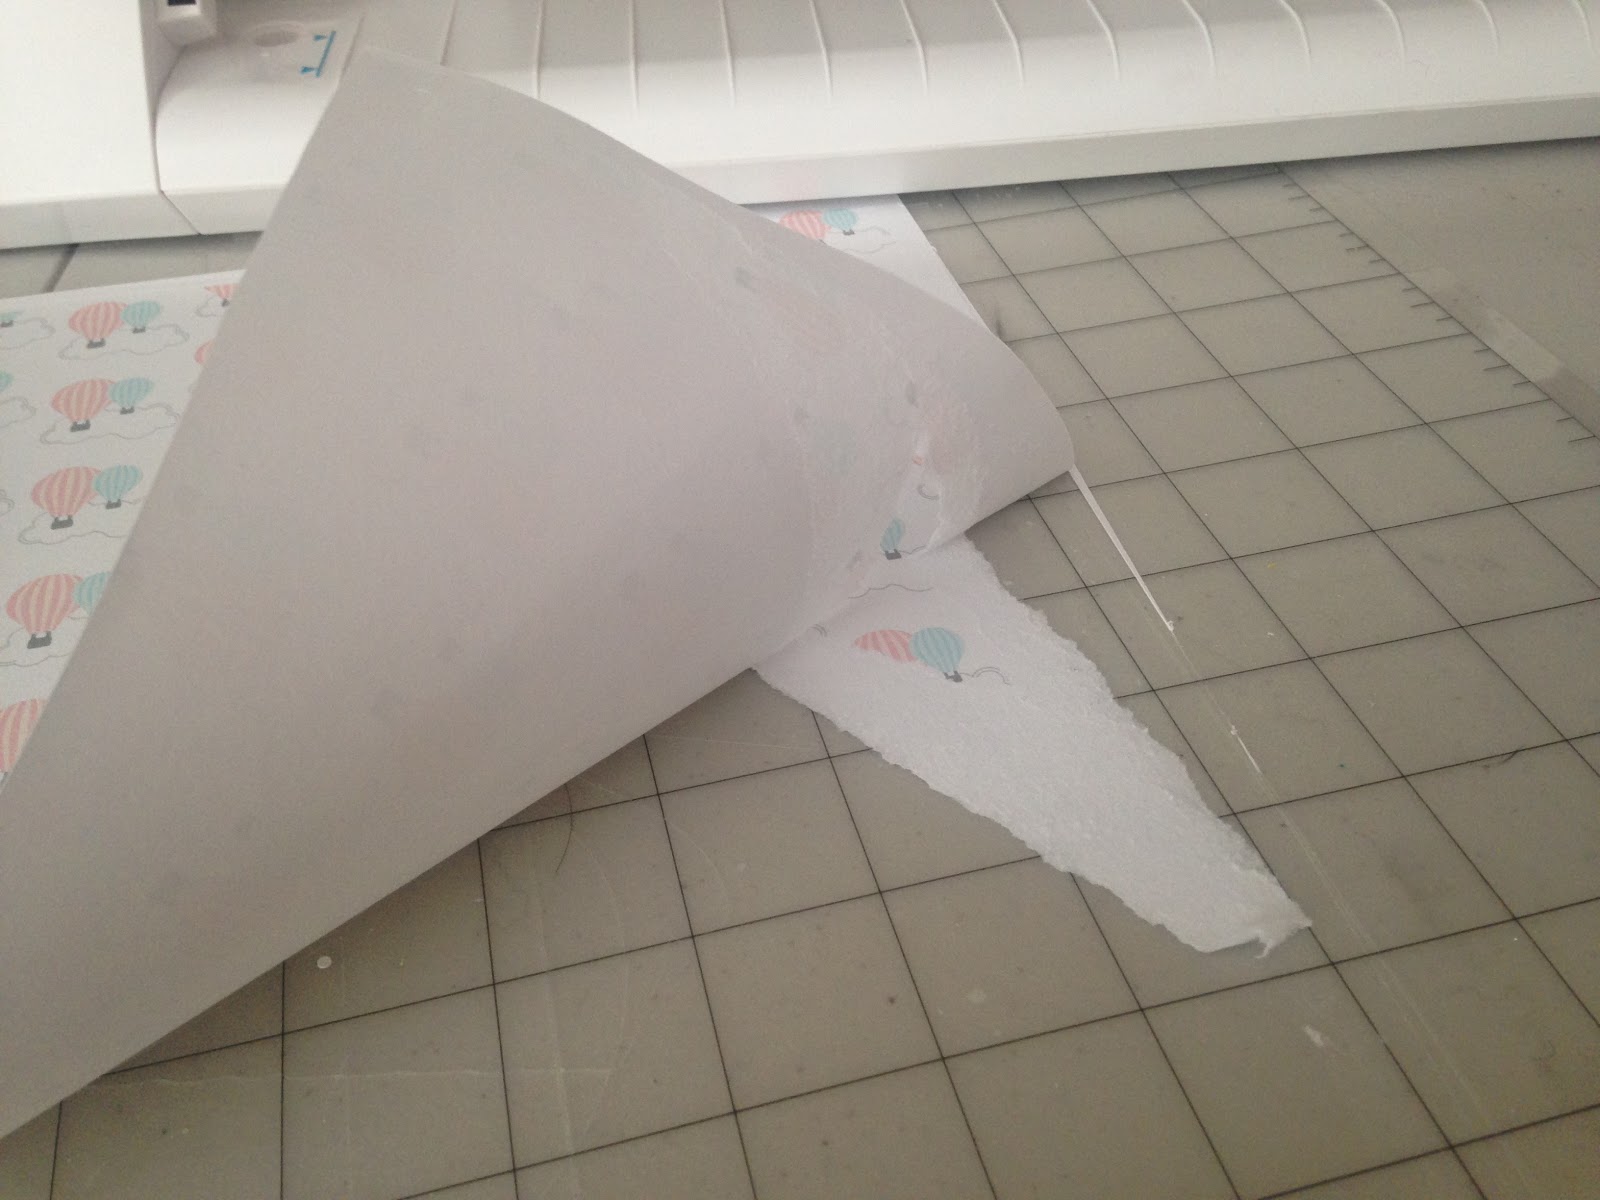
Now were ready to cut! Send the file to your printer and print it out and then load the paper onto your Silhouette mat and cut it out.
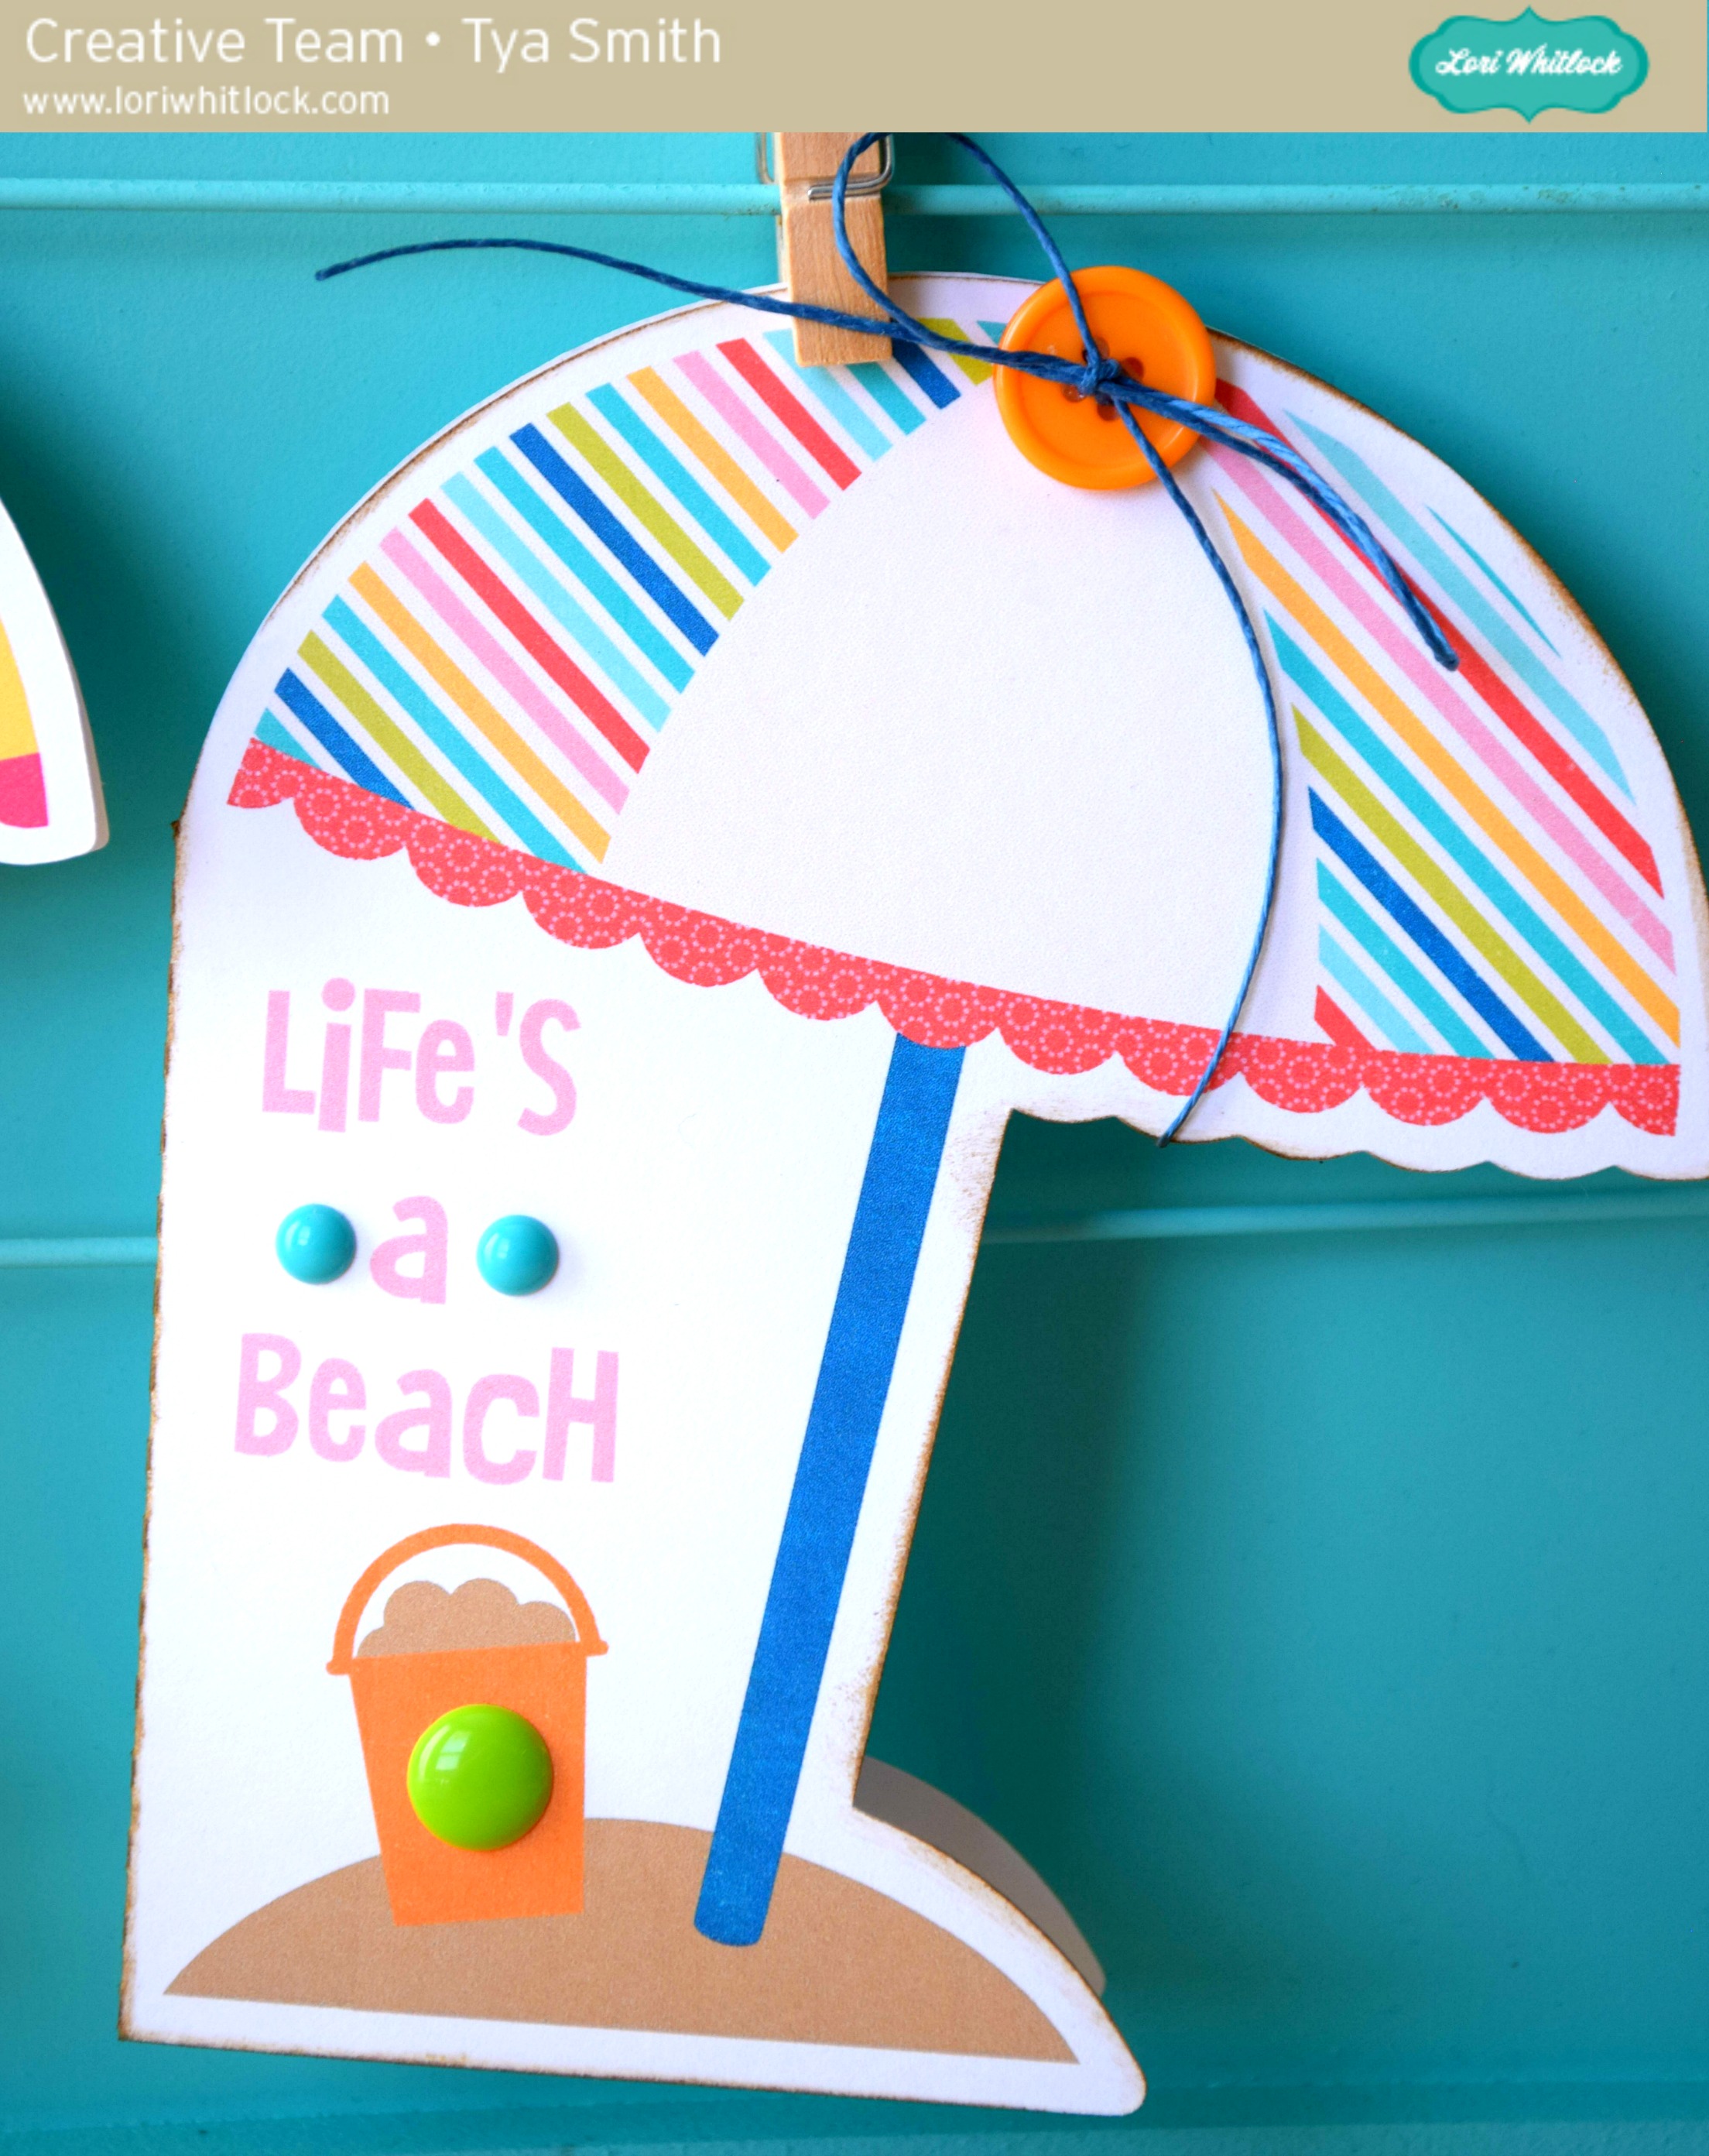
So here are the cards. The one on the left is the original card.The one on the right is the card that we made changes to. I also added some embellishments to add a little texture and interest.
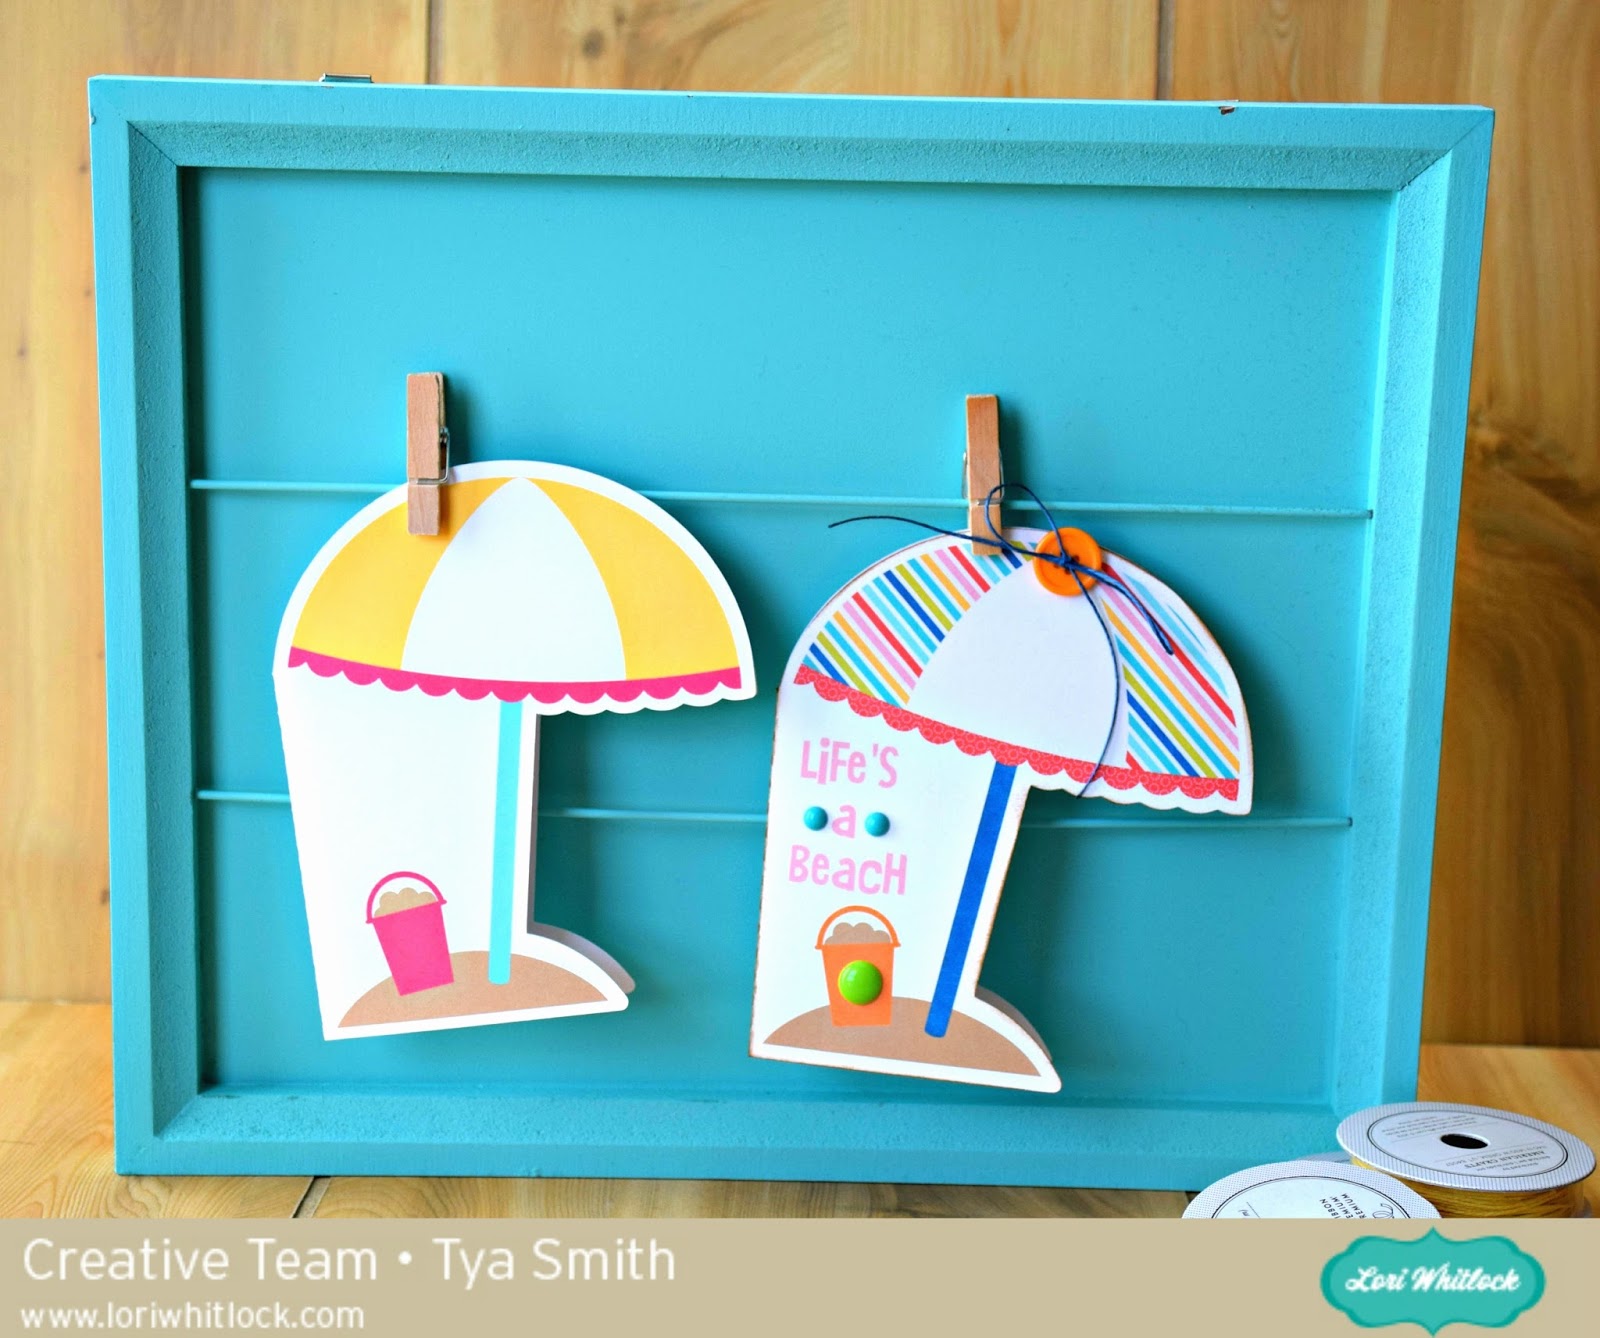


Thanks for stopping by. Hopefully I have taught you a new fun trick for you to try the next time you want to make a project using the Print and Cut feature! Happy Crafting!