Gift Card Booklet with Kathy

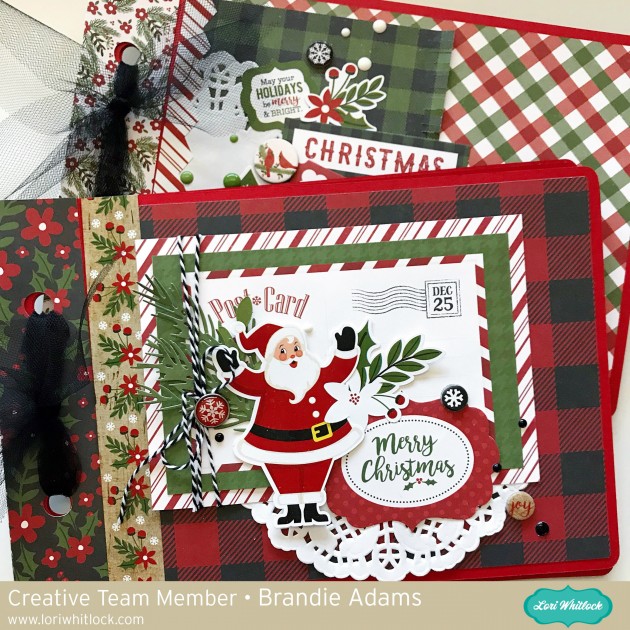
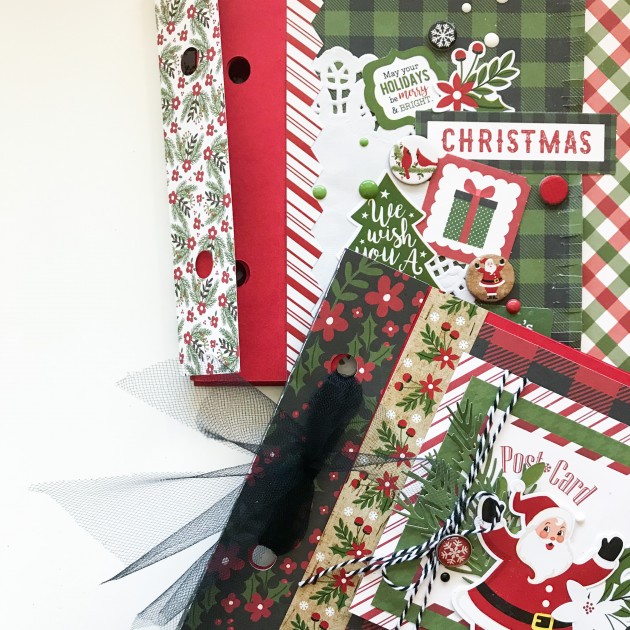
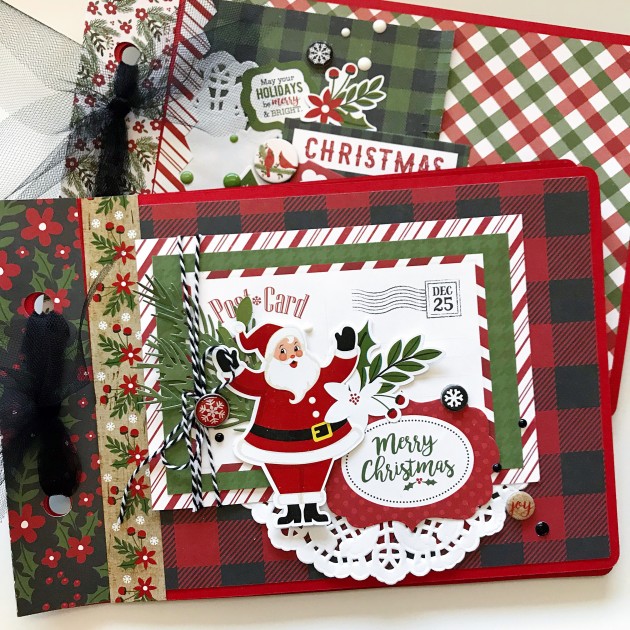
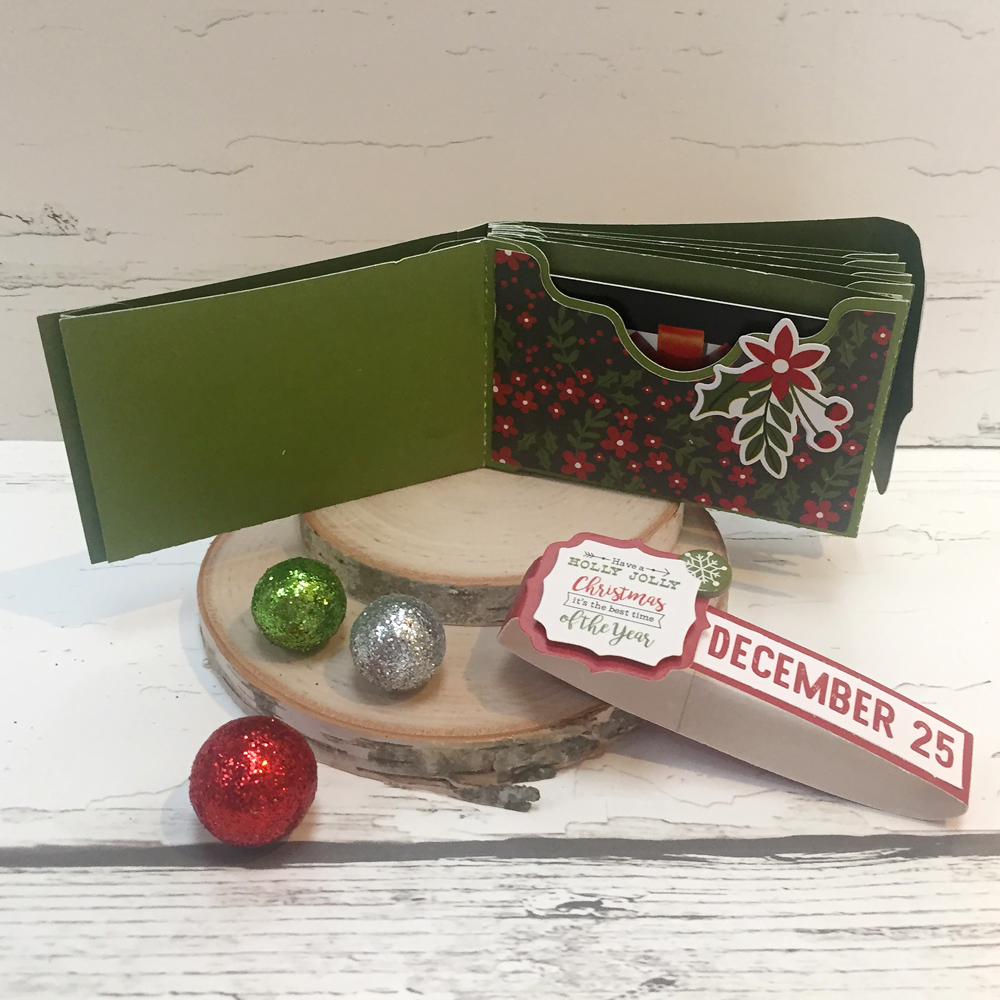
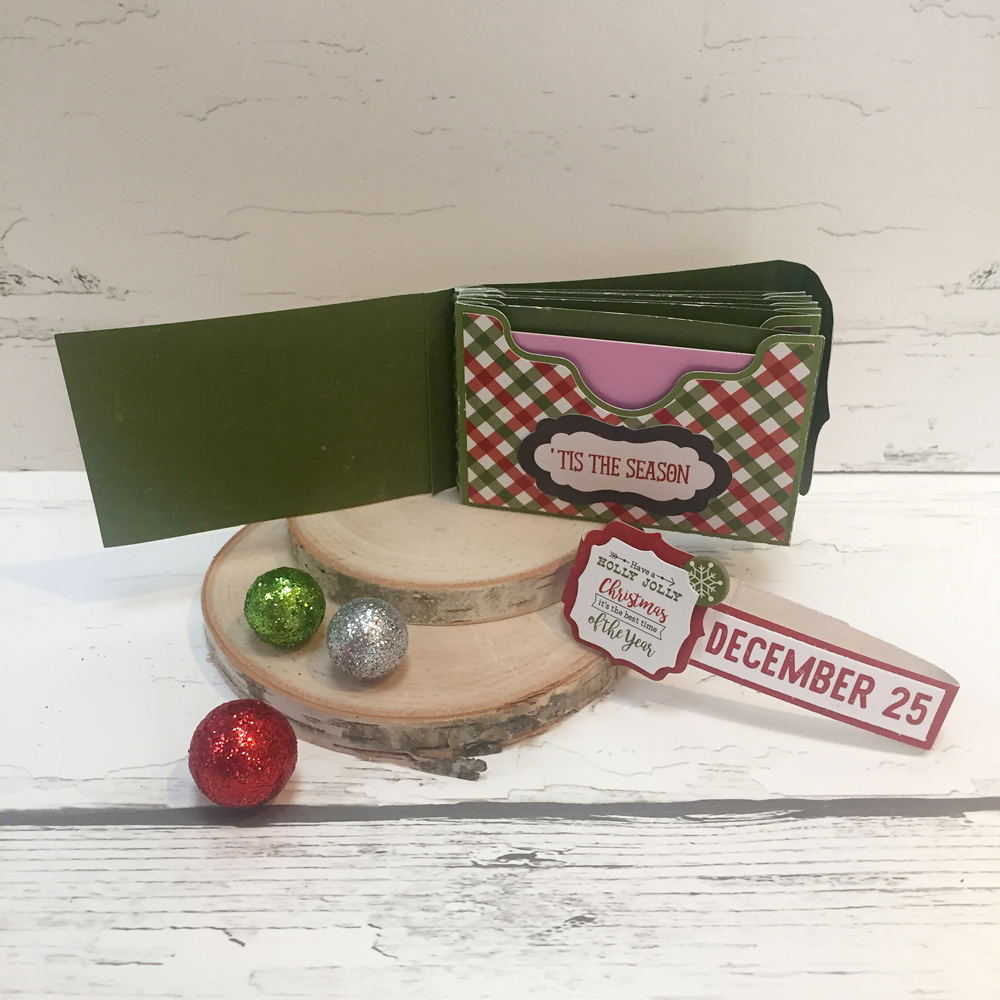
Hi Everyone!  It’s Kathy today with a little gift card booklet I made from a mini album file.  Every year, I give my college girl a few gift cards to her favorite places in a cute little package.  It’s one of her favorite Christmas gifts!  This year, I made a fun book using Lori’s 4×6 Horizontal Pocket Mini Album Tabbed Pages  (available here in the Silhouette Store) and some papers and embellishments from Echo Park’s A Perfect Christmas.  Take a peek….

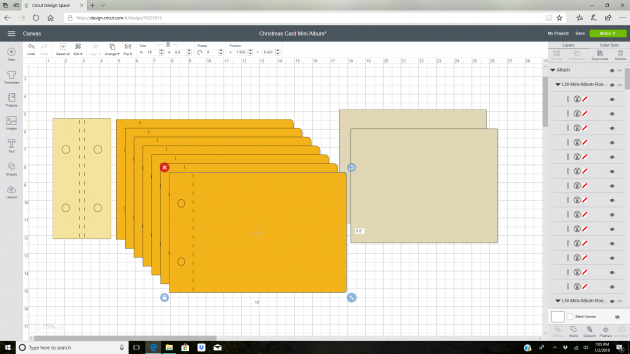
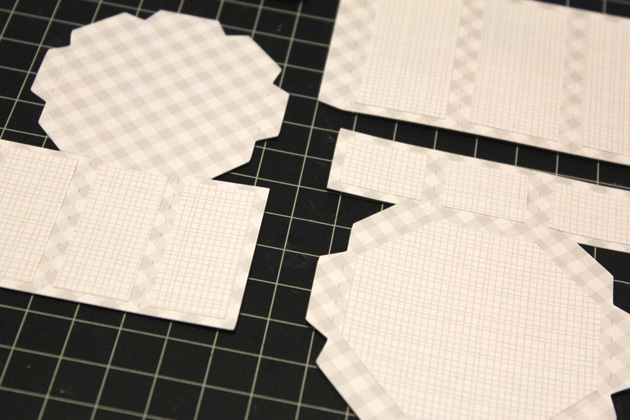
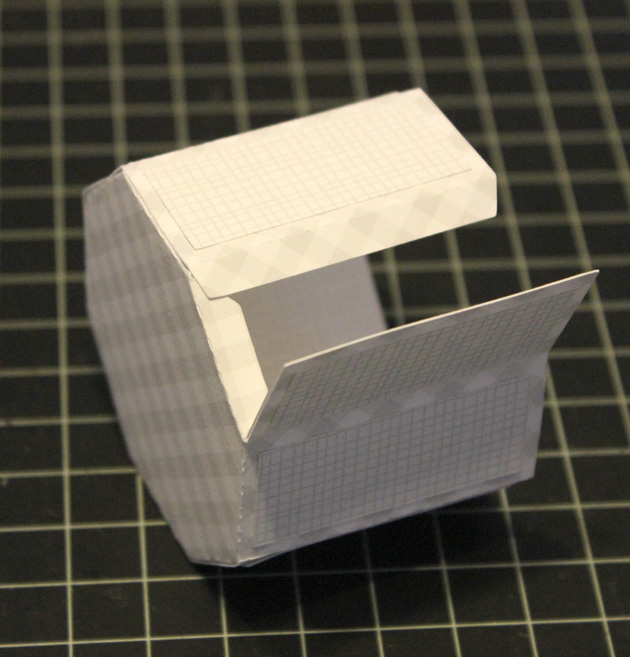
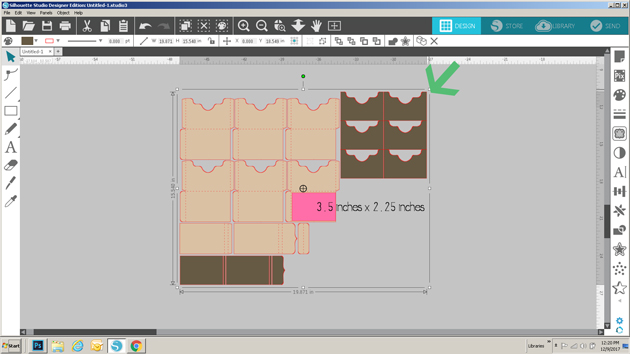
To make the mini album a better size for gift cards, I had to resize the file.  To do this, I first loaded the file into my Silhouette.  Next, I ungrouped the file and deleted the tabbed pages since I was not using them.  I then regrouped the remaining pieces.  To size them I drew a rectangle on my mat measuring 3.5″ x 2.25″ which is slightly larger than a standard gift card.  I placed the rectangle over the base of one of the gift card pockets and clicked on the upper right corner of the grouped shapes and dragged down until the pocket size was close enough to the rectangle size.

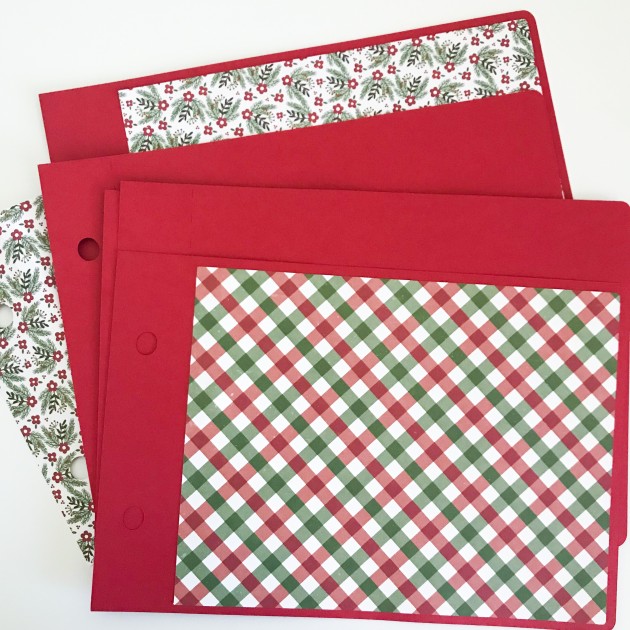
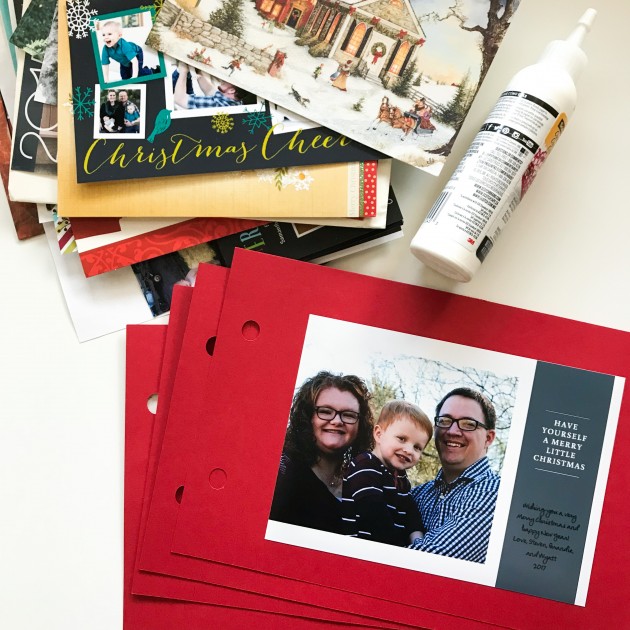
This sized all of the pieces perfectly!  Here are some close-ups of some of the inside pages…

I added a belly band to the book to keep it closed since it was a little thick once the cards were inserted.  To do this I simply cut a 0.5″ strip of colored paper from a 12″ x 12″ paper and wrapped it around the book.  I trimmed the extra and secured the band with my tape runner.  Now to finish my shopping and fill it all up!  That’s it for me today, thanks for stopping by to peek!

Christmas Border Edge Cards Adding Color Tutorial by Brigit

Hello there, it’s Brigit, I have a quick tutorial on how to add colors to these Christmas Border Edge Cards. When I have a large amount of cards to send I love simple cards and this is a quick and easy way to add a splash of color to them.

Here are three that I made from the bundle but I’ll show you the Christmas Holly Border Edge Card, (Silhouette Design Store – Christmas Holly Border Edge Card) in the tutorial.

First I ungrouped and then duplicated the card base, next I used the knife tool to slice the card in half.

On the holly border edge half I right clicked and did a release compound path and deleted just the leaves.

After deleting the holly leaves I selected the card and berries, right clicked and selected make compound path.

Here they are layered back up, super simple! You may have to shave a little off of the green so it fits nicely inside the card without hanging out further than the the back.

Here is a closeup of all the cards I made…


I really like the simplicity of the white with the colored glitter paper, I kind of wished I did the Santa one the same. For the sentiment I did a print and cut using the Merry Christmas Title 2 which you can get here in the Silhouette Design Store.


I did another print and cut using the Merry Christmas from the 3 Christmas Greetings, in the Silhouette Design Store you can get it here.

This Merry Christmas Flourish Phrase sentiment is a cut file.   Thanks for stopping by and have a wonderful day!!

Vintage Style Christmas Sign Tutorial with Brandie


Hi there! Brandie here with a tutorial on how I made this Christmas sign using the Sleigh Rides on Santa Claus Lane file. You can find it here in Loris shop and here in the Silhouette store.

After I got my image uploaded and sized accordingly I cut  out the image on vinyl to create a stencil. While my machine was cutting the images I painted the white layer on my barn wood square.


I painted one thin layer of white acrylic paint and did not go all the way to the edge of the wood to help give it an aged look.  While the paint was drying I weeded the vinyl. To create the stencil I removed the inside parts and kept the negative image.
To apply the stencil I cut the image into thirds  and applied to the dry painted wood. I am the queen of eye-balling things and did that here. But transfer tape would help with applying the stencil to the wood.
Once the vinyl was applied to the wood I rubbed everything down with the long flat side of a bone folder being careful not to gouge the wood. I used red acrylic paint and a stencil brush to apply the paint in thin layers.
After I had the color and coverage I wanted I gently pulled the vinyl off the wood.
I then used a hand-held sander and carefully went over the sign.
Here it is all ready to add to my Christmas décor. I love how it turned out and have plans to make another one with a  nativity file next.
Thanks for stopping by!
Brandie

Pumpkin Spice Everything with Mitsyana

Hello, Friends! How many of you are ready for Thanksgiving Day? Do you have a special feast planned? Any PUMPKIN on that menu?  Well, if you are like me you then you love all things Pumpkin Spice. In fact, you probably wait for this time of year to come just so you can kick up your heals and indulge in all things pumpkin spice related!!

Lately, I have really enjoyed coloring and find it very relaxing. So I used images from Lori Whitlock’s Pumpkin Pie Print & Cut Stamps set to create this CAS (Clean and Simple) Pumpkin Spice EVERYTHING card!

Image 1

I started by opening my ecal software and creating my digital card front by opening each image and adding it to my virtual “mat”.

To get your images centered perfectly within your card shape, highlight the group of images (everything you want to be centered) and click on the “Align” button. Here’s the tricky part…Click on “H Align” to align images vertically, meaning images will line up in a row from up to down/ down to up… and “V Align” for images to align horizontally, meaning the lineup side to side.

I’m making a long A10 sized card, so I want them to be centered/ lined up vertically so I click on the center “H Align”.

Once I get the layout of my virtual card to the way I like, I duplicate the image. I  do this because I can make multiples of the same card or I have a back up in case I butcher my first attempt I have a spare. LOL

Don’t worry about the lines being there, these were just guides to remind me where the parameters of the card are. I intend to trim this off.

Then, I print from directly inside my ecal software. Click “File” on the menu bar and select “Print”. Easy peasy! I printed my images onto kraft cardstock using a laser printer. I used a laser printer as opposed to an ink jet because the ink is automatically heat set and will not run when if you plan on using markers.

I colored the little whipped topping with a white opaque marker. This would’ve definitely re-activated the ink if it was an ink-jet printer and it would have created nasty smearing and smudging.

For this project, I chose to color the rest of the images with color pencils. I love the way color seems to pop when applied to a darker paper. They almost look like they are glowing!

I printed another set, this time on white cardstock. Then, I cut out the banner pieces.

I ran the banners through my Xyron Sticker maker.  I then attached them to their matching digis on the kraft print.

I cut the Kraft card down to measure 3.75″ x 9″. I mounted it onto mirror cardstock measuring 4″x 9.25″. Then layer it onto patterned paper measuring 4.25″ x 9.5″.

I attached my card front to a 4.25″ x 9.5″ (folded) card base.

And here is my finished card.

I really hope you enjoyed today’s project and hope you have a very memorable and delicious Thanksgiving!!

Happy Crafting!!

~Mitsyana

Holiday Dog Bandanas with Anita

Hi:

Anita here with a fun and easy tutorial to make your furry friend a dog bandanna.  My son and daughter-in-law have three dogs and they like to include them in their Christmas photo.  I made some personalized bandannas for my fur grand dogs using some of Lori’s fun fonts and heart cut files.  For Lily and Sully’s bandannas, I used the Wide Marker font at 288.0 pt which can be found here in Lori’s store and here in the Silhouette store.    For Scout’s bandanna I used LW Thick at 288.0 pt which can be found here in Lori’s store and here in the Silhouette store.  The cut file for the hearts is called 4 hearts and can be found here in Lori’s store and here in the Silhouette store.   I found a doggie bandanna pattern on the internet from Sew Caroline and the free pattern is here.

Here are the supplies that I used for Lilly’s bandanna.  You can really use any heat transfer vinyl.

I measured across the part of the bandanna where I wanted to put the letters so that I would have a sense of how wide the name could be and fit nicely.

Lori’s fonts are so easy to find in your Silhouette font library and they start with the letters LW.

I had fun experimenting with some of Lori’s different fonts to see which one I liked the best.


Heat transfer vinyl has a clear plastic sheet which is sticky over the front of the vinyl which allows you to protect the vinyl while ironing it on.  You are going to want to place it with this clear/front side face down on your mat.  You can cut vinyl without a mat but I didn’t want to move my rollers so I put it on a mat.

As you can see from above there are many different types of heat transfer vinyl.  I chose to use a metallic one so that is what I selected in the cut settings.  Notice that the letters are not mirrored on my mat.

Isn’t Silhouette so smart?  They know I am cutting with vinyl and asked me if I wanted to mirror my design.  Given that I was cutting out letters I said to send them mirrored.  I also chose to do two passes as my blade isn’t brand new and I was asking it to cut through three layers.  I could also have mirrored it before sending it to cut.

Wows, my mat is looking well-loved.  Here are the letters cut out and the extra vinyl removed.  Don’t remove the top plastic sheet, you need it on until the letters are ironed down.

Everything is ironed down now.  I used a plastic pressing sheet and did not heat it for the 45-60 seconds as they recommend on the package because my iron runs really hot and I didn’t want to bubble the vinyl. I usually choose a middle point and put the first letter down there and then add the rest one at a time.  I find that things move less that way when ironing.  Apply even pressure, not steam and don’t move your iron back and forth.

I used Velcro circles on each corner point and stitched them down.  I used a seam ripper to gently peel away the top plastic piece, you could also use a pin.   If the vinyl starts to pull up then you might have to reheat it.  Be careful to not overheat it.

Here is Lily’s completed bandanna.

Here are all three bandannas.  Can’t wait to see how the Christmas photo turns out.

Hugs,

Anita