3D Pumpkin Pie Tutorial

Hi Everyone,

I can’t believe that it is the week before Thanksgiving!  Today I have a tutorial showing how I assembled Lori’s 3D Pumpkin Pie (SVG, Silhouette).  I’m going to fill them with chocolates and put my pie on the dessert table on Thanksgiving.    To piece mine together, I used a few of Lori’s Echo Park Paper collections including  A Slice of Summer, Let’s Go Anywhere, All About a Girl and  Halloween Party.  This file is also a part of the November Kit of the Month in Lori’s SVG shop.  It’s a great bundle, be sure to check it out!

These are the pieces that come with the file, they make 2 slices.  If you want to make a full pie, you will need to cut enough for 8 slices.   I used some acetate for the hearts on the pumpkin pie box and some white and cream hearts for the other types of pie.

I glued the acetate or solid color heart onto the box’s top before I glued it together.  To assemble the tops and bottoms, fold all score lines in the same direction, shape into the triangle slice and glue the sides using the tabs.  Glue the pie crust piece onto the outer edge of the pie’s cover.

This photo shows the three box pieces ready for the pie crust to be glued onto the end of the pie.

Here is a side view of the pumpkin pie box assembled and ready for treats.

I like pumpkin pie but also like other kinds!  I decided to make blueberry, cherry, lemon and chocolate cream slices!  The sky is the limit for what kind of pie you want to make.

Hugs,

Anita
 

Christmas Shaker Card Tutorial

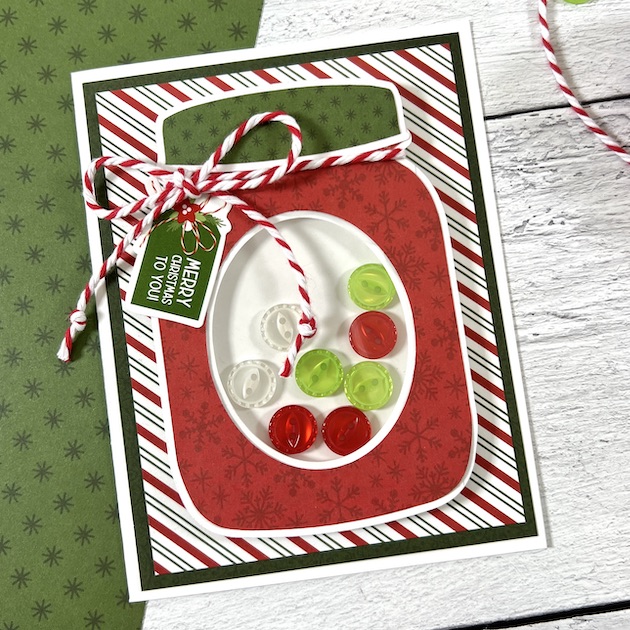
Hello everyone and Happy National Button Day! Traci here and yep … there’s actually a day that celebrates these little fasteners. I wanted to incorporate them into my project and I knew Lori would have something wonderful. I found a cutting file for an embellishment called Shaker Mason Jar and I turned it into a cute holiday card. Here’s a quick tutorial on how I made it …

For supplies, I used the Shaker Mason Jar cutting file (SVG, Silhouette) and Echo Park’s beautiful holiday collection called Magic of Christmas (also designed by Lori). I used the 6×6 paper, the 12×12 sticker sheet, white card stock, buttons and twine.

To create the A2 size card, I cut out a piece of white card stock measuring 8.5”x 5.5” and scored it at 4.25”.  

Then using the file and my Silhouette Cameo machine, I cut out all the other pieces. I chose the red snowflake print called Poinsettias & Pine for the jar and the green dot from the 3×4 journaling cards for the lid.

To make the shaker part, I cut out the ovals and glued them together until I had enough to make a frame thick enough to allow my buttons to move around.

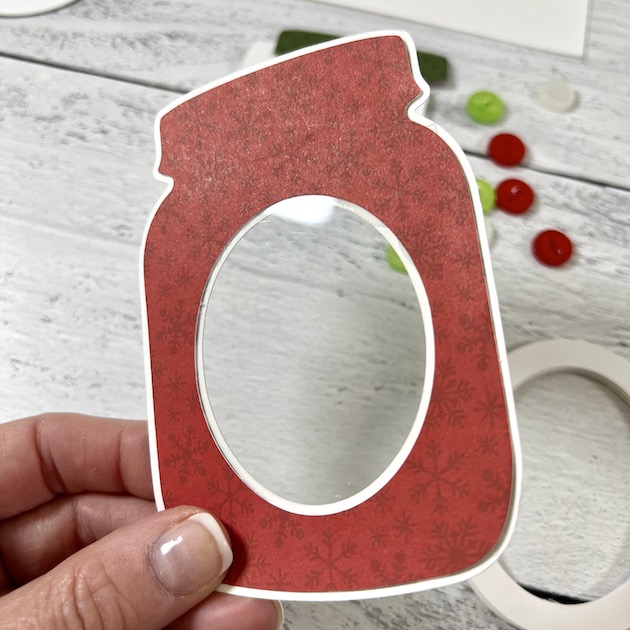
I sandwiched a piece of 2.5” x 3.25” clear acetate in between my white jar base and the red inset piece I cut from the 6×6 paper.

I glued the oval frame to the back of the jar pieces, added my buttons, then glued the solid white oval piece on top to keep the buttons in.

Next, I took my white card base and layered 2 sheets of 6×6 paper in dark green and stripe on top and added the jar shaped shaker. I wrapped the lid with chunky red twine and included a cute sentiment sticker to finish it off. It’s the perfect card for someone special and I just love it! 

Thanks for stopping by and I hope you’ll visit Lori’s shop for more amazing craft ideas!


Blog * Facebook * Instagram * Pinterest

5×7 Box Card House Merry Christmas Tutorial

Hi everyone!  Cathy here today to share a box card tutorial with you.  I’m always telling you that Lori’s box cards and envelope cards are my favorites to create, so I thought I would share my process for putting them together.  So easy and they are loved by everyone that receives them.  This is Lori’s new 5×7 Box Card House Merry Christmas (SVG, Silhouette).  The file also includes an envelope.  Remember, these fold flat for mailing and pop right back up for display.

Here is how the file looks when you first open it, I always ungroup everything and separate by color.  It make it easier for me to see what I need for paper and also how to arrange paper on my mat.          

You can see how I sorted everything out here.  Then I go back, group and cut my pieces.

After all your pieces are cut, fold the score lines on the red house pieces.
Next, I laid all my pieces out…flattened my red pieces and started to adhere the embellishments to the box.  I find easier to work with when it’s flat on a work surface. I used a glue pen for most of this detail work.
I start with adhering the gold window pieces to the inside of the house.
After I had most of the embellishments added, I then added scor- tape to the two ends.  You want a good strong adhesive to put these together.
So now you have created a little box or your little house and you are ready to add the inserts!
There are several of these house box cards in Lori’s shop, and I love that the little inserts make the roof, how incredibly clever.  The inserts are labeled 1 and 2.  The first insert just goes in as is.  Just add scor-tape on each side and insert into the box.  The cool part with these is you can’t go wrong as the roof line makes for perfect placement.
Now for the second insert, lay it flat and add your embellishments.  Again, I used a glue pen for this detail work.
This insert gets a bit heavier with all the extra paper added, so it has wider tab.  I added two strips of scor-tape for this insert.  Then just slide it down into the box, again you can’t go wrong cause the roof top will stop you.!


When you are all finished, you have this amazing little house.  I used Lori’s The Magic of Christmas to create this.  The Merry Christmas is from the brad set.  I did add the Santa in the Chimney Sticker for this collection.  I just simply couldn’t resist.  It was just too perfect not to add it.  Lol.
And don’t forget, all SVG files in Lori’s SVG shop are 30% off through Saturday, November 12th when you use code NOV2022 at checkout!


Thanks for stopping by!
~Cathy

In All Things Give Thanks Ornament Tutorial

Hi friends! Today I am sharing a tutorial for a large Thanksgiving style ornament. I like to hang this type of ornament on the middle of a wreath. I used the In All Things Give Thanks 3 file (SVG, Silhouette).  The other supplies are a 6-inch wood round, heat transfer vinyl, twine, and a wood bead.

I sized the image to 4.463 x 4.301 to fit onto the six-inch round. I then deleted the round and sent the image to cut.

In Cricut Design Space when using heat transfer vinyl, the images must be mirrored for each mat so that the images cut correctly.

After weeding all the words. I dry fit all of my vinyl on the round just to make sure it all fit and to work out the placement. (I did change the word things to the darker color. The gold was just too light.)

Then with my heat press I attached the words to the wood round. I set my press to 300 degrees for 20 seconds. Let the vinyl cool slightly then peeled off the clear backing.

I added a bead to the twine then looped it through the hole in the top of my round.

Last I hung the ornament to the middle of my wreath.

I love how this turned out. It is a perfect addition to this wreath and will look so pretty for Thanksgiving.

And don’t forget, there’s a sale happening now in the Lori Whitlock SVG Shop!  Get 30% off all SVGS, Fonts, Pattern Fills and Commercial Licenses when you use code OCT2022 at checkout!  Don’t miss out, sale ends Saturday!

Thanks for stopping by!
Brandie

Halloween Scene Décor Tutorial

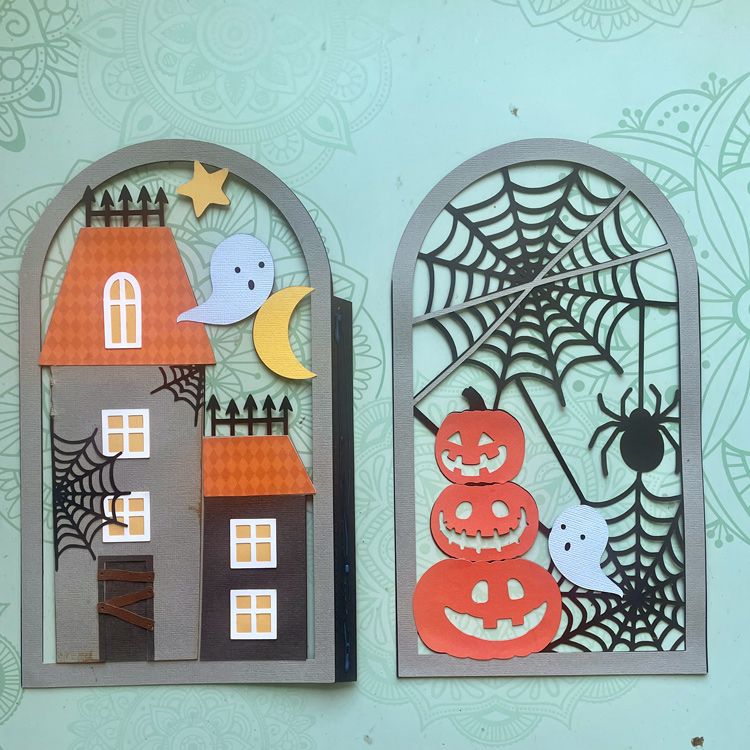
Welcome to Tutorial Thursday.  Lori as added several Halloween scenes to the shop.  Most of the collection are just a single color.  The one I’m sharing today uses multiple colors in the extra pieces and is slightly larger than the single color versions. You can find it in Lori’s SVG Shop and Silhouette store. It’s fun and easy to put together, I’ve outlined the steps below.

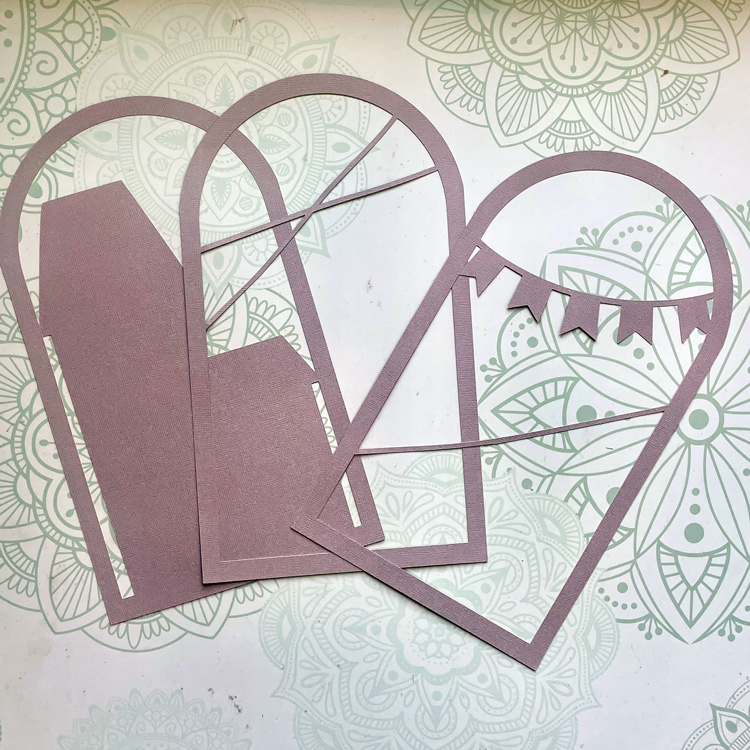
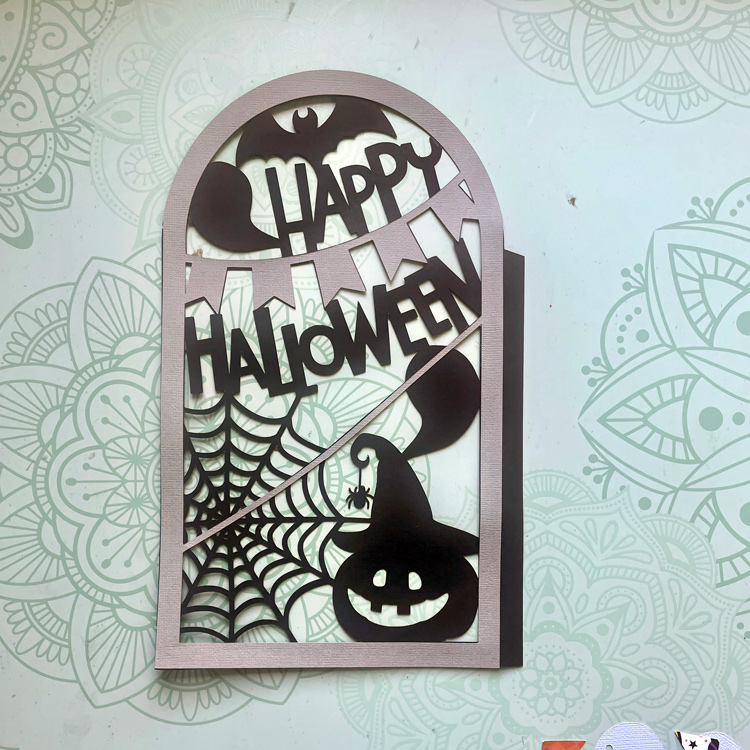
1. Cut all the pieces.  Each panel needs two 12×12 sheets.  I used black for the back of the panel and gray for the top layer.  You can use the same color for the panels too.

front panels
back panels


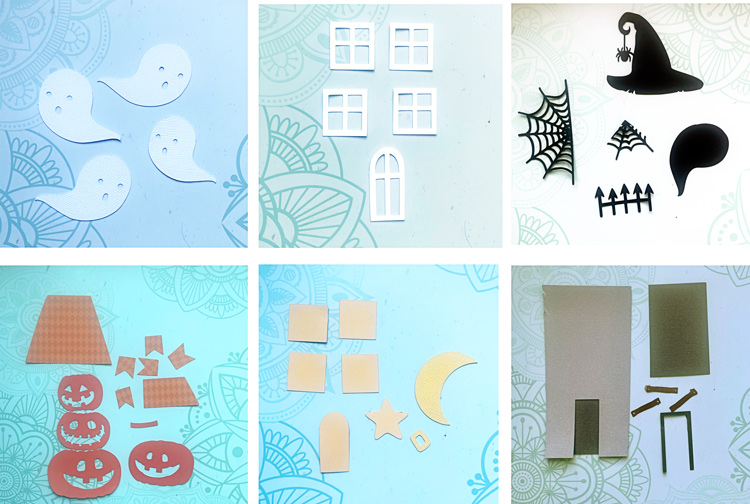
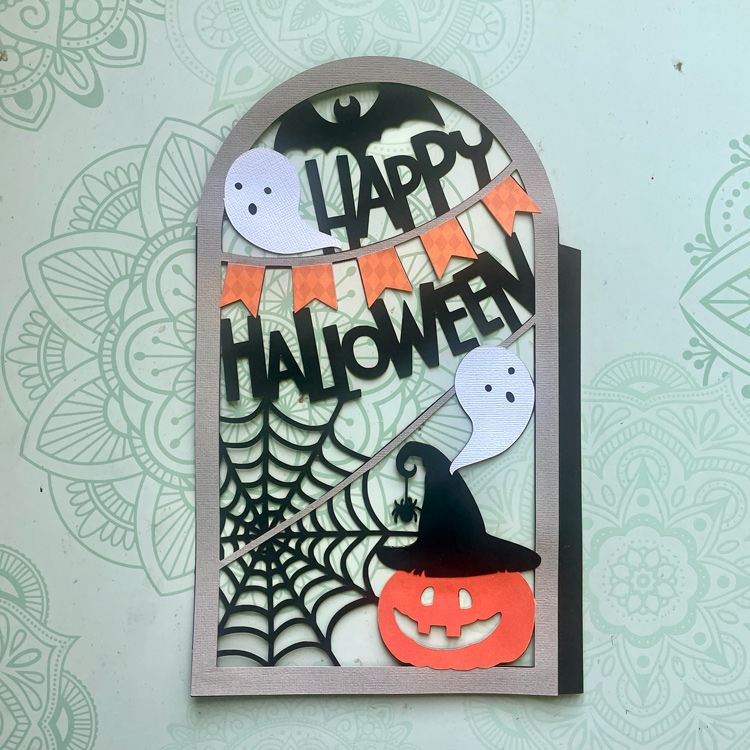
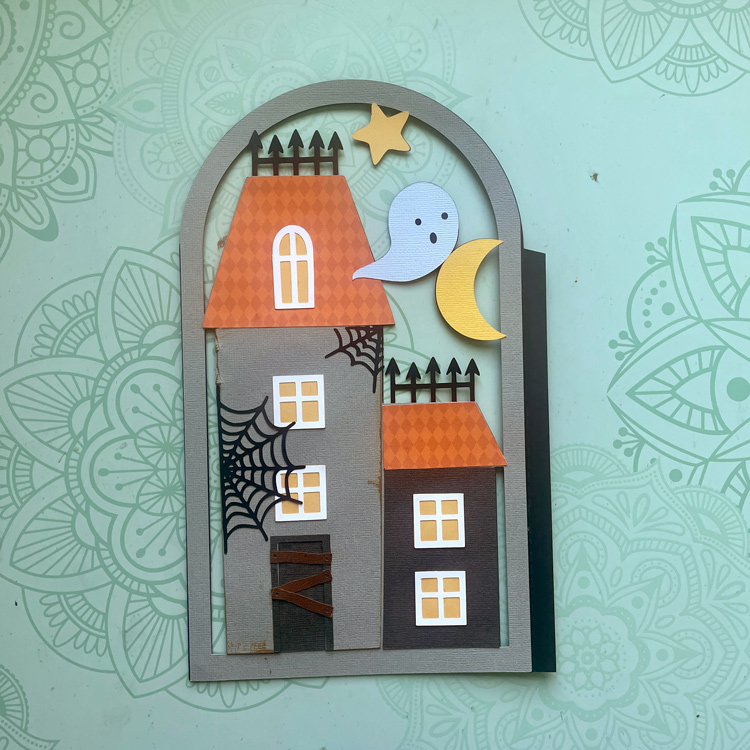
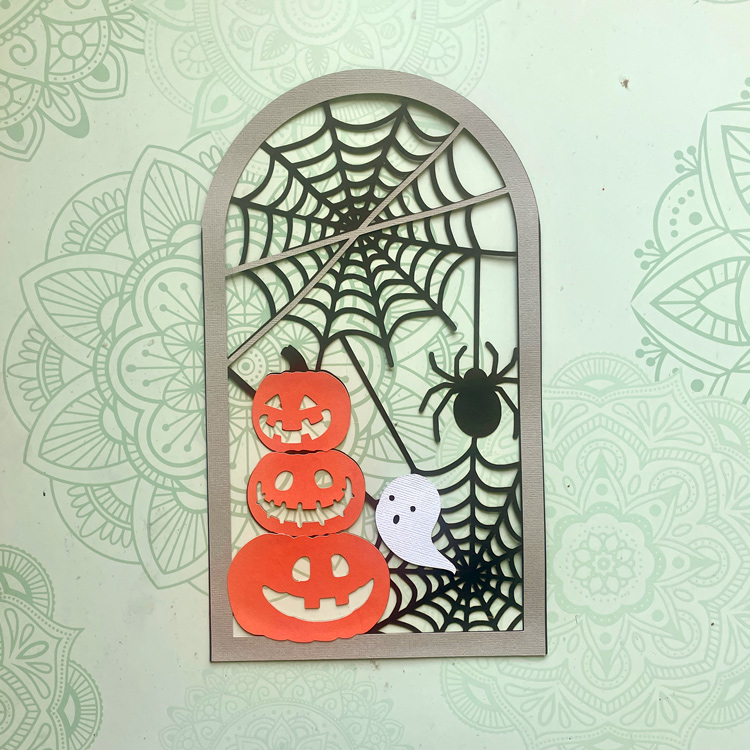
colored scene pieces

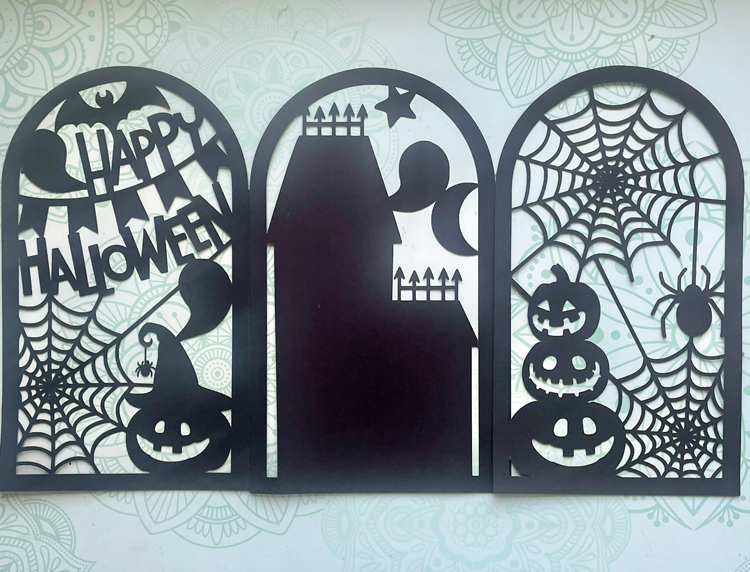
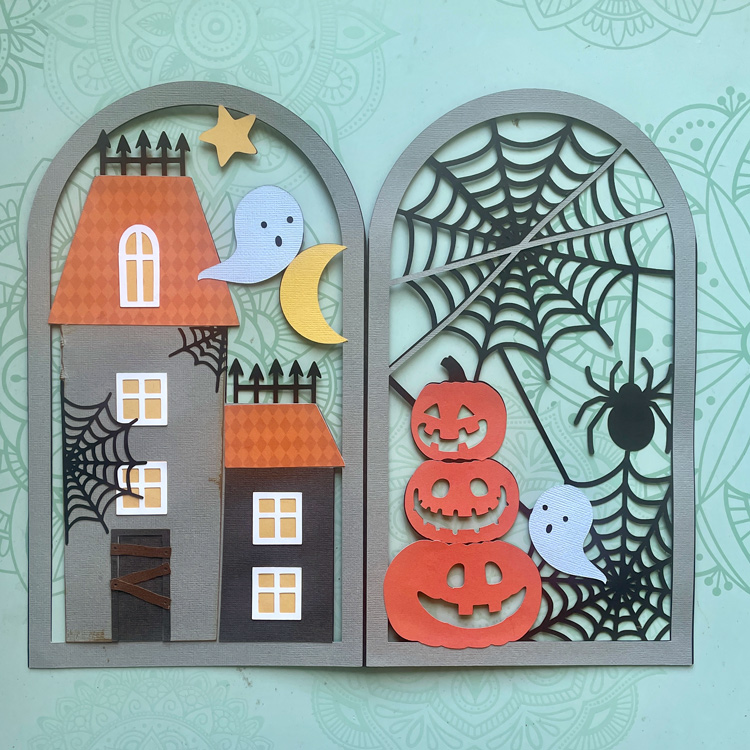
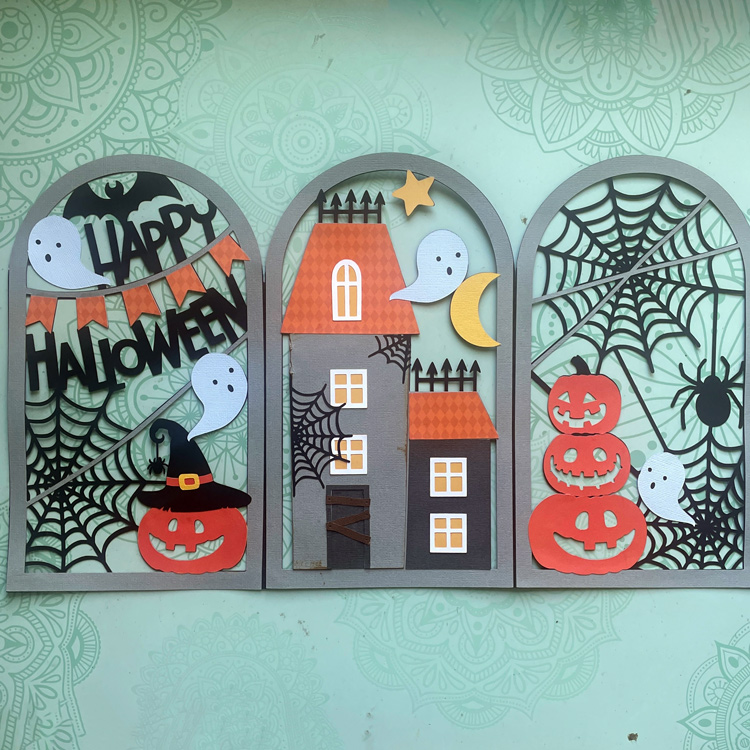
2. Now assemble each panel. Start with the back panel, layer the front panel.  Then add the Halloween pieces.

3. Apply adhesive to the glue tab and connect two panels together.

4. Attach the third panel.

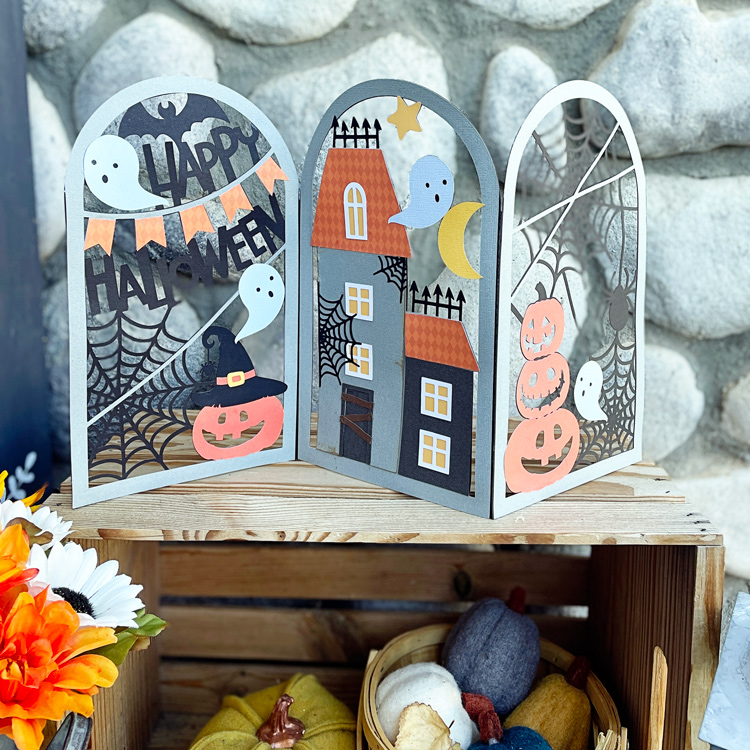
5.  This is such a fun décor piece.  It’s just under 12 inches tall and 20 inches wide.


Have a great day!

Ashley