Have you seen Lori’s latest Advent Calendar? It’s an adorable train run by a sweet little snowman! I was lucky enough to get to help her put it all together, and I have a tutorial for you today. A couple of notes… I recommend you use a good quality (at least 80lb) cardstock for the base for sturdiness. Lori and I both like
American Crafts 12×12 cardstock. I also recommend using a good liquid glue. I use
Zip Dry. Another good one is Lori’s favorite,
Scotch Quick Dry Glue. You will also need one 12 x 12 piece of chipboard.
This is the one I used.
First, I downloaded my file. It’s the 24 Day Christmas Train Advent Calendar (SVG, Silhouette). It’s a big file, with lots of pieces, but its really not hard if you break it down into sections. Lori also has added a number of notes to the file to help. I started with the little boxes first. You want to cut 24 of them.
Start by folding all the score lines in the same direction. Fold it into a box shape first gluing the side tab, then folding up the 3 triangle tabs on the bottom of the box and adding adhesive. Fold the bottom up and you have your box…. now do that 23 more times (lol)
Next I assembled the train base. The top photo shows the 2 pieces that make up the base. I started by gluing the extra rectangle to one of the tabs on the “straight” side of the base piece (top right). It makes up the back end of the box. I then folded into a box shape. I glued it together along the long side tab. Then I folded up the back end of the box. Lastly I folded up the angled front of the box and glued.
The next part that I assembled is the conductor’s box part of the train. It’s done much like a box card, with an insert. I started by piecing together the snowman insert. There are 2 sides to this piece with duplicate snowmen. (you want the snowman to show through both windows in the final project) Add the completed snowmen to each side of the black insert piece.
Next I added the decorative panels to the sides of the conductor box, and glued the 2 pieces that make up the box together along the long tab.
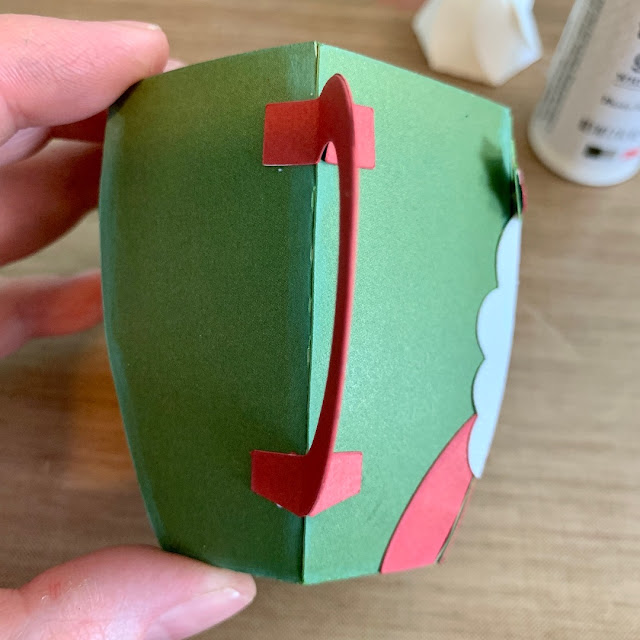
Flip this piece over so you are looking at the “inside”. You want to add the snowman insert at this point. I glued one tab in the center of the solid side of the box. (3rd photo) You want the snowman bottom to be aligned slightly below the window so you don’t see the insert through the window.
Flip the insert to the other side (4th photo) and add adhesive to the other tab. Fold the conductor box over, securing along the long tab of the box, and pressing the side to make sure the tab is adhered properly to the inside wall of the box.
Fold up the bottom of the conductor box and glue. Do the same for the top of the box. Finally, glue the roof squares together for sturdiness and glue to the top of the conductor box.
Next I put all the pieces I made together to form the train. I started by gluing my 24 boxes together. You want to glue 2 grids of 4 across, and 3 high. Put them back to back (openings on either side) and glue. Once they are all together, Add the white covering panel to the top and one side of the boxes to cover the seams. Add decorative panels to these pieces (red).
Glue the completed bank of boxes to the base. You want the end you added the cover panel to be on the side of the angled end of the base and for the boxes to be justified to the straight end of the base. (3rd photo) Then glue the conductor’s box to the back of the boxes and base (along the straight edge). Make sure the windows are on the sides so the snowman peeks out. (4th photo)
Add the decorative panels to the long and short white pieces that make up the wheel guide as shown. (5th photo) Glue one long and one short strip to each side of the train as shown. (6th photo) The wheel pieces will stick below the bottom of the train base.
Put together your wheels. Each wheel is made up of 3 chipboard pieces glued together for sturdiness. I painted the edges of my wheels white with some acrylic paint. Next layer the wheel pieces (patterned papers) to finish. I added some enamel dots to my wheel centers.
Glue the wheels to both sides of the base using the wheel “bumps” as guides. The bottom of the wheels will align with the bottom of the wheel guides on the red strips. Let dry completely.
There are 3 cylinders that make up the train smoke stack and the vent on the top of the train. They are all assembled in the same manner. Above I’m showing how to assemble the train vent piece. Repeat this process for the other 2 cylinders.
Each cylinder has 3 circles and the notched side piece. One circle is slightly smaller than the other 2. Put that one aside. Next I ran the notched side piece along the edge of my desk to curve it. It makes it easier to form a circle. Glue into a circle shape. Fold down one side of tabs. Place on a flat surface (tabs folded inside). Add some glue around the edge of the smaller circle and slide into the tube formed, pressing to the tabs. (3rd photo) This helps keep the cylinder round when you put on each of the ends. Add the two remaining circles to the outside of the cylinder, one to the open side and one to cover the tabs on the other side.
Once you have your cylinders formed, glue to the top of the boxes as shown below.
Add the embellishments to the front of the train. The two circles are each made up of 3 layers of chipboard and a patterned paper cover. The grill is made up of a black background piece and the grill piece.
To complete the train, cut 24 of the box covering panels, and add to the fronts of the boxes. Print and cut the included box numbers. Add to the boxes.
And…done! I promise you will be so happy with the end results!
All that’s left is to fill each box with a fun little treat! The boxes are good sized…. they are approximately 2″w x 1.25″h x 1.6″d. I was able to fit a Hershey Kiss, a Rolo and a Lindt ball in one box.
If you make one, please be sure to tag Lori on Facebook & Instagram, we love to see your creations!
That’s it for me today, thanks for stopping by to peek!

BLOG | INSTAGRAM