Hello crafty friends! Who’s ready for some candy and Halloween? Well, maybe not the candy but the cooler temps and the Halloween crafty fun? I say…yes, please!! Today I have a tutorial on the newest and adorable 3D Witch Boot 2 (Lori’s SVG Shop, Silhouette). This a new boot style that just came out Tuesday along with some other awesome Halloween projects like some cards and a great witch’s hat which could be a cute match to the boot!
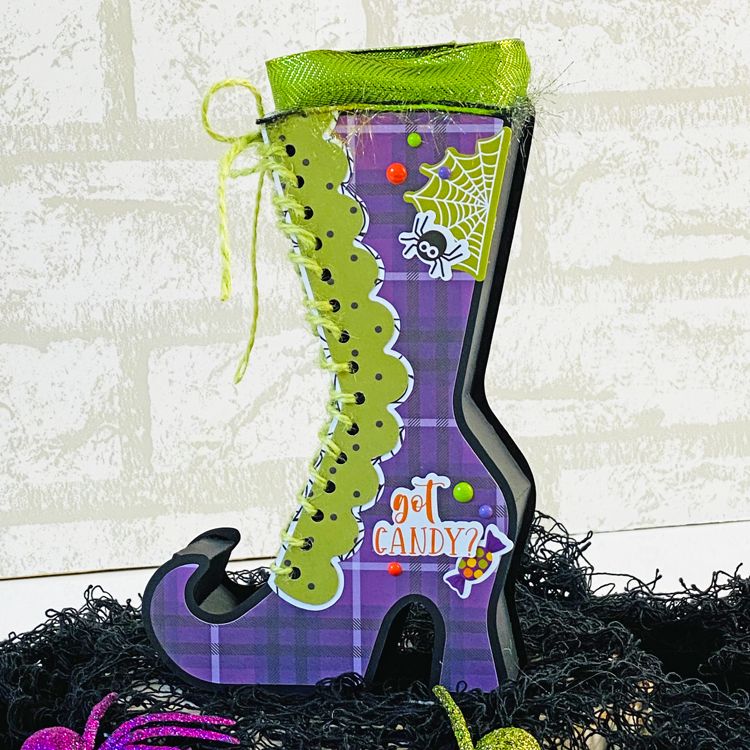
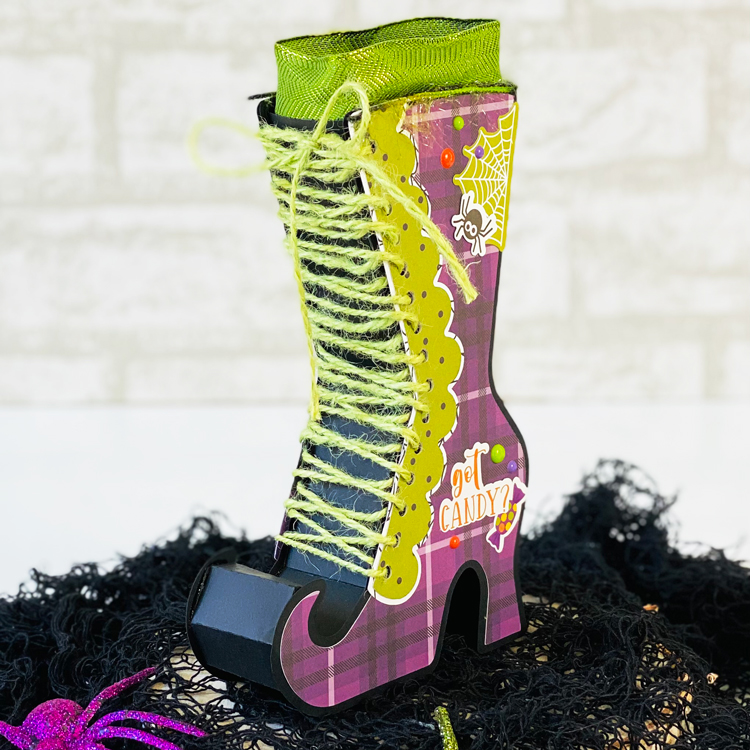
How cute is this?!?! It laces up just like a real boot and was fun to decorate. I’m so excited to have this to add to my Halloween home décor this year! So if you want one for your own décor, gather your supplies and follow along with my tutorial. And if you are wondering, I used the Halloween Magic collection from Echo Park Paper for this project because I had to have the gorgeous purple plaid for the main part of the boot.
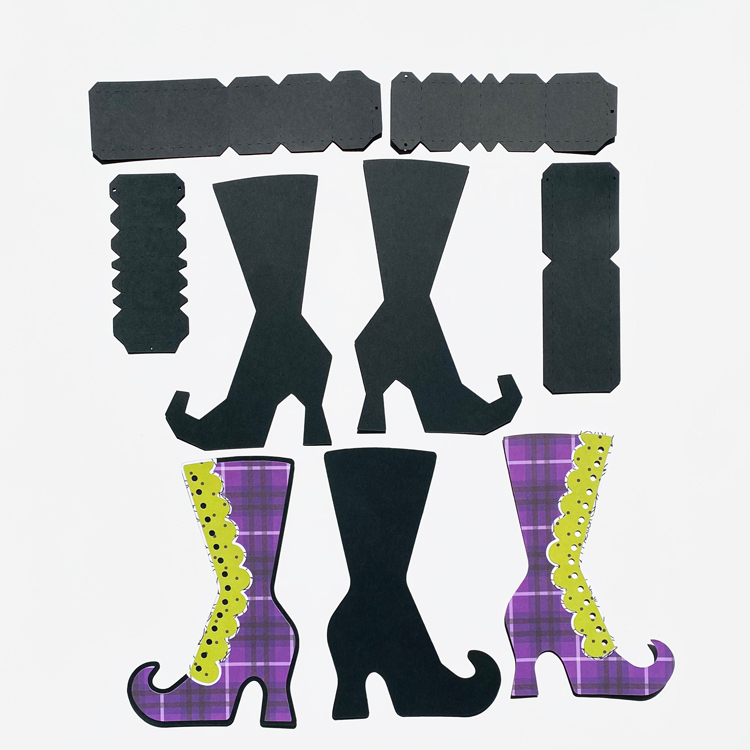
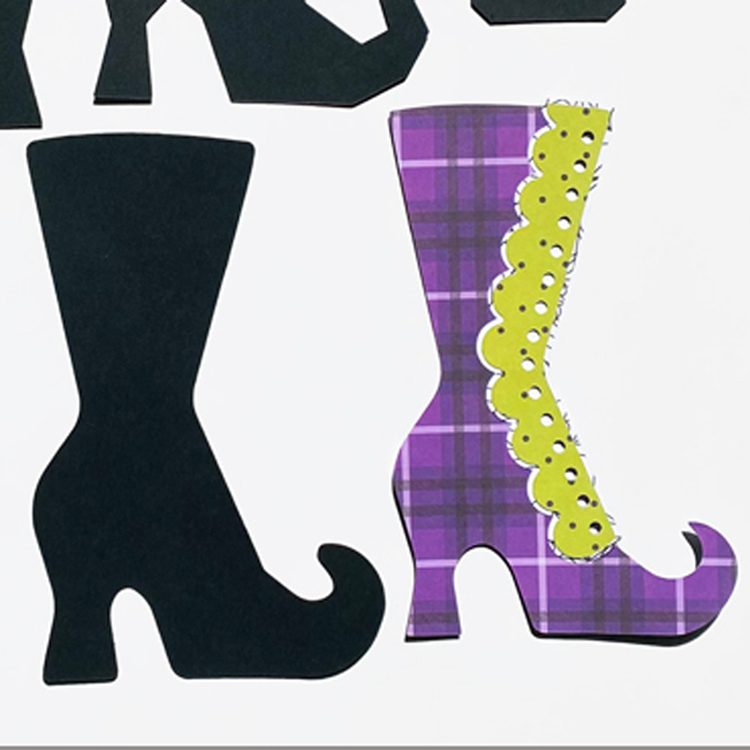
So as with any project, the first part is to pull your papers out and let’s get started by cutting out the pieces. As you can see I used a lot of black cardstock because I wanted this piece to be sturdy to hold up through the years with it being packed and stored while not in use. **Do not adhere the outside boot panels together yet. I have special instructions on where to apply glue for these.**
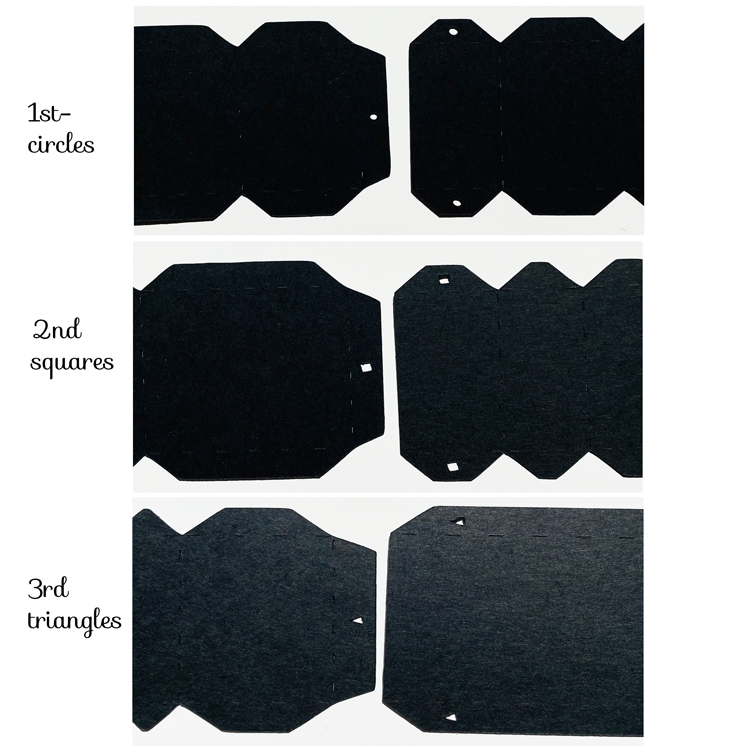
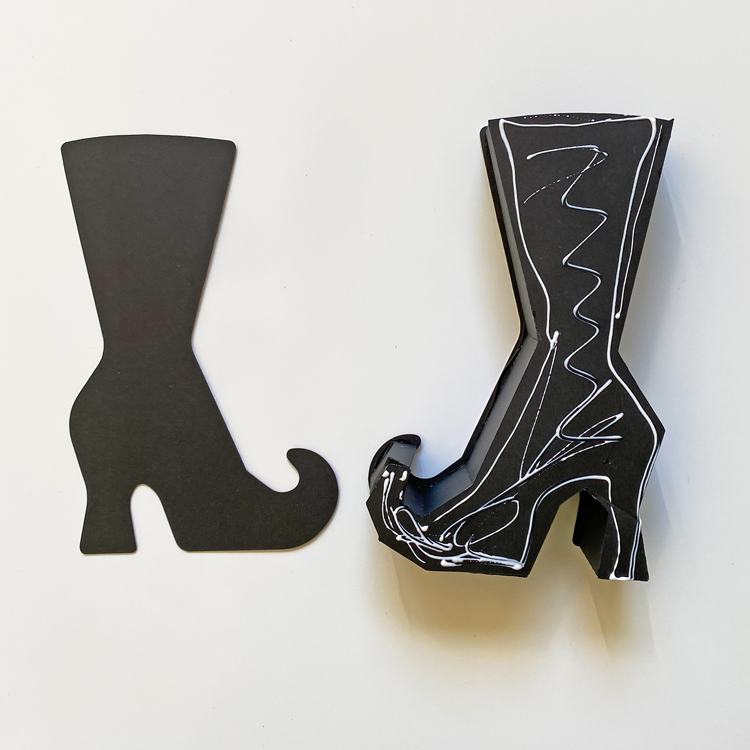
Next step is to focus on the tabbed pieces. Lori has added some shapes to the cuts to help guide us along and line up the pieces properly. Line the first piece with on centered circle to the second piece with circles on the side tabs and adhere them together. Then you do the same for lining the pieces up with squares and then the triangles. This means you will have one long piece to adhere to the boot liner but if you prefer to work in smaller sections then watch Lori’s video on how she adheres the main part of the box together.
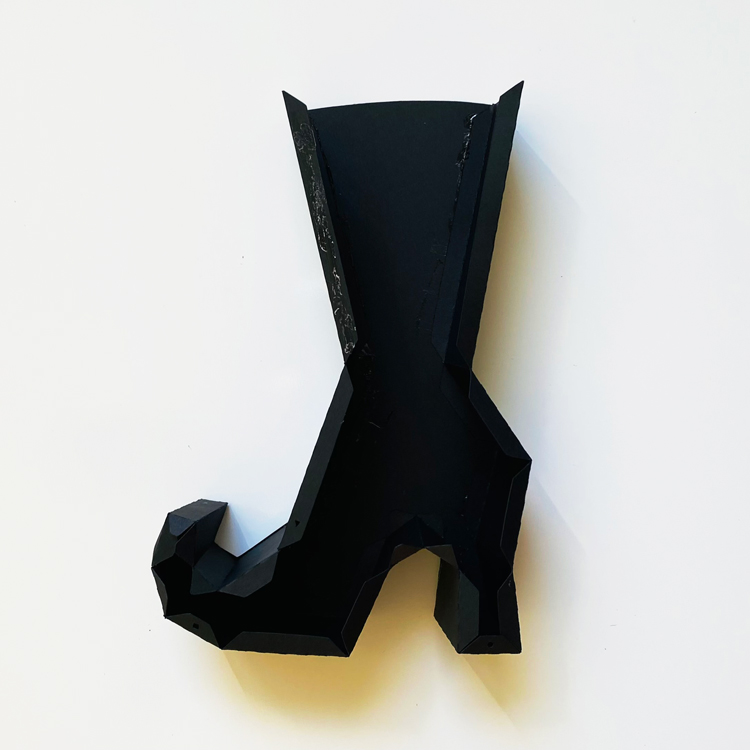
Now that you have one side of the inner boot adhered together, add your adhesive to the tabs and then lay the side boot piece to complete the inner boot box.
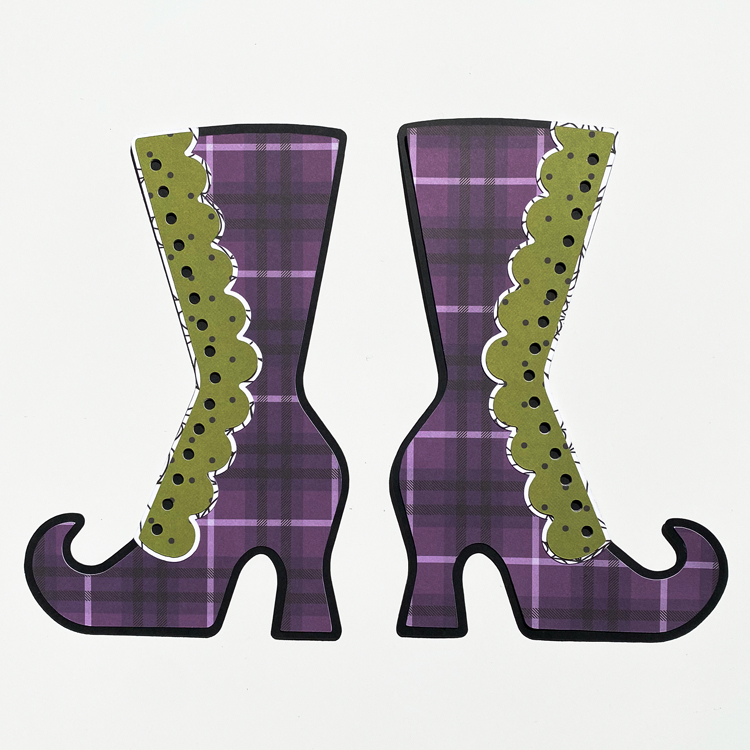
Now let’s start on the outer boot panels. Adhere all of the pattern paper pieces together but not to the black boot panel.
Now you will adhere the pattern paper pieces to the black boot panel but do not add adhesive in front of the lace holes. You need to be able to access these when lacing up the thread or twine.
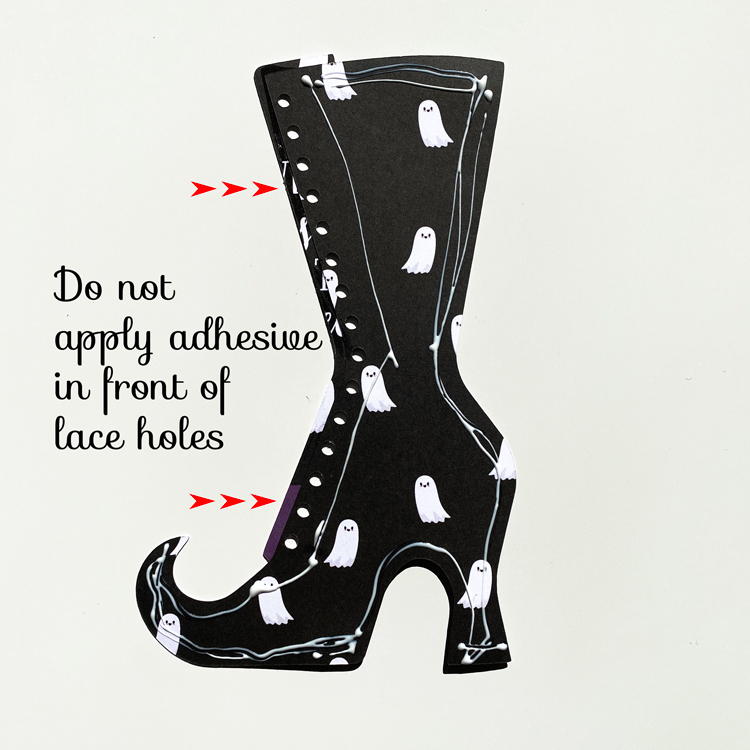
Now you will have completed pieces that look like this but you will be able to slightly pull the pieces apart in front of the laces to thread your yarn or twine.
Next you can adhere the purple plaid panels to the box.
Lastly, you will take your twine or yarn and lace up the boot and then decorate as you wish.
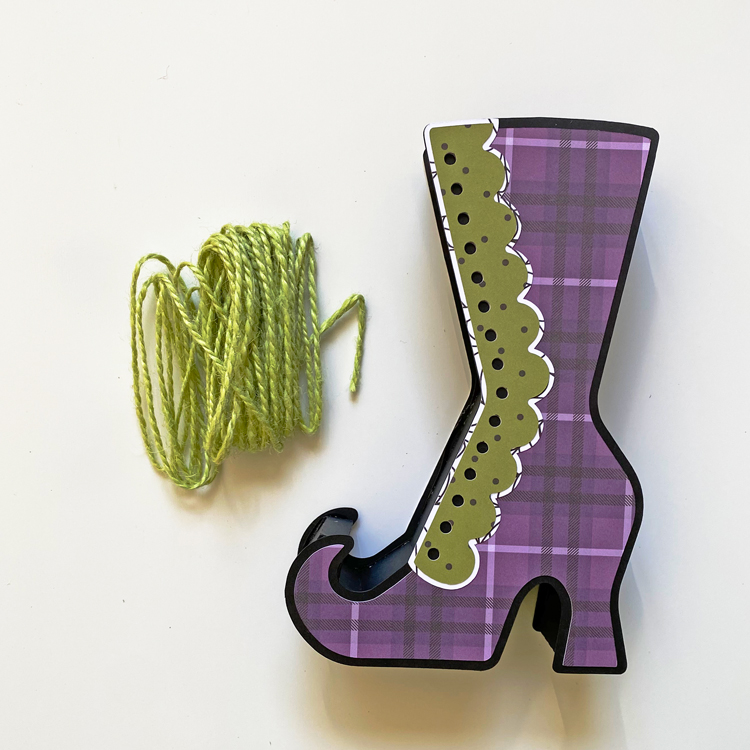
And now you have a fun Halloween decorative piece that can be used as a centerpiece of candies or just sitting out by itself on a shelf. It is sure to be noticed and complemented by guests!
That’s all from me today! Hope you all enjoy this project and my tutorial. Have a great day!
Aimee