
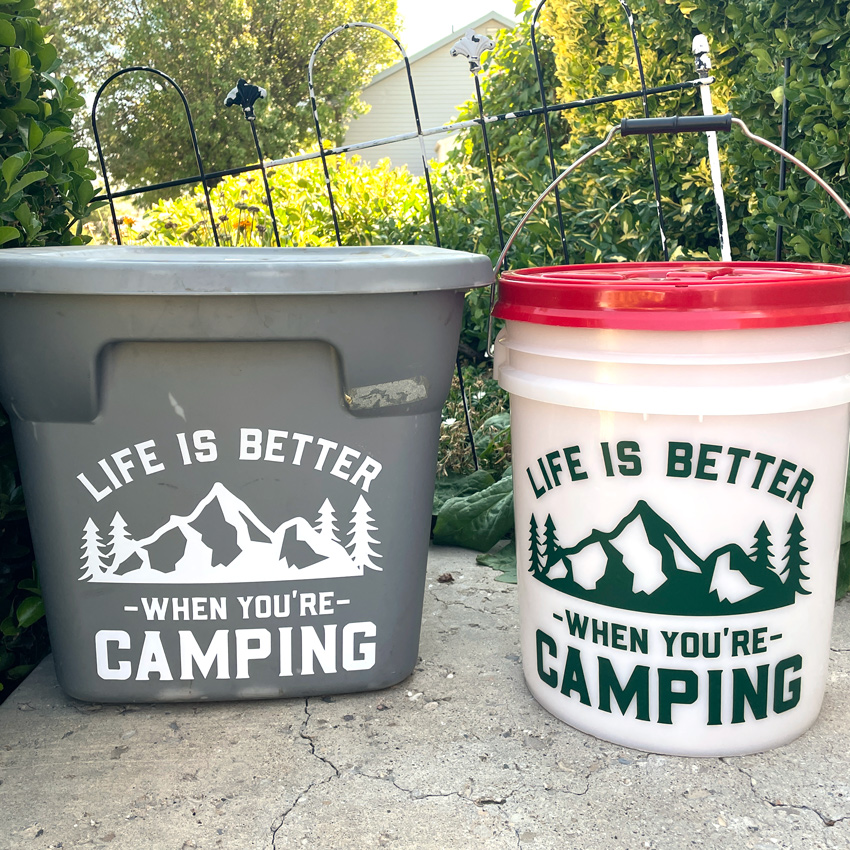
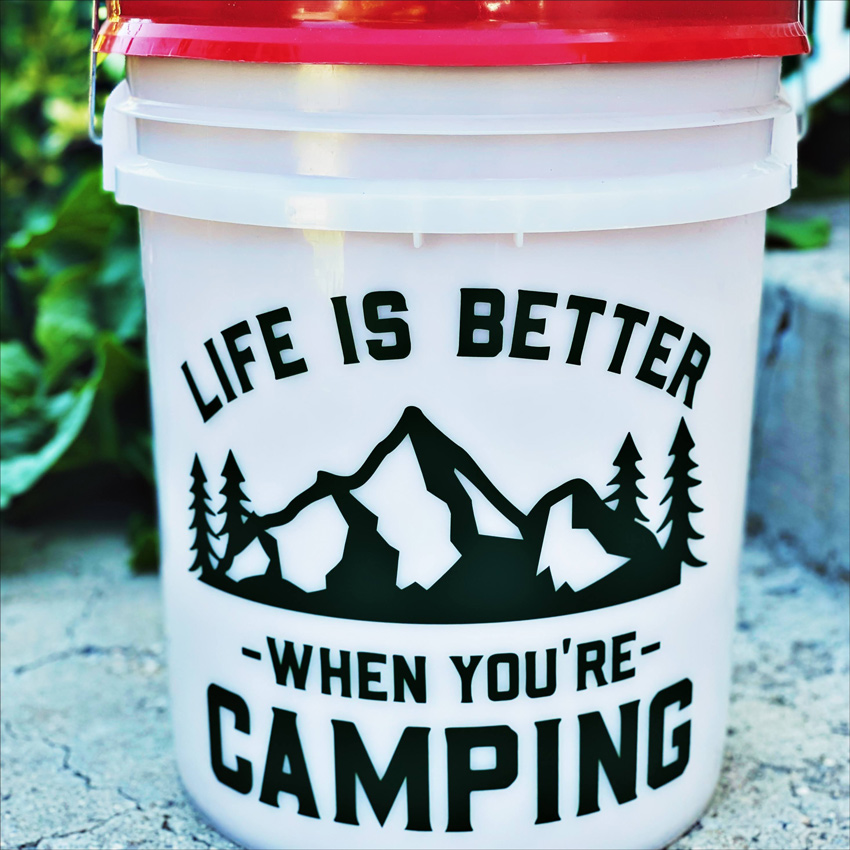
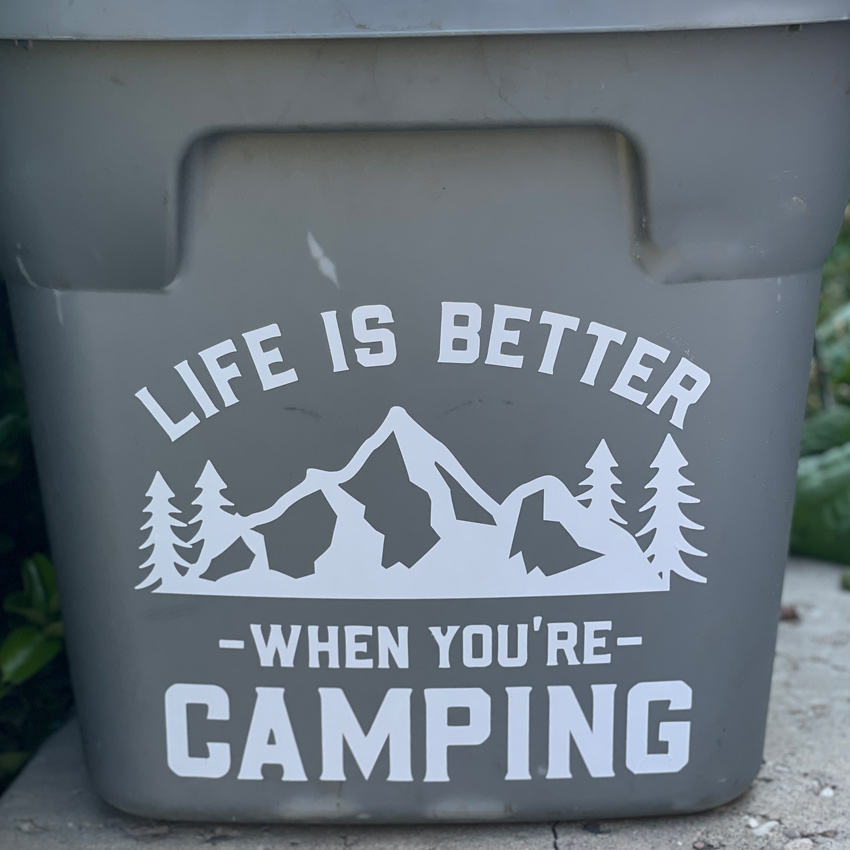
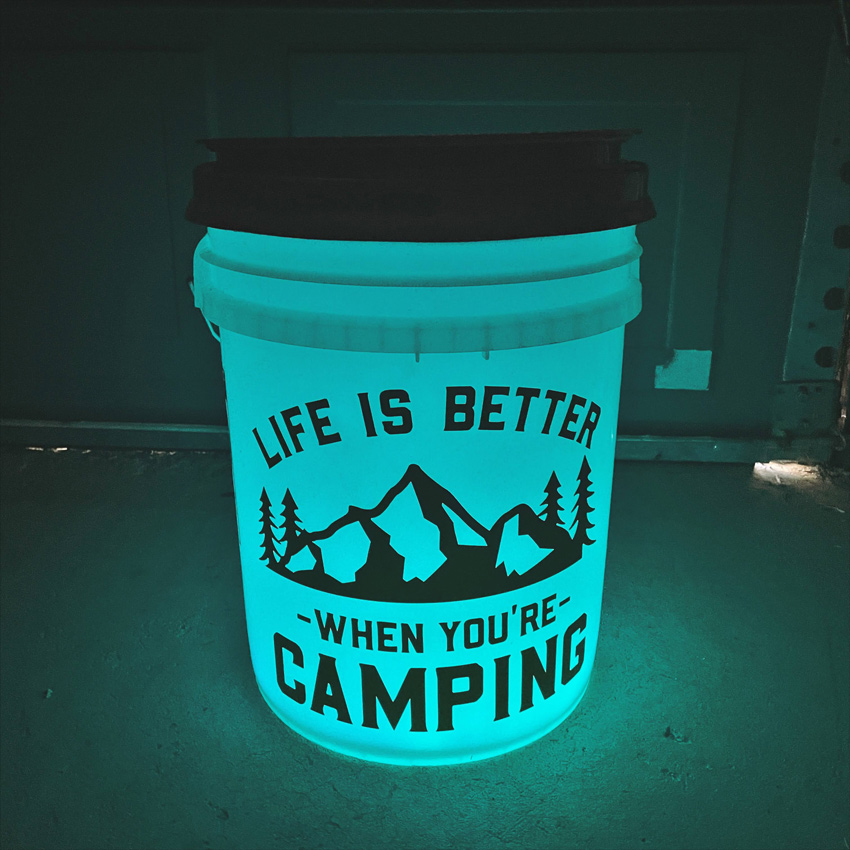
Do you love camping? Or have people in your life that camp? Lori recently added some fun files that could be used for camping décor or even camping trailer décor. I have several tubs that have camping gear in them. The bins aren’t labeled, and I thought using the camping file would be a fun way to “label” them. I also added the same file to a white bucket. The bucket can be used to stow camping items, and at night, well look what I did below!
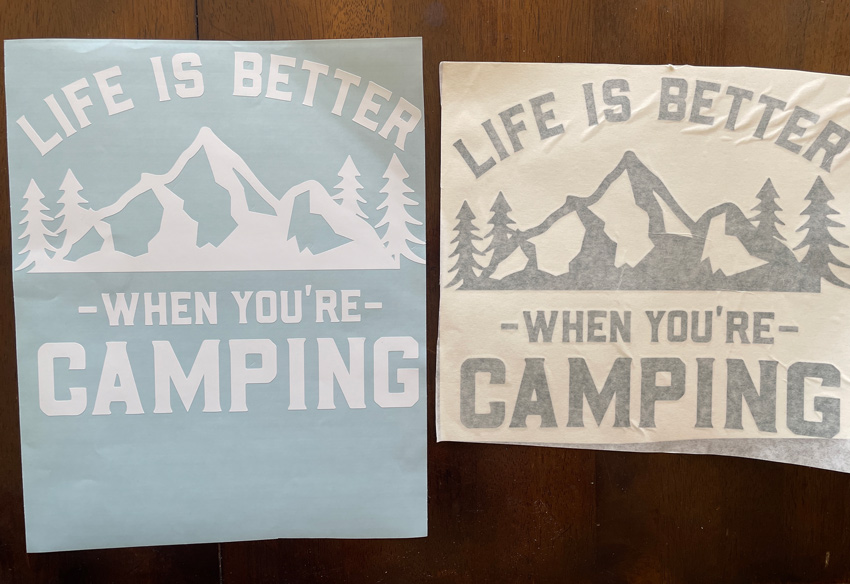
For this project I used the Life is Better When You’re Camping File (SVG, Silhouette). It can be difficult applying a large vinyl decal to a curved surface, I used a method called the hinge method. I’ve outlined how I did it below.
1. Cut and weed your vinyl. Apply transfer tape to your vinyl project. Leave the backing piece on.
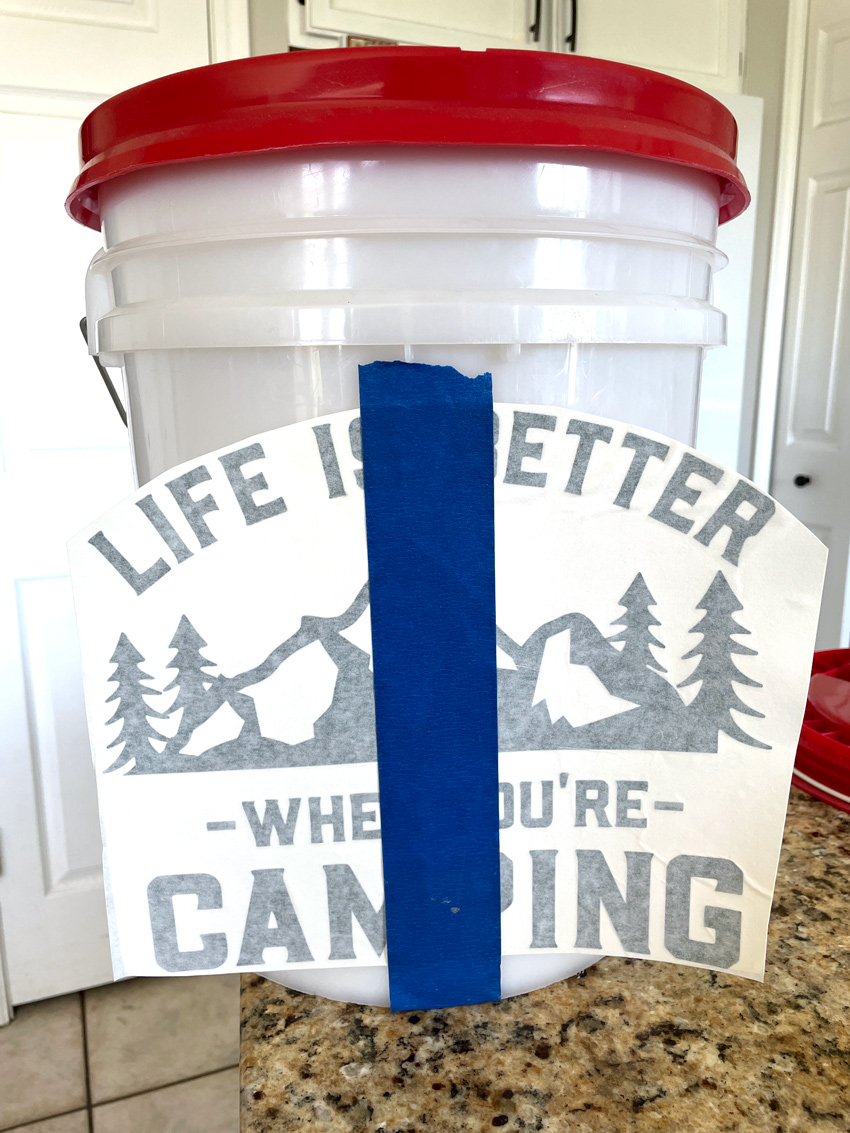
2. Place your vinyl on the surface, making sure it’s centered, leaving the backing paper on for now, and tape it down the middle with some painter’s or washi tape.
3. Working on one side of the tape, peel back the transfer tape with vinyl, separating it from the backing paper. Cut or rip the paper backing off. I just rip the backing straight down.
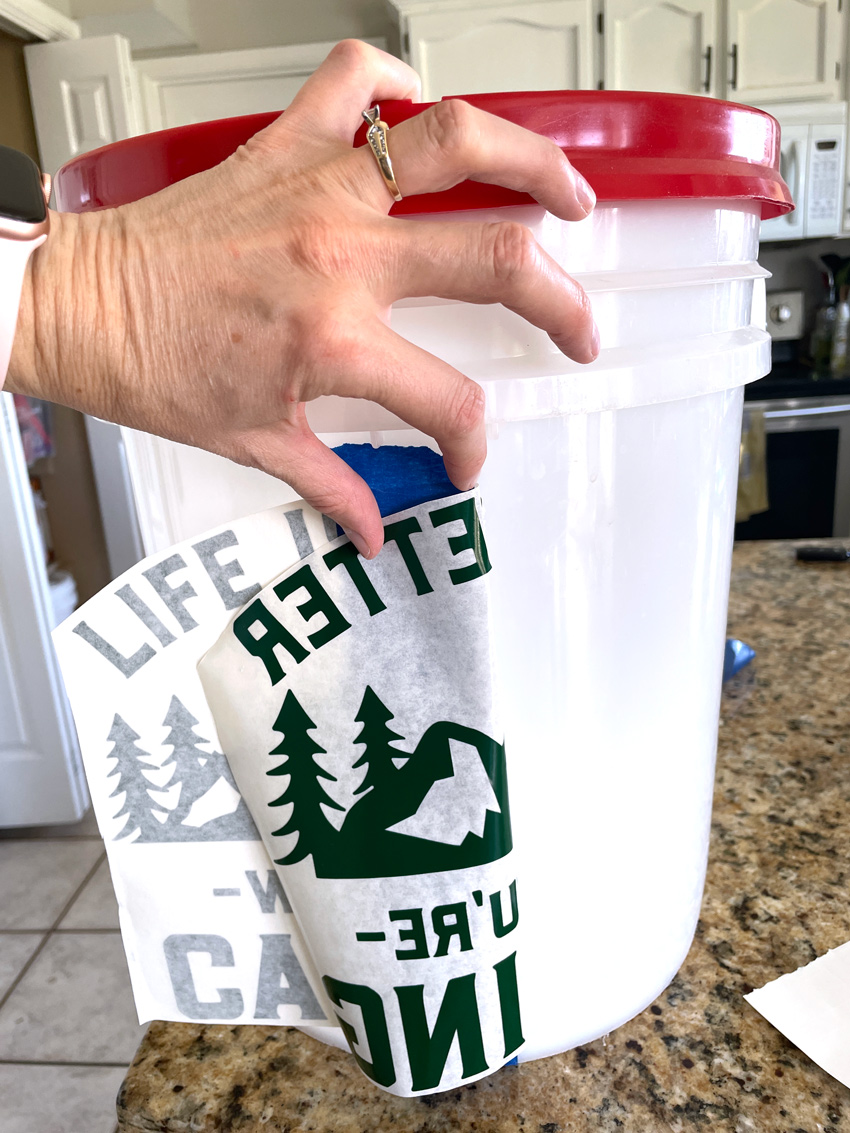
4. Now you have one side of your vinyl ready to apply. Smooth the vinyl to the surface. And repeat for the other side.

5. Burnish the vinyl to the surface before peeling back the transfer tape.
Repeat on all the surfaces.
With a white or light colored bucket, a light can be placed inside for a fun night time glow at the campground!
Now you are ready to vinyl all the things!
Have a great day!
Ashley