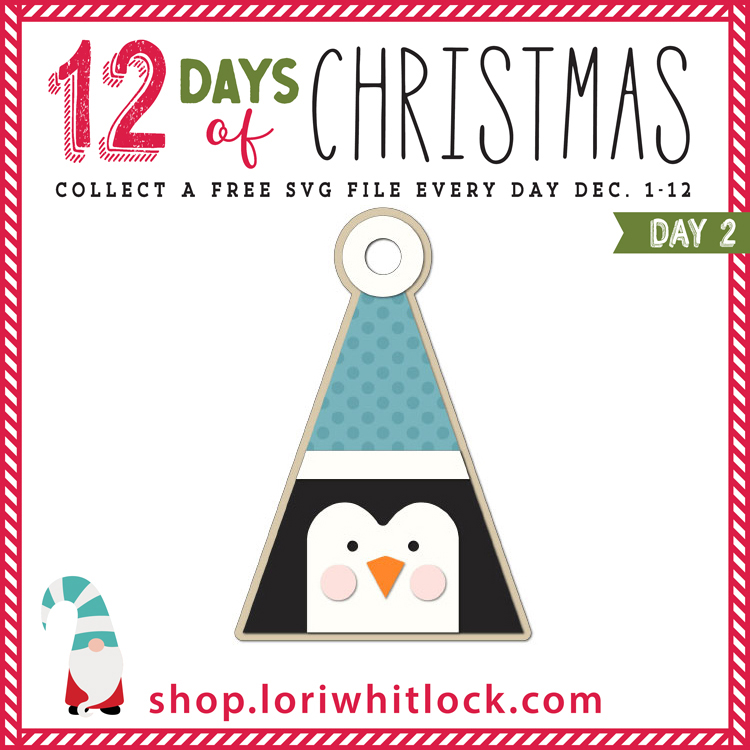
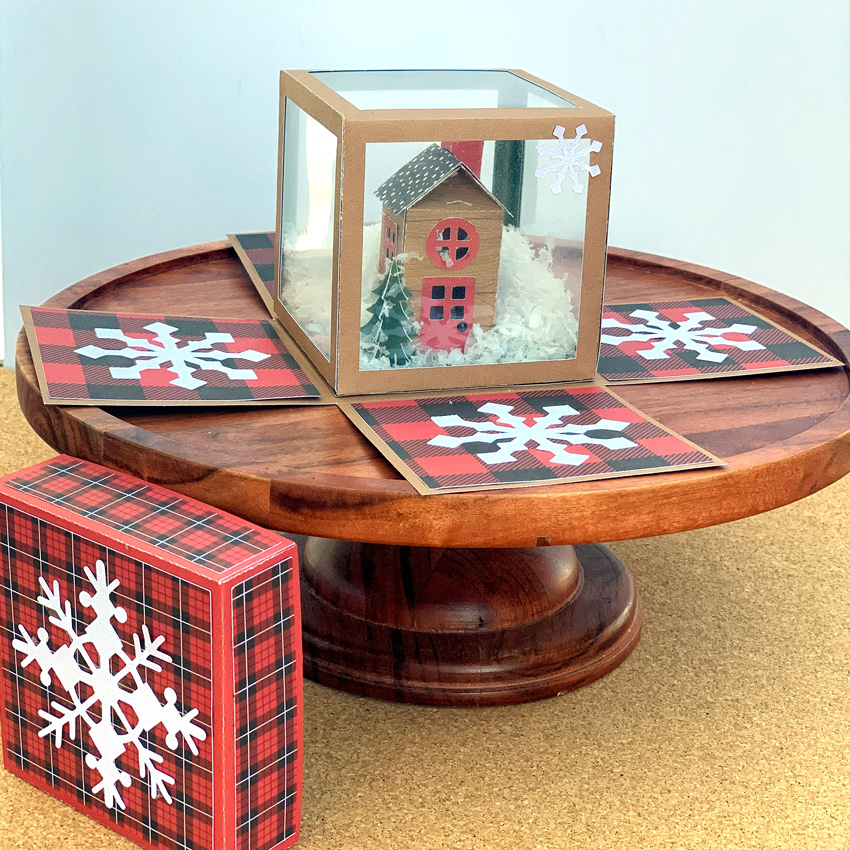
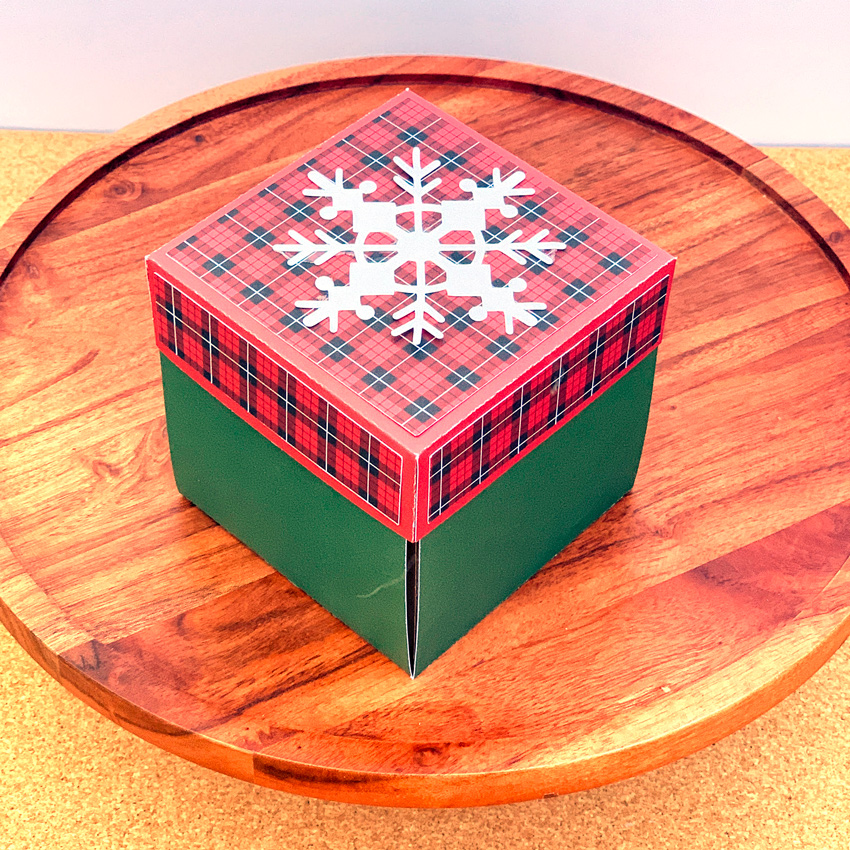
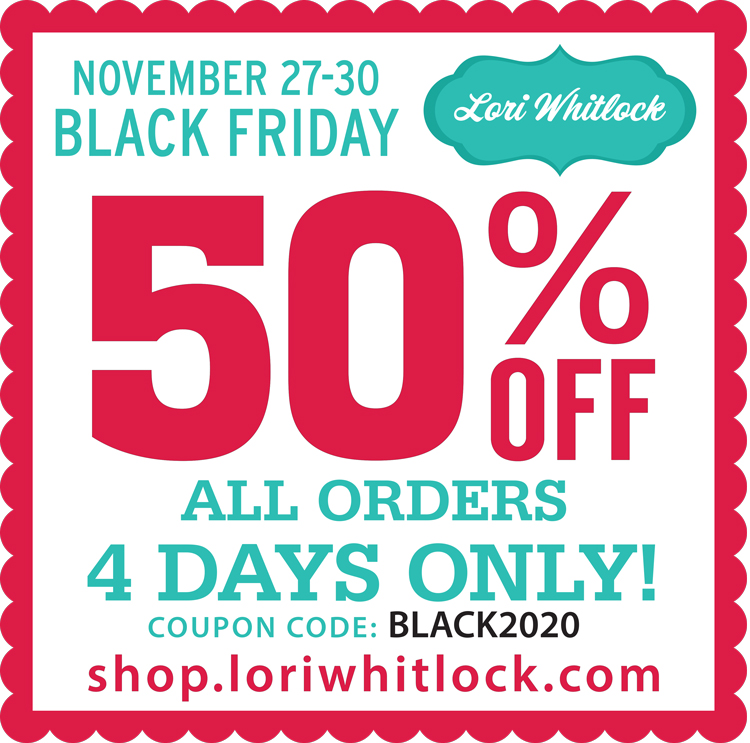
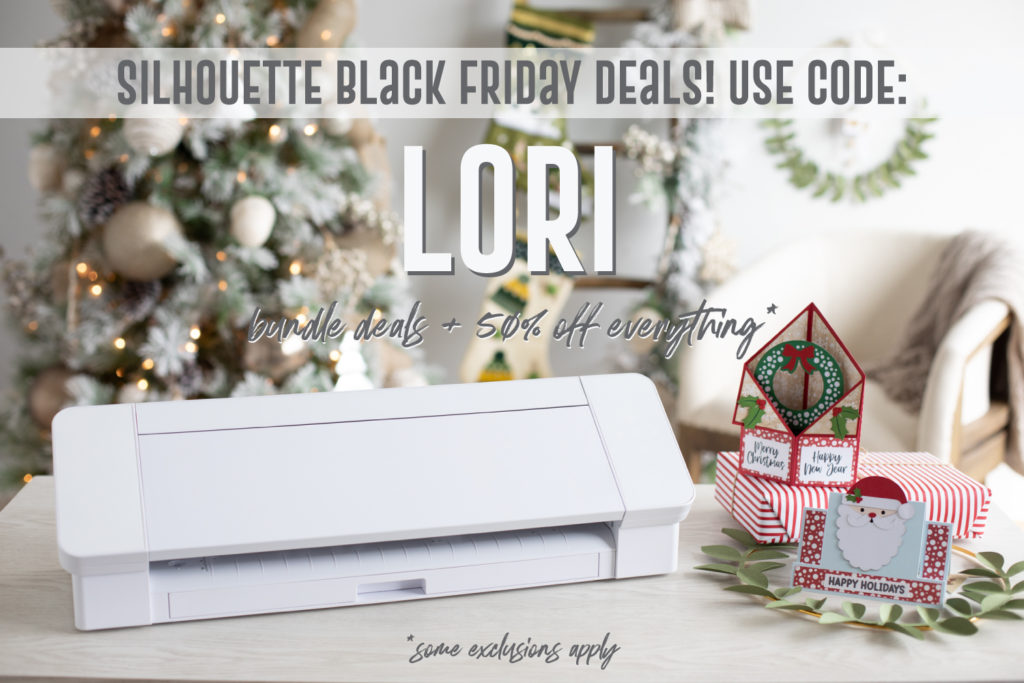
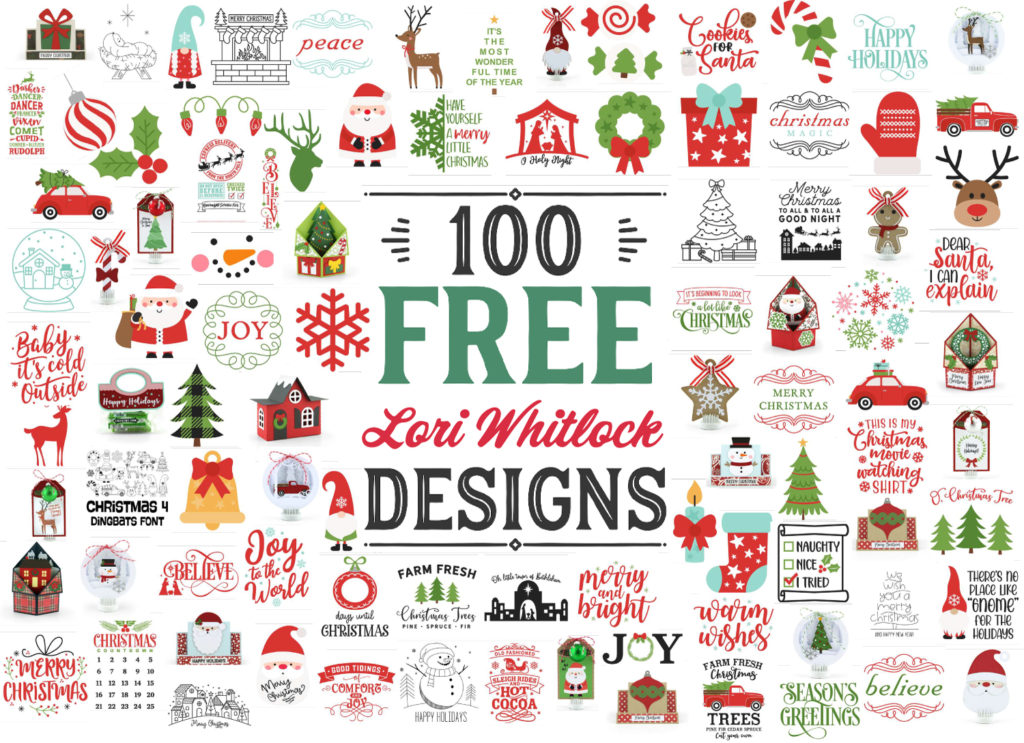
Happy December!! To kick off the holiday season, we have a fun 12 Days of Christmas Celebration in the Lori Whitlock SVG Shop! Each day from December 1-12, there will be a free SVG file of the day, along with a special promotion! To kick off this fun event we have this fun Christmas Ornament Tree file! This file is one of the 100 exclusive designs available when you purchase one of the CAMEO or Portrait Bundles in the Silhouette Black Friday Sale (be sure to use code LORI to get the Black Friday pricing). It will be available in my shop FREE today only as a special promotion so don’t miss out!
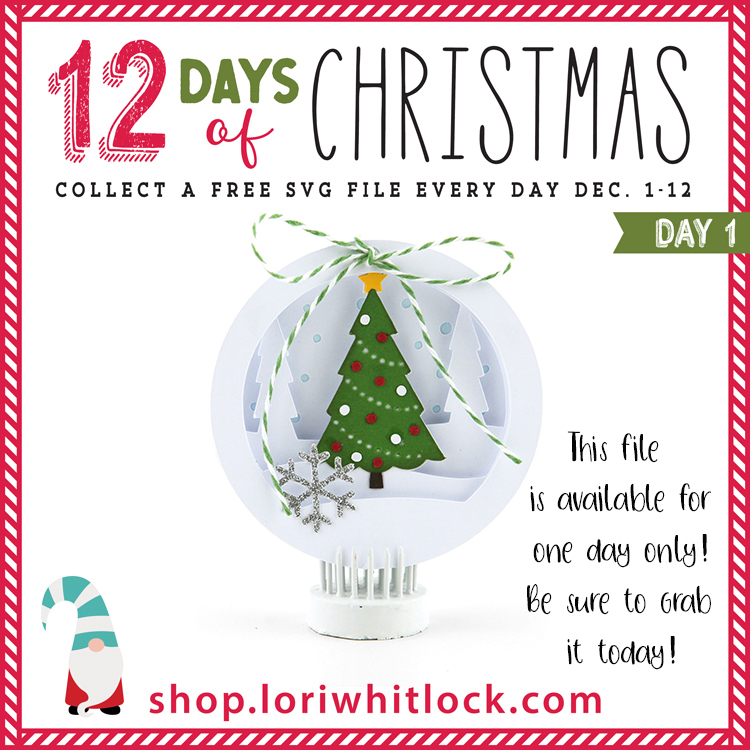
I’m also excited to announce that TODAY 1:00pm MST I will be teaching a fun and FREE online Zoom class that will be broadcasting from Silhouette headquarters! I will be demonstrating how to cut and assemble this beautiful Christmas Ornament file. If you’re a Silhouette user, this Christmas Ornament Tree file is also available this week as a FREE download in the Silhouette Design Store if you would like to work along with me. There is no charge for the class but you do need to register. You can sign up for the class HERE. Hope to see you there!
Now for this week’s new files and our weekly freebie file…
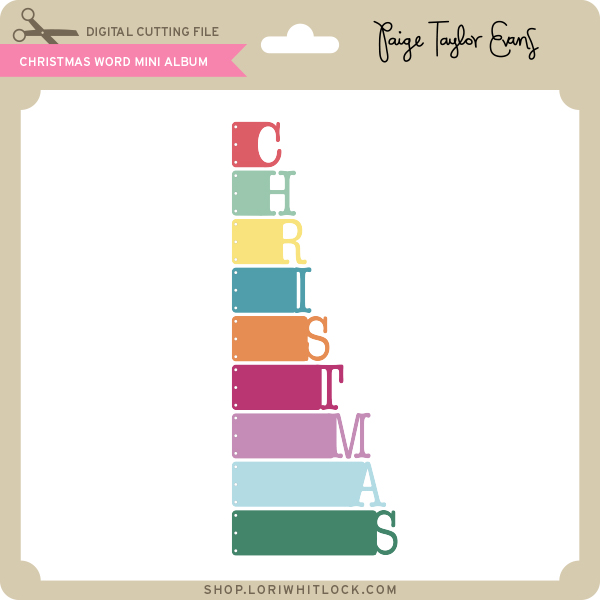
ALL WEEK, this SVG file is FREE with any $1.99 purchase!
Hi Everyone! We have a FREE file with purchase all this week! Simply add this Christmas Word Mini Album file to your shopping cart along with ANY $1.99+ purchase from the SVG Shop and this file is yours FREE. Be sure to use Coupon Code: MEMORIES (case sensitive) at checkout. This offer is good through next Sunday.
(Your cart must reach at least $3.48 before the coupon will be applied and then $1.49 will be subtracted from your total at checkout. The files will be available for immediate download after you pay for your order by visiting MY ACCOUNT>COMPLETED ORDERS>ORDER DETAILS inside of your account. Only one discount code per order allowed.)

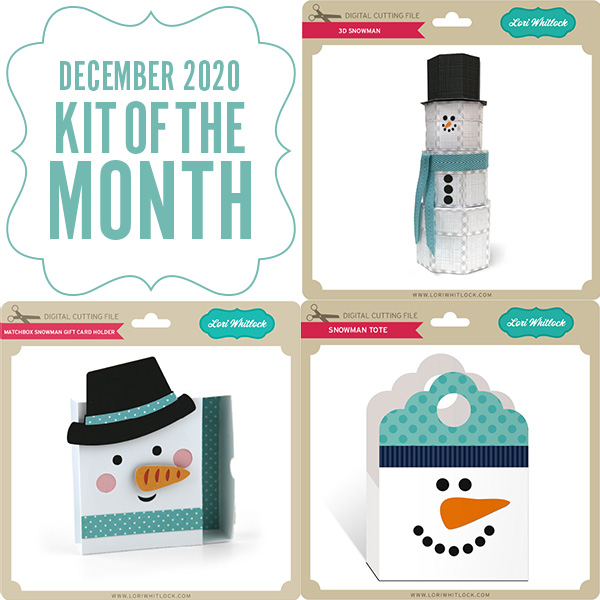
In addition, don’t forget about this special ! You can get this Free Kit of the Month with any $20 purchase (Purchase must be in one transaction.) Simply add the 2020 December Kit of the Month to your shopping cart along with ANY $20.00+ purchase from the SVG Shop and this file is yours FREE. Be sure to use Coupon Code: DEC20KOTM (case sensitive) at checkout. This offer is good through December 31, 2020.
(Your cart must reach at least $27.95 before the coupon will be applied and then $7.95 will be subtracted from your total at checkout. The files will be available for immediate download after you pay for your order by visiting MY ACCOUNT>COMPLETED ORDERS>ORDER DETAILS inside of your account. Only one discount code per order allowed.)
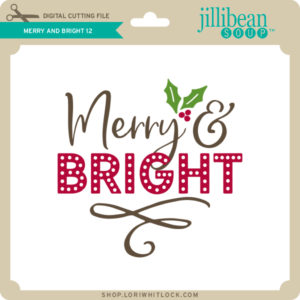
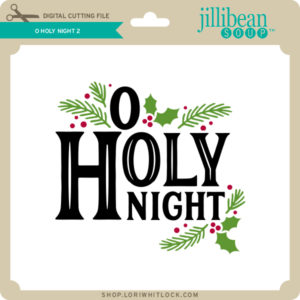
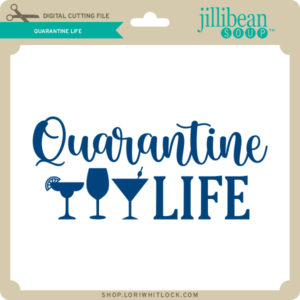
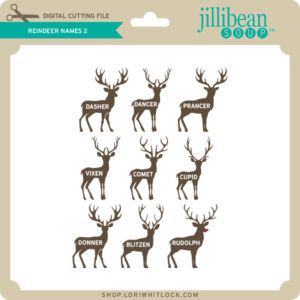
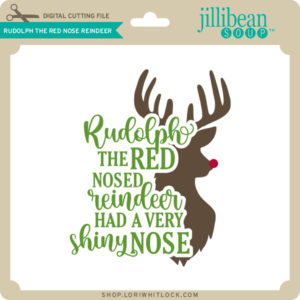
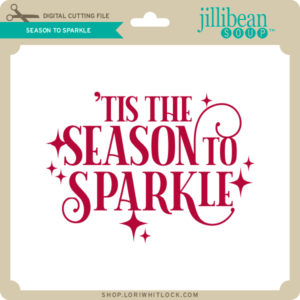
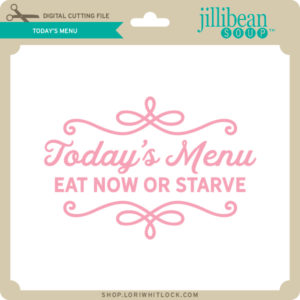
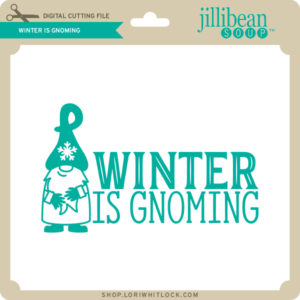
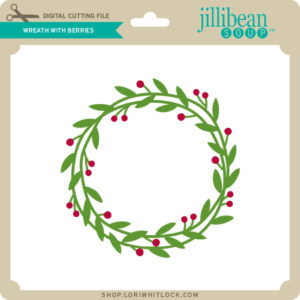
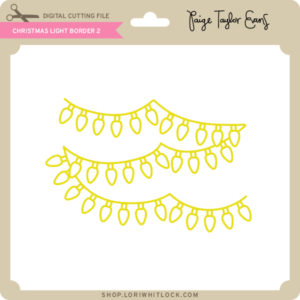
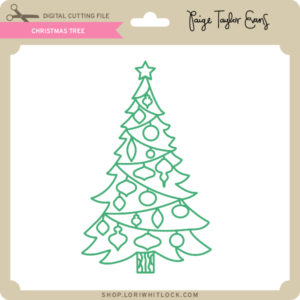
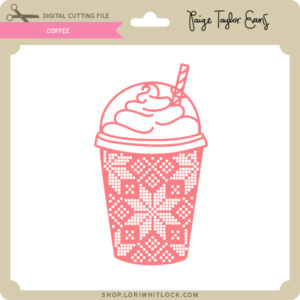
Check out the new SVG files releasing this week! Just like always, the NEW SVG files will be ON SALE 25% OFF through the weekend in the SVG Shop! These downloads include SVG files that may be used with Cricut Explore, Silhouette (Designer Edition upgrade required), Eclips, Brother Scan and Cut, and any other software that will open SVG files. No coupon code necessary, the newly released files are all discounted in the shop! Be sure to go get them while they are on SALE this week.
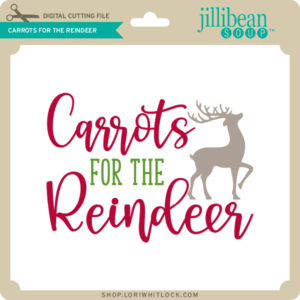
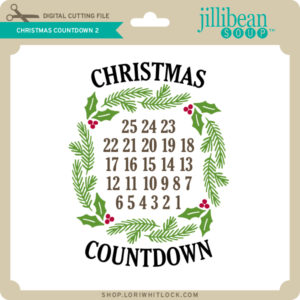
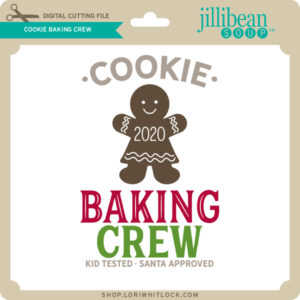
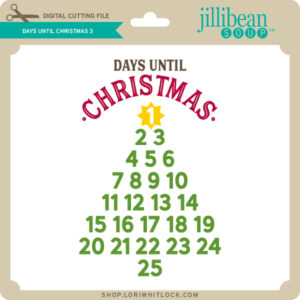
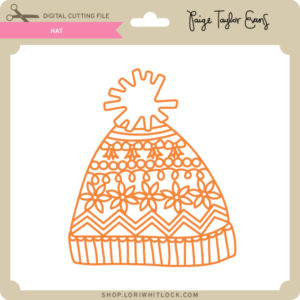
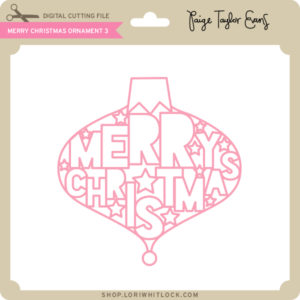
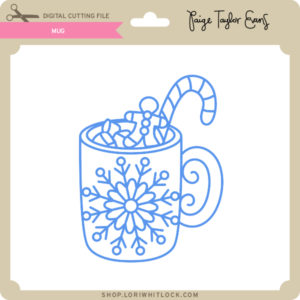
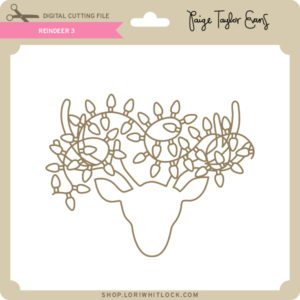
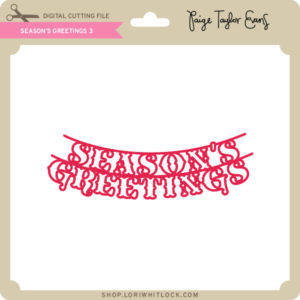
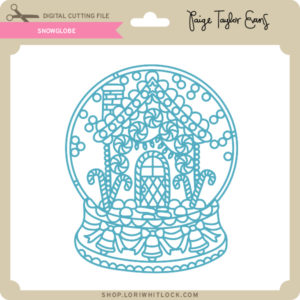
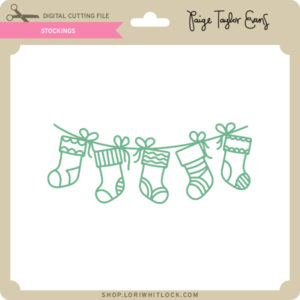
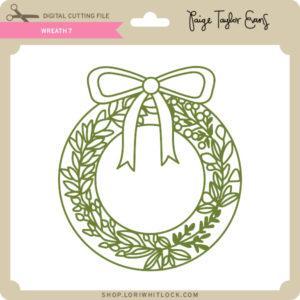
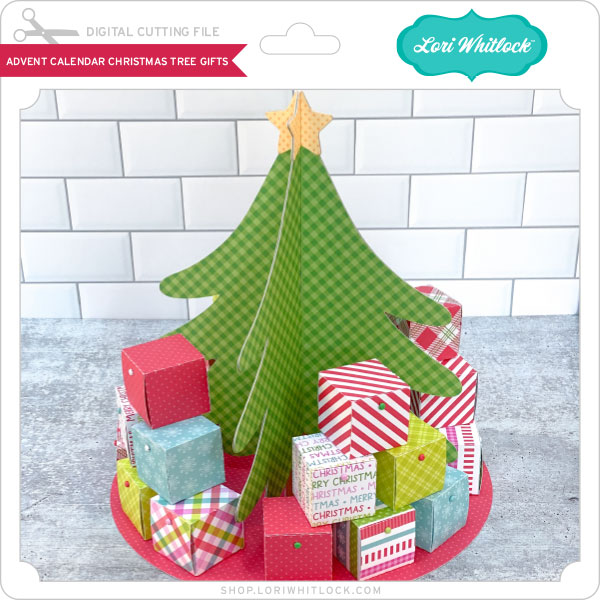
This week I have an irresistible new Advent Calendar Christmas Tree Gifts file. We also have files from Bella Blvd, Jillibean Soup and Paige Evans.
CLICK HERE TO GO TO NEW FILES
Thanks for visiting the blog today! Please let us know if you need any help with your files. We want to make sure everyone is happy with their purchase. Have a great week! SHOP HERE