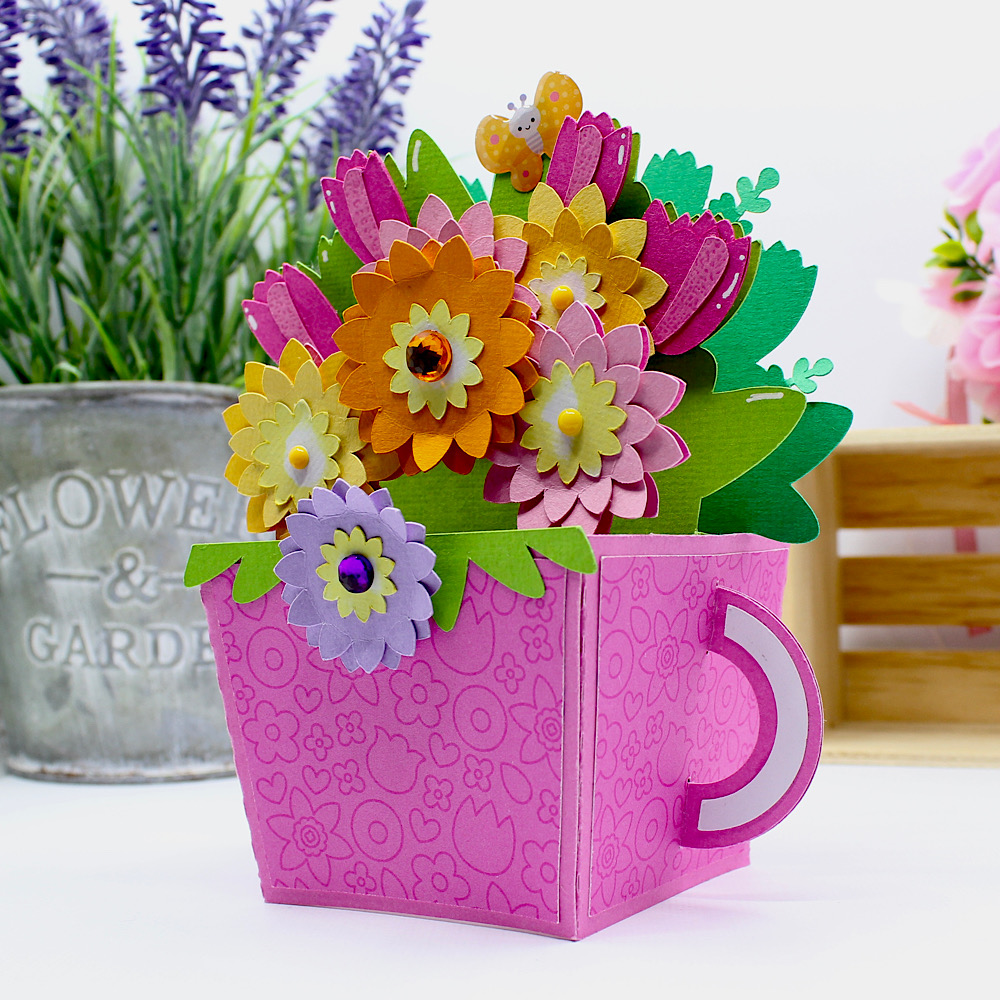
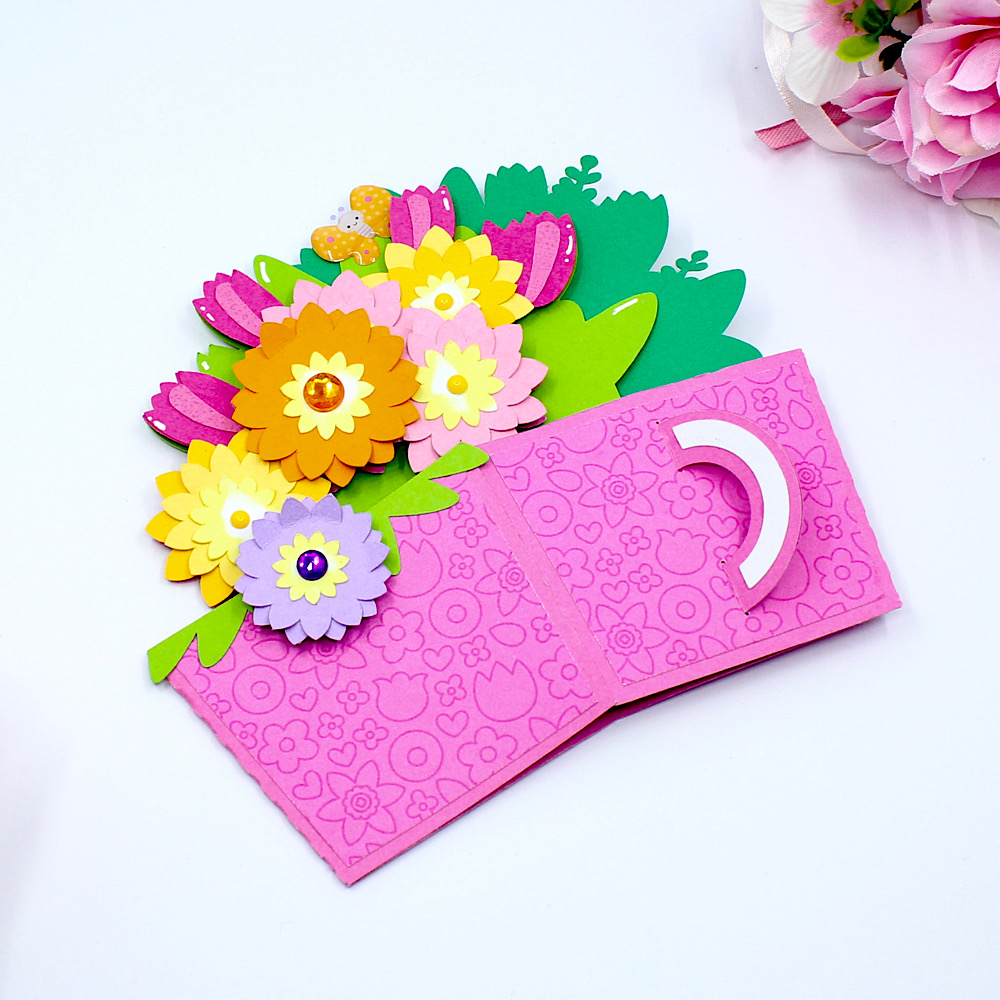
Hello crafty friends, Noelene here today! I want to share with you a tutorial from Lori Whitlock’s Box Card Tea Cup Flowers (SVG, Silhouette)!
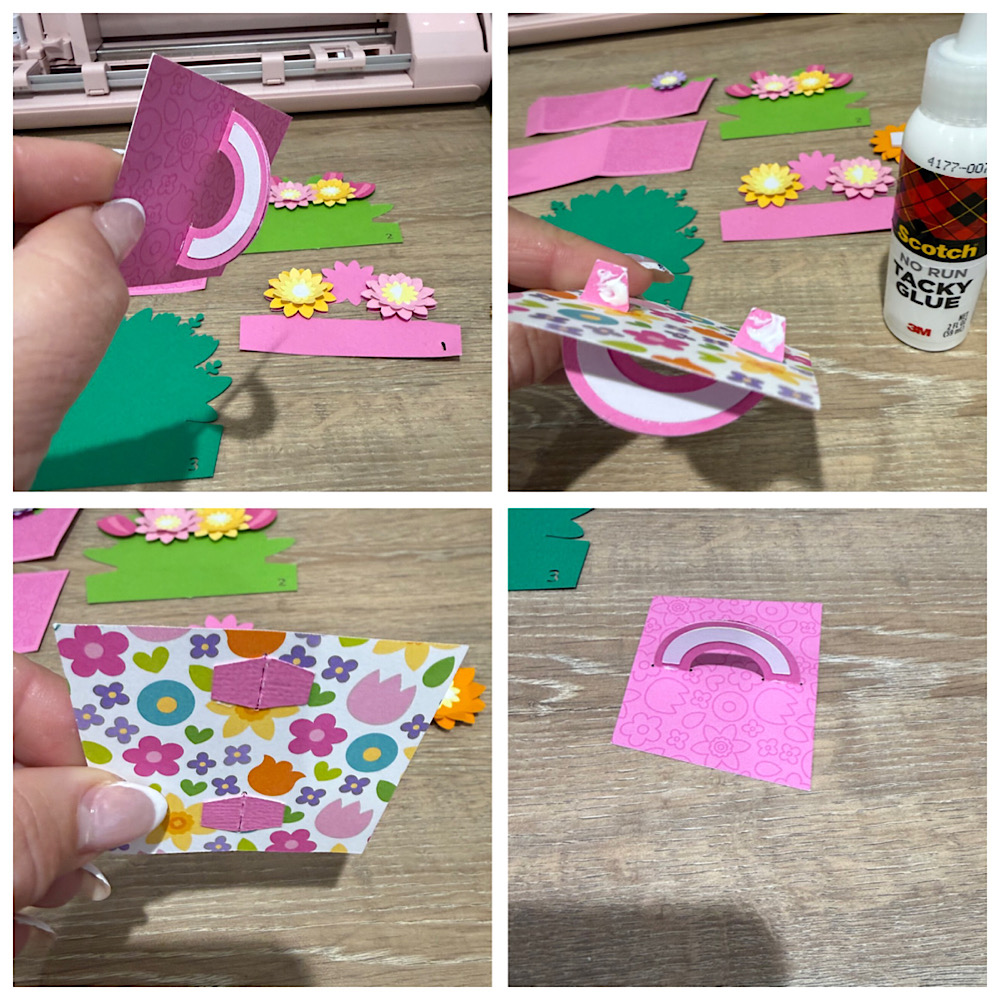
To start out I cut out all my pieces & glued on the panels. Make sure to leave out the tea cup side panel with the slits. Do not glue this down just yet. I used foam squares for dimension behind my flowers.
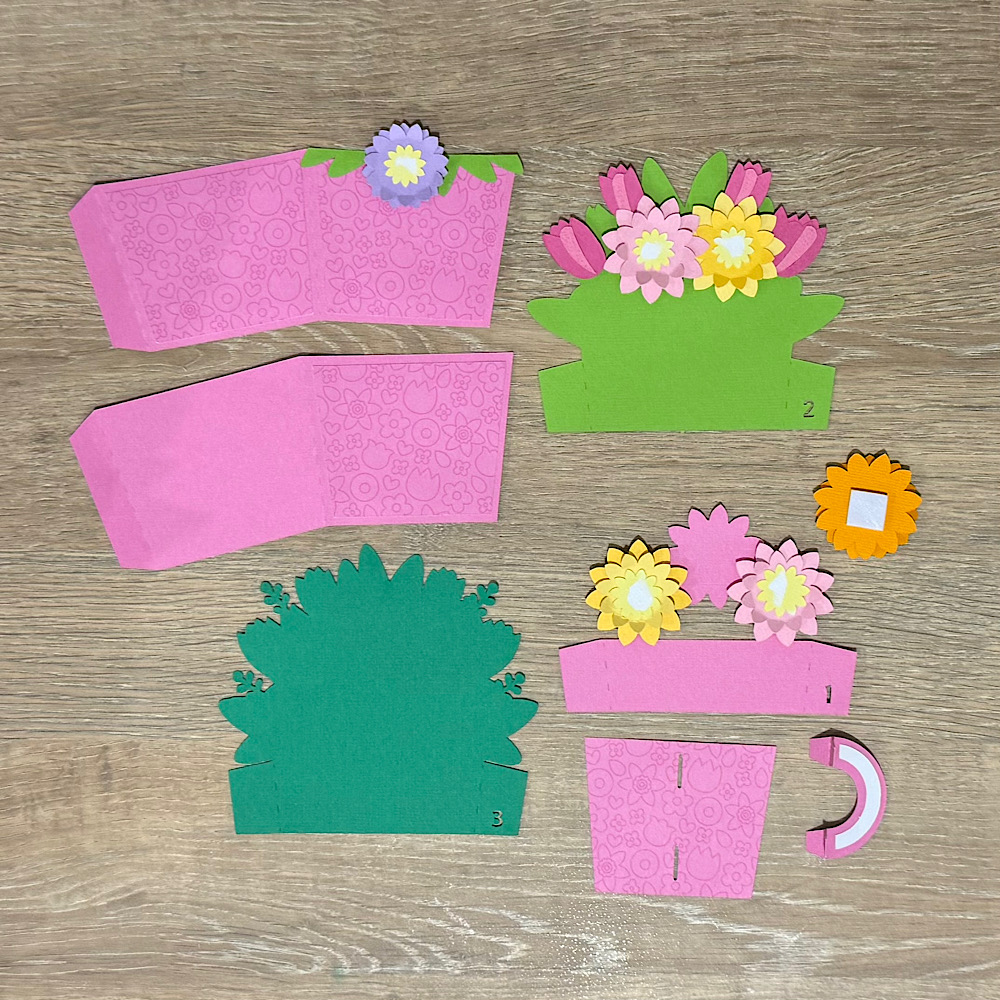
Now for the tea cup side panel with the 2 cut slits I pushed the handle panel tabs through the slits. I then placed a little glue to the back of each tab & pressed them flat. Now place this face down until it’s dry. Once dry you can glue this panel onto the panel base.
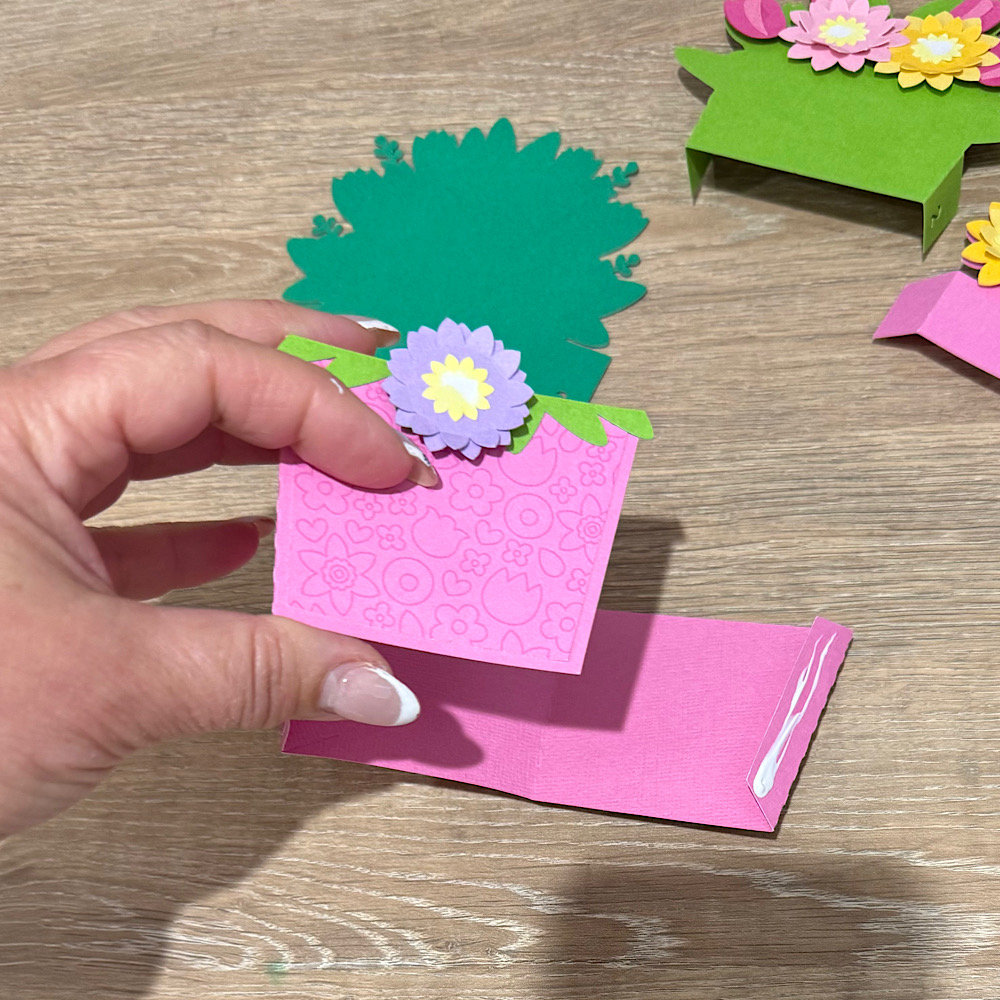
Now take your tea cup side panels & glue the tabs to the inside to create your box. I like to fold it flat as I go.
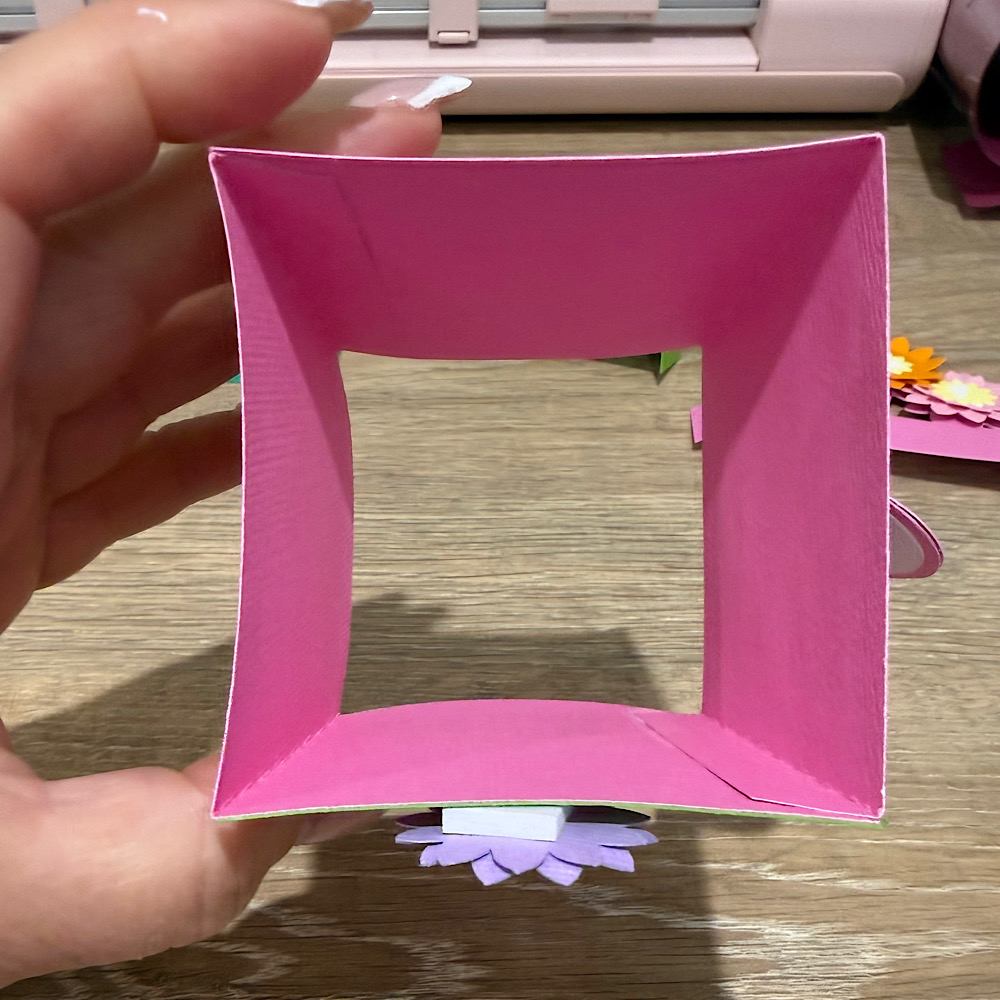
Now it’s time to put your box card together. Start by folding down all the scored lines. Now glue the tabs on the inside of the box. I find the best way to do this is by folding the box flat to get the tabs nice & straight along the edge. I used the tabs as a space guide starting from front to back.
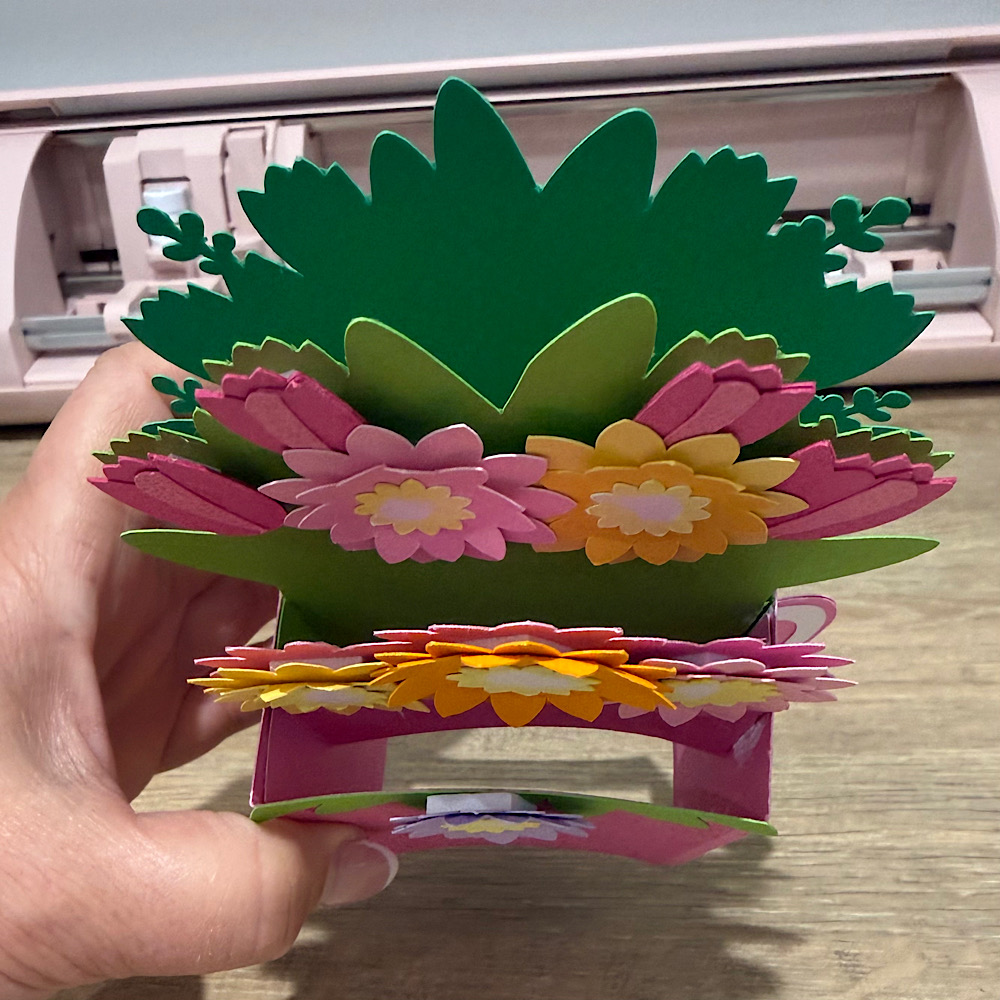
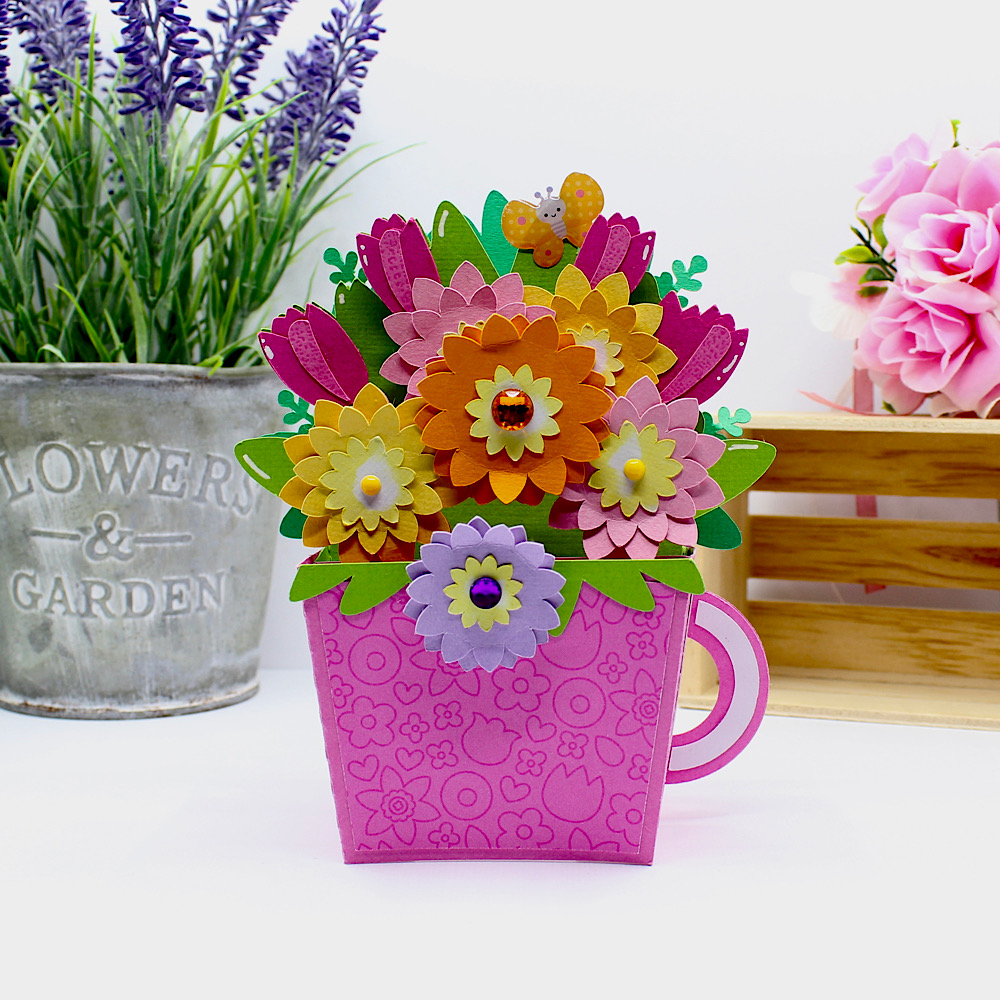
To finish off I added some gems & enamel sprinkles & a cute little butterfly sticker.