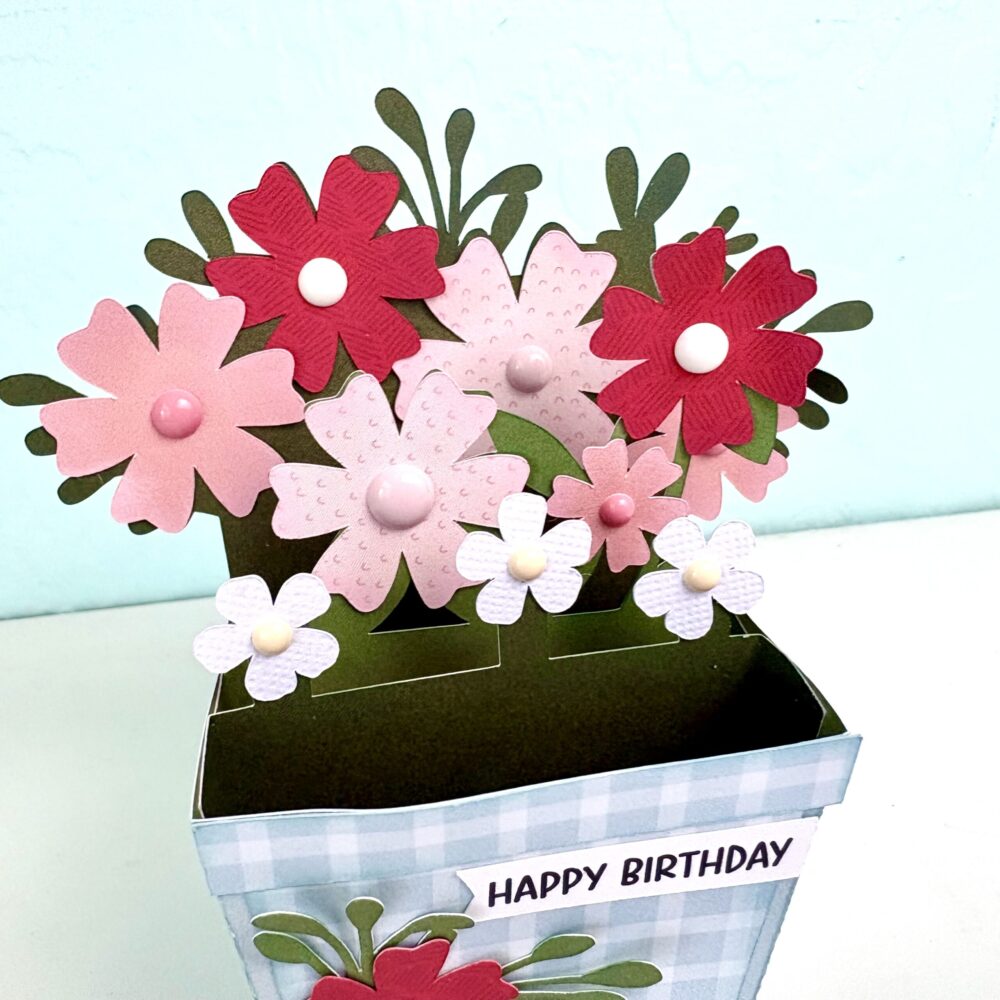
Hello! Today, I’m excited to share a step-by-step assembly tutorial for the Box Card Spring Flower Pot 3 (
SVG,
Silhouette). This card includes several print-and-cut sentiments, and for this project, I’ve chosen the Happy Birthday design. All of the papers come from the
Strawberry Fields collection by Echo Park Paper Co.
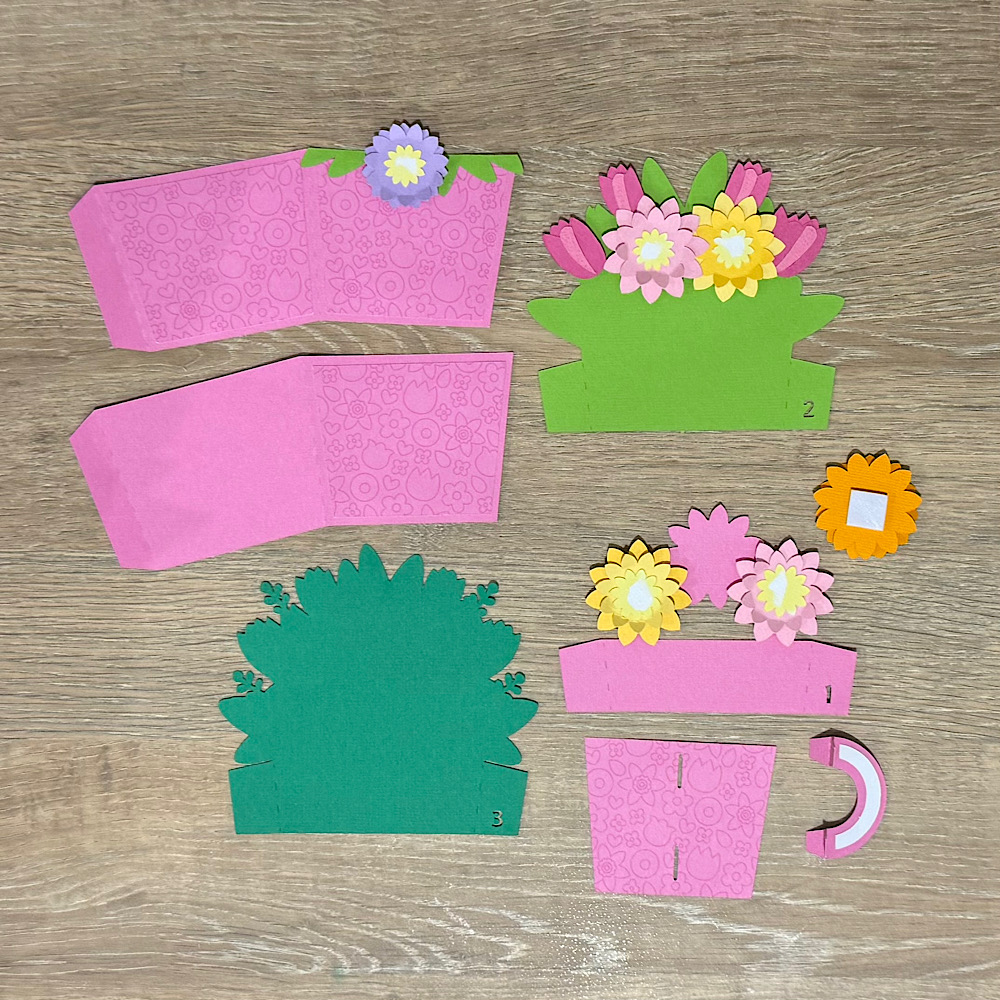
First, I inked the edges of most of the paper pieces and folded all of the score lines into valley folds. Next, I adhered the gingham patterned paper to the flowerpot base, which is constructed from two pieces glued end to end. The three inserts feature a total of 10 flowers, with one additional flower attached to the front of the pot. Although the file includes flower centers, I chose not to cut them from paper. Instead, I used enamel dots from my stash for the flower centers.
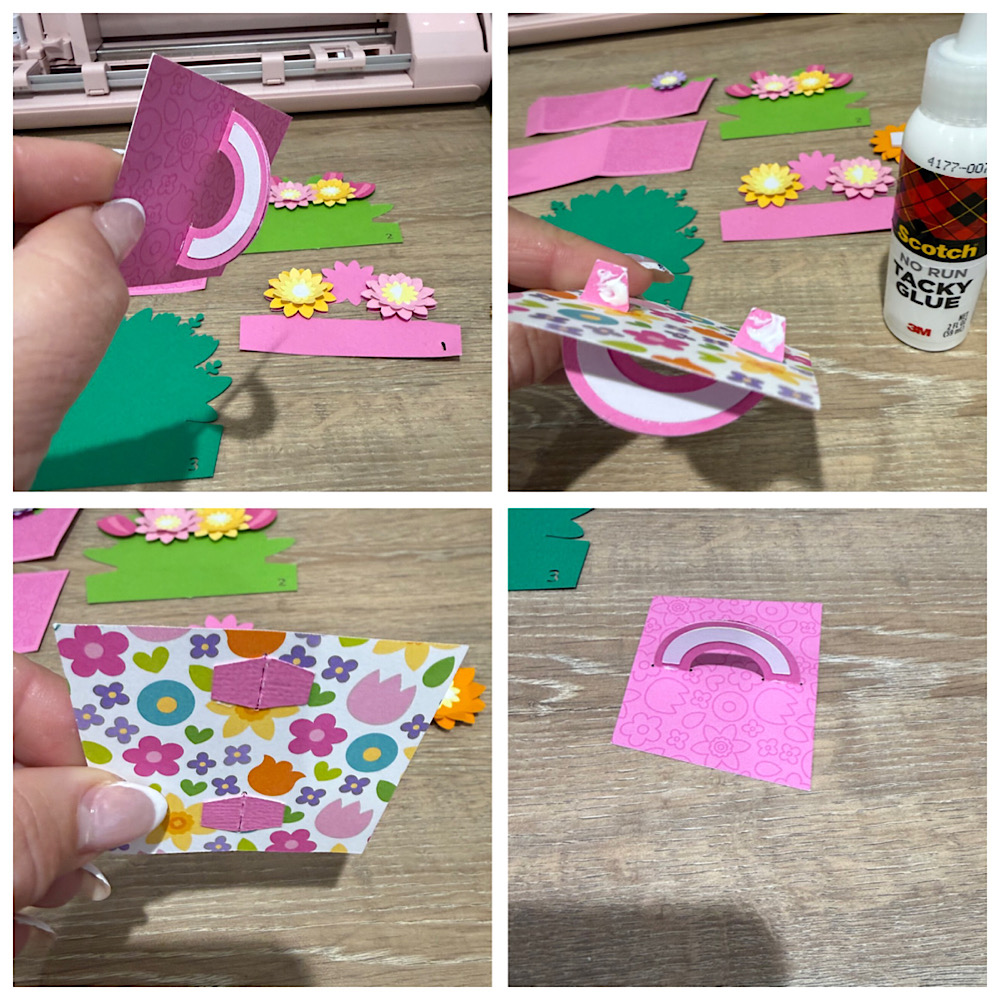
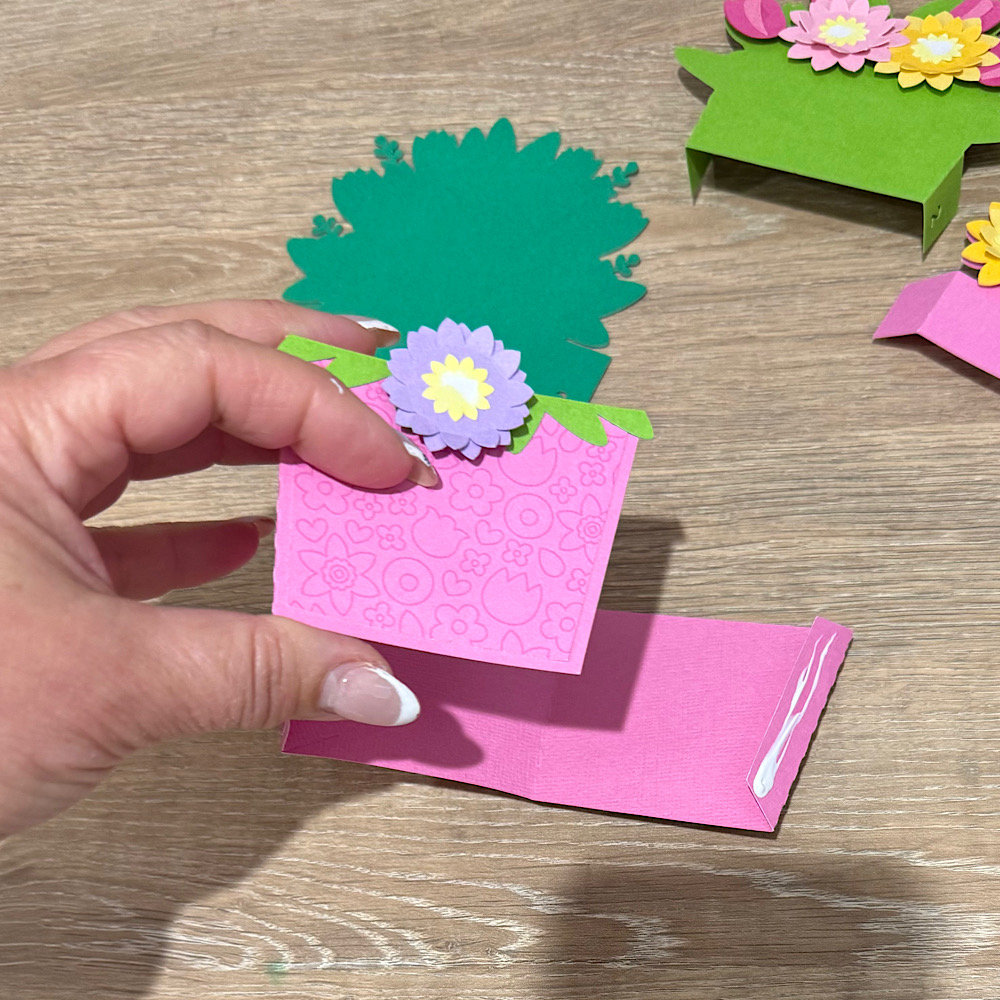
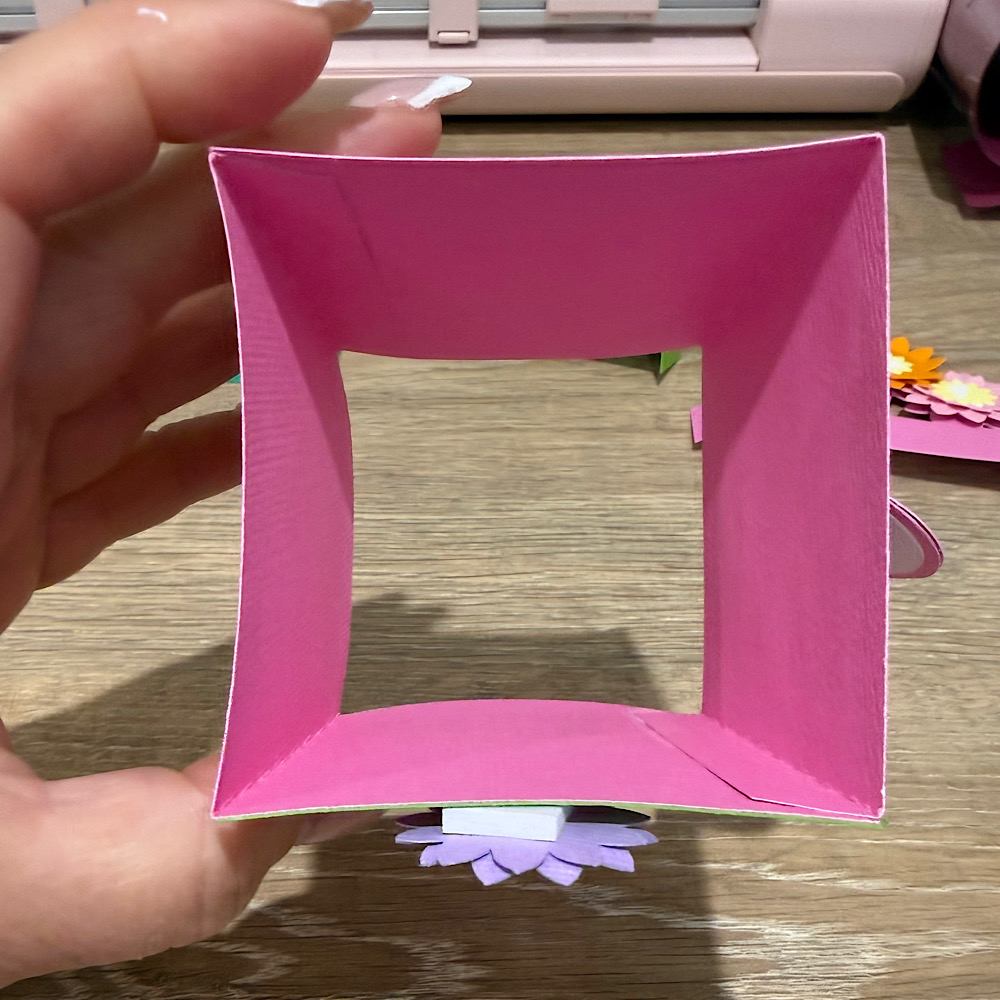
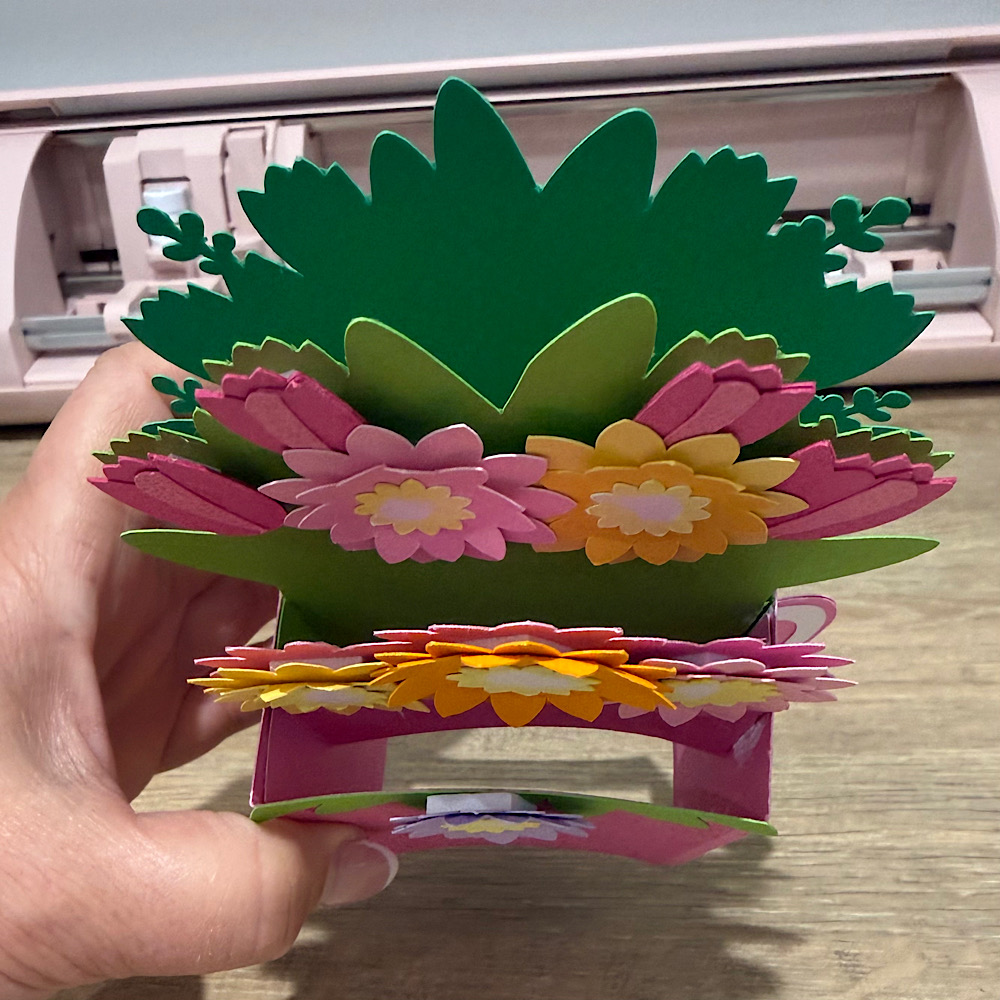
The inserts can be a little tricky to attach because of the flowerpot’s slanted shape. I adhered them to the inside of the second and fourth sections, starting with the left tab of each insert. As I attached them, I made sure they were level with the top edge of the flowerpot and aligned with the front insert.
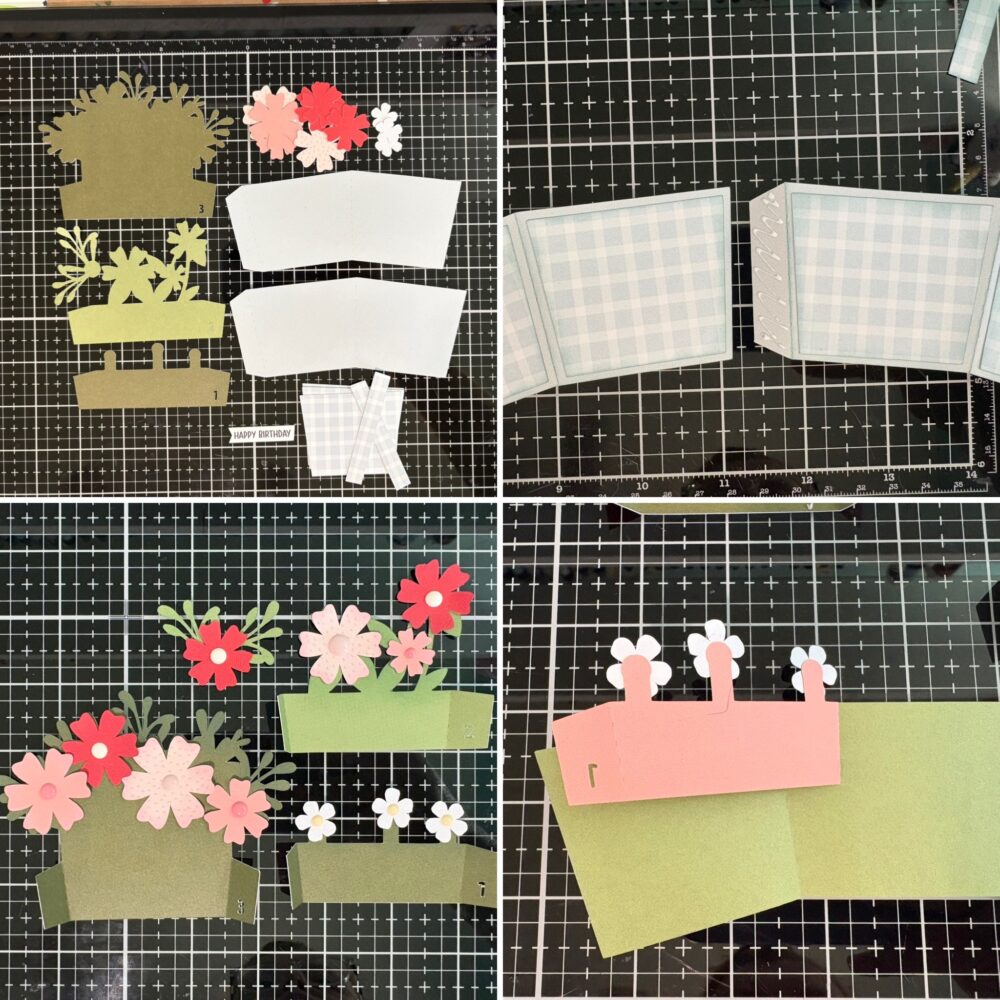
Once all the inserts were secured on the left side, I folded them over and applied glue to the back of each tab. Then, I folded the flowerpot over the glued tabs and added glue to the flowerpot tab before closing it. I also added two strips of gingham paper to form the flowerpot’s rim, adhering them neatly to both the front and back of the card.
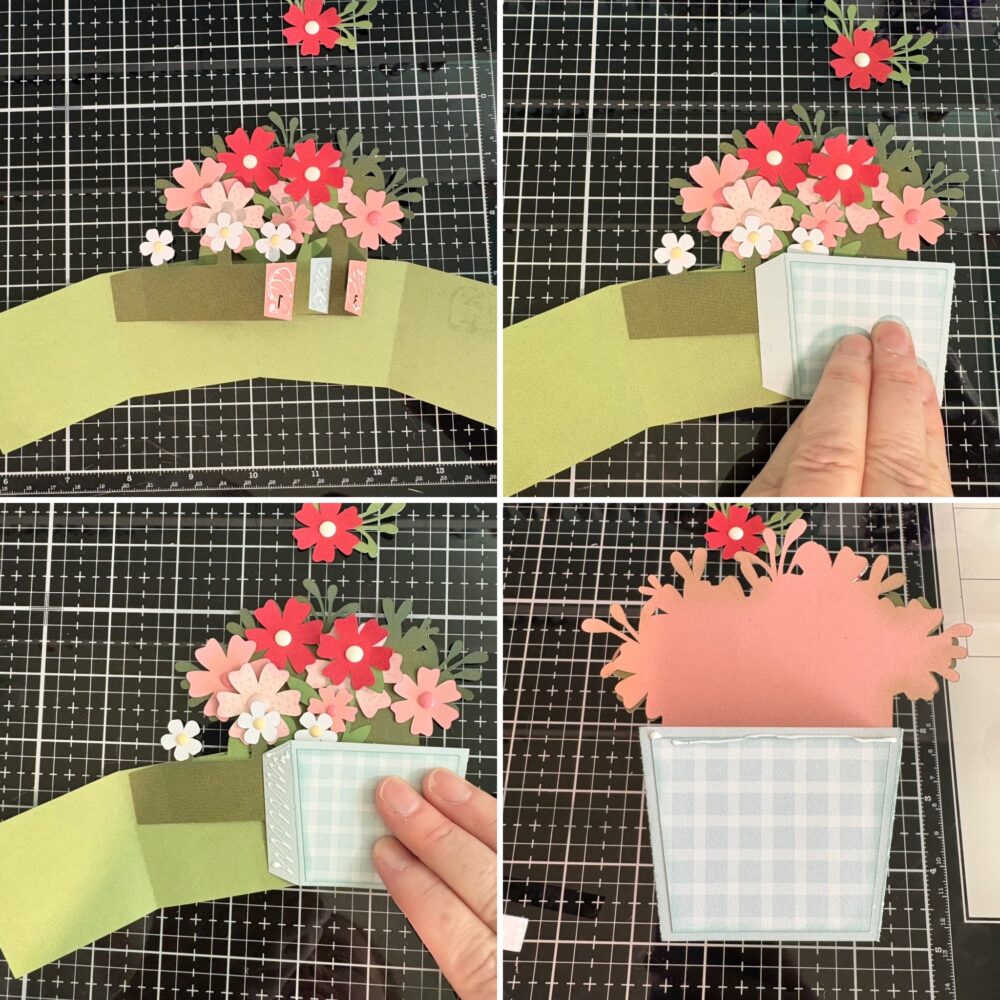
Lastly, I adhered the sentiment and the final flower to the front of the flowerpot.
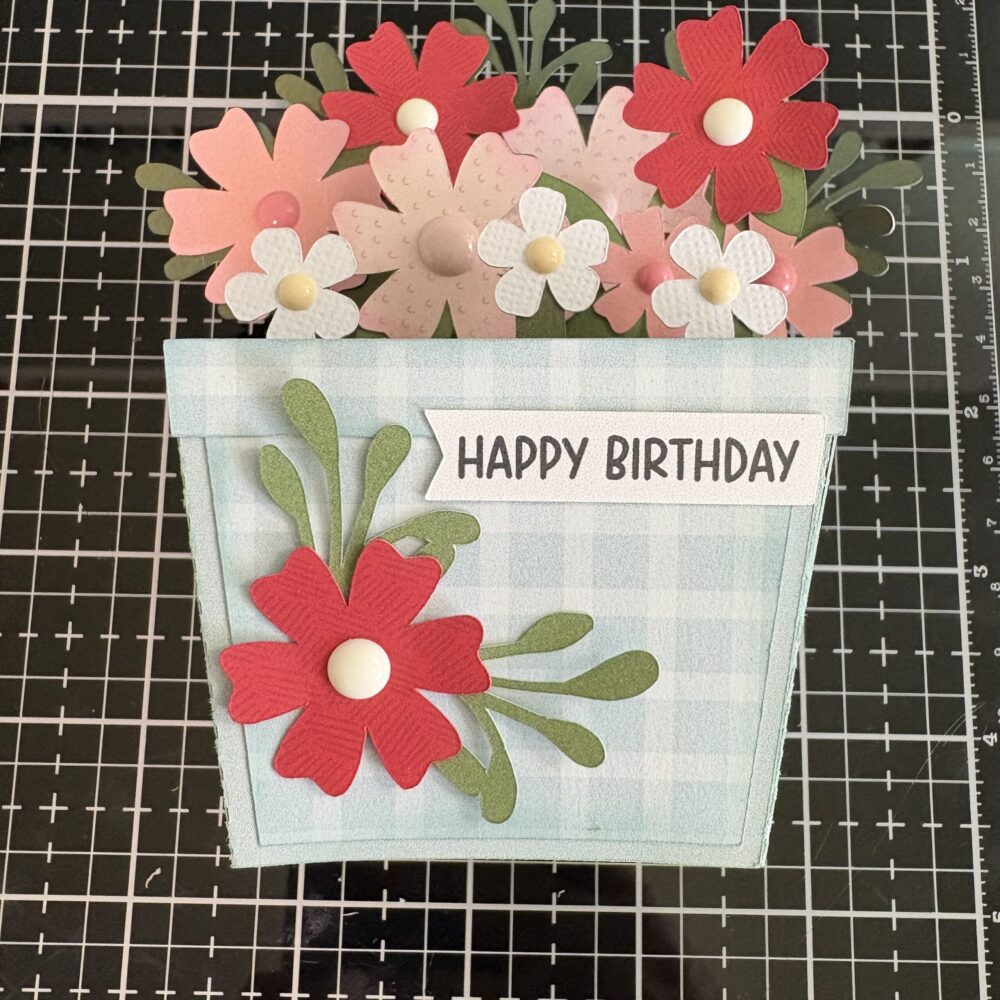
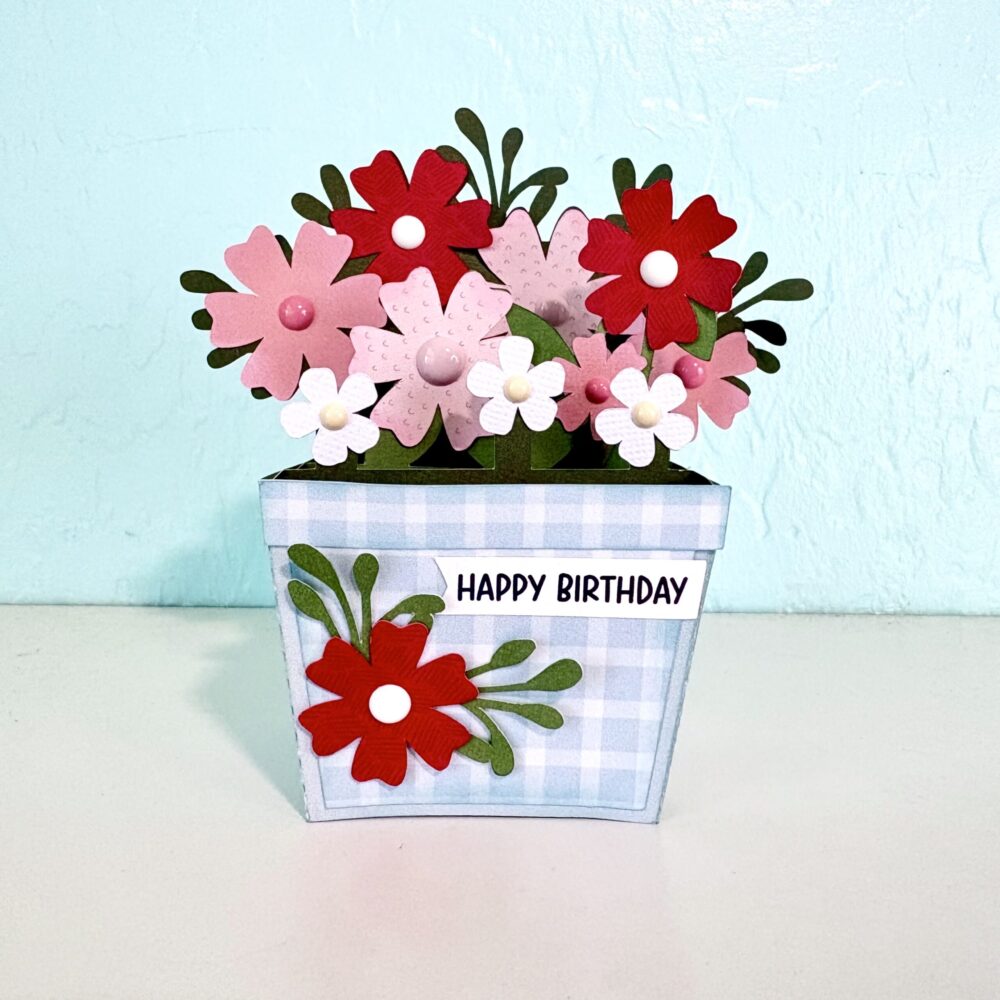
I hope you enjoyed this tutorial, and if you have any questions, feel free to reach out. Thank you for stopping by today!
Brandie

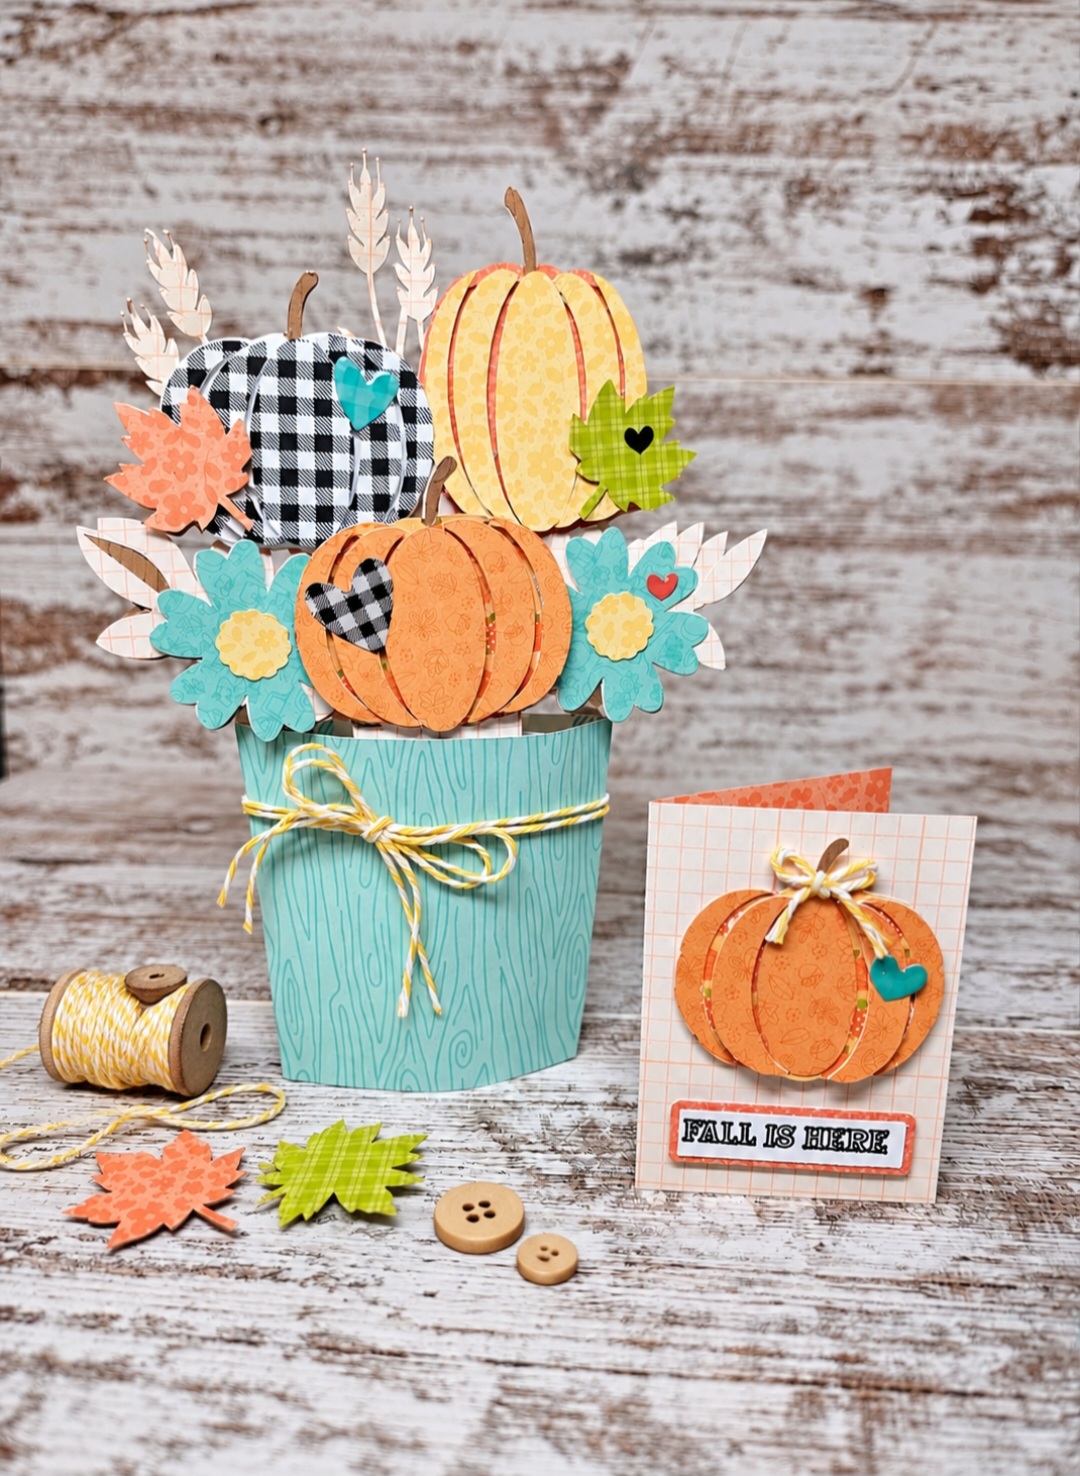
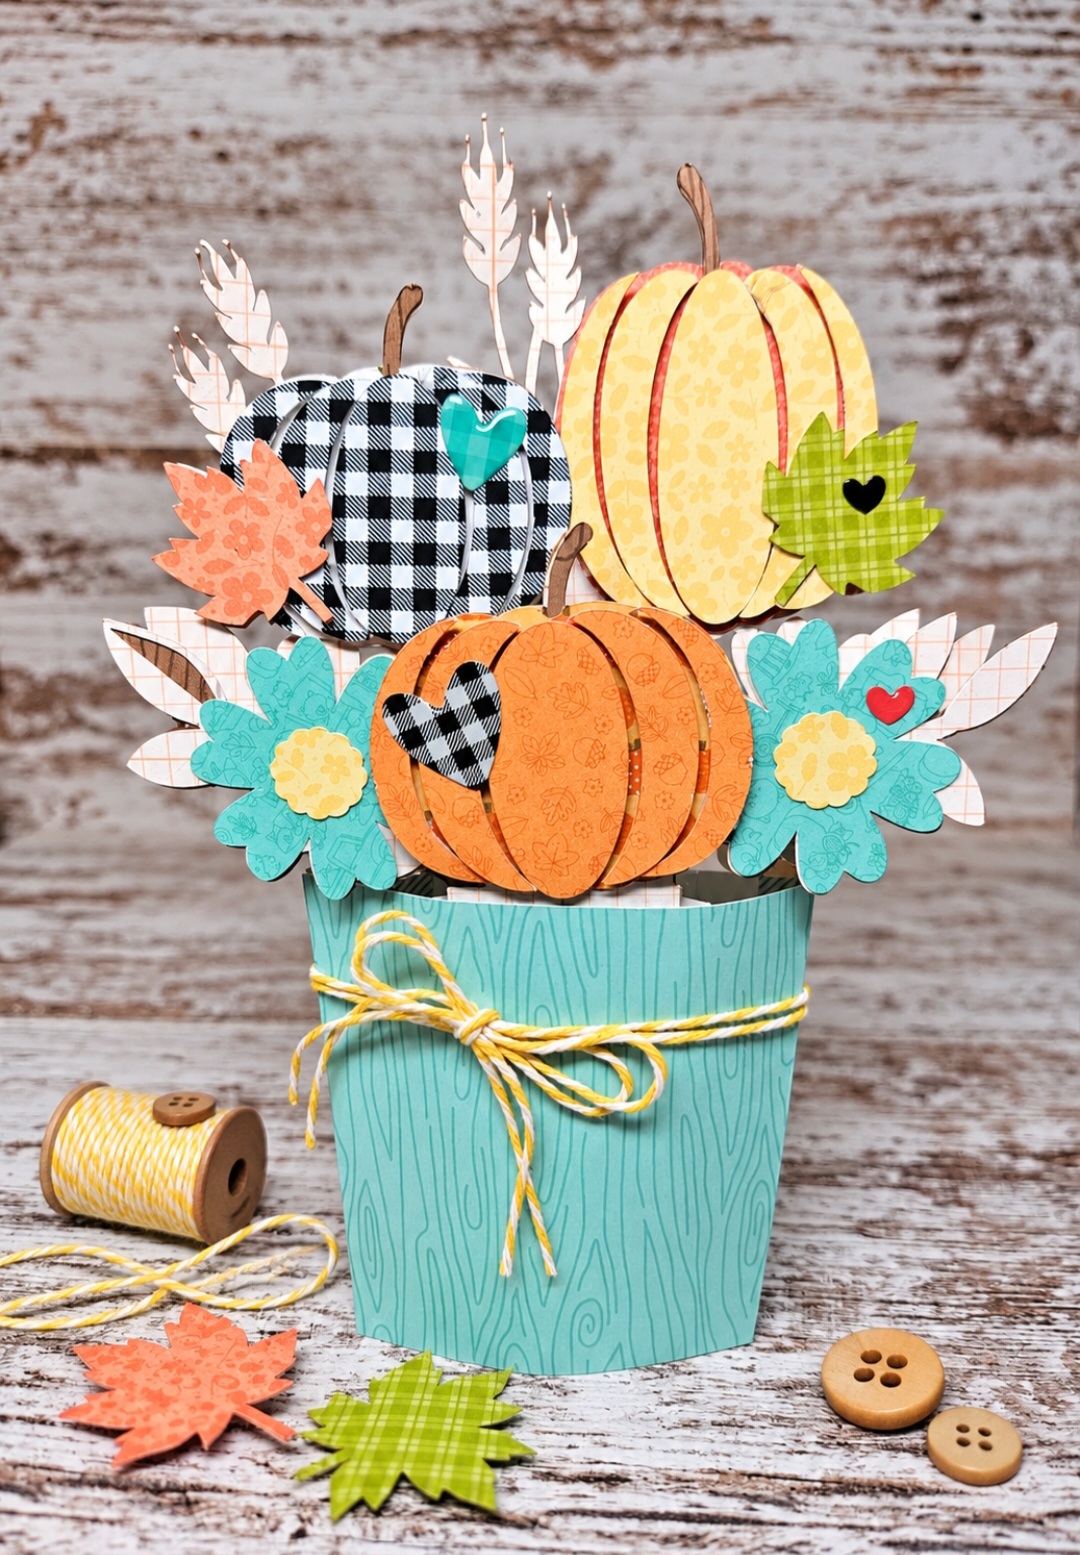
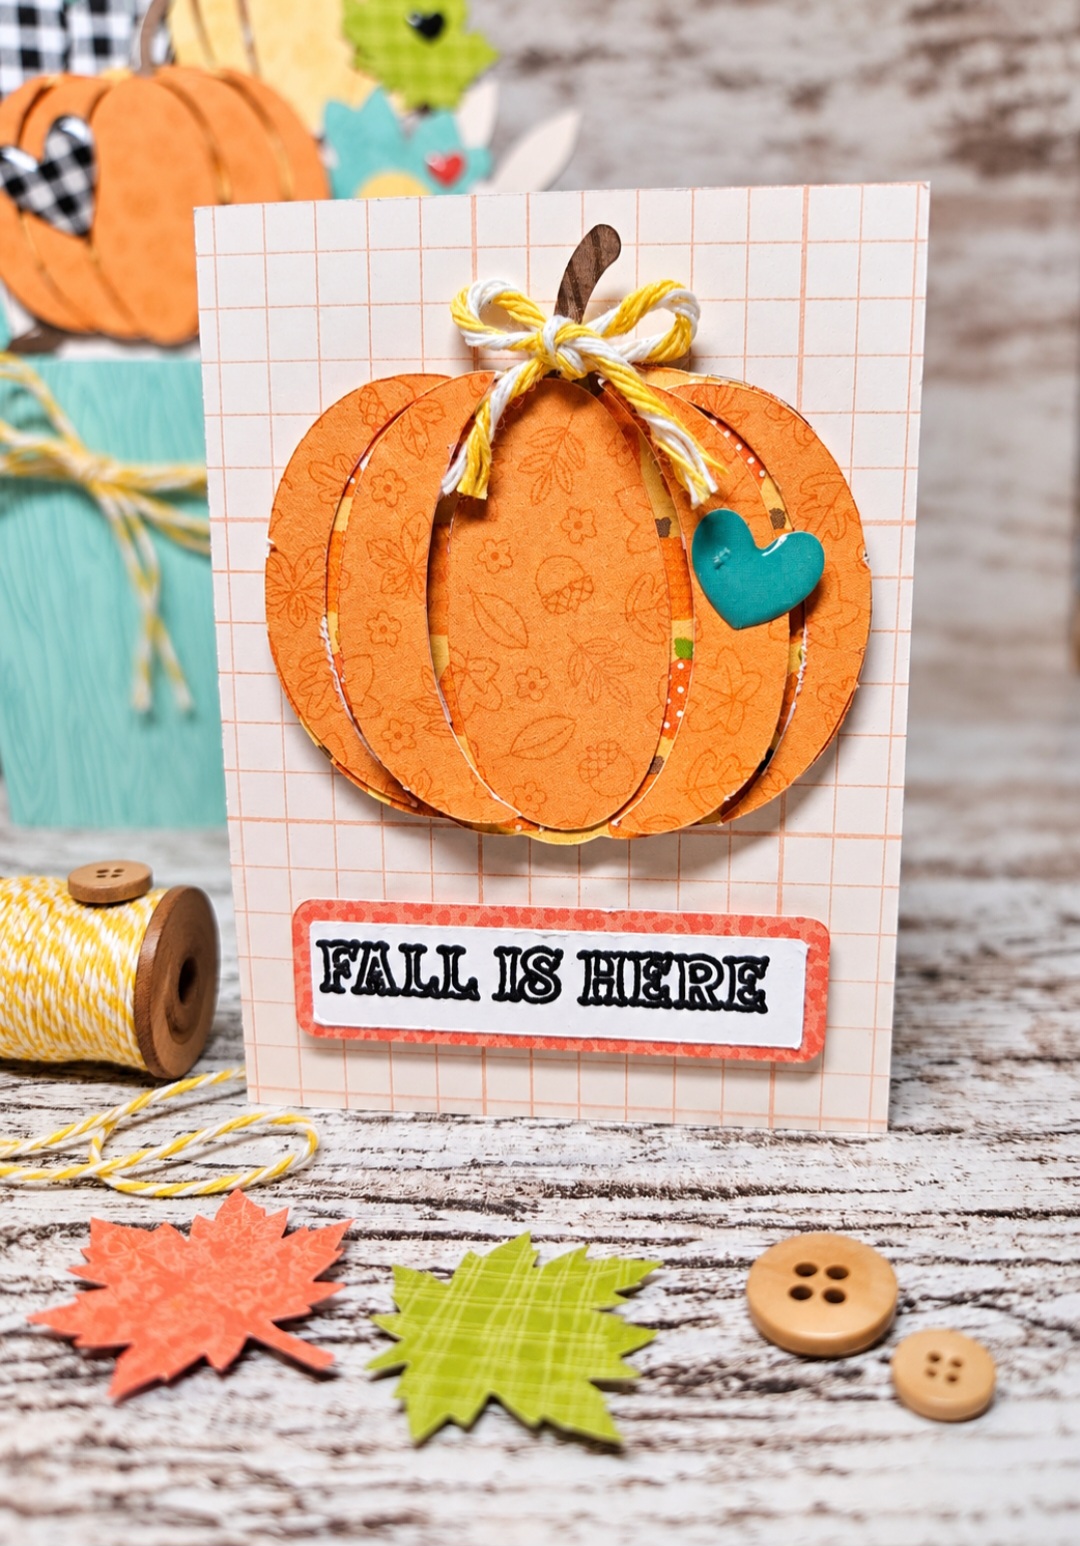

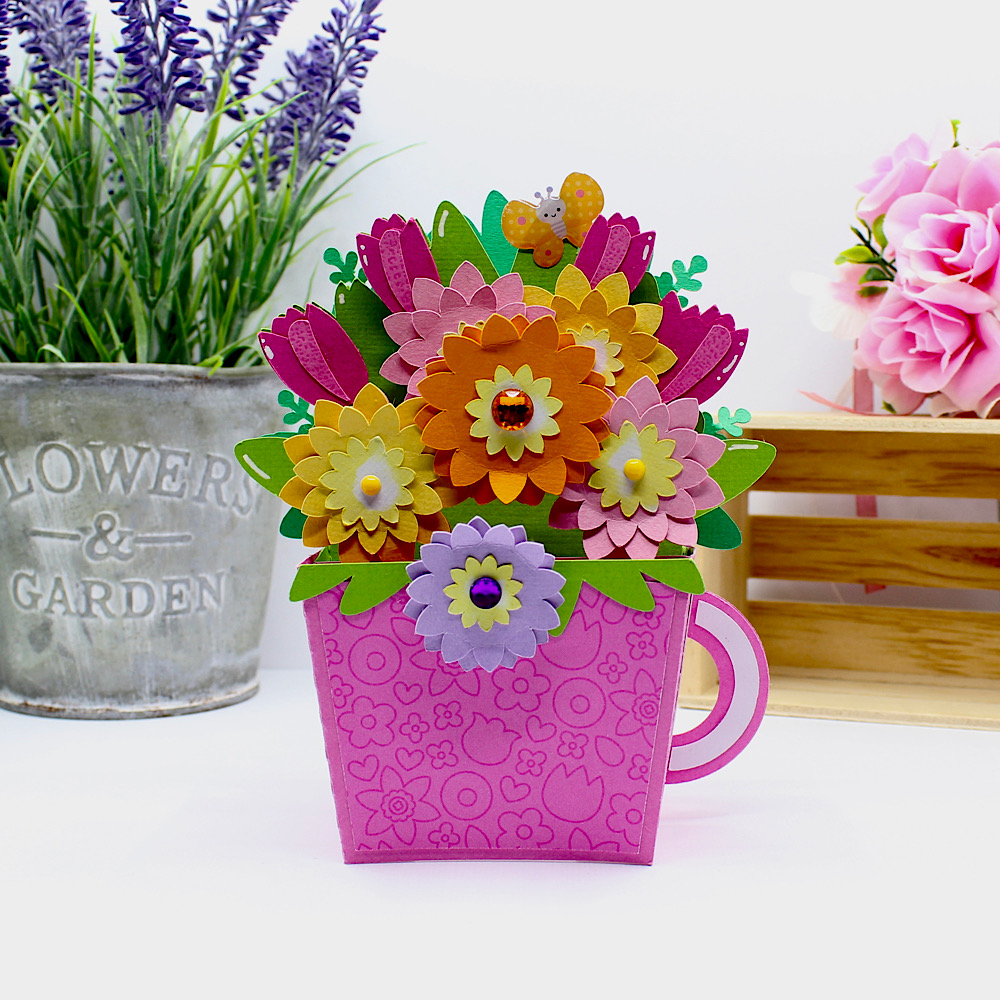
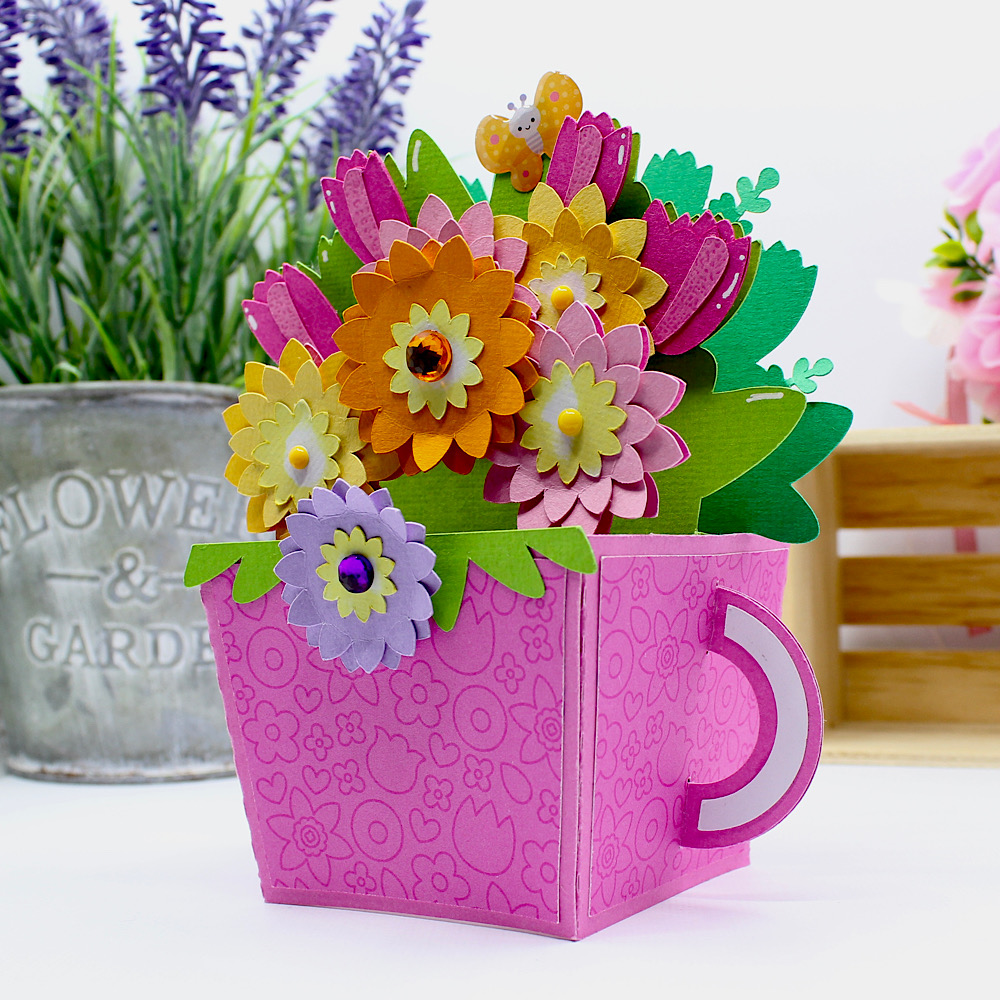
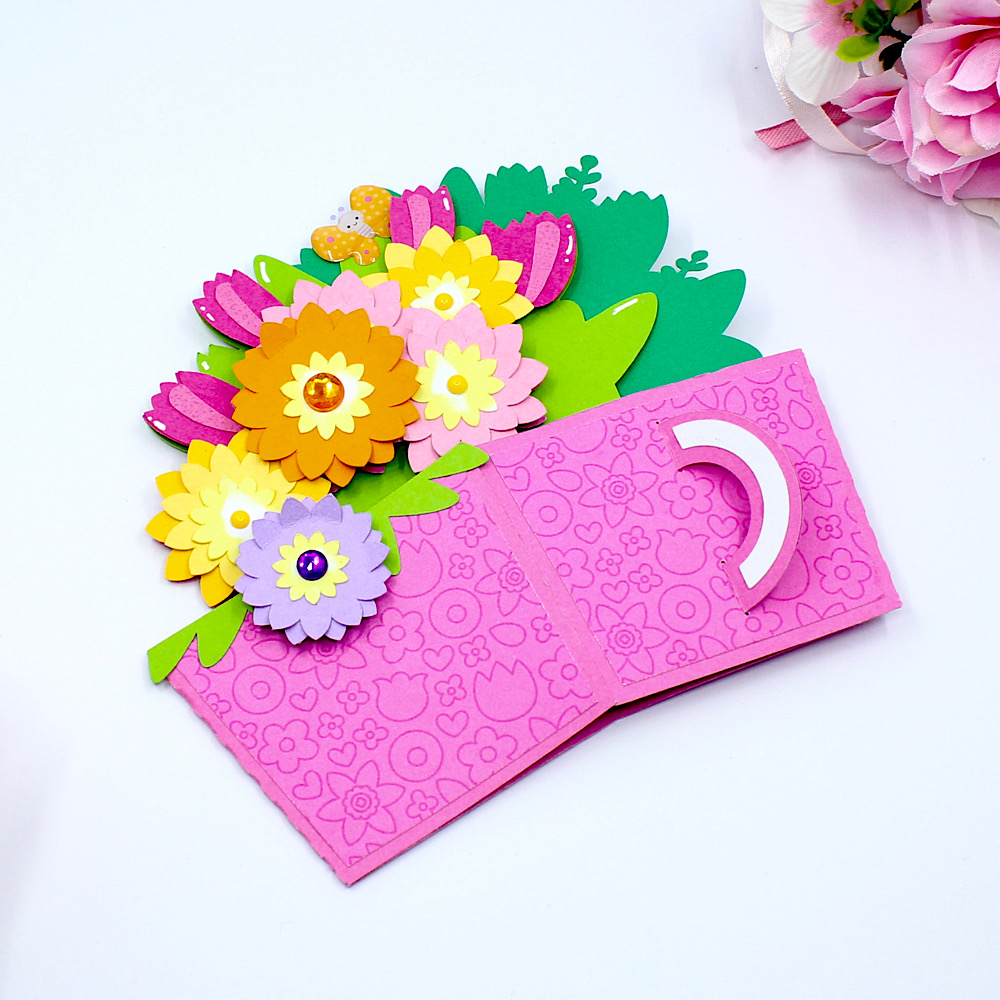


 I love how pretty this card turned out. It also comes with optional sentiments, which inclued: Happy Birthday, Happy Mother’s Day, Hello Friend, Happy Spring & Congratulations.
