Luminary Tutorial

Growing up, there was a Cul-de-Sac near our home where all the houses had luminaries lining their sidewalks. They were the electronic sort of luminary.  I loved the 100 percent participation on that street, it always looked lovely.

This year my neighborhood had an activity where all the neighbors were invited to place paper bag luminaries with tea lights out on a designated night. Neighbors could decorate their bags, or just leave them plain.  I decided I needed to try cutting designs with an electronic cutter.  I chose a variety of Lori’s Christmas files. I’ll share each link with the pictures.

First, to cut the bags, you need to open the bags and flatten the sides like this picture:

flat bag picture

I placed the bag one inch down, so that I could see the inch marks on the mat.  Using the mat grid, figure out where your design should go on the bag. Then select and resize your design and move it to the correct location on your mat in the software. You can do this in Silhouette Studio or Cricut Design Space. I sized each of my designs just less than 4 inches wide and centered the design on my mat.

You may need to try a couple of cut settings depending on the bag thickness and the sharpness of your blade.  In Silhouette Studio, I started with the Vellum setting–which is Blade 1, Force 19, Speed 6.  I think bringing the force down a to 15 will work well too.

Since the bag is paper, I found that the back side of the back always had cut lines, but with less force, the cuts didn’t cut through the whole design.  My first bags were cut through on both sides, and I think they still looked great.

Tree Luminary

Tree from the A2 Christmas Tree Card (SVG, Silhouette )
This Tree Luminary is a great one to start with because of the simple design.  Fine tune cut settings with this one.

Angel Luminary

Angel from the Full Nativity a Child is Born (SVG, Silhouette).  You could use all the individual pieces for luminaries.

 Star from the Nativity Circle Jesus (SVG, Silhouette)  The star from the Nativity above will also work.

Wisemen

Wisemen from the Nativity Circle Wisemen (SVG, Silhouette)

For these next circle designs, you will need to some editing. If you don’t edit, the entire design will pop out of the bag, and you will be left with just a circle.  I’ve outlined the steps to edit in both Silhouette and Cricut below.

In Silhouette Studio

1. Release Compound Path
2. Move and delete the outer most circle
3. Group the remaining pieces and resize.

4. Move design on the screen to match your bag placement on your physical mat.
5. Select Cut Settings (Vellum; reduce force to 15)
6. Send

In Cricut Design Space

1. Select Image
2. Select Contour
3. Click on the largest circle.

4. Resize your image.
5. Click Make It.
6. Move the design on your screen mat to match the bag placement on your physical mat.
7. Select cut settings and cut.

shepherd

Shepherd from Nativity Circles (SVG, Silhouette )

Nativity from Nativity Circles (SVG, Silhouette)

You may need to use scissors just a bit on the seam part of the bag.  I think it would be so fun to get your street to put out luminaries on Christmas Eve.  For the luminaries, place a bit of sand or dirt at the bottom of the bag and  place your tea light candle (or electric versi0n) with the wick straight up.  Then light them for the evening.

I hope you all have a wonderful Christmas

Ashley

Tuesday New SVGs & a Free File!

ALL WEEK, this SVG file is FREE with any $1.99 purchase!

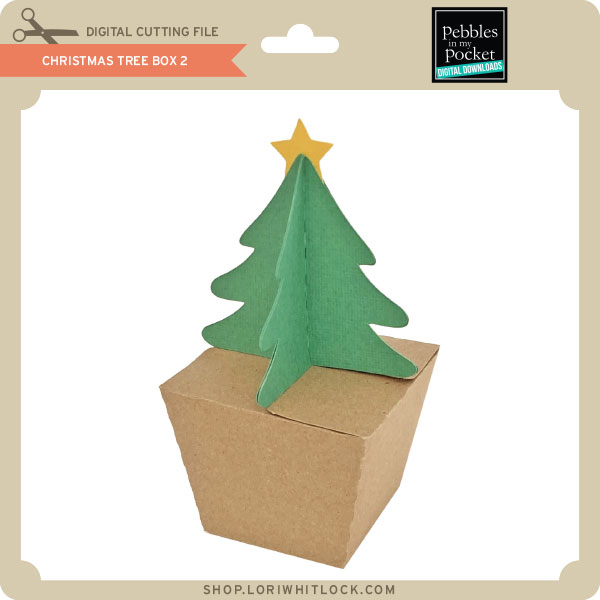
Hi Everyone! We have a FREE file with purchase all this week! Simply add this Christmas Tree Box 2  file to your shopping cart along with ANY $1.99+ purchase from the SVG Shop and this file is yours FREE. Be sure to use Coupon Code: TREEBOX (case sensitive) at checkout. This offer is good through next Sunday.

(Your cart must reach at least $4.98 before the coupon will be applied and then $2.99 will be subtracted from your total at checkout. The files will be available for immediate download after you pay for your order by visiting MY ACCOUNT>COMPLETED ORDERS>ORDER DETAILS inside of your account. Only one discount code per order allowed.)

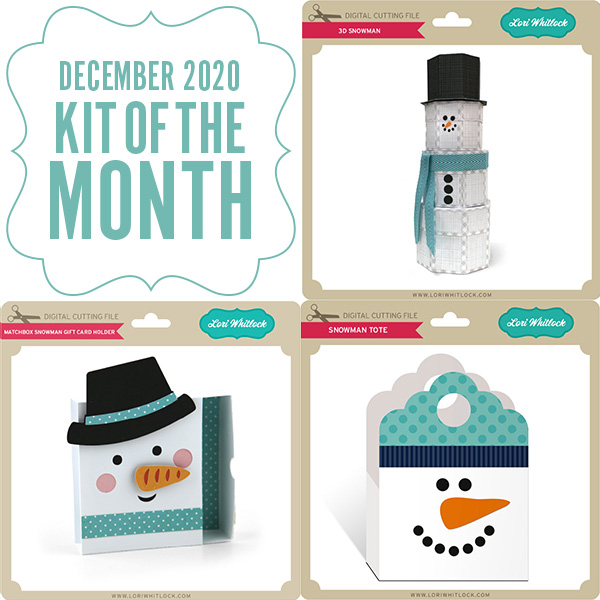
In addition, don’t forget about this special ! You can get this Free Kit of the Month with any $20 purchase (Purchase must be in one transaction.) Simply add the 2020 December Kit of the Month to your shopping cart along with ANY $20.00+ purchase from the SVG Shop and this file is yours FREE. Be sure to use Coupon Code: DEC20KOTM (case sensitive) at checkout. This offer is good through December 31, 2020.

(Your cart must reach at least $27.95 before the coupon will be applied and then $7.95 will be subtracted from your total at checkout. The files will be available for immediate download after you pay for your order by visiting MY ACCOUNT>COMPLETED ORDERS>ORDER DETAILS inside of your account. Only one discount code per order allowed.)

Check out the new SVG files releasing this week!  Just like always, the NEW SVG files will be ON SALE 25% OFF through the weekend in the SVG Shop! These downloads include SVG files that may be used with Cricut Explore, Silhouette (Designer Edition upgrade required), Eclips, Brother Scan and Cut, and any other software that will open SVG files. No coupon code necessary, the newly released files are all discounted in the shop! Be sure to go get them while they are on SALE this week.
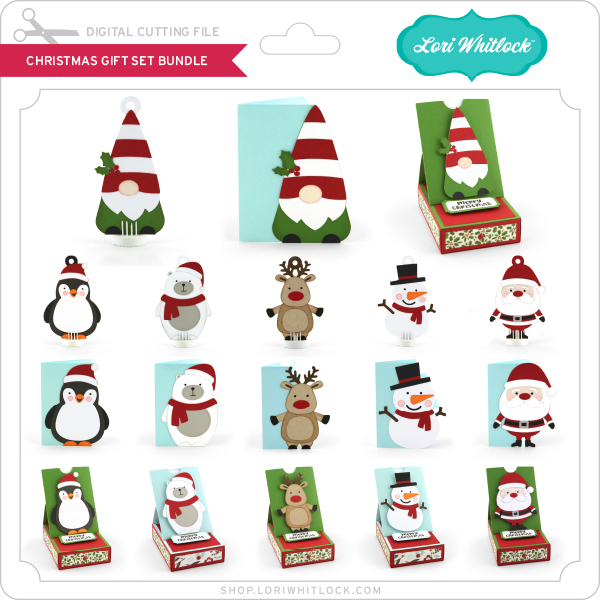
This week I have a new Christmas Gift Set Bundle.  We we also have files from Bella Blvd., Dresden Carrie, Jillibean Soup, Paige Evans and SAS Creative.

CLICK HERE TO GO TO NEW FILES

Thanks for visiting the blog today! Please let us know if you need any help with your files. We want to make sure everyone is happy with their purchase. Have a great week! SHOP HERE
12 Days of Christmas Day 10 & Record Card Tutorial

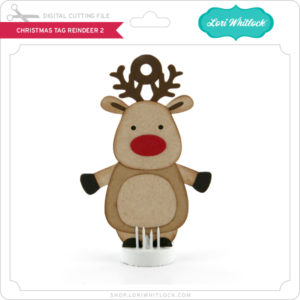
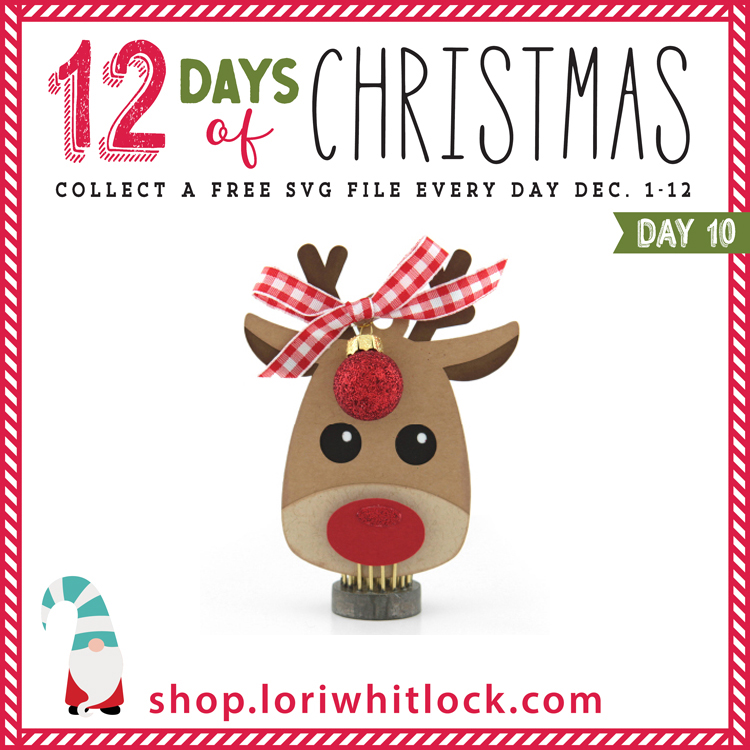
Welcome to Day 10 of our 12 Days of Christmas! Each day from December 1-12, there will be a free SVG file of the day, along with a special promotion!  For Day 10 we have this Christmas Tag Reindeer File.  This file will be free today only, so don’t miss out!


In addition, don’t forget, all SVG files in the Lori Whitlock SVG Shop are 30% Off when you use code DEC2020 at checkout!


And check out this great tutorial by Corri!

Hi everyone!  Corri here today sharing a quick assembly tutorial for Lori’s Record Card (SVG, Silhouette).   When you get everything cut out this is what you will have.

First, form the box shape and card base by folding along the score lines.  Next glue the box shape to the card base as shown below.

Next, apply glue on the glue tab and glue to the top portion of the card base.

This is what it looks like after you have formed the card base.

Finally, glue all the die cut in place.   Here is what the completed outside of the card will look like.

And here is the inside…

There you have it! This card is super cute and goes together very quickly.  Thanks so much for stopping by!