
Happy August 1! Quick reminder that the 50% off SALE on ALL our SVG file bundles is still going on through tomorrow, August 2nd at midnight. Coupon code: 50-BUNDLES


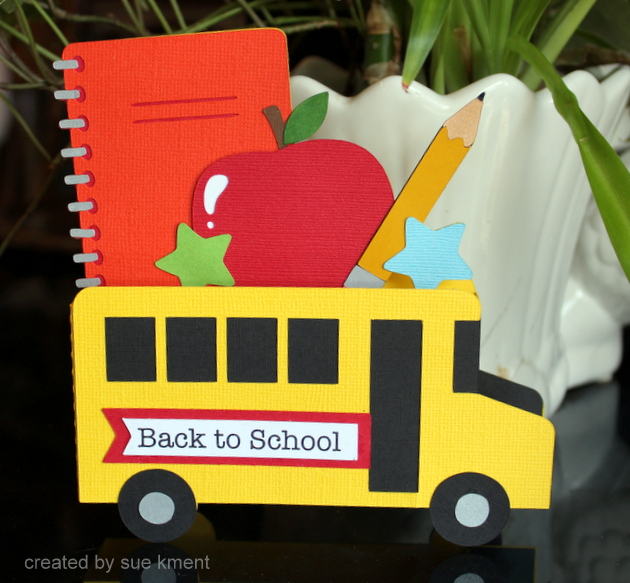
Box Card School Bus 2
(Lori’s Shop SVG, Silhouette Store #417577)
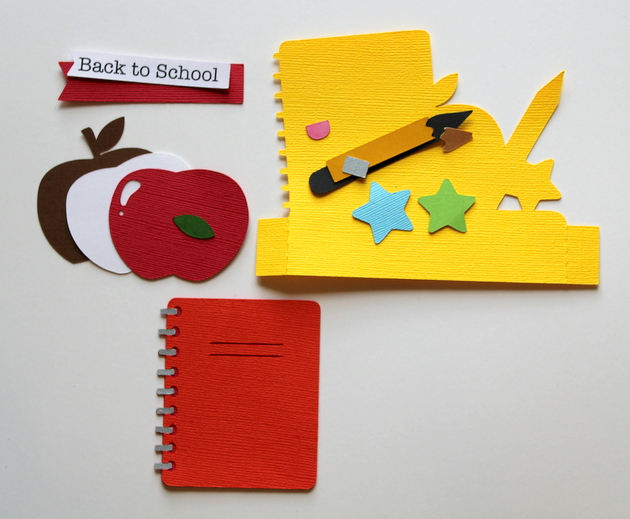
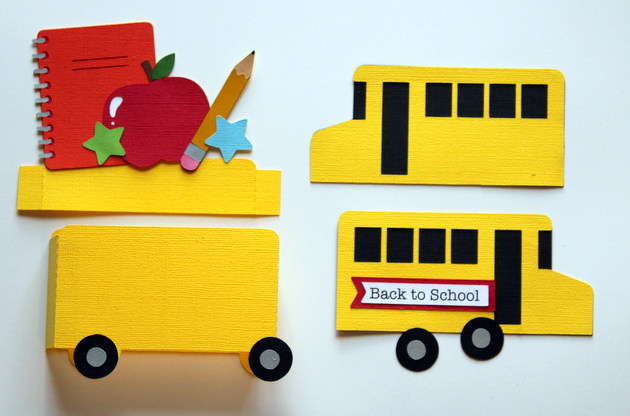
Insert pieces with the print and cut sentiment.
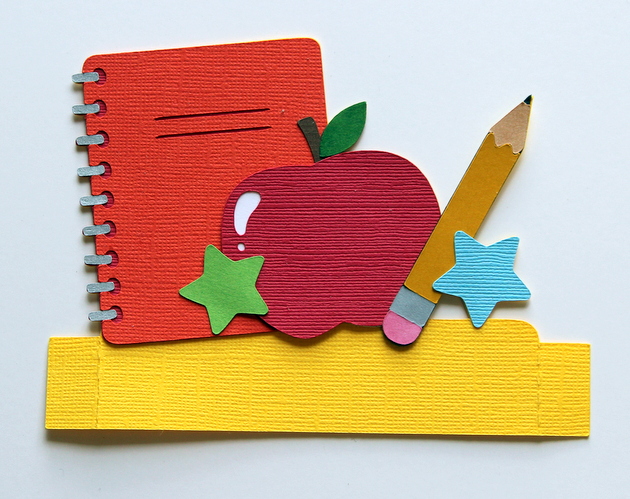
Insert pieces assembled. You will glue the yellow side tabs into the assembled box card, aligning the top of the tabs to the top of the box. My favorite piece was the notebook with the spiral binding. I think it has the “bestest” details! I found it easier to leave the little silver pieces stuck on the mat and assemble them to the notebook right off the cutting mat. No lost little pieces!
I did cut three of the other pieces out of white cardstock and colored them with copics while they were still stuck on the mat. (pencil tip, eraser and the leaf).
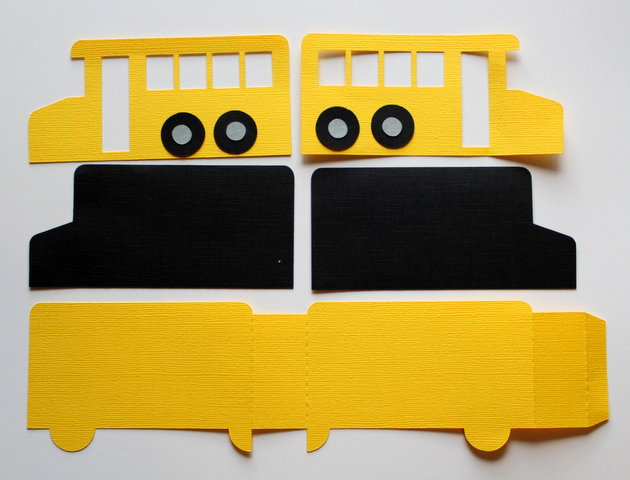
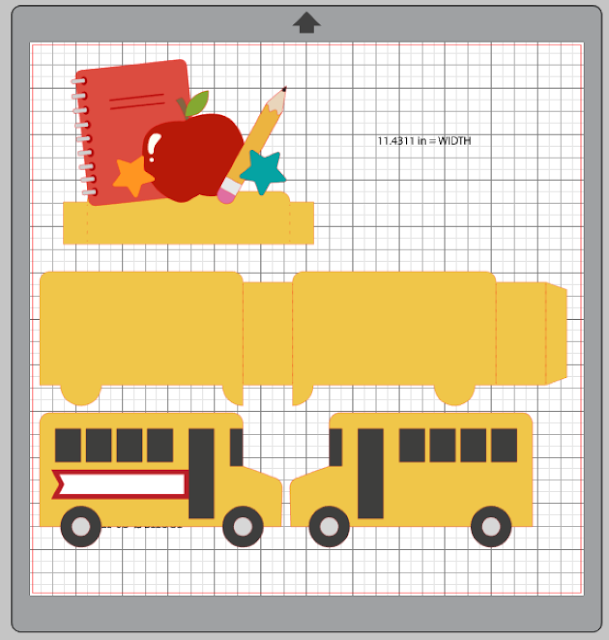
The Box Pieces
Add glue to the tab on the right of the long yellow piece to form the box body. Align and glue the sides of the bus to each side of the box base.
Everything is ready to glue together. Glue the tires on the very last.
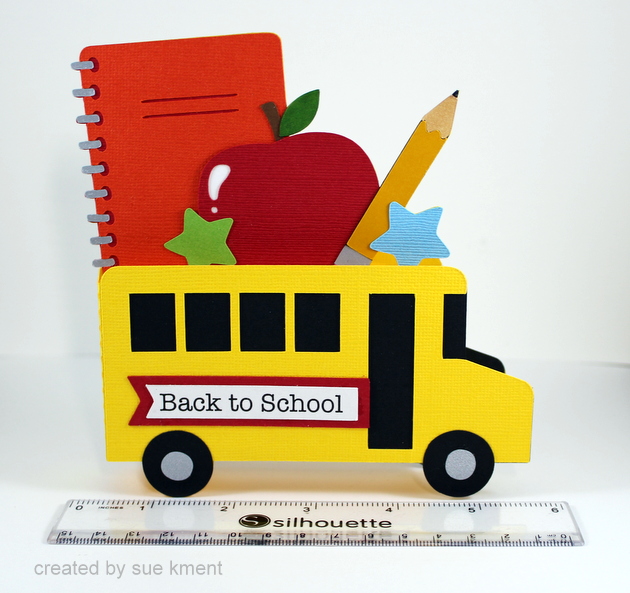
Having two daughters that are school teachers, I decided to make them each a school themed card for the new school year that begins soon. This is the first one!
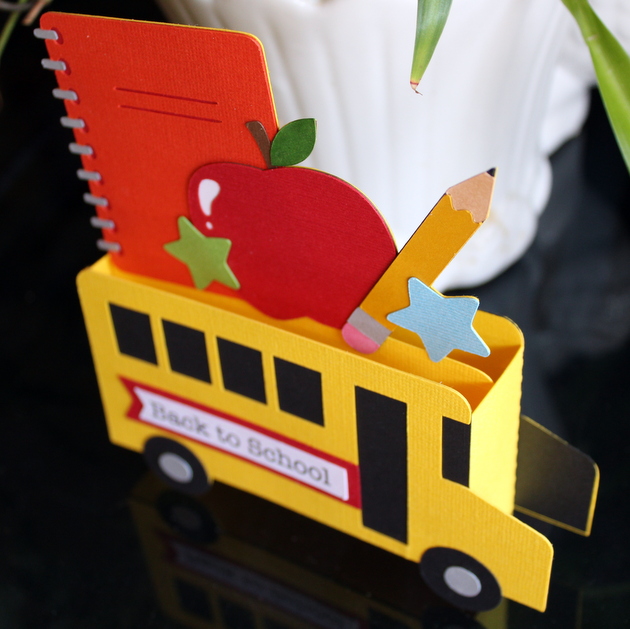
Here you can see the insert glued in.
Thanks for coming along on this little bus ride!
HERE is a link to Lori’s basic box card YouTube tutorial if you would like to peek at it!