Today we have a special post for you! We’re so excited to introduce the newest member of the Lori Whitlock Creative Team, Leslie Turner! 🎉
You may already know Leslie and her wonderful work with CutCardStock, Keep It Simple, ScrapbookingStore, Scrapbook Adhesives by 3L, and Cut It Up Challenges. She’s incredibly creative, and we’re thrilled to have her joining our team!
If you haven’t met Leslie yet, here’s a little bit about her—in her own words:
“I’m absolutely delighted to be the newest member of the Lori Whitlock creative team! I’m married to Ed, and we have four grown kids and six grandkids. I’m affectionately known as the crazy cat lady and crafting junkie! We are paw-rents to ten feline rescues and a Forkie (Frenchie + Yorkie) pup! I’m addicted to stamping and love making cards, ATCs, and 3-D projects (especially paper shoes, paper purses, and mini albums). I also dabble in mixed media, art journaling, altered art, and custom jewelry. If you’re looking for me, I’ll either be in my studio or getting some kitty or puppy lovins!”
We’re so happy to have you, Leslie, and can’t wait to see all the wonderful projects you create! Please join us in giving her a warm welcome to the Lori Whitlock Creative Team! ❤️✂️🎨


Here is her first post with us:
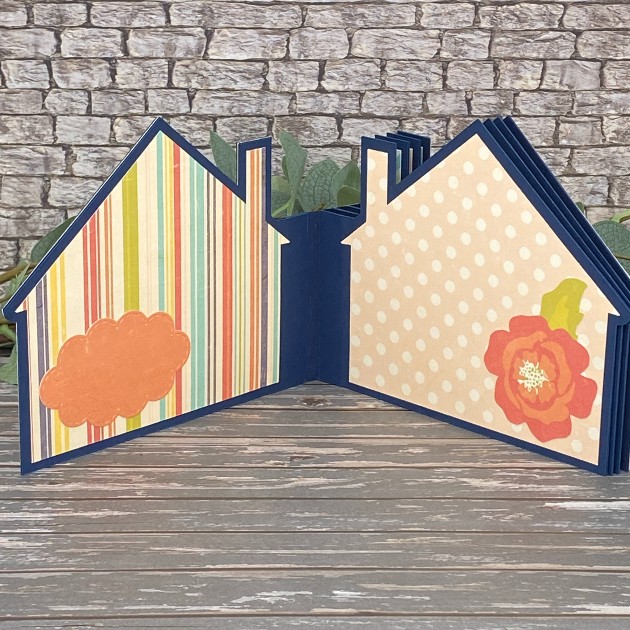
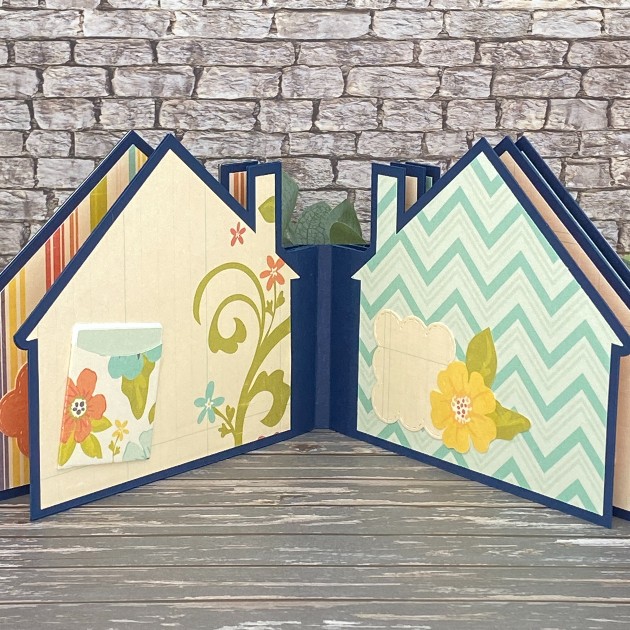
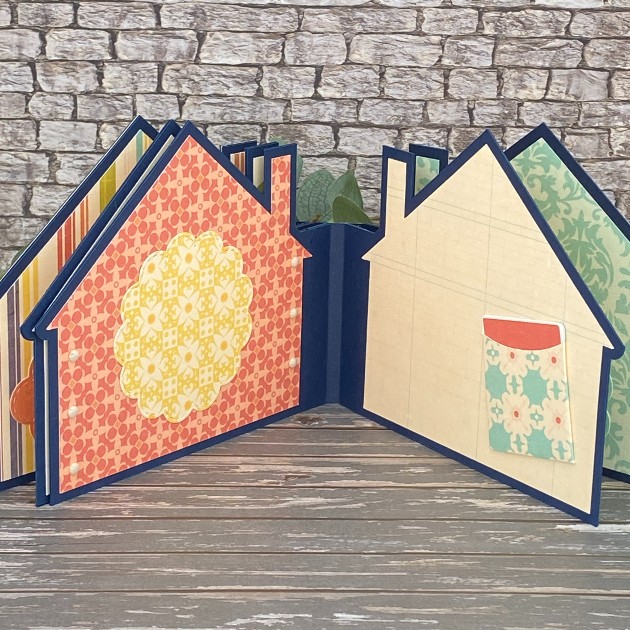
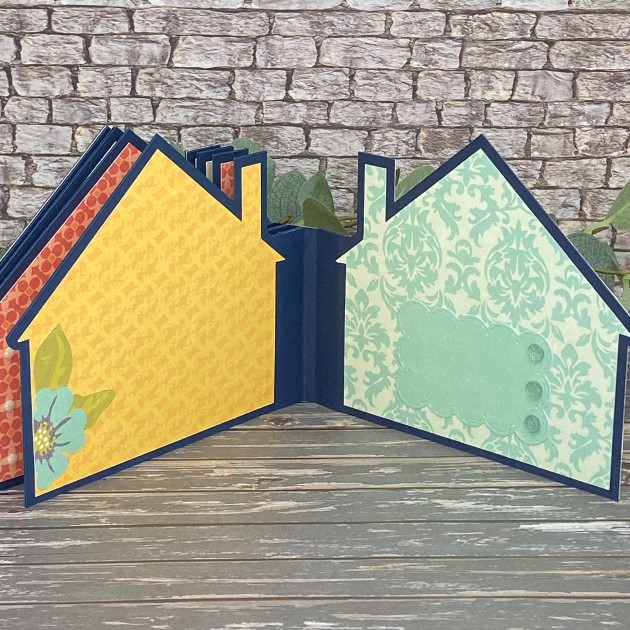
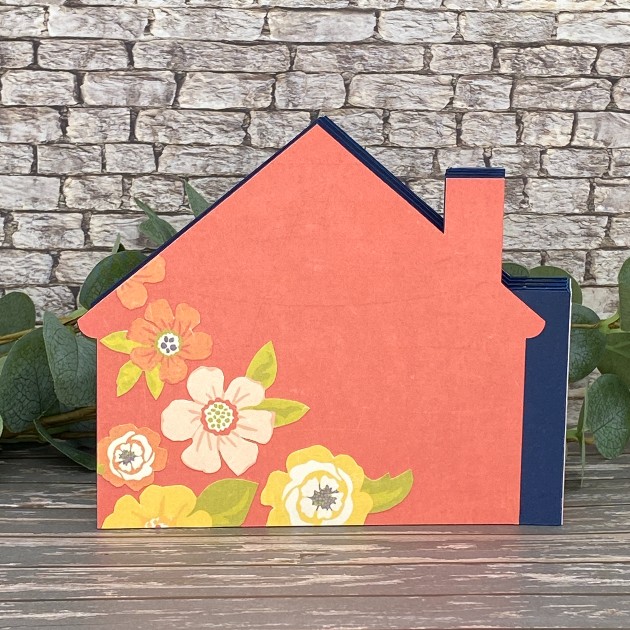
Hey everybody, happy Monday! I hope your week is off to a nice start! Leslie here, sharing my debut project as a new creative team member, and I couldn’t be more thrilled! I’ve been a huge fan of Lori Whitlock for many years and this opportunity is a dream come true for this old gal! I’m sharing THE cutest new home mini album that I created using Hidden Binding Mini Album House SVG cut file (Silhouette) (from the Hidden Binding Mini Album Bundle 2) and the Library Pocket SVG cut file. Also used papers from the Pattern Fill Set Fresh Air. I’m a mini album fanatic and a huge fan of Lori’s hidden binding mini albums, so you’ll be seeing more of them in future posts. Let me show you this one in more detail!
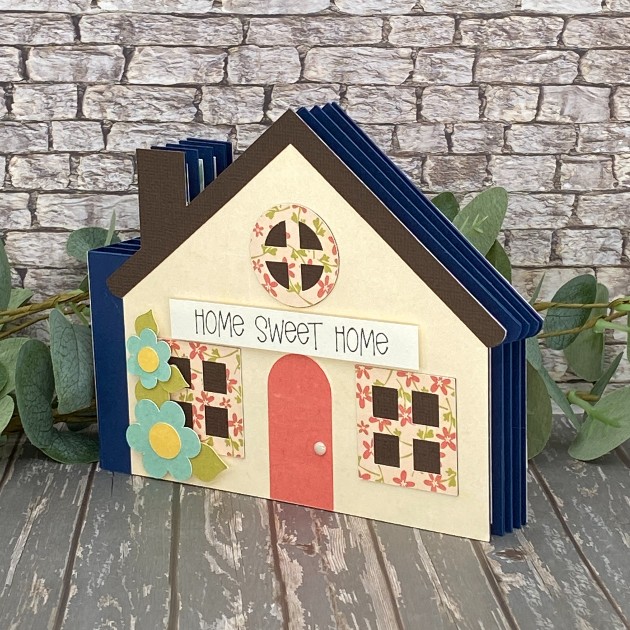
This album features a variety of designer papers from the Fresh Air Pattern Fill Set and a front sentiment created with the draw function on my Cricut. I’ve also included elements such as die cuts, library pockets, and fussy cut florals on the inside pages and the back.
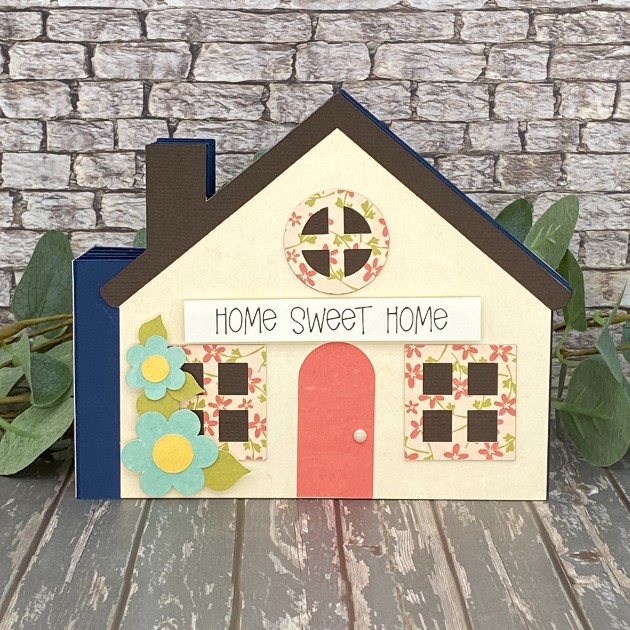
Thanks so much for stopping by today! I hope you’ve enjoyed seeing this project and you’re inspired to make a hidden binding mini album. They are so much fun!
Scrappy hugs,
Leslie