Hello, crafty friends! This is Lindsay, and I’m here today sharing my first ever tutorial for the Lori Whitlock design team. I am so excited to share my projects with you. I use my electronic cutting machines (yes, plural!) on a daily basis. For today’s project, I have created the most adorable card using the Box Card Hedgehog Tulips file (svg, silhouette). I used the You Are My Sunshine collection from Echo Park and some additional cardstock.
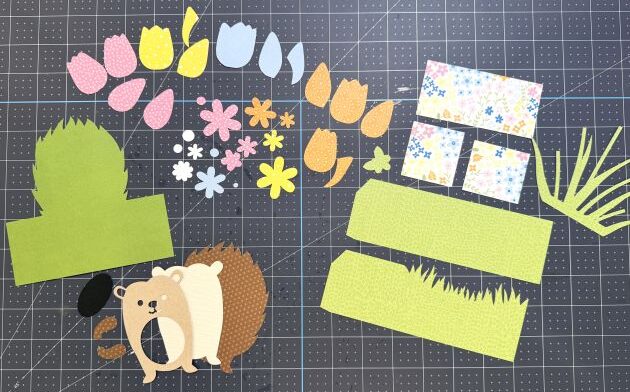
After cutting all of the pieces, I started assembling the card in sections. First up is the hedgehog. I used brown ink to distress the edges of each piece. I used liquid adhesive to add the black oval behind the face of the hedgehog, then adhered the face layer onto the cream layer. After that, I assembled the small flower and added the arms to the hedgehog. I then used foam adhesive to attach the body of the hedgehog to the dark brown layer. Finally, the entire animal is adhered to the green base layer. I folded along the scored tabs and added strong tape to either side.
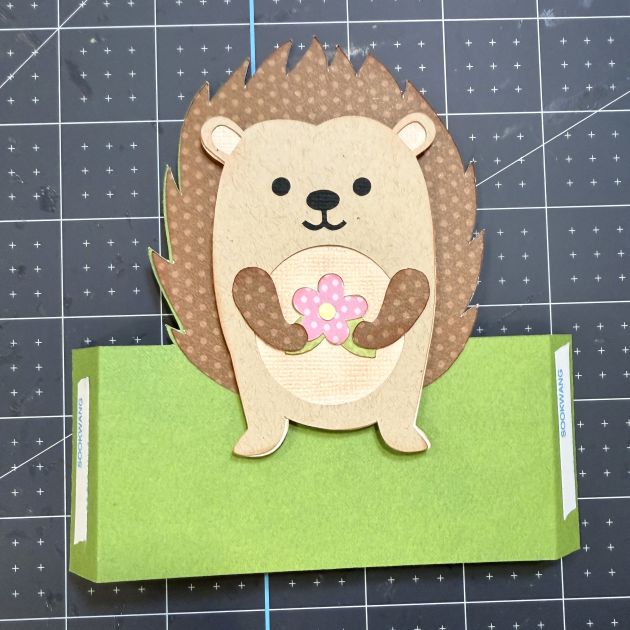 The next section is the tulips. Using liquid adhesive, I added the grass/leaves layer first. Next, I assembled each flower and adhered to the green base piece. I folded along the scored tabs and added strong tape to either side. It helps to have the sample image pulled up on Lori’s website. That way you can zoom in and piece the flowers together easily.
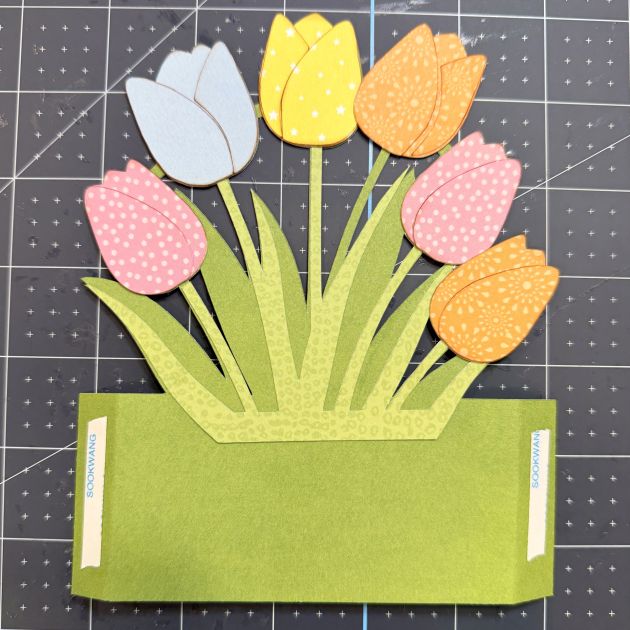
The final section is the box portion of the card. It is two large pieces that will come together to form the box. I added floral patterned paper as a cute accent. I assembled all of the flowers and adhered them with foam adhesive just under the grass border. I added a sentiment sticker that says “Sending Sunshine.” Then I folded along the score lines and added strong tape to each tab.
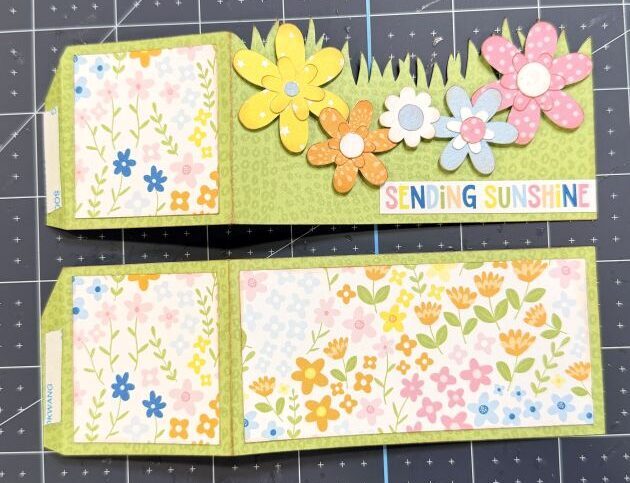 Now it’s time to put it all together. I connected the two box pieces, peeling just one tab, to create one long strip. I did not adhere the final tab just yet. Once I had the box shape in place, I added the tulip layer. I peeled off the tape on only one side and lined up the tabs so that they touched the back of the box card. Next, I peeled the tape off one side of the hedgehog layer and adhered the tab directly in front of the tulips section. I peeled off the other side of the tulip and hedgehog sections and attached them to the side of the box. Finally, I closed the outer box card. I’ve added an image that shows what the bottom of the card looks like. You can see how the sections stack on top of each other like tables.
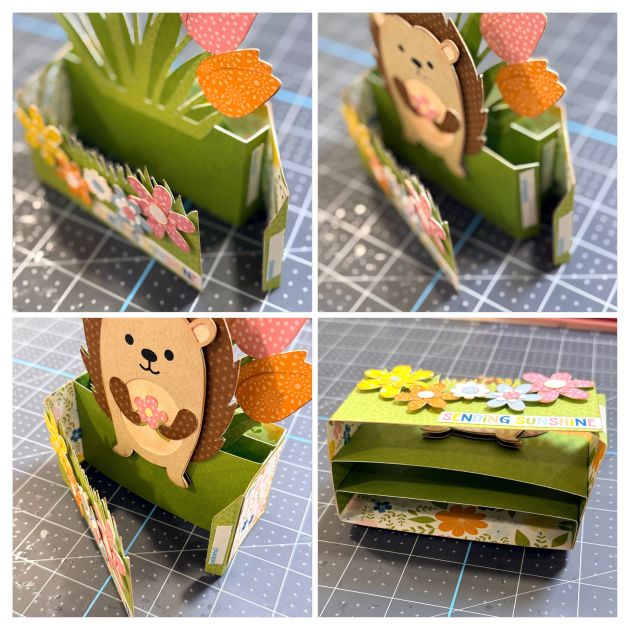
The end result is an adorable card that will fold flat into an envelope! You could easily tuck a gift card behind the hedgehog and use this for a birthday card.
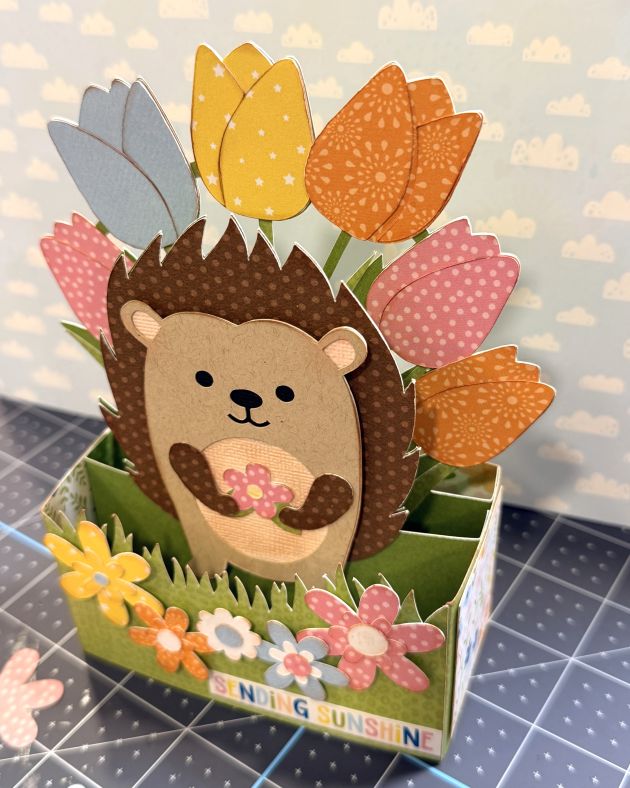
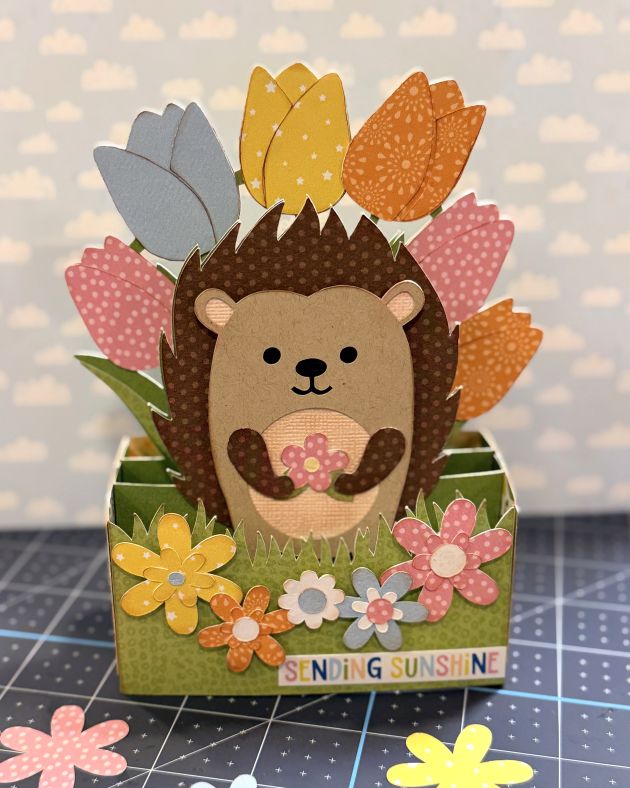
I hope this inspires you to create today. Thanks for stopping by! Happy Spring!
Lindsay