Saint Patrick’s Truck Box Tutorial

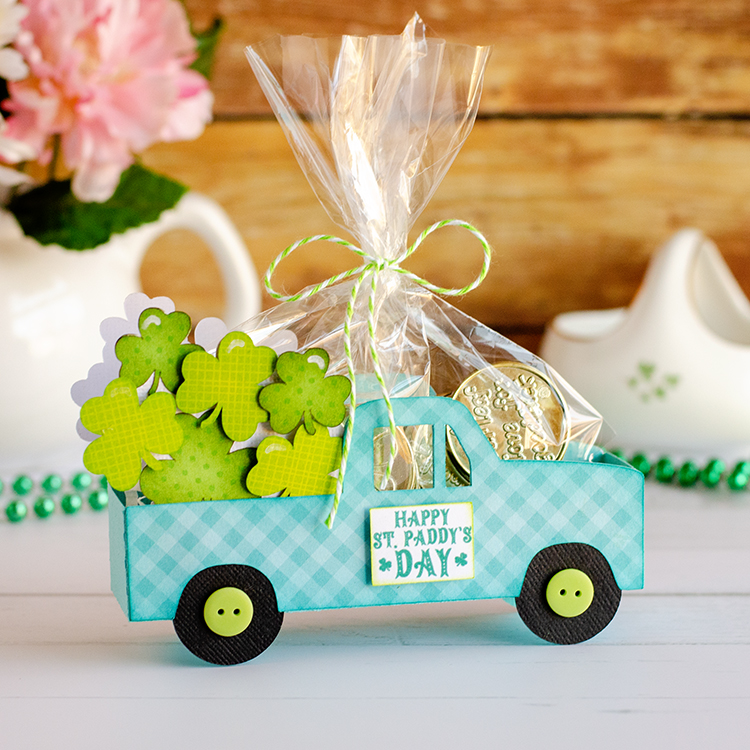
Hello there! Here is a quick tutorial on the new Saint Patrick Truck Box, (SVG, Silhouette), this is a super simple project to put together.

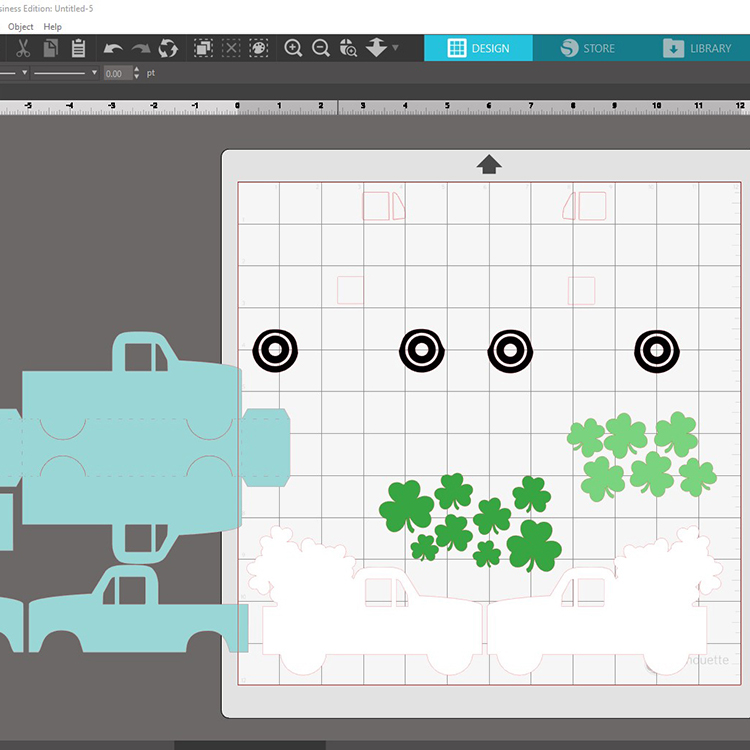
The Silhouette version of the file, currently has extra window cutouts you don’t need, if you ungroup and move the pieces you will see them, see photo below. The tires need to be ungrouped to delete those window pieces also. We have asked Silhouette to fix this, but if you see it, no worries.

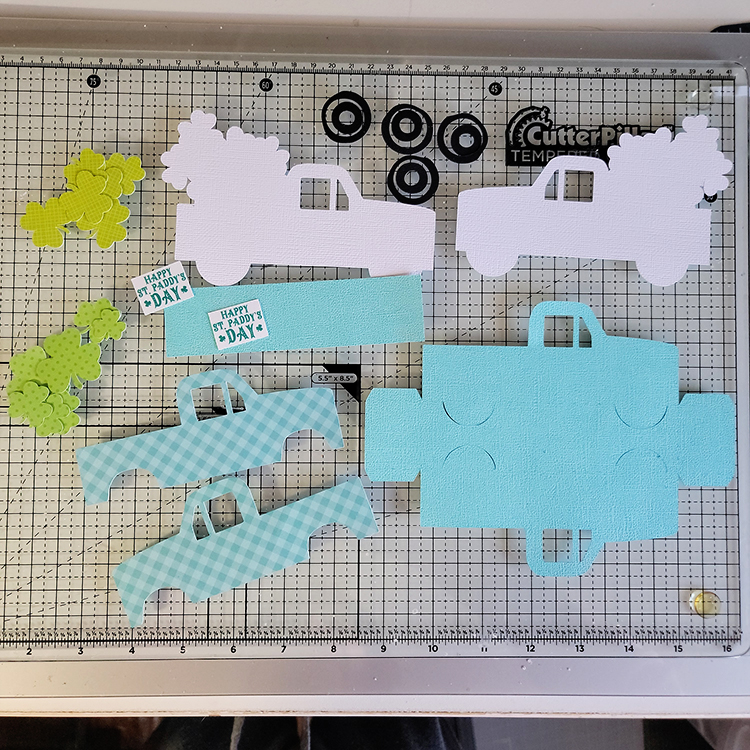
Here is a photo of all the pieces cut out, I used one of the sentiments from the St. Patrick Dingbats Fonts, (SVG, Silhouette) instead of the shamrock on the door.

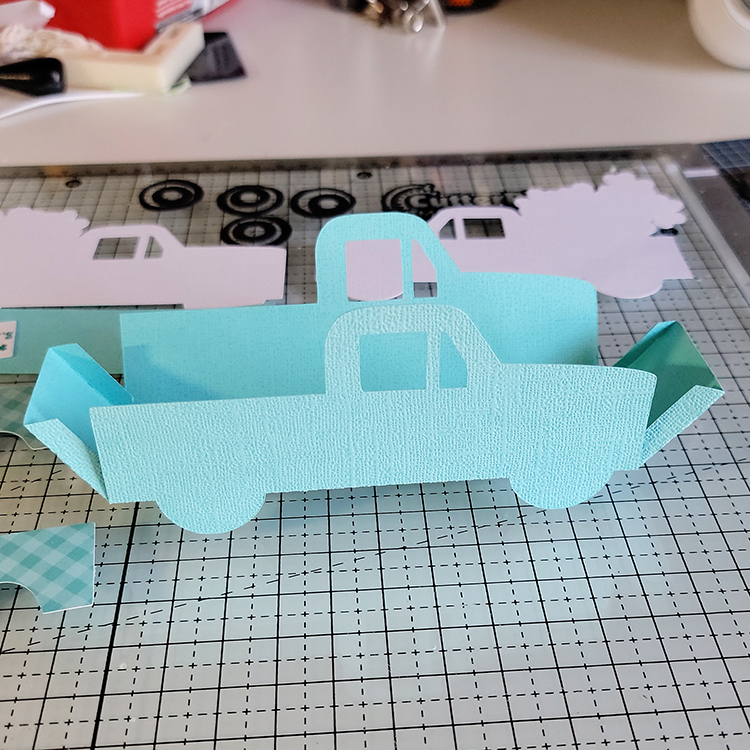
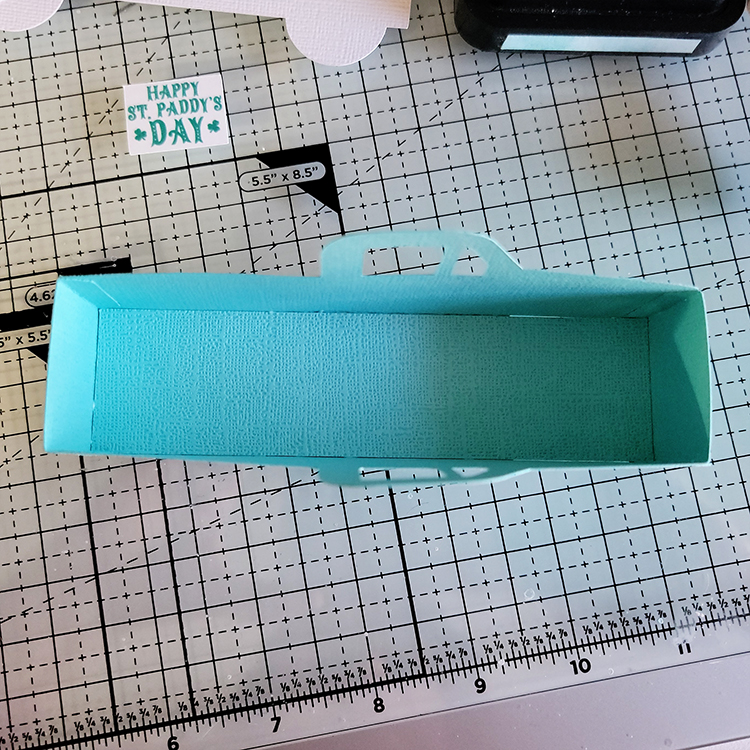
All you have to do is fold on all the score lines, the cutout tires will flip out, glue the four sides together.

Add the bottom piece to the inside, this hides the tire cutouts.

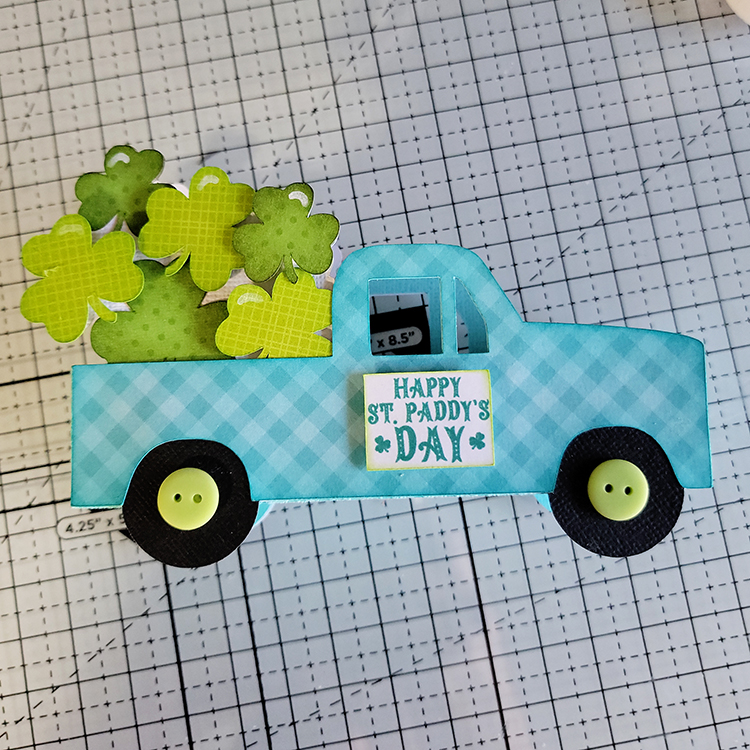
Add all the shamrocks, I popped some of them up, I also ended up changing the tires out with a solid piece, I wanted to add buttons and liked the look better this way.

Repeat the other side and glue both panels on the box. This makes a great treat box, you can make a bunch of these in no time!  Thanks for stopping by and have a wonderful day!

Panda Kissing Booth Box Card Tutorial

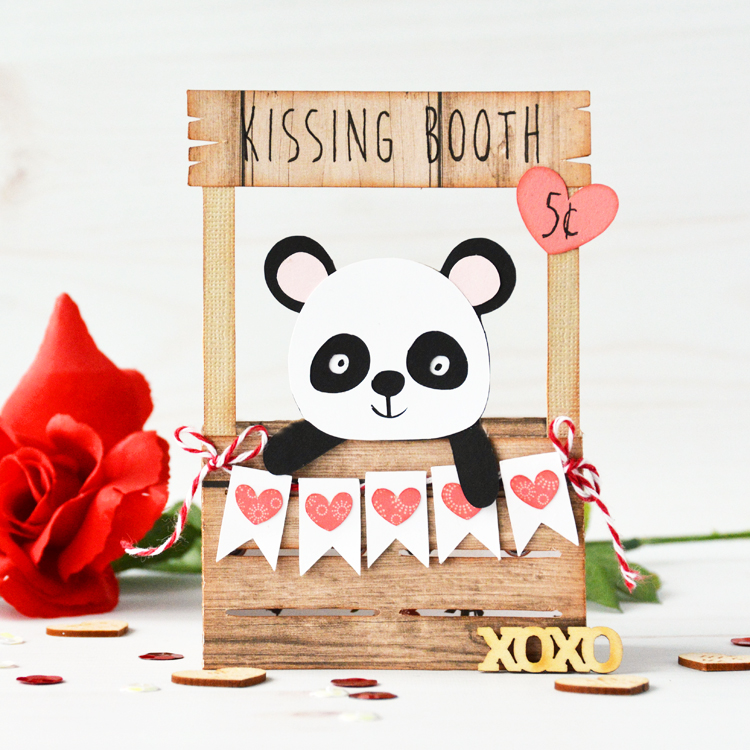
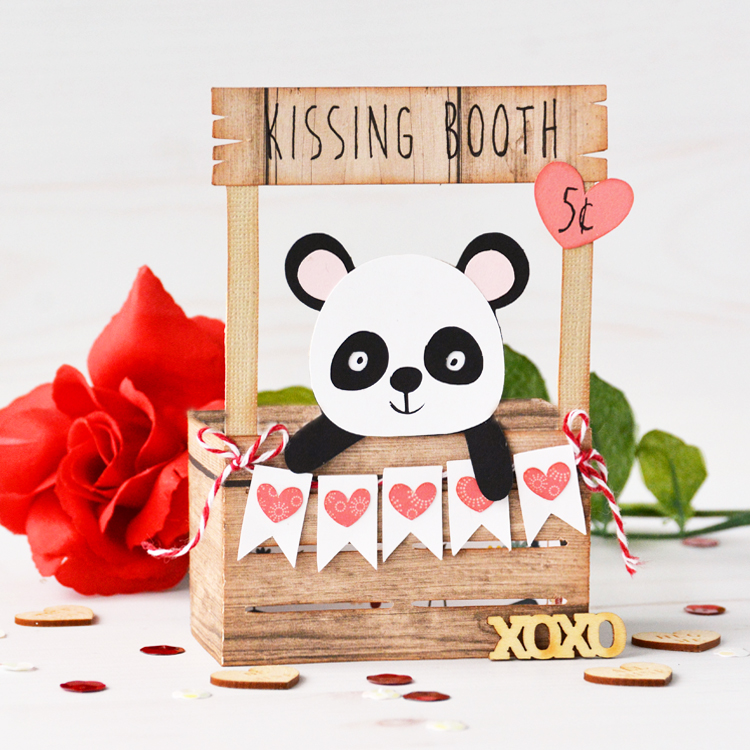
Hello everyone! Marcia here today. I’ve been busy making Valentine cards to send out to my nieces and nephews. This adorable panda bear in a kissing booth caught my eye (SVGSilhouette).

I love gifting box cards that can be left out on a counter or desk and give a person a reason to smile! Let me show you how I created this card.

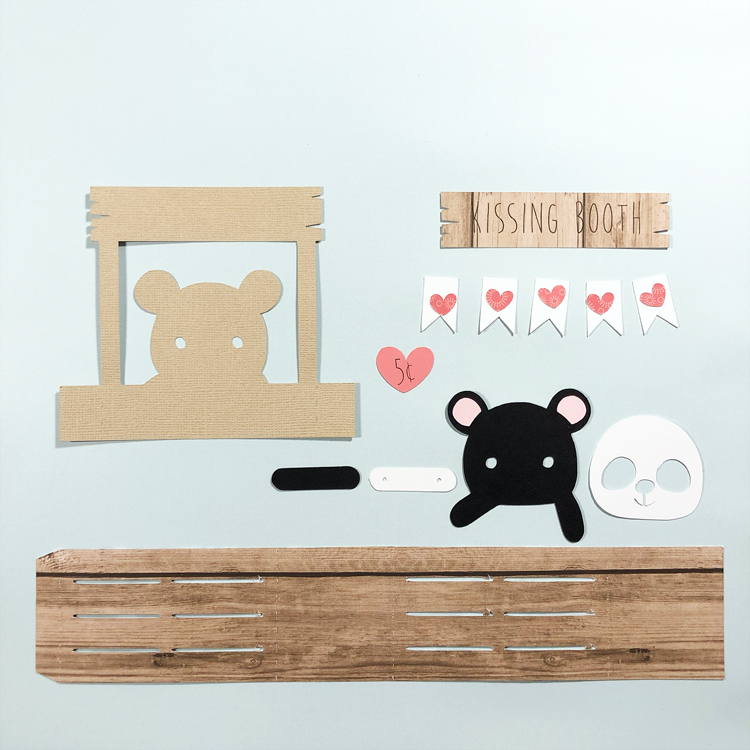
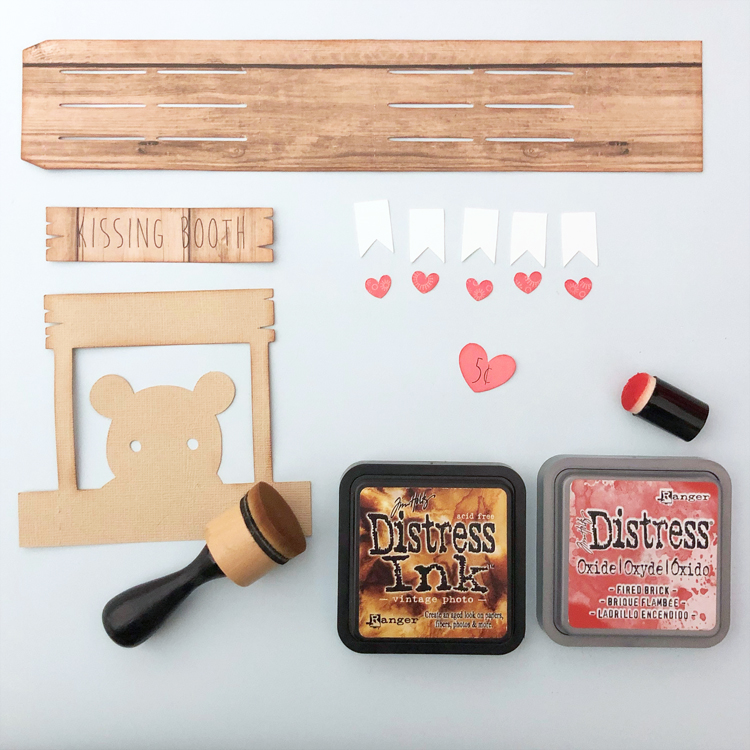
  1. Select your pattern papers or cardstock and cut out all pieces.

2. Ink the edges of the papers to add dimension and shading.

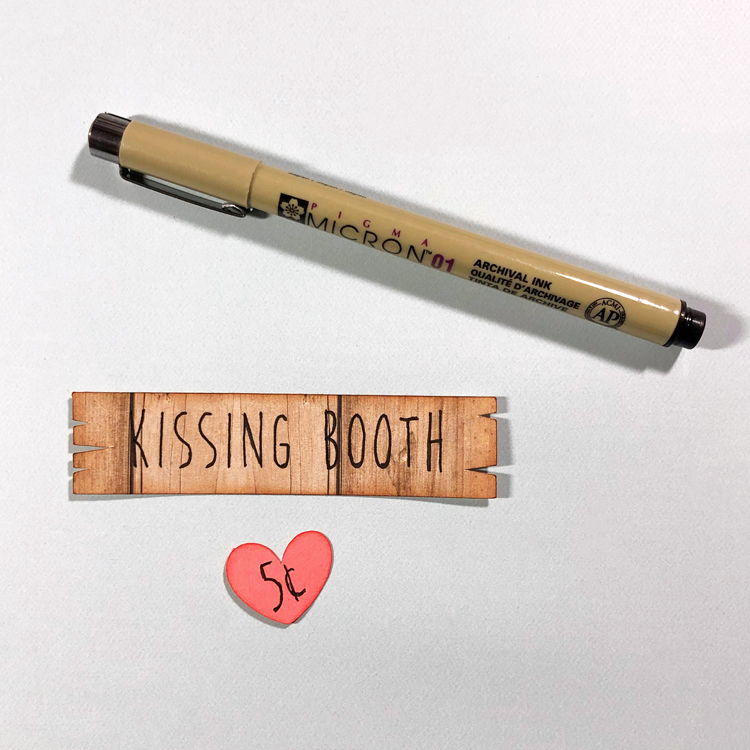
3. I used the print and cut feature of my Silhouette Cameo to print “Kissing Booth” and “5¢” before cutting, but I felt that the words didn’t pop enough against the dark papers. I used a black marker to carefully go over the letters. You could also use a marker to add the text when not using print and cut.

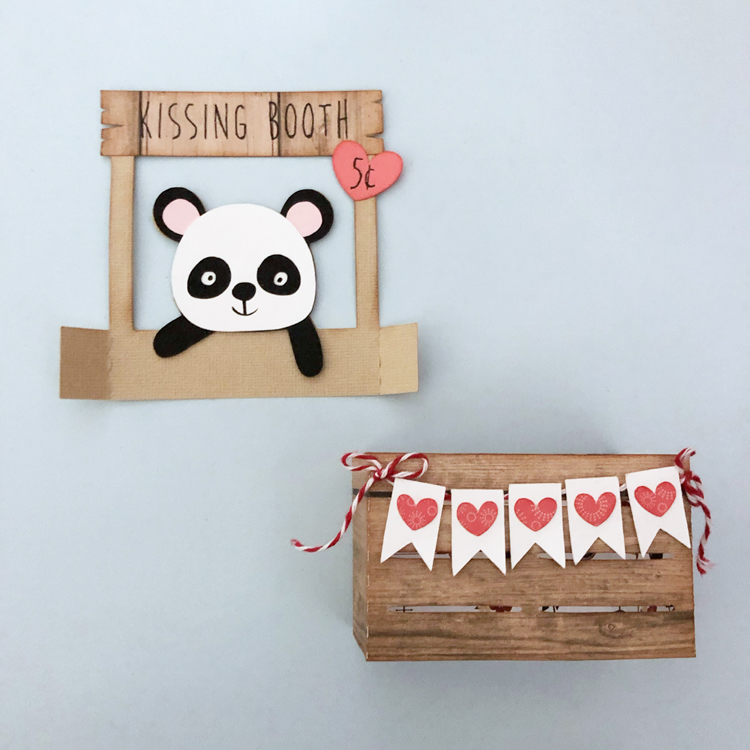
4. Assemble the kissing booth card base and box card insert. I added some bakers twine to my banner across the kissing booth. Adhere the insert into the card base so that the panda’s arms are in front of the banner on the front of the card.

This card folds completely flat for mailing measuring 5.25″ x 5.25″. Lori has lots of Valentine card ideas in her shop. Go check them all out and have some fun making your own Valentine cards!


And don’t forget that this card, and all other SVGs, Fonts, Pattern Fills & Commercial Licenses are 30% off through Saturday, February 12th when you use code FEB2022 at checkout!

Thanks so much for stopping by.
~Marcia

12 Days of Christmas – Day 8 & 3D Hot Cocoa Mug Tutorial

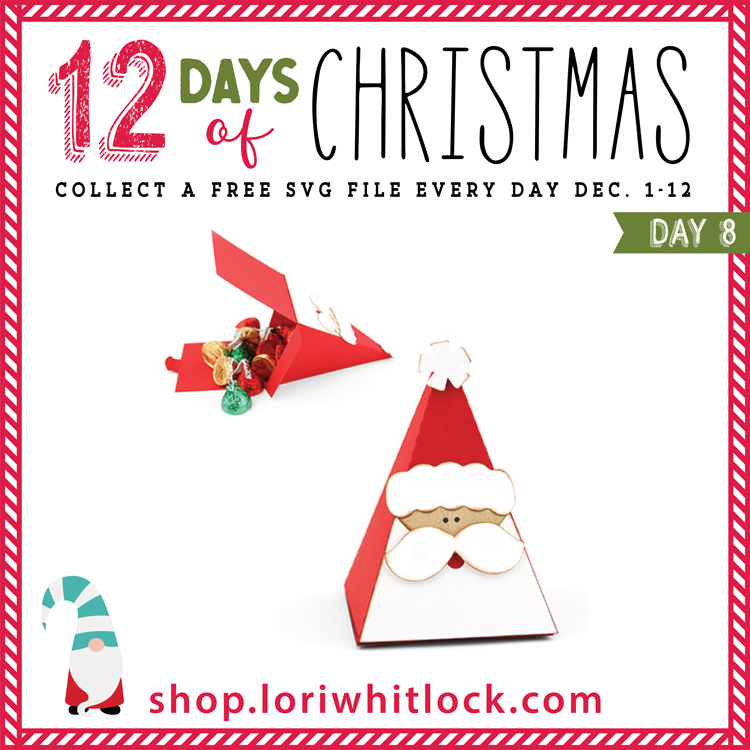
Welcome to Day 8 of our 12 Days of Christmas! Each day from December 1-12, there will be a free SVG file of the day, along with a special promotion!  For Day 8 we have this Santa Pyramid Box will be free today only, so don’t miss out!
 

In addition, today only, you can get 40% off all items under the 3D Category in my SVG shop!  Just use code 3D40 at checkout!
 

And check out this fun tutorial!

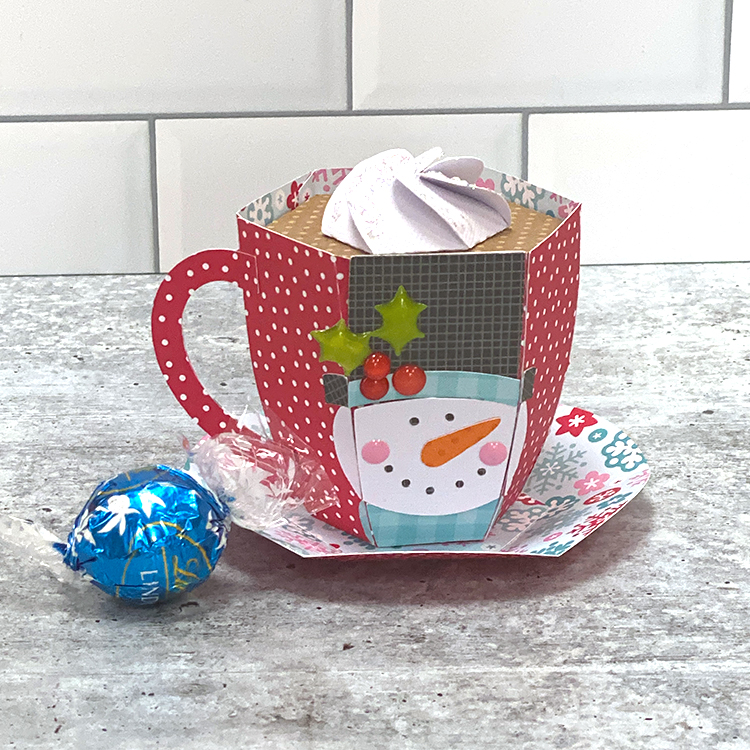
Hi Everyone!  Kathy here today with one of the cutest projects!  Lori has a bundle of 3D Hot Cocoa Mugs that are the perfect little holder for something sweet! They would make a great addition to a teacher or coach gift!  I made the new 3D Hot Cocoa Mug (SVG, Silhouette) take a peek…
And lift up the cocoa lid to find a sweet treat!
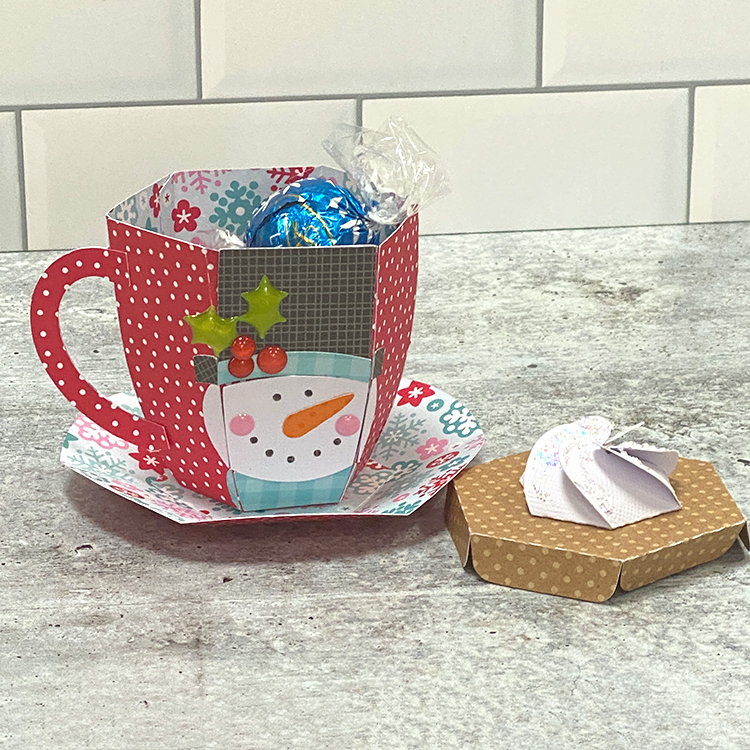
These little mugs are super easy to assemble, I put together some quick instructions below…

Start by cutting the pieces of the file (see above).  Lori always colorizes her files, which helps when making paper choices!  I pre-assembled the snowman face and hat pieces.  When you open the file in your cutting software, the pieces are grouped together as they go on the final project, so assembly is easy!


To assemble the mug, start by folding all the score lines on the main mug piece in the same direction.  Fold up the side panels, and glue together using the tabs.  Continue until the mug is formed.

Glue the 2 handle pieces together.  Do not add glue to the tabs on either end.

Fold the tabs of the handle out and glue to the side of the mug along one of the seams.

Next add the snowman face to the front of the mug.  Its easiest to start from the top and work your way to the bottom, lining up the sections.  The file comes with some holly for the hat, I swapped it out for some shaped sprinkles I had in my stash.

Add the small pieces to the adjacent panels to complete the snowman hat, head and scarf.

Fold the score lines of the saucer piece all in the same direction.  Join the 2 ends together using the tab.

To finish the saucer, add the hexagon piece in the center.

To make the whipped cream (I added stickles to mine for shine)  fold all the sides inward.  Over lap all of the side pieces so each side is over one side and under another.  The part that goes “over” is the larger end.

Once they are all folded like above, push down in the center and they will hold their shape like whipped cream

Glue the whipped cream to the center of the cocoa piece.  Insert the cocoa piece into the mug as a cover.

See?? Super easy.  You’ll have service for 12 before you know it!  That’s it for me today, thanks for stopping by to peek!

BLOG | INSTAGRAM


Vinyl Tutorial – Hinge Method

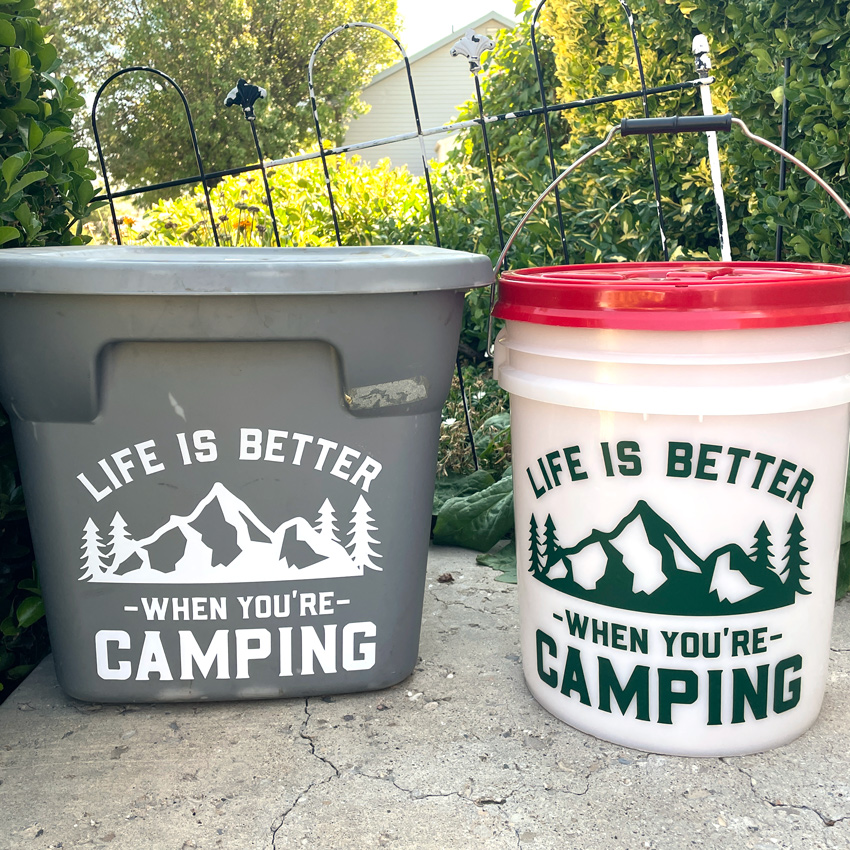
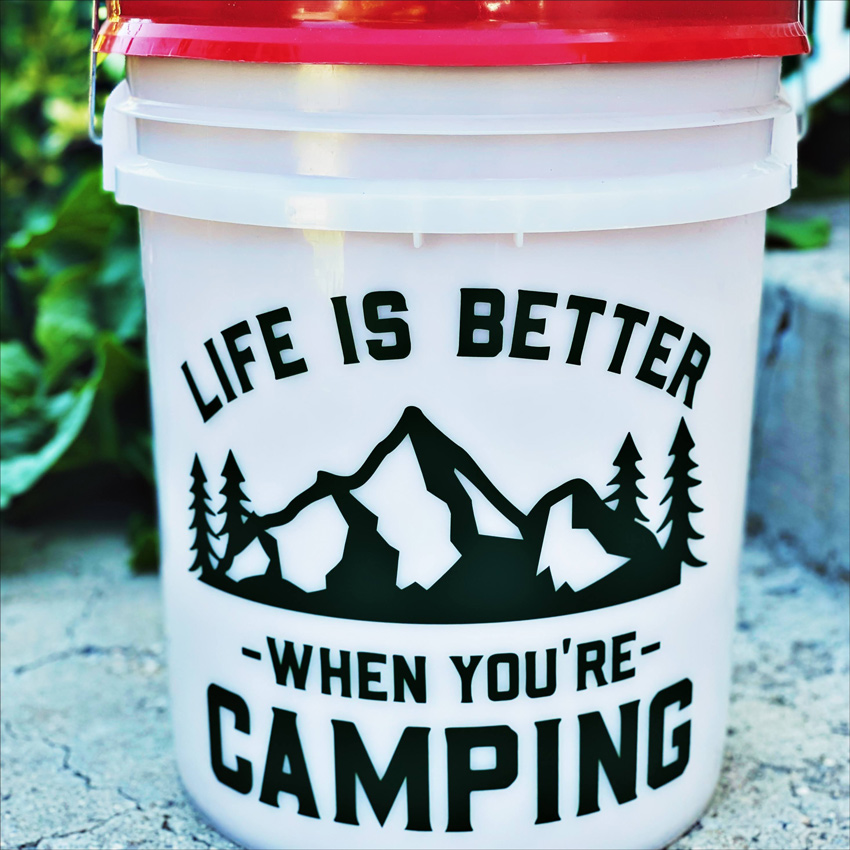
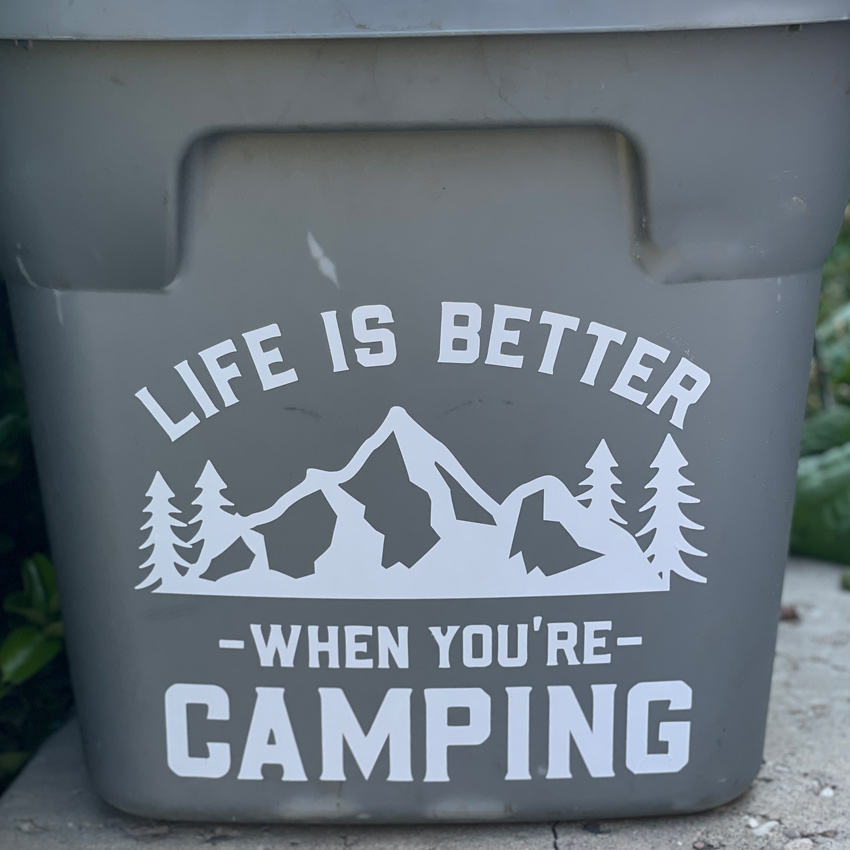
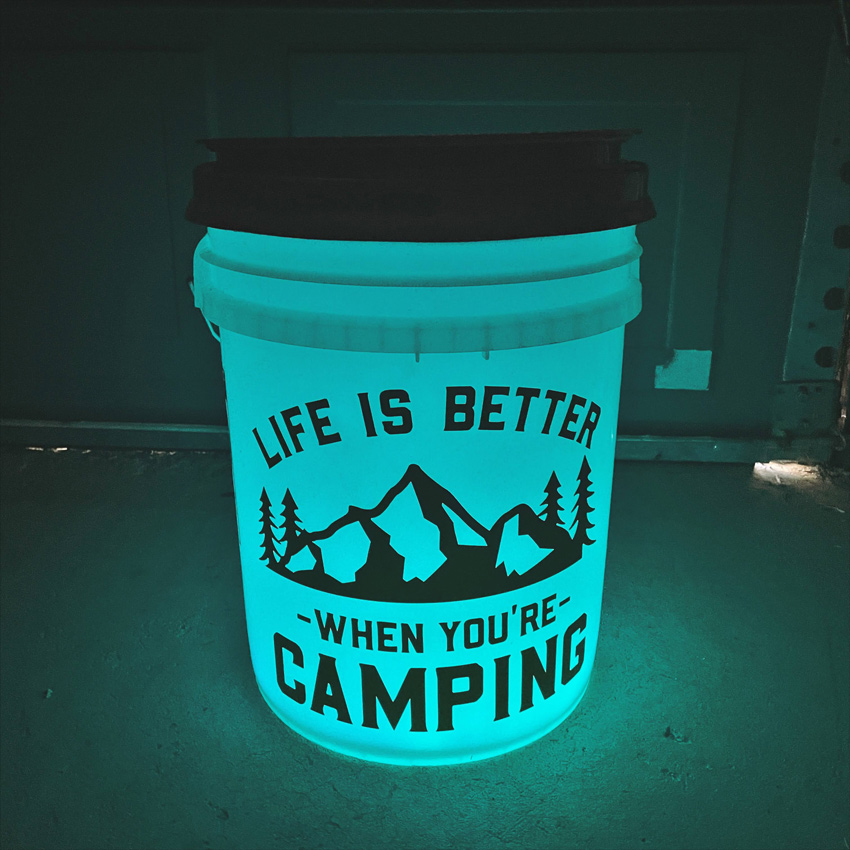
Do you love camping? Or have people in your life that camp? Lori recently added some fun files that could be used for camping décor or even camping trailer décor.  I have several tubs that have camping gear in them. The bins aren’t labeled, and I thought using the camping file would be a fun way to “label” them.  I also added the same file to a white bucket.  The bucket can be used to stow camping items, and at night, well look what I did below!

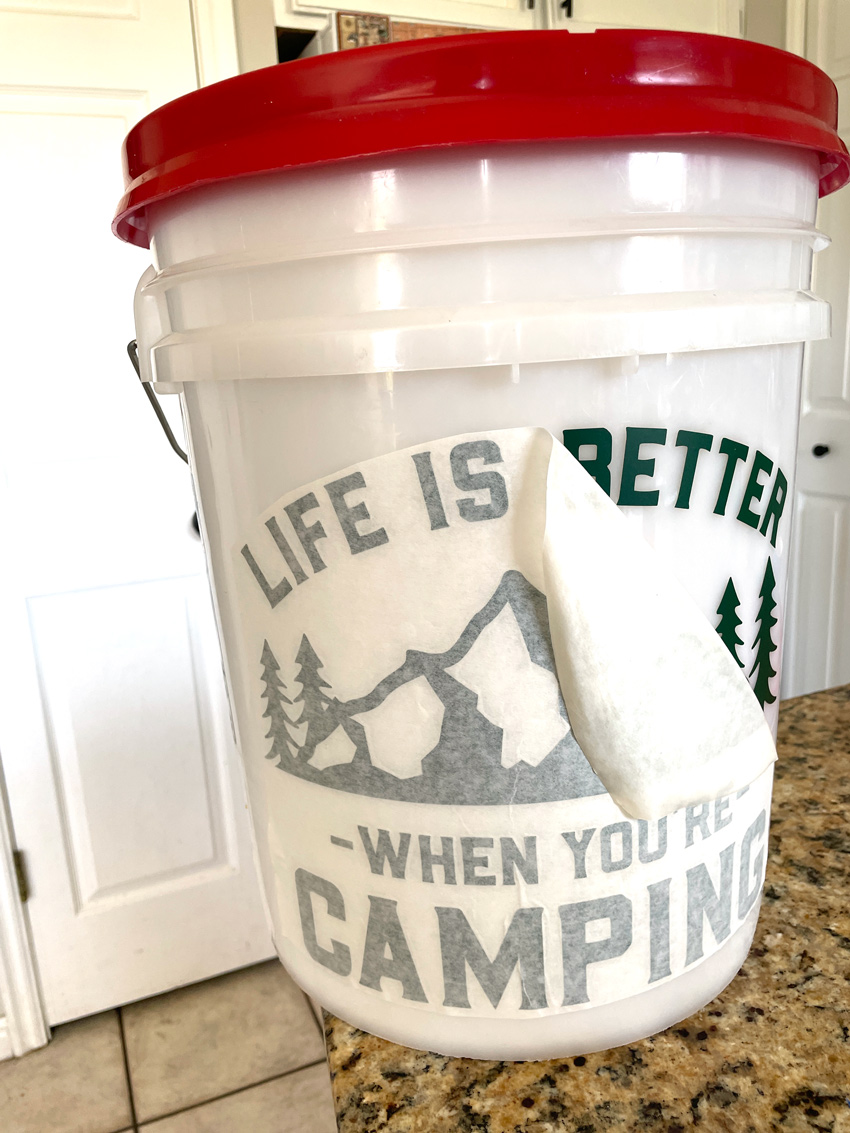
For this project I used the Life is Better When You’re Camping File (SVG, Silhouette).  It can be difficult applying a large vinyl decal to a curved surface, I used a method called the hinge method. I’ve outlined how I did it below.

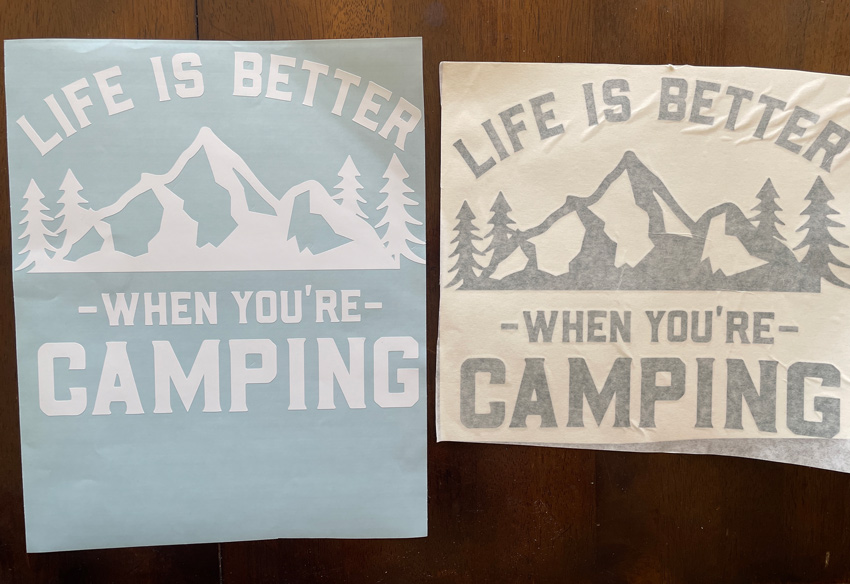
1. Cut and weed your vinyl. Apply transfer tape to your vinyl project.  Leave the backing piece on.

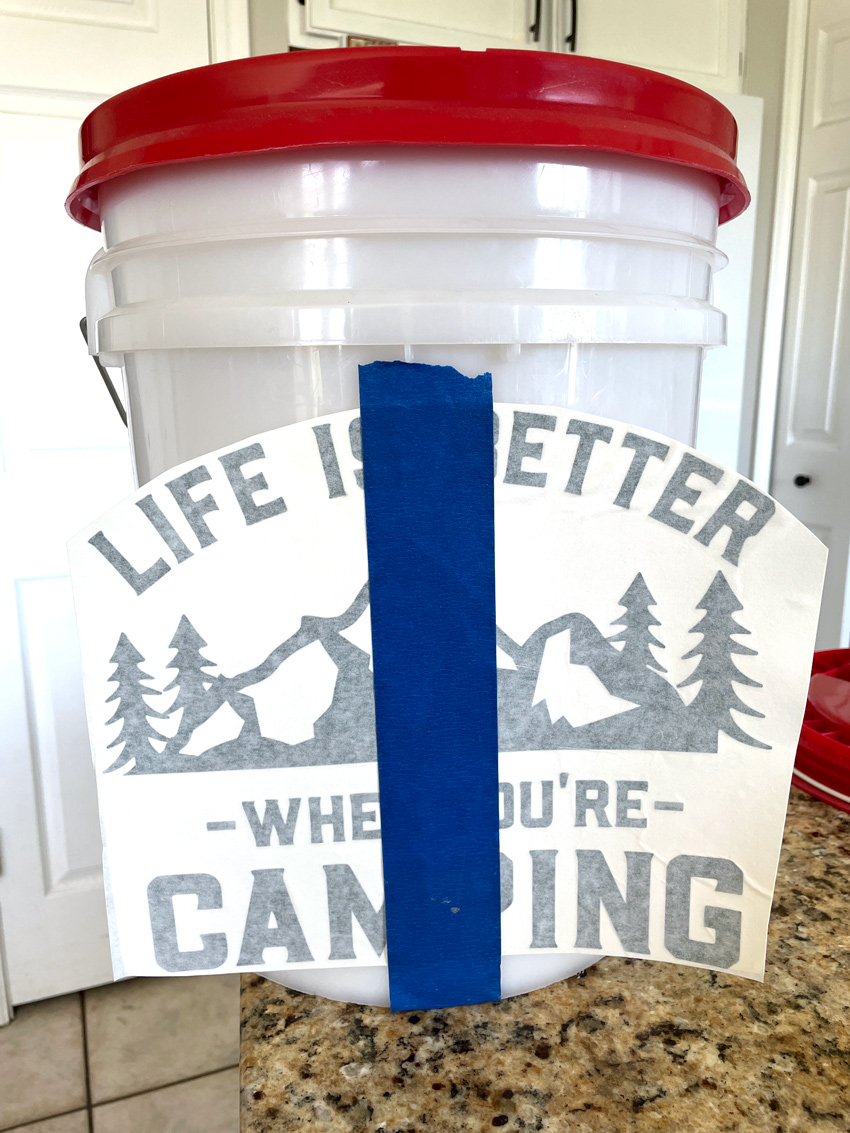
2. Place your vinyl on the surface, making sure it’s centered, leaving the backing paper on for now, and tape it down the middle with some painter’s or washi tape.

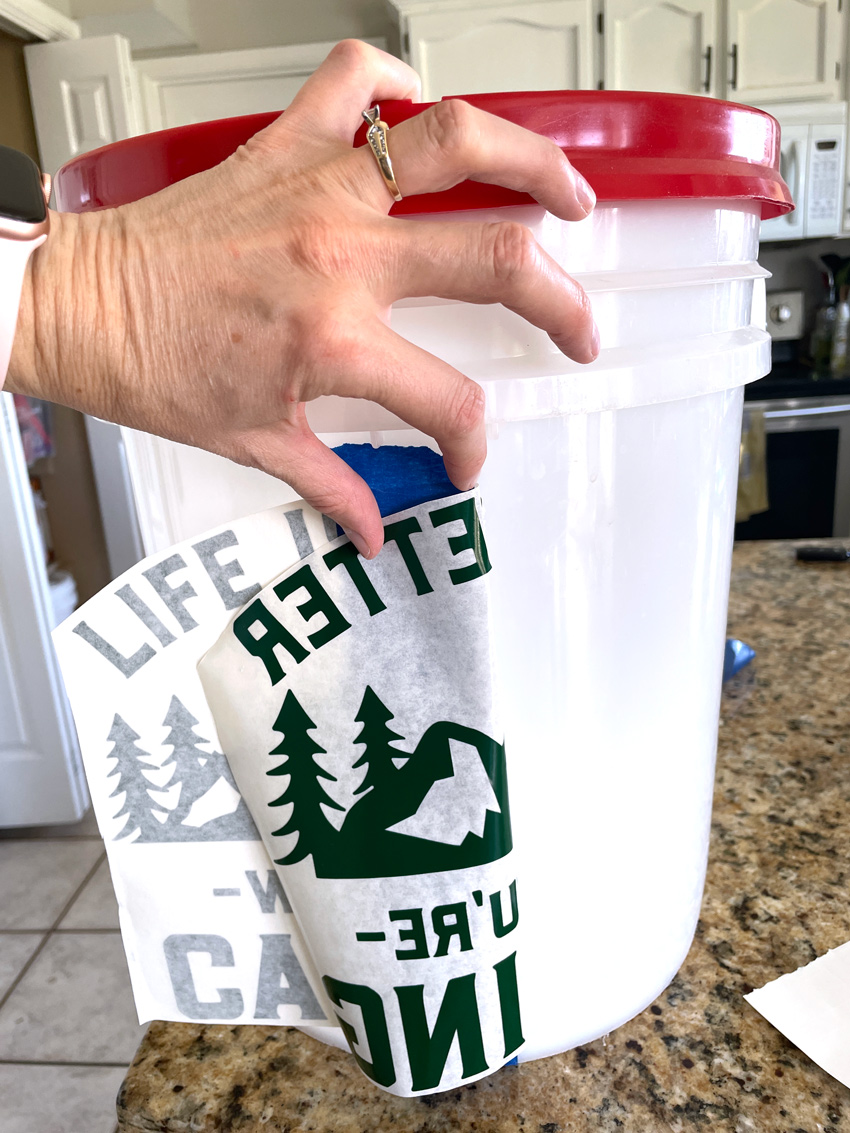
3.  Working on one side of the tape, peel back the transfer tape with vinyl, separating it from the backing paper.  Cut or rip the paper backing off.  I just rip the backing straight down.

4. Now you have one side of your vinyl ready to apply.  Smooth the vinyl to the surface. And repeat for the other side.

5. Burnish the vinyl to the surface before peeling back the transfer tape.

campingbucket

Repeat on all the surfaces.

With a white or light colored bucket, a light can be placed inside for a fun night time glow at the campground!

Now you are ready to vinyl all the things!

Have a great day!

Ashley

Camping Backpack Tutorial

Hello everyone Brigit here, I’m so happy to be back on Lori’s Creative Team again, I’ve really missed being here!

I have a tutorial to share today, I love making bags and boxes to fill with treats and I thought this Camping Backpack that Lori made for Father’s Day (SVGSilhouette) would be such a cute fall gift box with hot chocolate and marshmallows inside.

This is really a super easy box to put together and it can be used for so many different gift ideas.

I use Silhouette Studio so the first thing I always do is select the paper I want to use and then I separate the pieces into groups like I’ve done above and then I’ll group and change the color. On this project, I only ended up using one sheet of solid cardstock and three-patterned sheets from Echo Park’s My Favorite Fall Collection. All the embellishments I used for this project are also from that same collection.

For the pockets you can see in the photo above on the 3 medium blue rectangles that I welded the top and bottoms together, the paper is double-sided so I just folded down for the top flap.

I didn’t use the tag in this file but if you need a tutorial on print and cut Kathy has a good one here using Silhouette Studio. We also have one for Cricut here.

The main box is just one piece, I added the layers first and then folded all the score lines and glued the side flap first and then the top and bottom, that’s it, I just love how this box went together!

After assembling the box I added the two straps in the back, I trimmed them a little just to make them a little bit shorter and then added the pockets.

For the top sleeping bag I used a bone folder to curve it first, this really helps with the assembly. I glued two flaps at a time going from one side to another and it worked out great.

Here is the sleeping bag all rolled up, I just added the two bands and then the side pieces. Last I glued it to the top of the backpack and embellished it.

I really enjoyed putting this project together!

Thanks for stopping by

Brigit