Welcome to Day 8 of our 12 Days of Christmas! Each day from December 1-12, there will be a free SVG file of the day, along with a special promotion! For Day 8 we have this Santa Pyramid Box will be free today only, so don’t miss out!
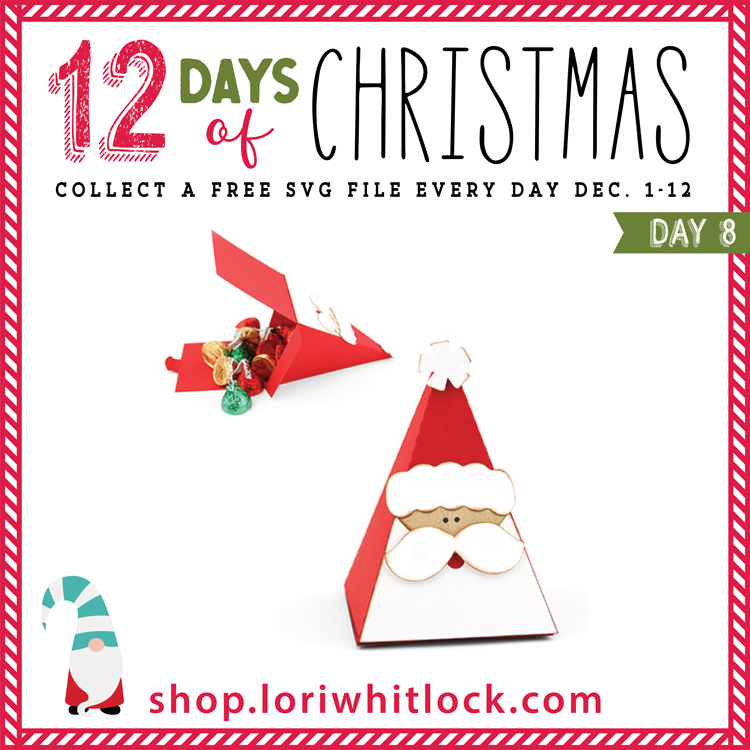
In addition, today only, you can get 40% off all items under the 3D Category in my SVG shop! Just use code 3D40 at checkout!
And check out this fun tutorial!
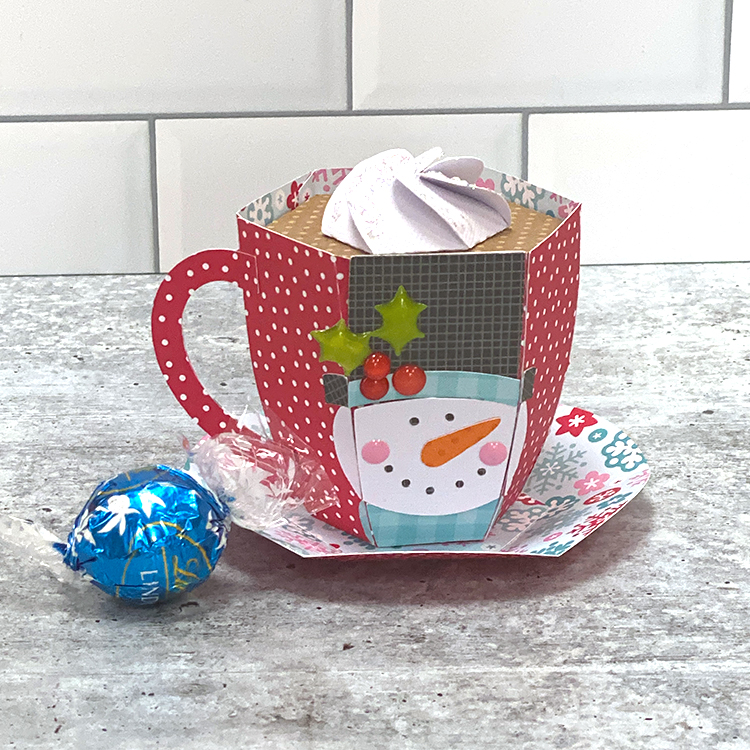
Hi Everyone! Kathy here today with one of the cutest projects! Lori has a bundle of 3D Hot Cocoa Mugs that are the perfect little holder for something sweet! They would make a great addition to a teacher or coach gift! I made the new 3D Hot Cocoa Mug (SVG, Silhouette) take a peek…
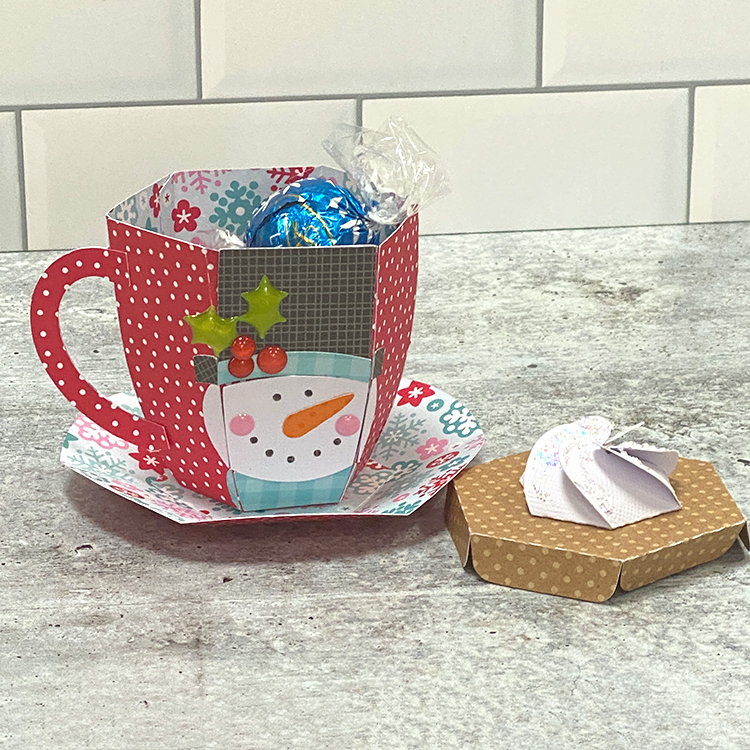
And lift up the cocoa lid to find a sweet treat!
These little mugs are super easy to assemble, I put together some quick instructions below…
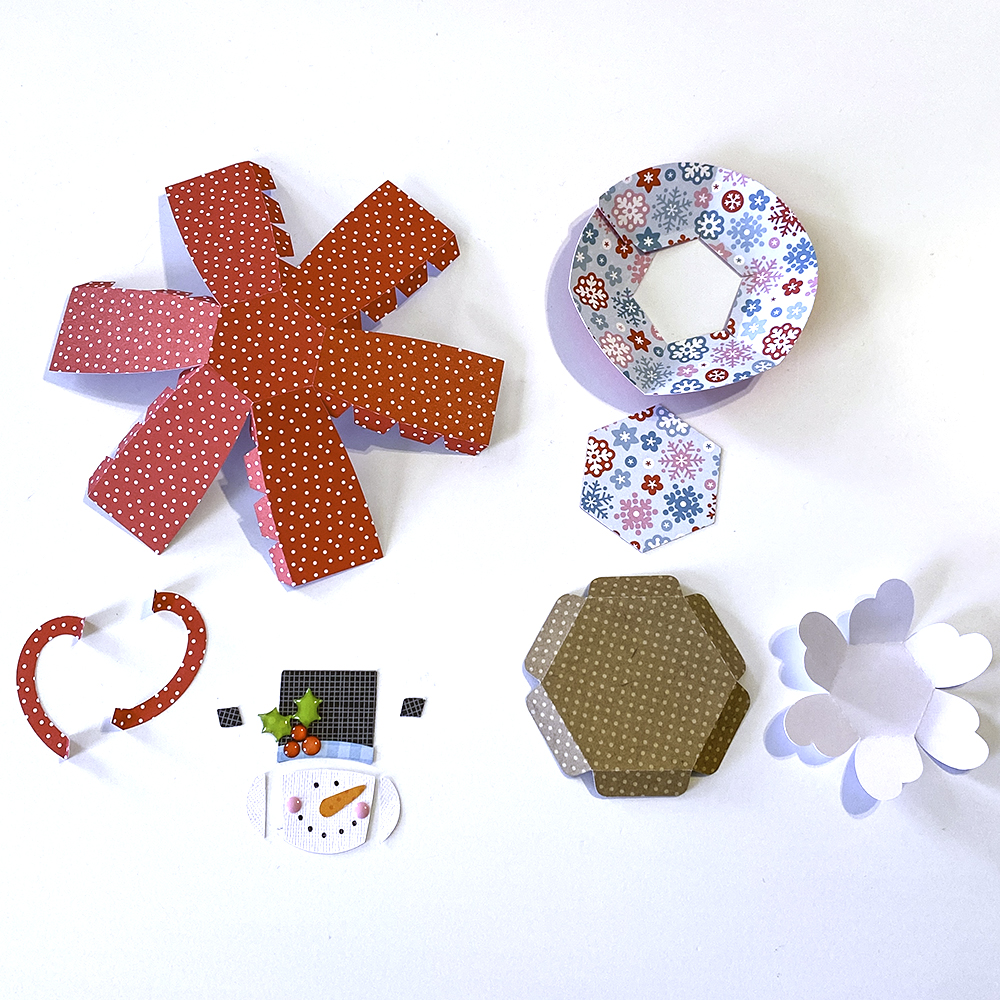
Start by cutting the pieces of the file (see above). Lori always colorizes her files, which helps when making paper choices! I pre-assembled the snowman face and hat pieces. When you open the file in your cutting software, the pieces are grouped together as they go on the final project, so assembly is easy!

To assemble the mug, start by folding all the score lines on the main mug piece in the same direction. Fold up the side panels, and glue together using the tabs. Continue until the mug is formed.
Glue the 2 handle pieces together. Do not add glue to the tabs on either end.
Fold the tabs of the handle out and glue to the side of the mug along one of the seams.
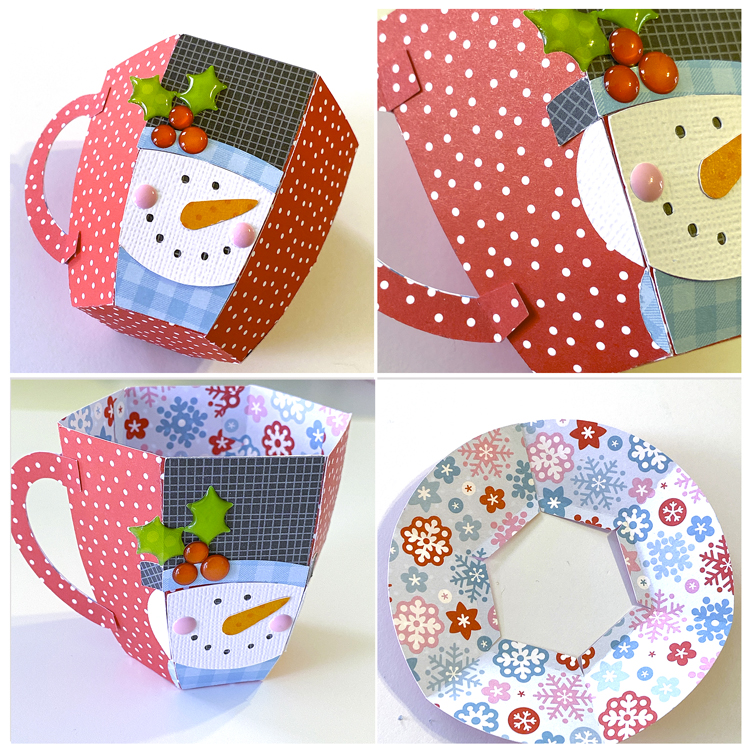
Next add the snowman face to the front of the mug. Its easiest to start from the top and work your way to the bottom, lining up the sections. The file comes with some holly for the hat, I swapped it out for some shaped sprinkles I had in my stash.
Add the small pieces to the adjacent panels to complete the snowman hat, head and scarf.
Fold the score lines of the saucer piece all in the same direction. Join the 2 ends together using the tab.
To finish the saucer, add the hexagon piece in the center.
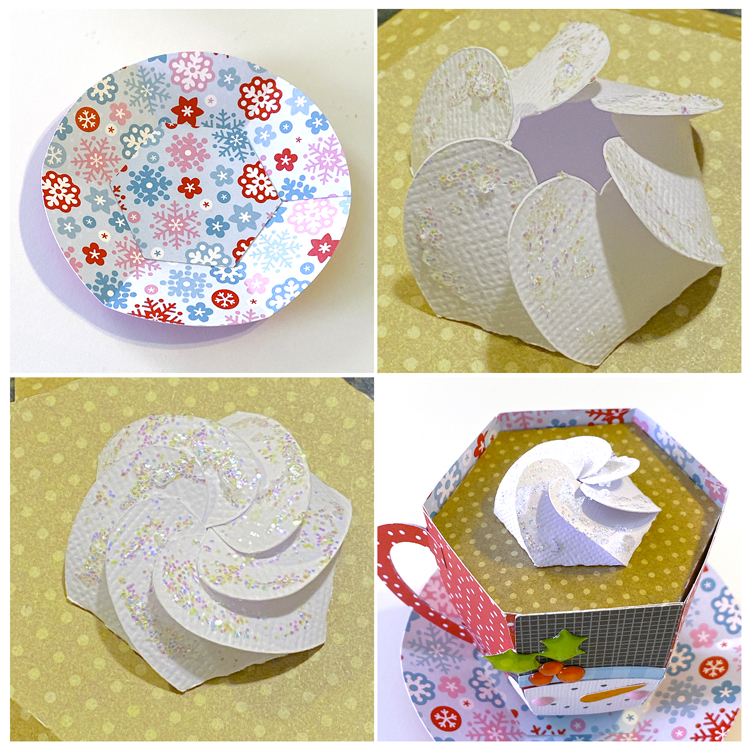
To make the whipped cream (I added stickles to mine for shine) fold all the sides inward. Over lap all of the side pieces so each side is over one side and under another. The part that goes “over” is the larger end.
Once they are all folded like above, push down in the center and they will hold their shape like whipped cream
Glue the whipped cream to the center of the cocoa piece. Insert the cocoa piece into the mug as a cover.
See?? Super easy. You’ll have service for 12 before you know it! That’s it for me today, thanks for stopping by to peek!