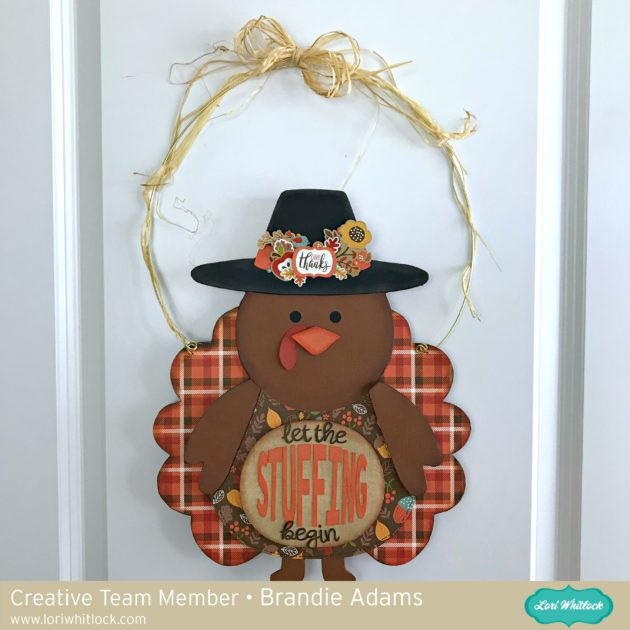
Thanksgiving Turkey Sign with Brandie

Hi there friends! I am sharing the one Thanksgiving related project I was able to finish before all the Christmas crafting begins.

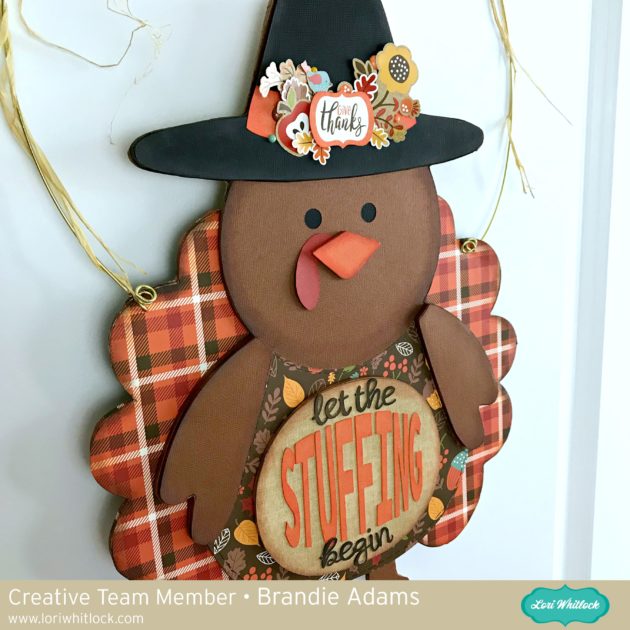
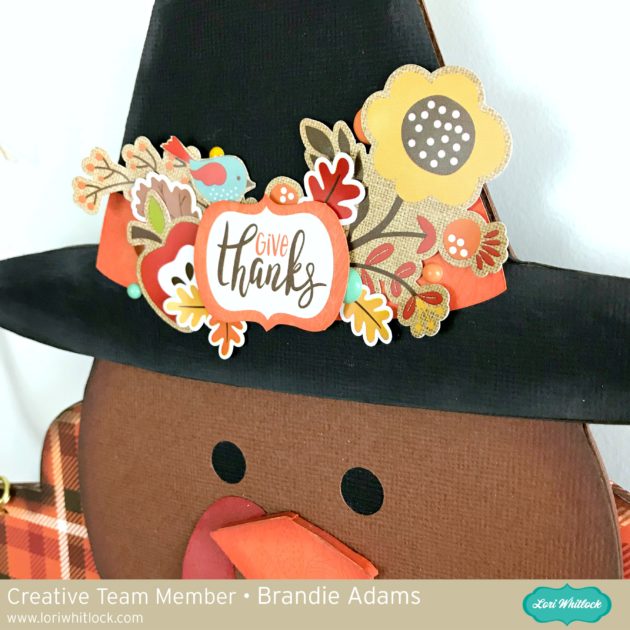
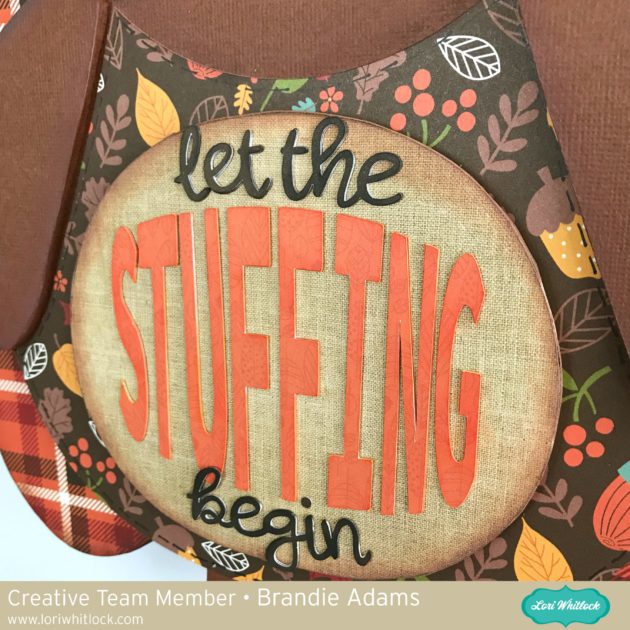
For the sign I used the turkey from the 2 on 12×12 Tag Bag Turkey (SVG, Silhouette) and the Let the Stuffing Begin (SVG).  Papers and embellishments are from the Celebrate Autumn collection by Echo Park.
For the dimension I cut the main body shape, hat, beak, arms, and oval by hand out of cardboard and covered with paper.

 I cut the saying three times out of cardstock then glued them together.


That’s it for me today. I hope you all have a safe and Happy Thanksgiving!

Brandie

Turkey Favor Box by Brigit

Hello there, now that Halloween is over I’m starting to plan for Thanksgiving. I thought this Turkey Favor Box from the November Kit of the Month from Lori’s shop would be perfect for the kiddies.  It is also available as a stand-alone file in Lori’s Shop here.

You can get this box also at the Silhouette Design Store here. I used some of Doodlebug Design’s Petite Prints and a cute tag from Echo Park’s Celebrate Autumn chipboard phrases to piece it all together.

Thanks for stopping by and have a wonderful day!

Thanksgiving Tag Bag with Kathy

Hi Everyone!  I can’t believe it is already November, this year has flown by!  Halloween is gone and now we’re headed into the Thanksgiving season!  I always love Thanksgiving, it’s one holiday that truly feels like it’s all about getting together with the ones you love, and sharing some time (and turkey of course!)  This year, I’m not cooking so I thought it would be nice to bring a little something to my host.  Lori’s new Tag Bags are the perfect wrapping for a little something special!  I made the Tag Bag Turkey (SVG, Silhouette).   Take a peek…

These bags are great because you can cut 2 of them from one piece of 12×12 paper, so they’re easy to mass produce!  You could even use them as place cards!  Lori has a great assembly tutorial on her YouTube Channel here.  Be sure to check out all of the Tag Bag designs here!  That’s it for me today thanks for stopping by to peek!

* BLOG * INSTAGRAM*

Give Thanks Pumpkin Card

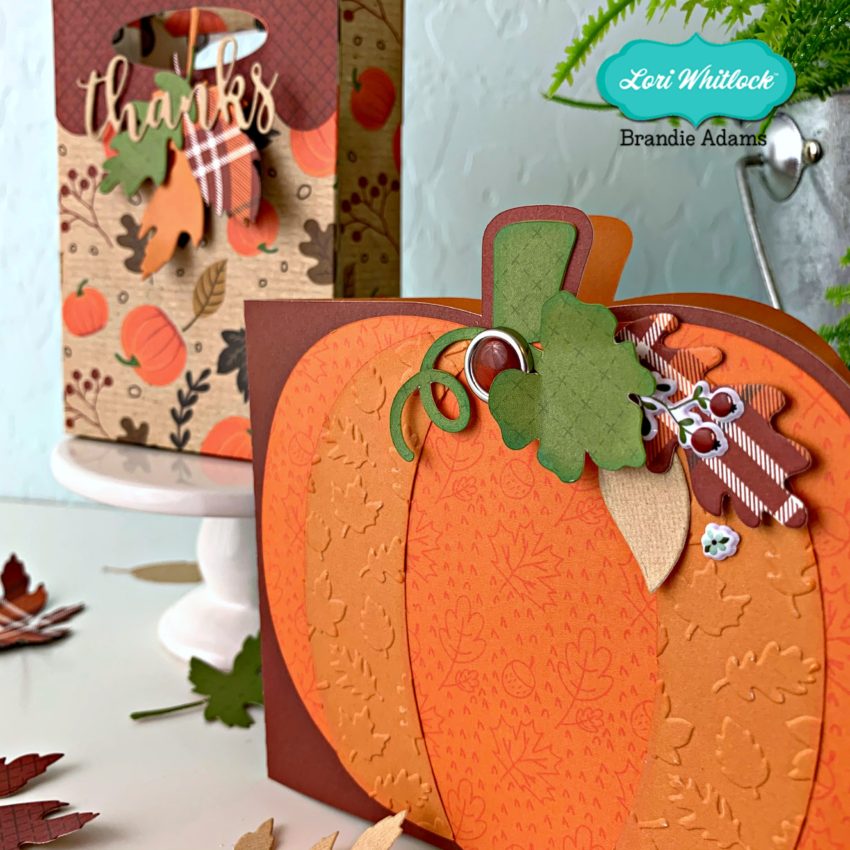
Hi, Crafty Friends!! Creative Team Member, Mitsyana Wright, here. It’s a new month and I’m not going to lie, I’m missing Halloween already.  It’s ok, I have lots to look forward to and lots to be thankful for. And speaking of thankful… Today, I’m bringing you this Give Thanks, Pumpkin Card.

Let me show you how I made it…

Here are the supplies you need:

  • Pumpkin Mini Album (here in the Silhouette Store)
  • Give Thanks (here in the Silhouette Store)
  • Patterned Cardstock (Autumn Leaves Stack- DCWV)
  • Xyron Creative Station
  • Tim Holtz Distress Ink- Vintage Photo
  • Hemp Twine
  • Glue Pen

I used Lori Whitlock’s Pumpkin Mini Album to create my card base.
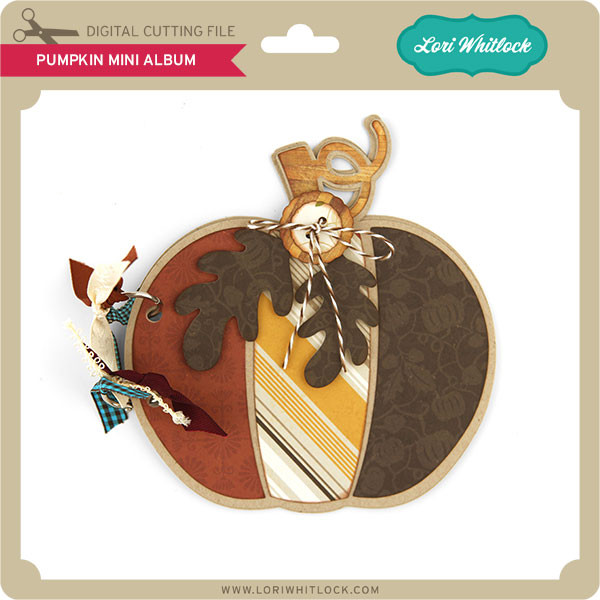
I opened the SVG file using my ecal software.

Then “UNGROUP”ed the holes from that are in the pumpkin base and files.

Then, I cut and pasted the window base onto a new page.

I made a mirror image then slightly had them overlap at the center. Then I highlighted the whole and “WELDED” the two pumpkins together.

Once the welded pumpkins were cut, I used my bone folder to crease my card.

Then I die cut the panel pieces, stem, and accessories that come with the file.

Next, I ran the patterned paper through my Xyron Creative Station Lite. Then I inked up the edges with Tim Holtz’ in Vintage Photo. Then All I simply did was peel and stick! Easy-Peasy!!

I also used Lori Whitlock’s Give Thanks Title for my cards sentiment.
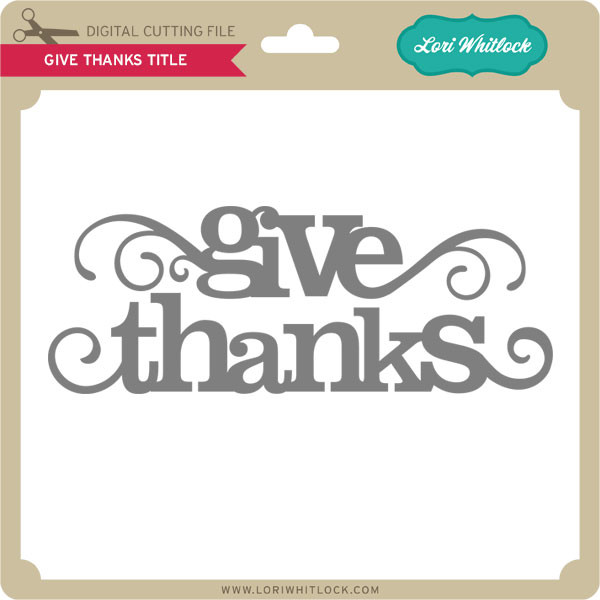
I sized it to fit the pumpkin cover in my ecal software. Then opened a new window and cut and pasted it there.

After cutting these words out, I left them in their negative space and inked the edges. Keeping them in the negative space helps to reduce bends and tears.

I used a glue pen to attached my sentiment onto the front cover.

Then, I  added the leaves and button. I  fastened them together with hemp twine.

I also used a micron pen to add details to the words and swirls for a little definition.

And here is my finished card…

Now, it’s ready to give to someone I am very thankful for…

It’s so hard to choose!! I’m going to have to make more!! There are too many people I am incredibly thankful for! I guess that is a good problem to have!

Hope you all enjoyed my project for today!! See you soon!!

~Mitsyana

Thankful Jar with Anita


Hi Everyone:

Anita here with a fun project that I made for one of my best friends to use during the month of November.  The idea is that the fry box is full of cards that the members of her family can write something that they are thankful for on and then take a Hershey Kiss from the jar.  Hopefully the jar will be empty by Thanksgiving and the cards full and ready to be shared around the table on this special family holiday.  I used some papers from Lori’s Echo Park Collection called A Perfect Autumn.  The cut files that I used are the following:

Flourish Pumpkin which you can find  here in the Silhouette store
Elf French Fry Box which you can find here in Lori’s store and here in the Silhouette store
There Is Always Something to be Thankful For here in Lori’s Store and here in the Silhouette Store
3 Print and Cut fall 3X4 Cards which you can find  here in the Silhouette Store
3 Print and Cut Fall 3X4 Cards which you can find  here in the Silhouette Store

I used the Elf Fry box and un-grouped the elements to make it a plain box.    I cut out ten pumpkins and scored them down the middle.  I glued the middles together and fanned them out to give my pumpkin some dimension.

Here is a close up of the jar.  I hope that my friend loves this and enjoys it as much as I did making it for her.

Hugs,

Anita