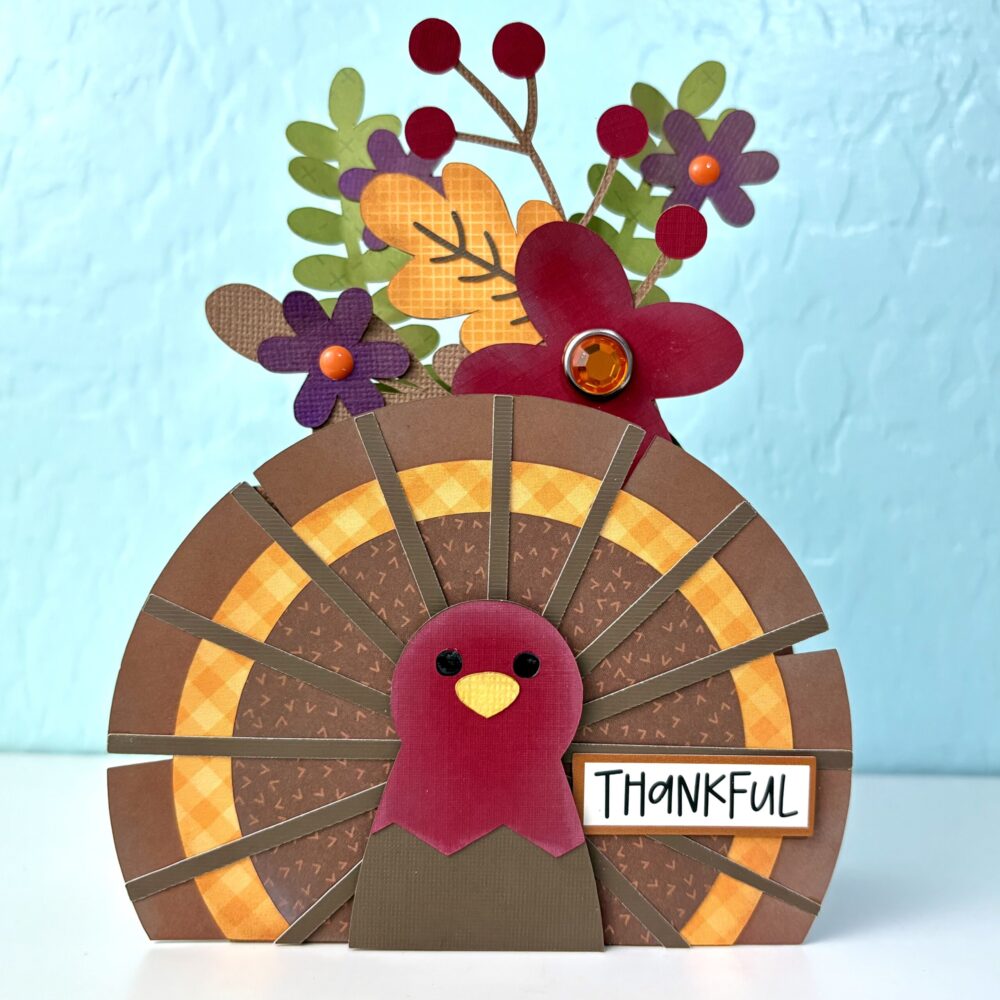
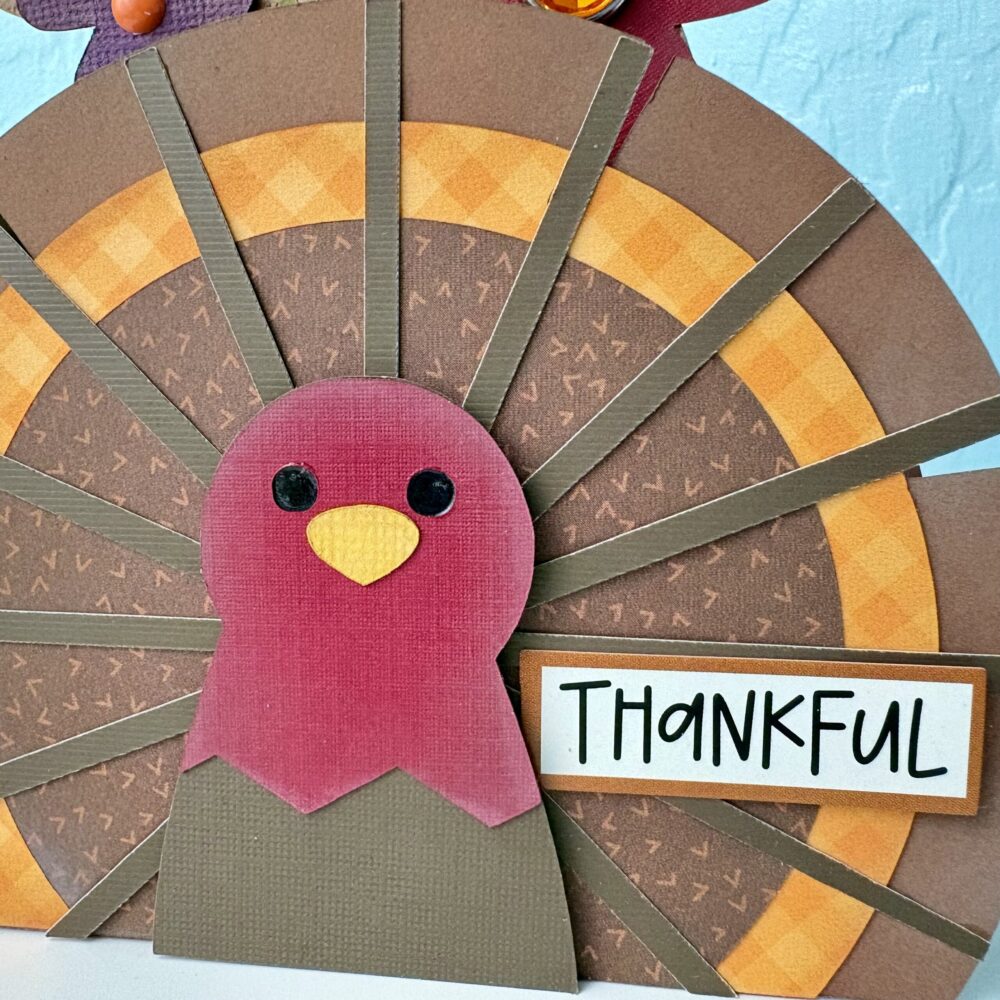
Thanksgiving is just around the corner, and I have a fun little project to share today! This turkey box card is the perfect way to send a little fall cheer and remind someone just how thankful you are for them.
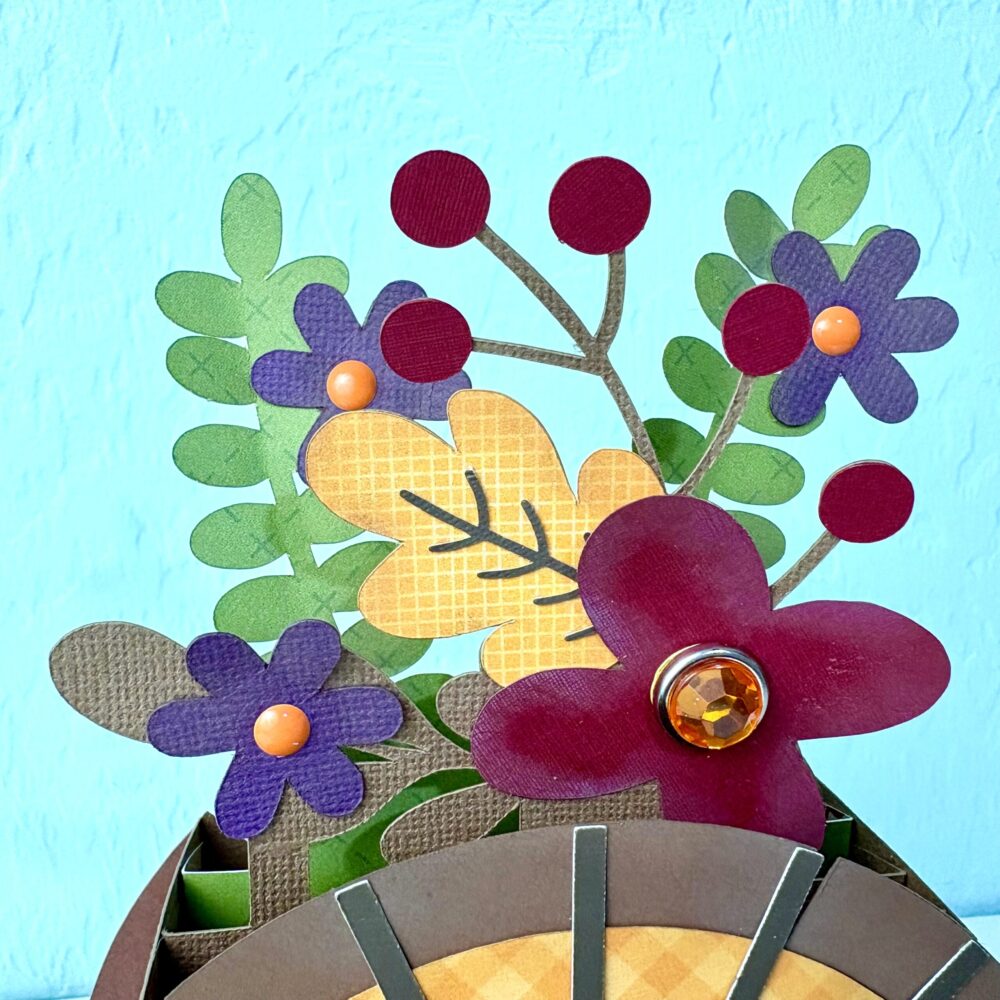
I had so much fun putting this one together! The warm browns, golden yellows, and pops of burgundy and purple make such a pretty fall color combination. I especially love the layered turkey feathers and the little arrangement of flowers and berries tucked behind him. The finishing touch is the sparkly orange gem that gives this turkey a little extra personality! You can find the Fall Turkey Box card in Lori’s shop or in the Silhouette store (SVG, Silhouette).
Box cards are always fun to create because they have so much dimension and make such a cute display piece. Whether you’re sending one to a friend, adding it to your Thanksgiving table, or giving it to someone special, it’s a sweet way to share a little gratitude.
I hope this project inspires you to get creative and make something special for the people you’re thankful for!
Happy Thanksgiving! Traci here and I hope you all have a wonderful holiday filled with blessings and warm, happy moments. Today, I have a tiny scrapbook to share with you titled Give Thanks that would be so fun for those memories. And, it might be the “miniest” mini album I’ve ever made!
Look how small it is! 💕 I created it with one of Lori’s amazing cutting files called 2×2 Accordion Mini Album (SVG, Silhouette) and the Echo Park, I love Fall Collection also designed by Lori.
First, let’s look at this little cutie, then I’ll explain exactly how I made it with a tutorial below.
I just love that it looks like a miniature book. It has an orange and green scalloped spine, pretty pattern papers, and a Give Thanks title sticker on the cover from the 12×12 elements sheet.
Inside, there are 16 little scrapbook pages (8 double-sided). I added some fun shaped journaling spots and photo mats using a 2″ scallop circle punch and a 1.75″ circle punch by Marvy Uchida.
You could use each page in this album for photos, or … mix it up and add embellishments on some of them like I did. Above, I added the Harvest Blessings sticker from the sticker book.
The journaling spots are perfect for adding dates, names, locations, events, or … what you and your family are most grateful for this year.
This project could be a cute little gift idea for after Thanksgiving. Make them for your guests with pictures from the holiday. Or … create this tiny album with ANY paper collection and it could be a fun Christmas present or stocking stuffer idea!
Now, for some instructions …
1. I chose my papers and cut out the 8 pages, 2 inside covers, 2 outside covers, and three pieces for the spine.
2. Next, I folded the paper on the score lines for each of the pages and positioned them on my table with the 1/2″ tab on the left.
3. Then, I adhered each 1/2” tab to the back of the page before it until I had all 8 pages glued together.
4. The very first page still has a tab on the left side, so I adhered the inside front cover here.
5. The inside back cover has a tab on it, so I adhered this to the last page of the album.
6. Once all of the pages are attached, I folded them into a little book and added the front and back covers.
7.
Finally, I adhered the 2 scallop accent pieces next to the spine on the
front and back, then used liquid adhesive to fold the orange spine around the
entire left side of the book.
There
is no need to adhere any of the pages back to back or to the spine. They stay nicely in their accordion shape once the spine piece goes on. Once the book is complete … it’s time to decorate!
I hope you’ll try this fun project made with Lori’s 2×2 Accordion Mini Album cutting file and her fabulous I Love Fall Collection designed for Echo Park.
For a video tutorial of this album, please see Lori’s YouTube video here:
Have a great Thanksgiving and enjoy your day with family and friends! 🍂🦃🧡
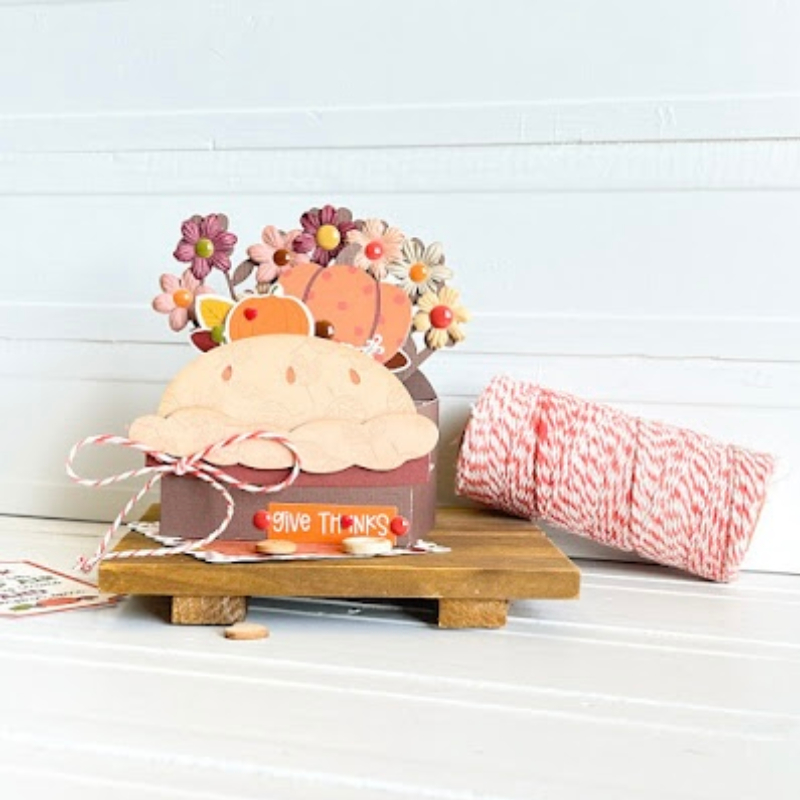
The holidays are just around the corner…hard to believe they are sneaking up on us so fast. I had fun in my little studio creating this adorable box card. It’s Lori’s A2 pumpkin pie flower box card or you can find it here In the Silhouette Online Design Store. It’s just too cute with that little crust edge…love it.
I used Lori’s Echo Park I Love Fall collection. I have used this collection over and over, it is just perfect for everything this time of year.
I adore this little card. Wouldn’t it be fun to use them as place settings at your Thanksgiving table?!
And wouldn’t it be nice it we all had time for that?!
This is a fun week for celebrating Thanksgiving. What are your favorite Thanksgiving traditions? We love doing something active early in the day. This year will be pickleball. I also like Black Friday shopping, but it has changed over the years. I ordered my first Silhouette Cameo on a Black Friday sale several years ago.
I’m sharing a Turkey project to add to our Thanksgiving decor. These shadowbox projects are so fun. Check out all the holiday themed boxes.
Happy Thursday everyone!! Only 14 days until Thanksgiving. We have a few newbies joining our table for Thanksgiving this year so I thought it would help everyone remember names with these adorable place cards. They were so easy to make! Follow along below to make your own.
I didn’t need many supplies to complete these. I used a glue pen, a pointy pair of tweezers and a file for any rough edges. I cut all my pices and laid them out in piles. I also used my Cricut to write the names on the white pieces.
The pumpkin was by far the easiest (SVG, Silhouette). The little green stem goes over the orange pumpkin piece and added to the base card. I also added the white name to the 2nd piece of the base.
The ends just slip into the slits on either side.
How cute and easy is that?
I did a few of these, and by far the hardest was the turkey (SVG, Silhouette) because there were so many small pieces. Below is a photo of how to assemble most of these small little pices. Again. the pointy tweezers were a huge help on this one.
How cute will these be at everyones place setting at your Thanksgiving dinner?!