Hi Everyone:
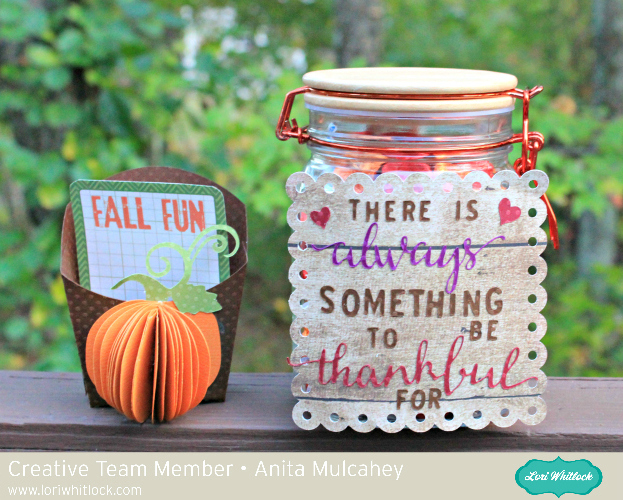
Anita here with a fun project that I made for one of my best friends to use during the month of November. The idea is that the fry box is full of cards that the members of her family can write something that they are thankful for on and then take a Hershey Kiss from the jar. Hopefully the jar will be empty by Thanksgiving and the cards full and ready to be shared around the table on this special family holiday. I used some papers from Lori’s Echo Park Collection called A Perfect Autumn. The cut files that I used are the following:
Flourish Pumpkin which you can find here in the Silhouette store
Elf French Fry Box which you can find here in Lori’s store and here in the Silhouette store
There Is Always Something to be Thankful For here in Lori’s Store and here in the Silhouette Store
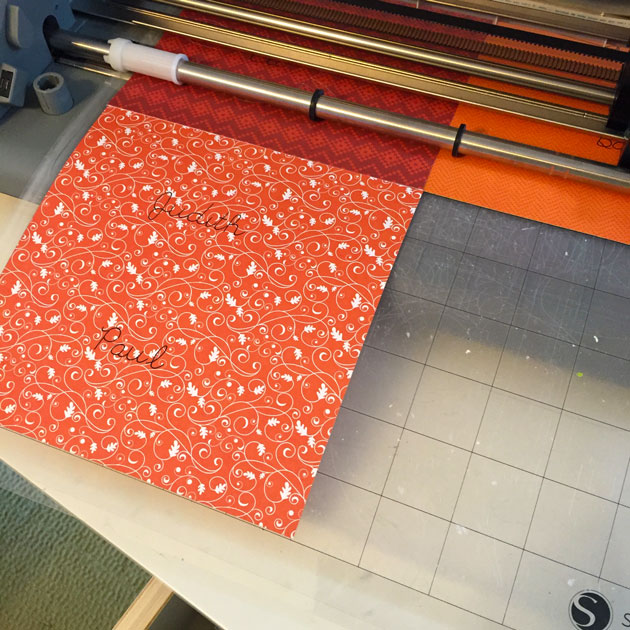
3 Print and Cut fall 3X4 Cards which you can find here in the Silhouette Store
3 Print and Cut Fall 3X4 Cards which you can find here in the Silhouette Store
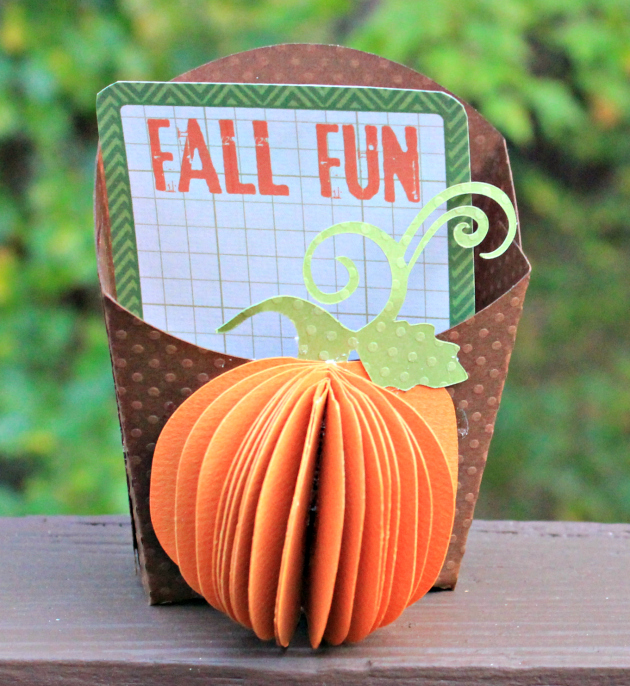
I used the Elf Fry box and un-grouped the elements to make it a plain box. I cut out ten pumpkins and scored them down the middle. I glued the middles together and fanned them out to give my pumpkin some dimension.
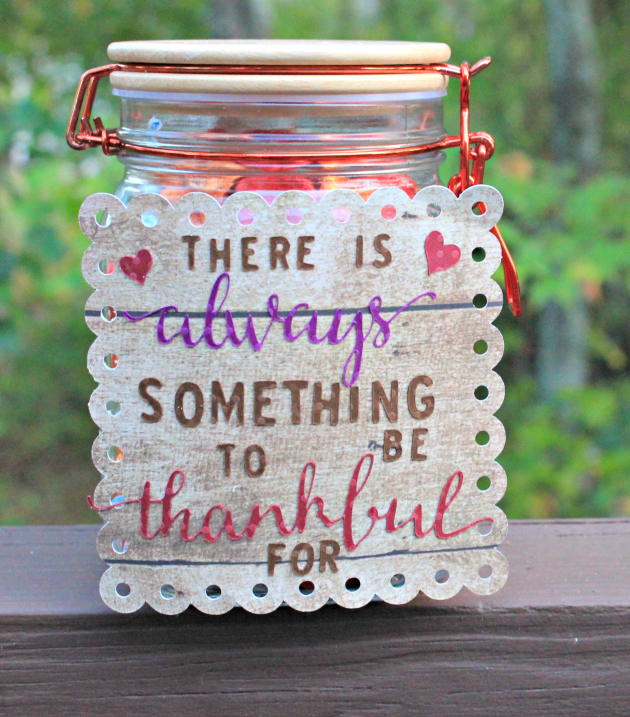
Here is a close up of the jar. I hope that my friend loves this and enjoys it as much as I did making it for her.
Hugs,
Anita