Gift Card Tag Santa Tutorial

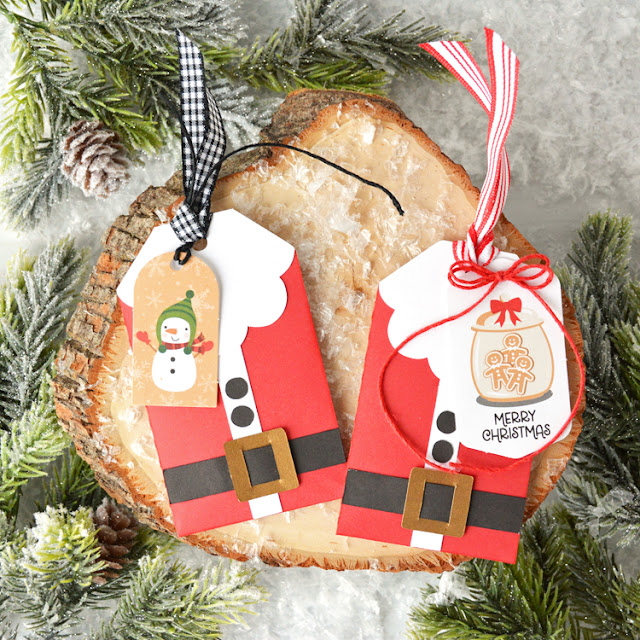
Hello everyone, Marcia here.  Christmas is creeping up. I am a big fan of giving gift cards so my recipients can pick out their own gift but I like to make gift card holders to put them in. I selected the Gift Card Tag Santa (SVG, Silhouette) to make for my gift cards this year.  There is a pocket on the back side of this tag that holds the gift card. I used Lori’s Have a Holly Jolly Christmas collection to create my tags.

These are really easy to assemble. Let me show you how.

1. Cut out the pieces from the desired pattern paper or cardstock.

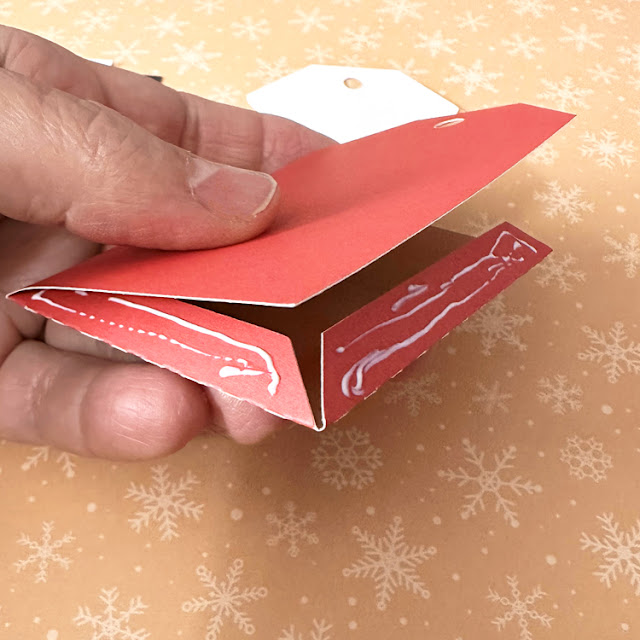
2. Fold the tag along the score lines folding the flaps up. Apply glue to the flaps and adhere to the back of the tag to form the pocket.

3. Adhere the white beard and Santa suit trim to the top of the tag.

4. Slip the black belt through the belt buckle and adhere to the bottom of the tag. Add the two black buttons above the belt on the white trim.

5. Add ribbon or other embellishments as you wish.


Check out Lori’s other gift card holder designs in the store and make some of your own. Thanks so much for stopping by.
~Marcia

Christmas Mini Album

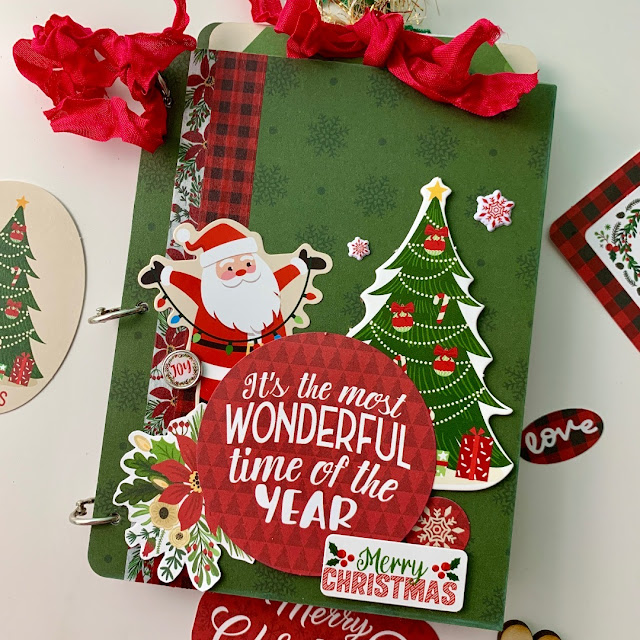
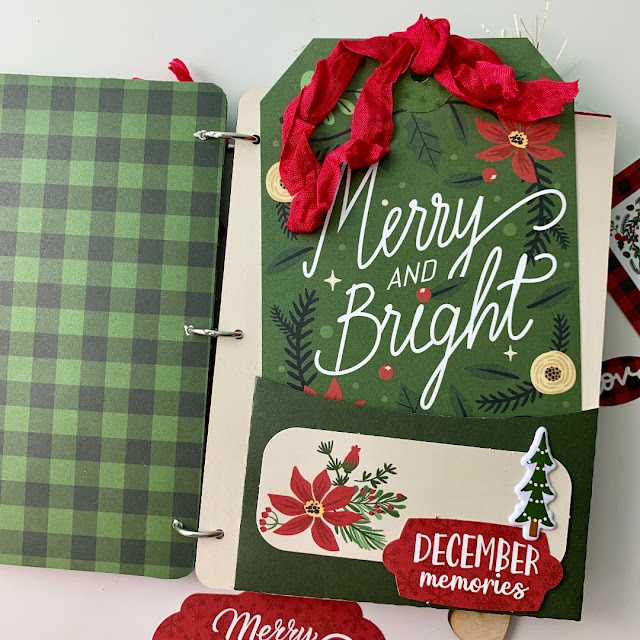
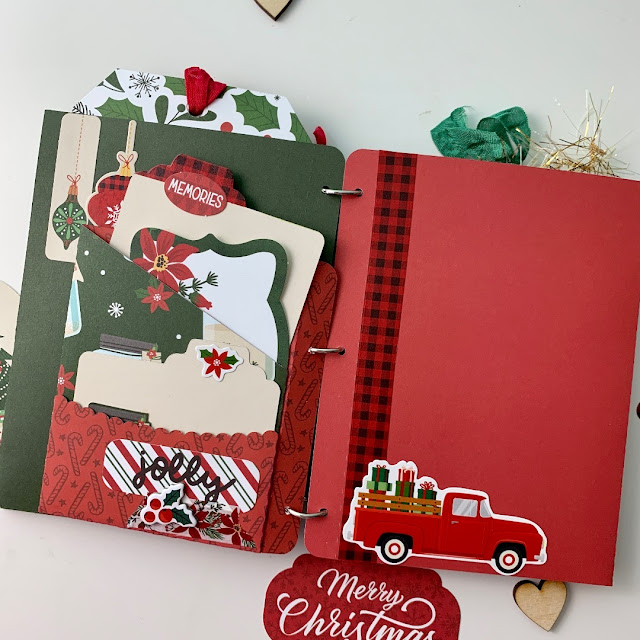
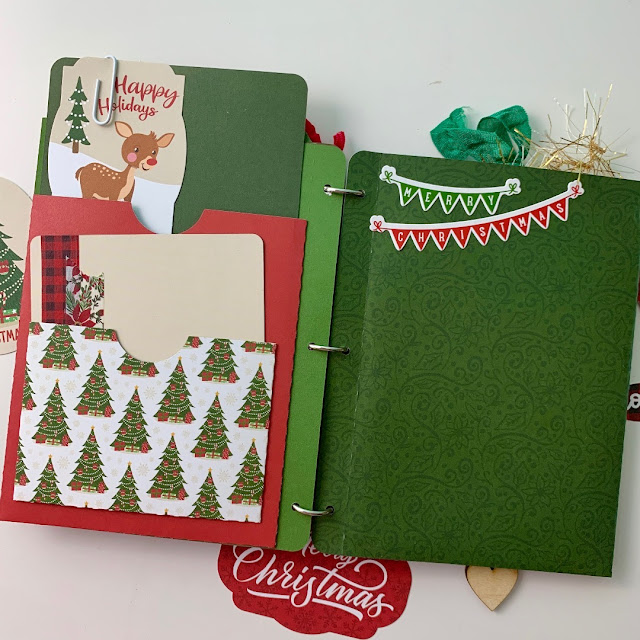
Hi Friends! I hope you all had a lovely Christmas that was warm and safe! Today I am sharing one of the mini albums from the Fabulous Mini Album Bundle (SVG, Silhouette). I haven’t made a December daily album for a few years because they are always so much work and I never seem to be done. So, I decided to scale it down a lot and just make a mini album. Less work, less pressure, but still so fun and cute! I just need to add my pictures and journaling.

 
All of the papers, stickers, and embellishments are from The Magic of Christmas collection by Echo Park Paper Co.
Thanks for stopping by today!
Brandie

Merry Christmas! $5 Bundle Ends at Midnight!

Merry Christmas everyone! I want to thank everyone for another great year of designing SVG files and working with you all. What a wonderful time of year when we turn our thoughts to Christmas and all the wonderful events of the season. I hope you each have a blessed day.

If you’re trying to wrap up some last minute gifts we have some tags that will help. This awesome Friday $5 Bundle is available until midnight and when it’s gone it’s gone.  These SVG files can be used with Cricut Explore, Silhouette Studio (with the Designer Edition upgrade), Scan N Cut, and any other cutter that will work with SVG files. Help spread the word by telling your friends and announcing it on social media! Be sure to pick up this Christmas Tag Bundle including 5 SVG files for just $5**!!

The cost of this bundle is $5, for $12.45 worth of SVG files, over a 59% savings! But don’t wait, this bundle will only be around until Sunday at midnight!
 
** Because Friday $5 Bundles are already heavily discounted they are not eligible for further discounts including monthly, seasonal and flash sales.

Have a great day!

Friday $5 Bundle!

Hi Everyone! Today we have a new Friday $5 Bundle! It will ONLY be available until Midnight Sunday and when it’s gone it’s gone. These SVG files can be used with Cricut Explore, Silhouette Studio (with the Designer Edition upgrade), Scan N Cut, and any other cutter that will work with SVG files. Help spread the word by telling your friends and announcing it on social media!

Now through Sunday, you can pick up this Christmas Tag Bundle including 5 SVG files for just $5**!

The cost of this bundle is $5, for $12.45 worth of SVG files, over a 59% savings! But don’t wait, this bundle will only be around until Sunday at midnight!
 
** Because Friday $5 Bundles are already heavily discounted they are not eligible for further discounts including monthly, seasonal and flash sales.

Have a great day!

3D Hot Cocoa Mug Santa Tutorial

Hi friends! Today I am sharing a tutorial for the 3D Hot Cocoa Mug Santa (SVG, Silhouette). This little 3D project is a cute treat box that would also make a cute decor piece. I used papers from The Magic of Christmas collection as well as some black, white, and brown cardstock. I also used liquid glue to assemble it.

For the saucer fold all of the score lines in a valley fold. Add glue to the one tab, creating a complete circle with a hexagon shape in the middle.
Add glue to the tabs in the middle of the circle and place the hexagon on top.
On to the mug. With the outside of the cup facing up fold all of the score lines in mountain folds.
All of the panels are the same so it doesn’t matter which one you start with. Add glue to the tabs and using the score lines and the edge of the next panel, line the two panels up together and pinch each tab for a few seconds to secure the glue. Continue around the cup with the same method on all six sides.

Now with the sides all glued together, assemble the Santa on one side of the mug. There are also two shoulders and two beard/hair pieces that attach to the right and the left sides of the Santa. The face is in two layers. The black layer is glued down first then the flesh-colored paper next.

The mustache, pompom, and holly are the finishing touches to Santa.
The handle of the mug is two pieces that are glued together. Be sure not to glue the tabs together.
Fold the tabs out and add glue. Attach the handle to the mug with a corner of the cup in the middle of the tabs.
The lid is also in two parts. For the cocoa/brown part, all of the score lines are folded in mountain folds. And the whipped cream is valley folds.
I decided to glue the whipped cream panels together. But I don’t think it is necessary. Either way, glue the whipped cream to the center of the cocoa and the lid is complete. The lid just slides into the mug with the tabs on the inside of the mug.
Now the mug is ready to fill with a yummy treat! Thanks for stopping by!
Brandie