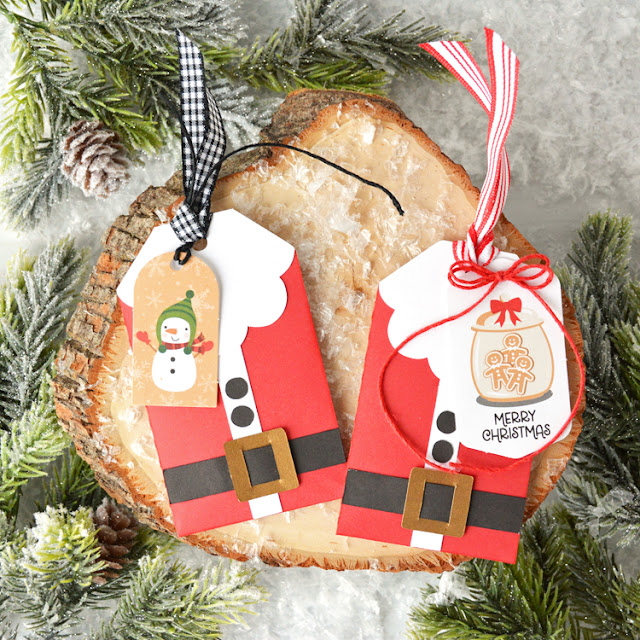
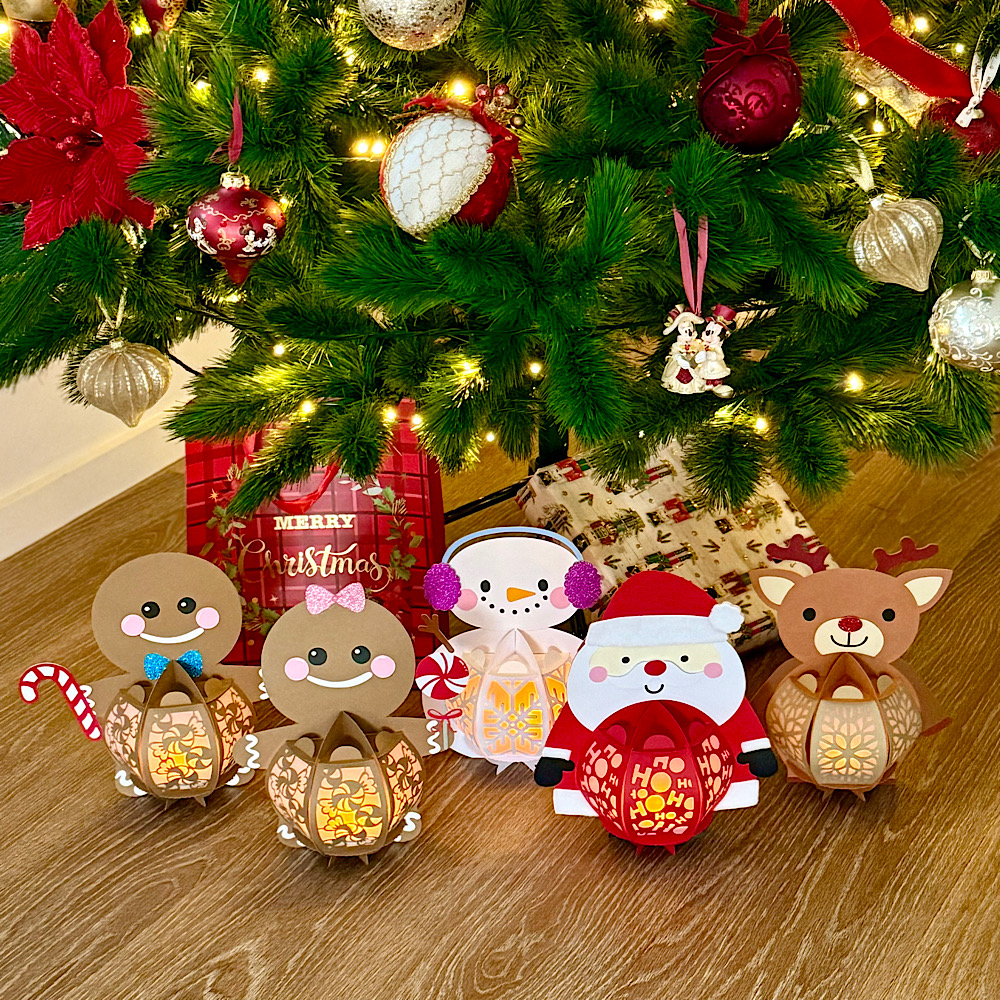
Hello Crafty Friends, Noelene here today. I wanted to share with you some of the new release Lori Whitlock 3d Belly Lantern Christmas Characters.
The bundle (SVG) comes with 6 characters which include, Gingerbread Man (SVG, Silhouette), Santa (SVG, Silhouette), Snowman (SVG, Silhouette) & Reindeer (SVG, Silhouette), Gnome (SVG, Silhouette) & Penguin (SVG, Silhouette) . Today I have featured 4 of those with a little twist in the Gingerbread Man.
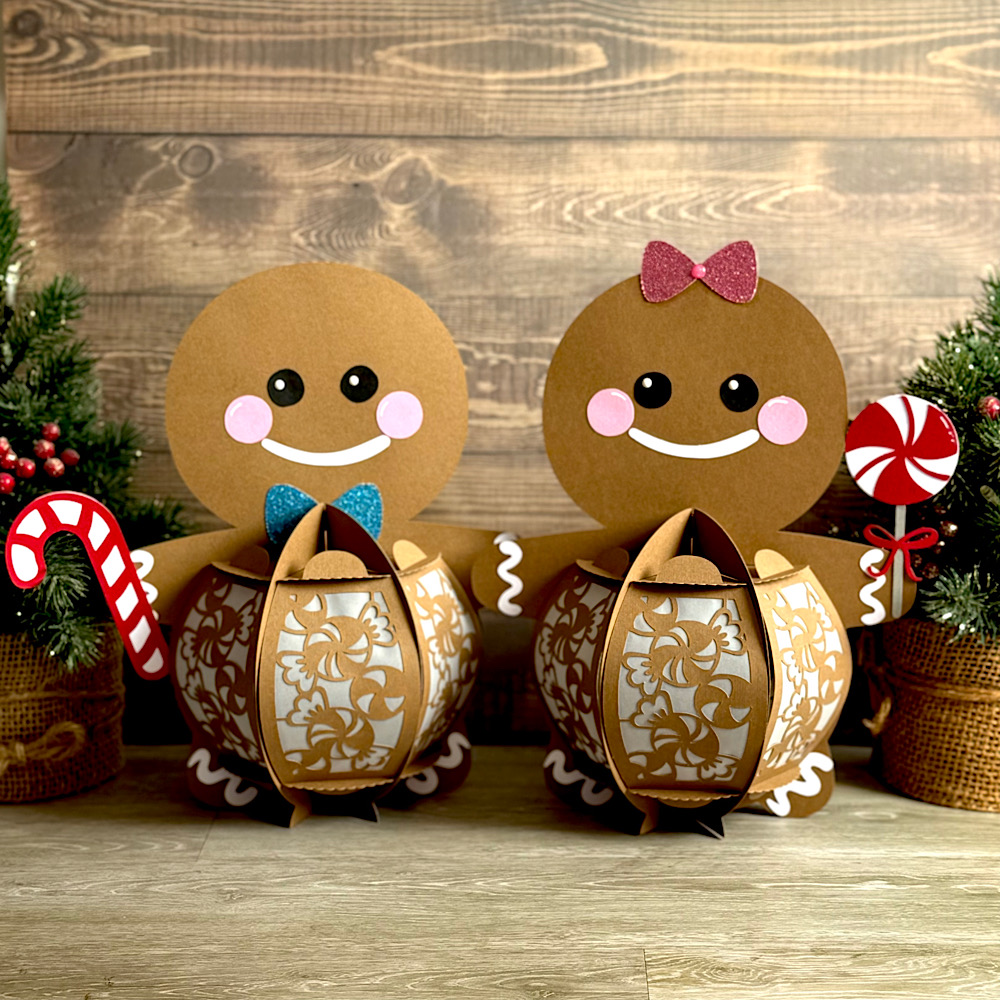
I loved the Gingerbread Man so much I wanted to make a little Gingerbread Girl as well. This was very easy to do. I turned his bow tie into a bow. To do this I just made a copy of the bow tie then using the copy I moved the 2 bow tie pieces together until they touched. I then simply fused them together by using the weld tool in my Silhouette studio. I also wanted to give them some candy so I used some of the candy from the 3 Story Gingerbread Dollhouse (SVG, Silhouette).
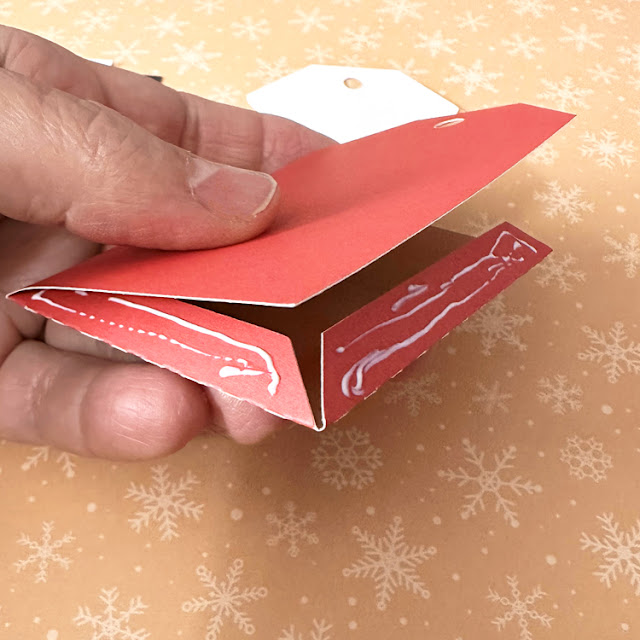
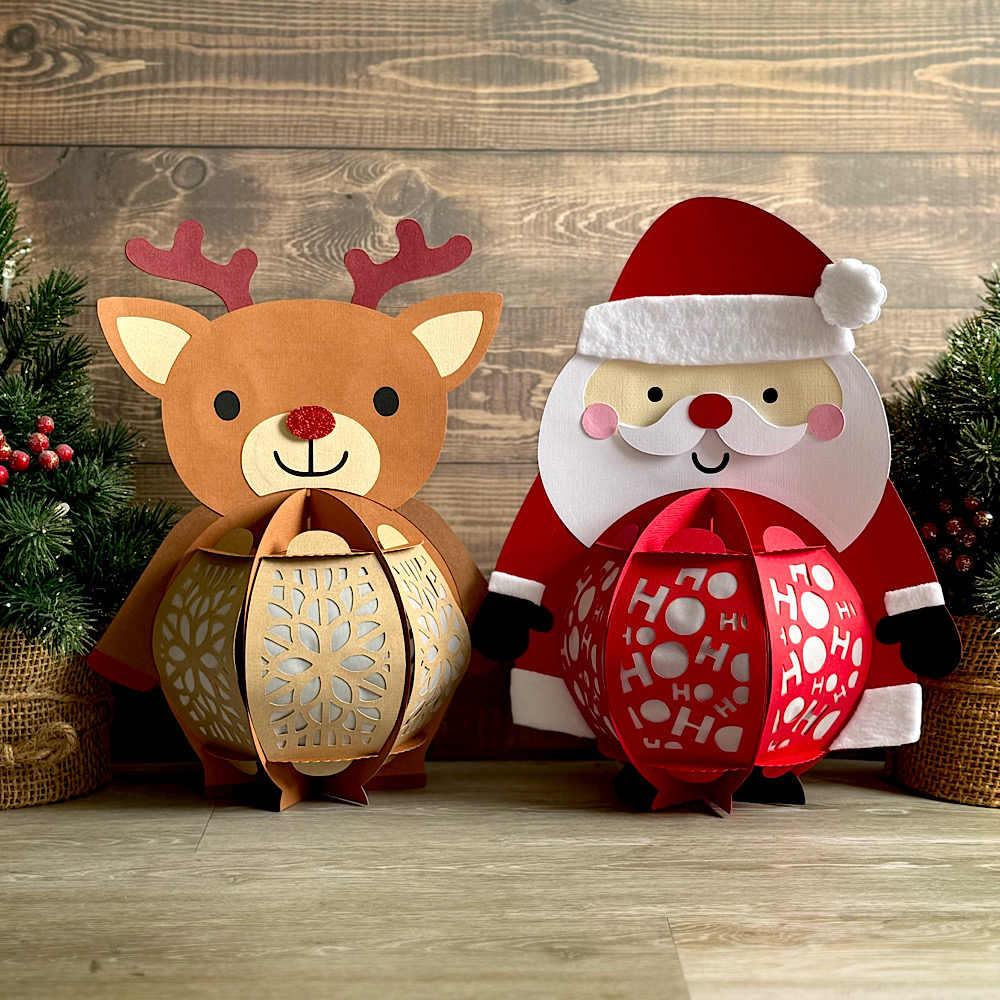
I also made the Reindeer & Santa. For my Santa I have used white polar fleece on parts of his clothes. I have never had luck cutting fabric on my Silhouette. So I chose a more simple approach. I cut the white cardboard pieces then glued onto them the polar fleece. I placed something heavy on them as they dried to keep them flat. Once they were dry I just trimmed off the excess polar fleece around the shape. Then proceeded putting my Santa together as normal.
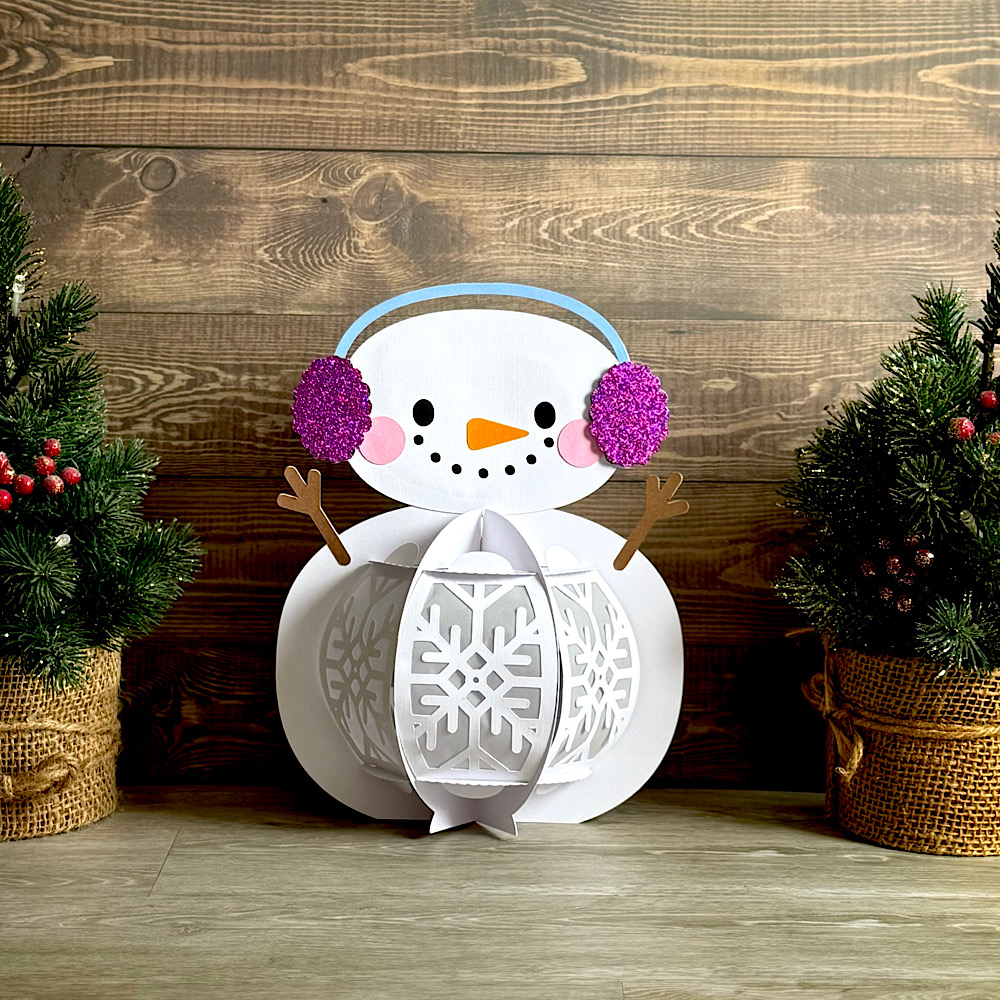
Lastly my Snowman
Supplies:
Paper: AC Cardstock & Glitter Cardstock
SVG File: Lori Whitlock – 3d Lantern Belly Bundle Christmas (SVG) Gingerbread Man (SVG, Silhouette), Santa (SVG, Silhouette), Snowman (SVG, Silhouette) & Reindeer (SVG, Silhouette), Gnome ( SVG , Silhouette) & Penguin ( SVG , Silhouette)
Lori Whiltock – 3 Story Gingerbread Dollhouse (SVG, Silhouette)
Accessories: Doodlebug Design Sprinkles
For more inspiration, check out my Instagram!
Thanks for stopping by!
Hugs
Noelene 🙂
.jpg)