3D Christmas Santa Bouquet Tutorial

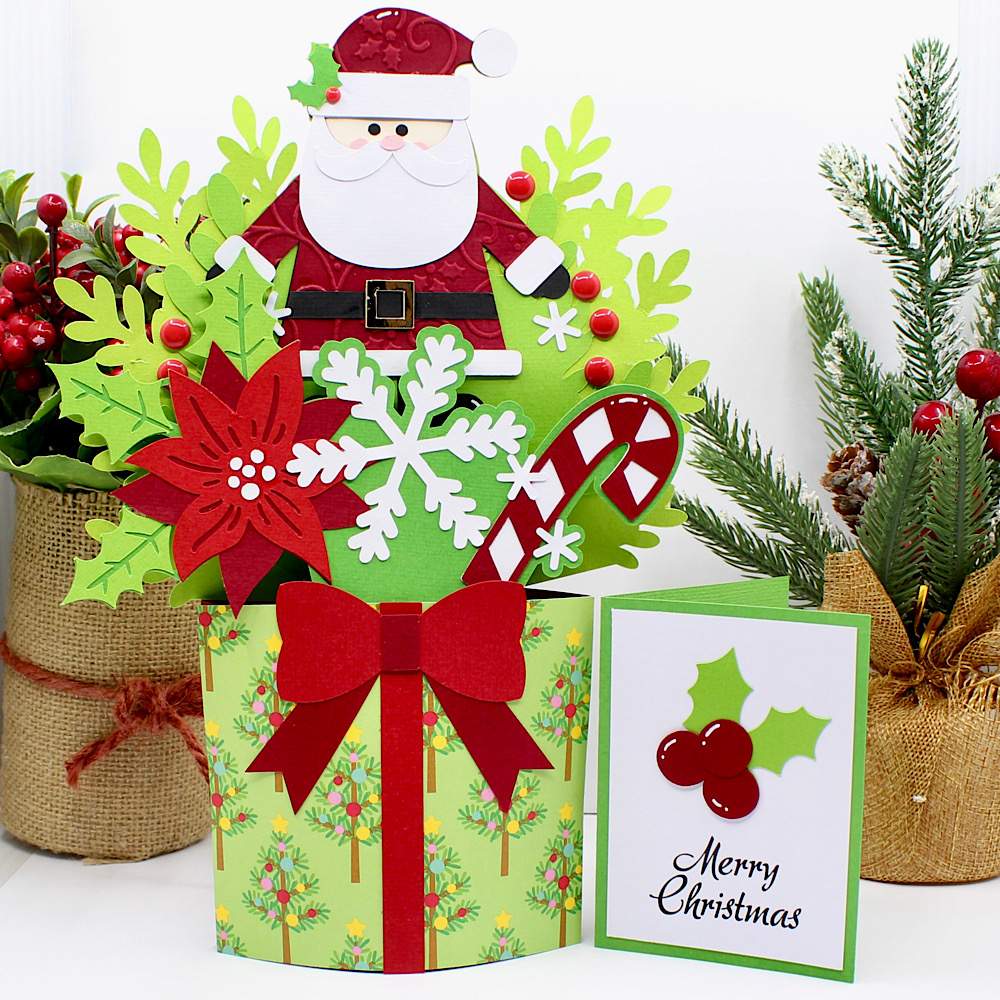
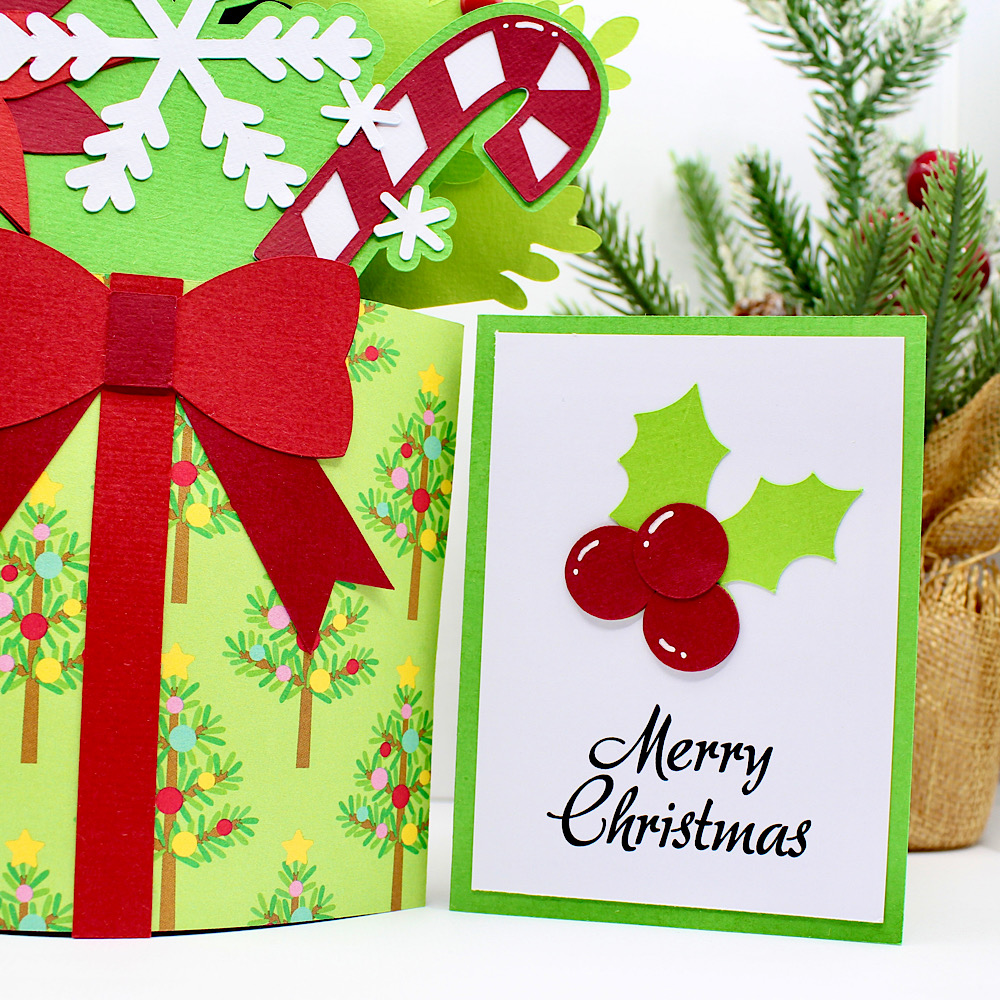
Hello crafty friends, Noelene here today! Today I am sharing a tutorial of the 3D Christmas Santa Bouquet (SVG). 
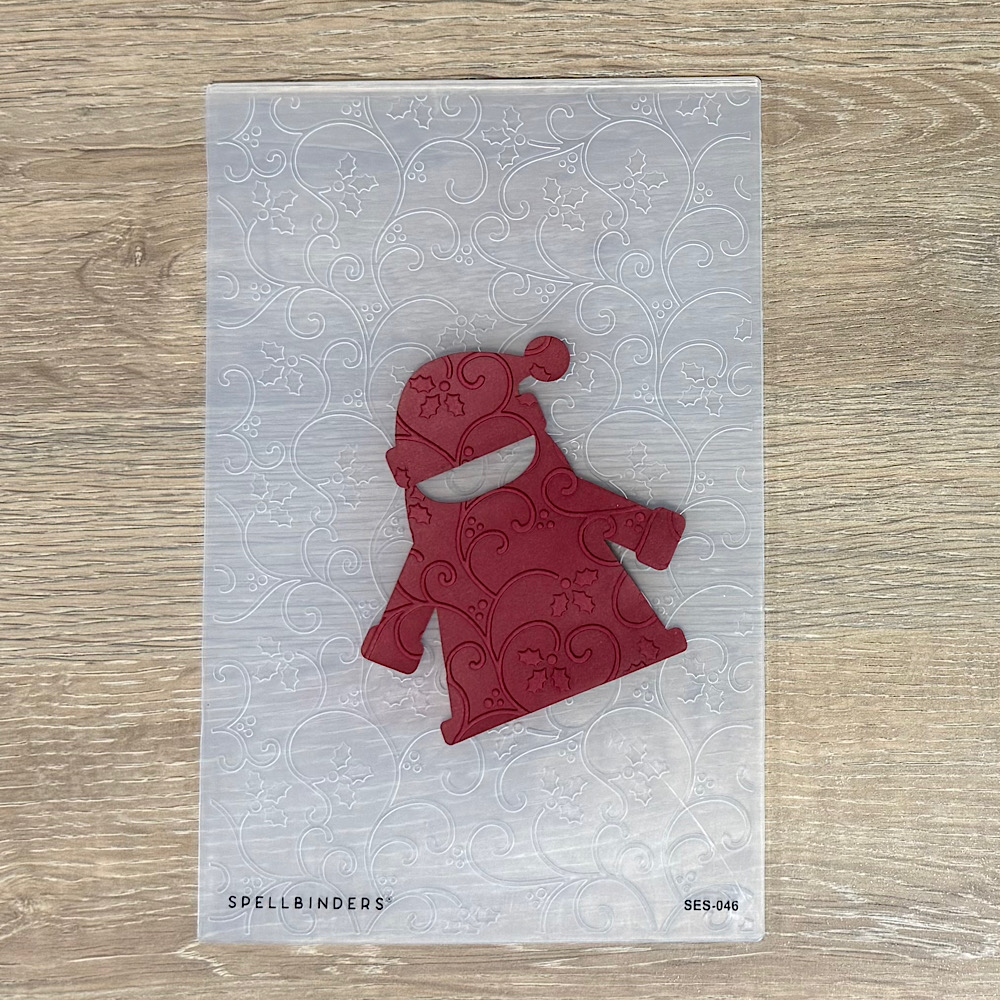
To start cut out all your pieces. I then embossed my santa suit using a Christmas embossing folder.


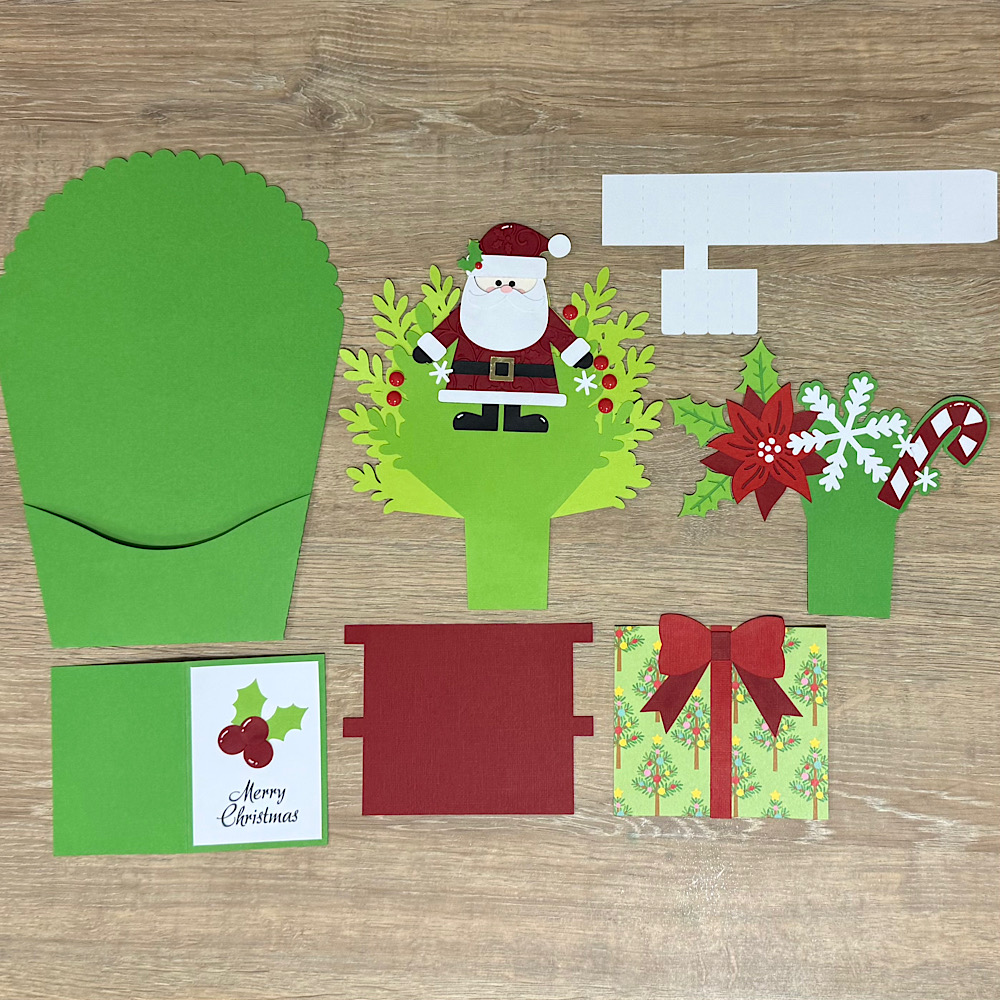
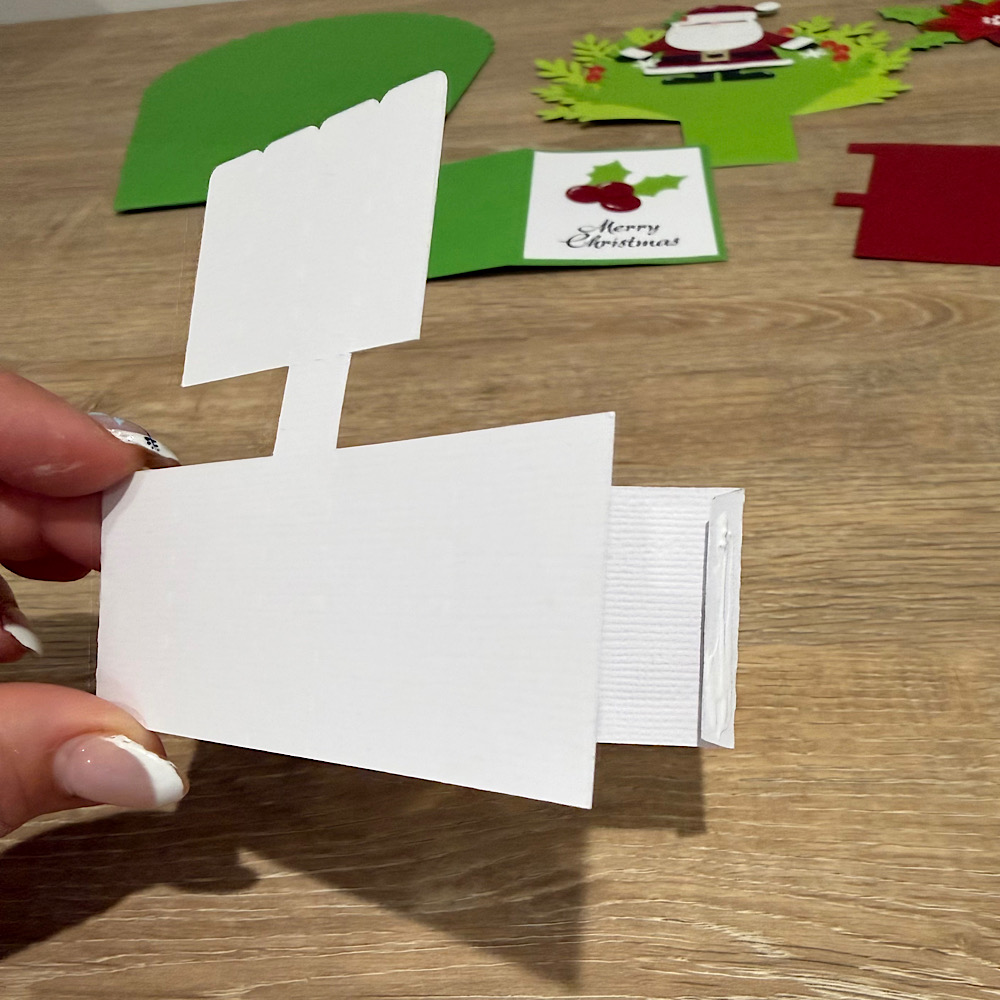
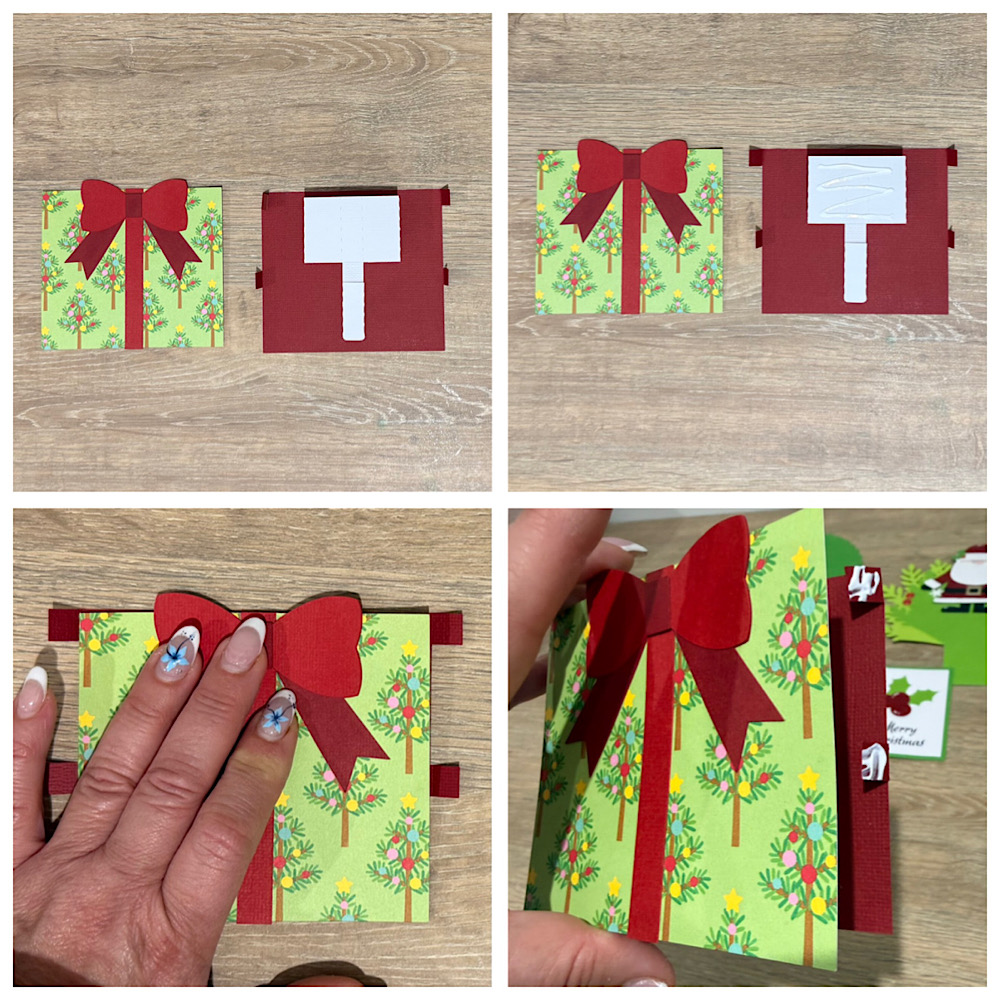
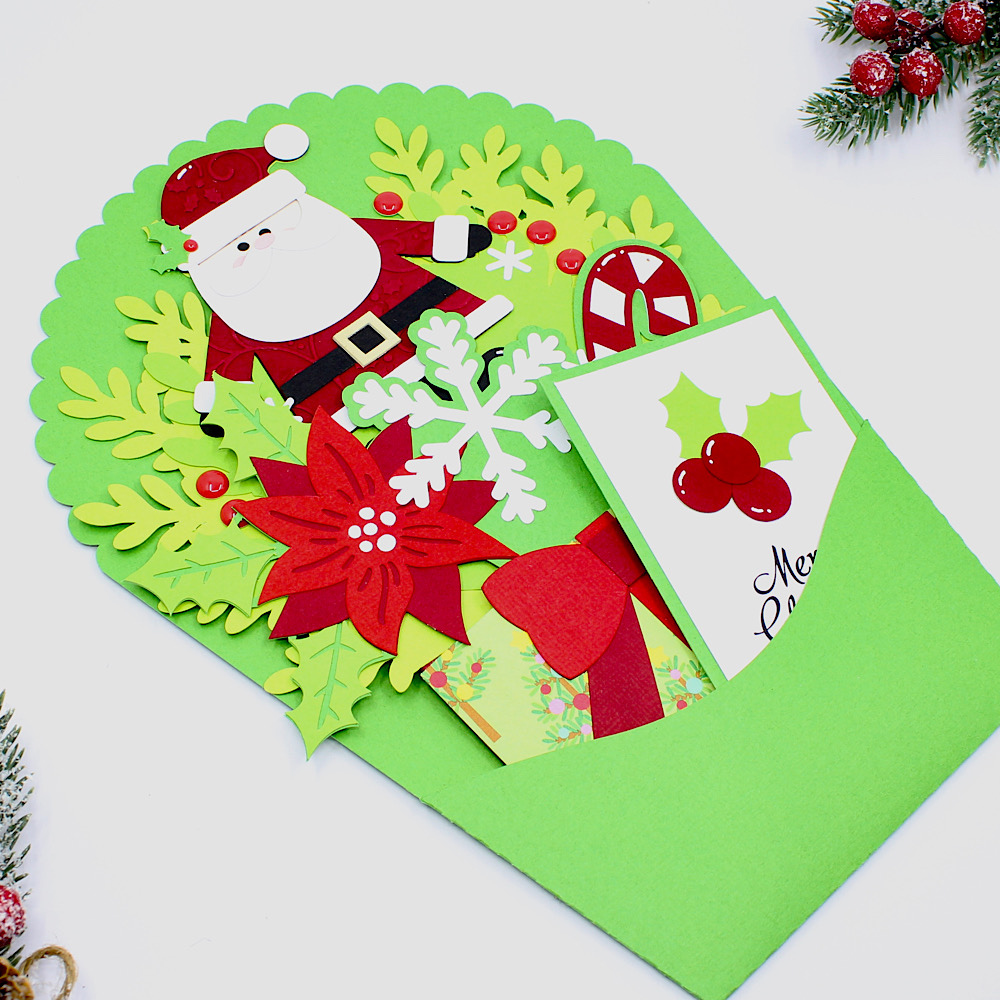
Glue all your panels in place. I valley folded the small piece of the envelope & applied glue to the tabs. I aligned it to the bottom & sides of the larger piece. This creates the pocket.
Now to create the mechanism.
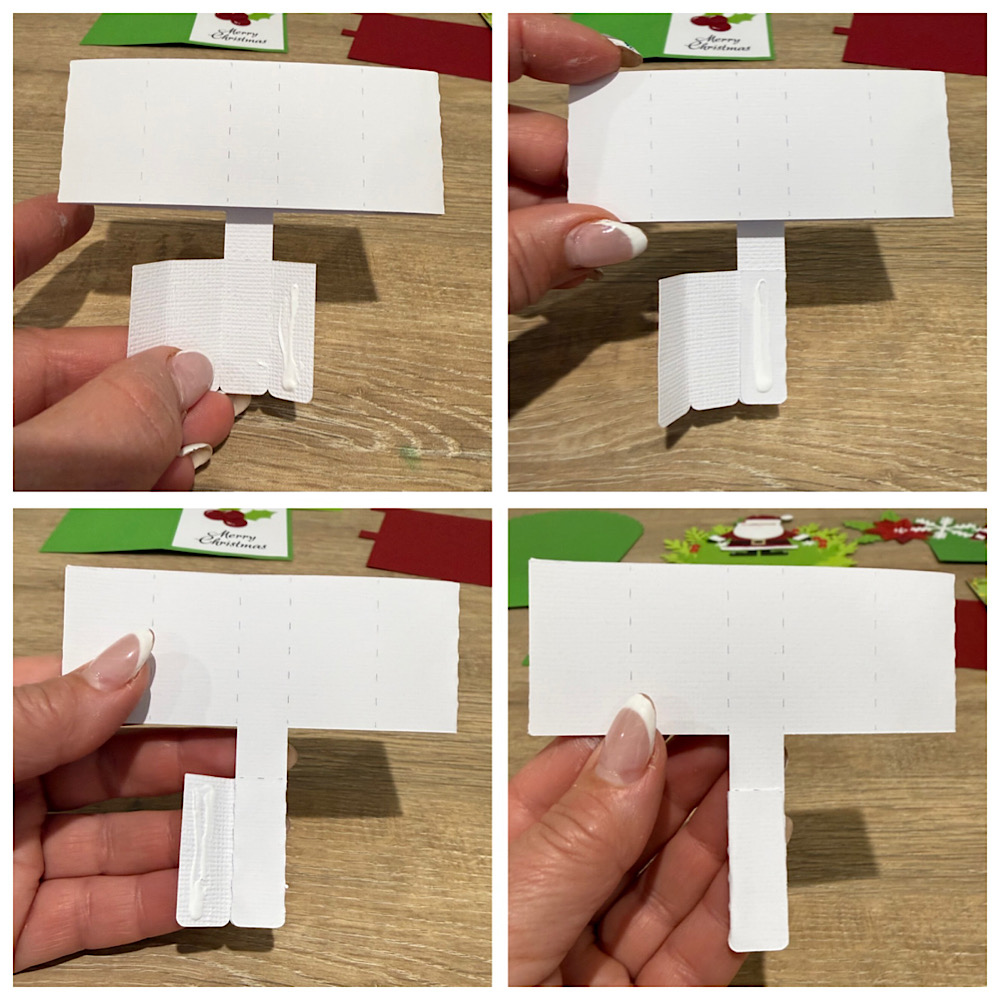
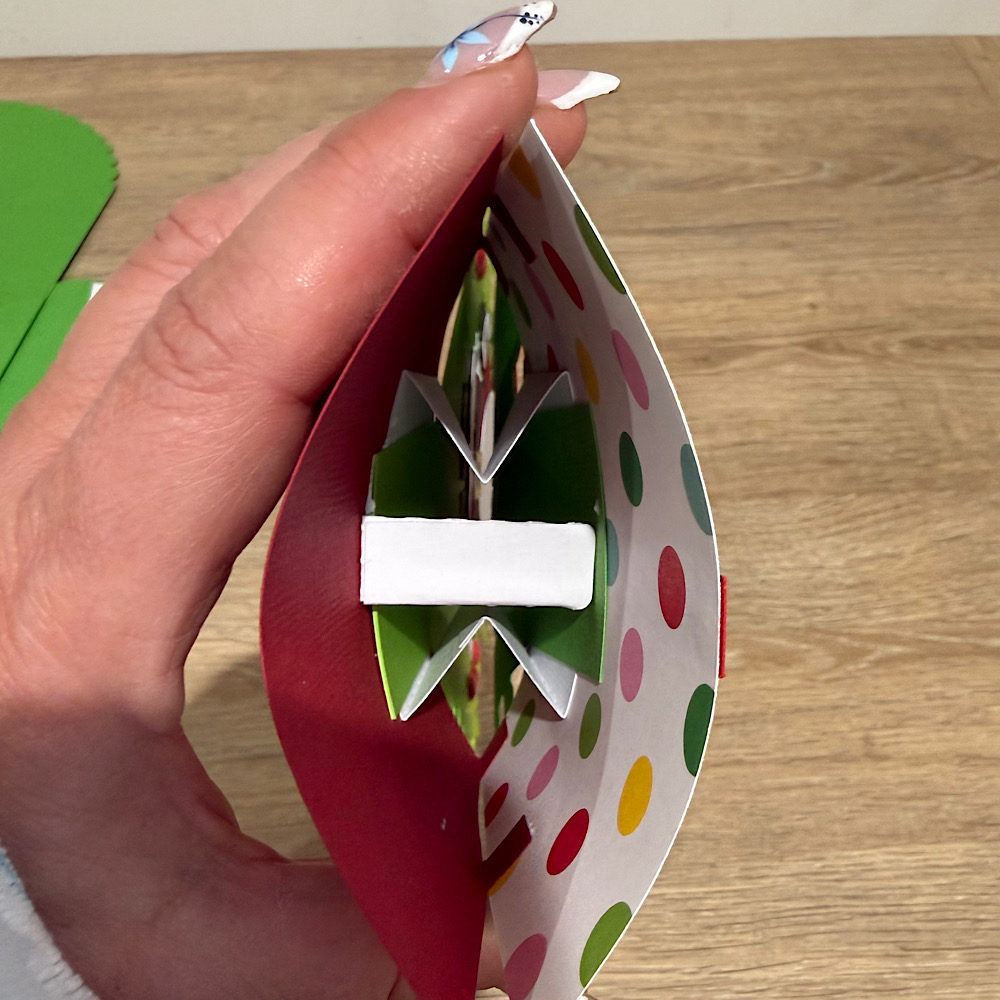
Fold the little tab then fold the mechanism in half & glue the tab down.
For the easel leg glue the single tab to the back, then wrap the rest around going to the back & bringing it to the front glueing each tab. This is to make the easel leg sturdy.

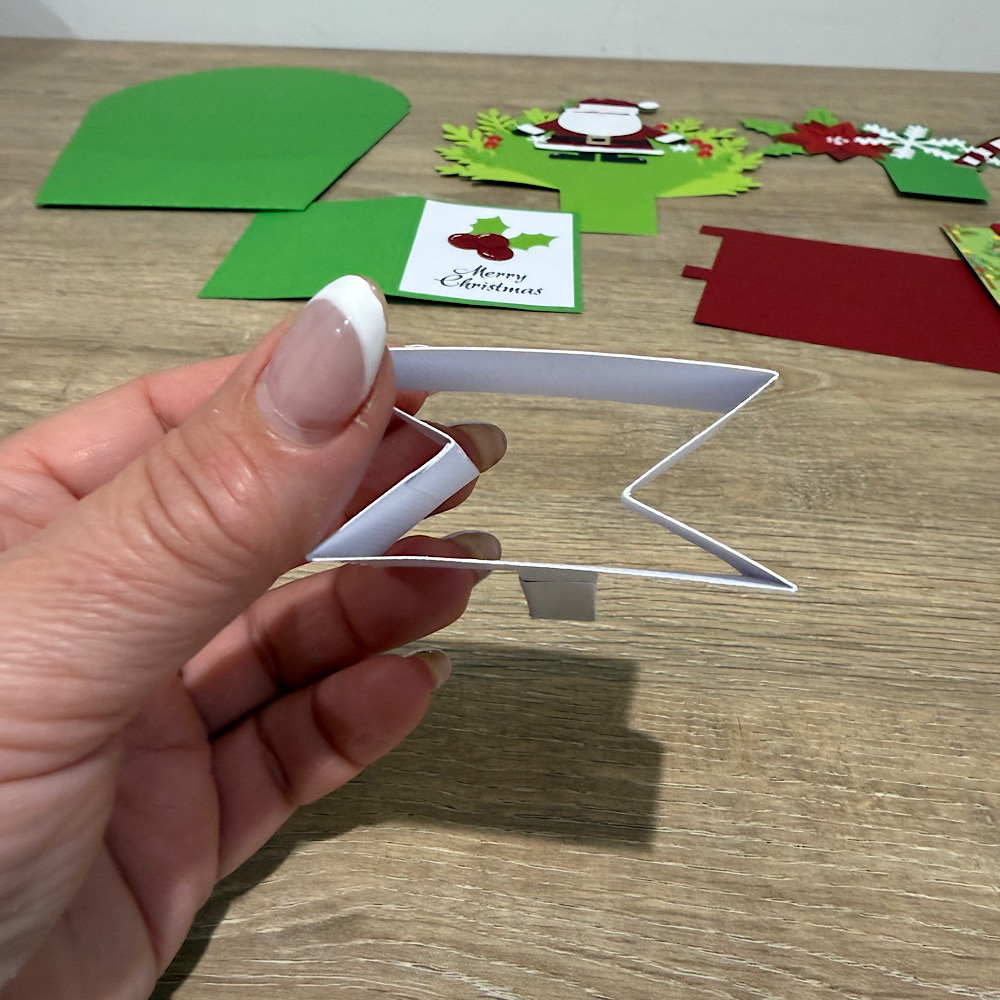
Next valley fold both ends in so that it forms an X.

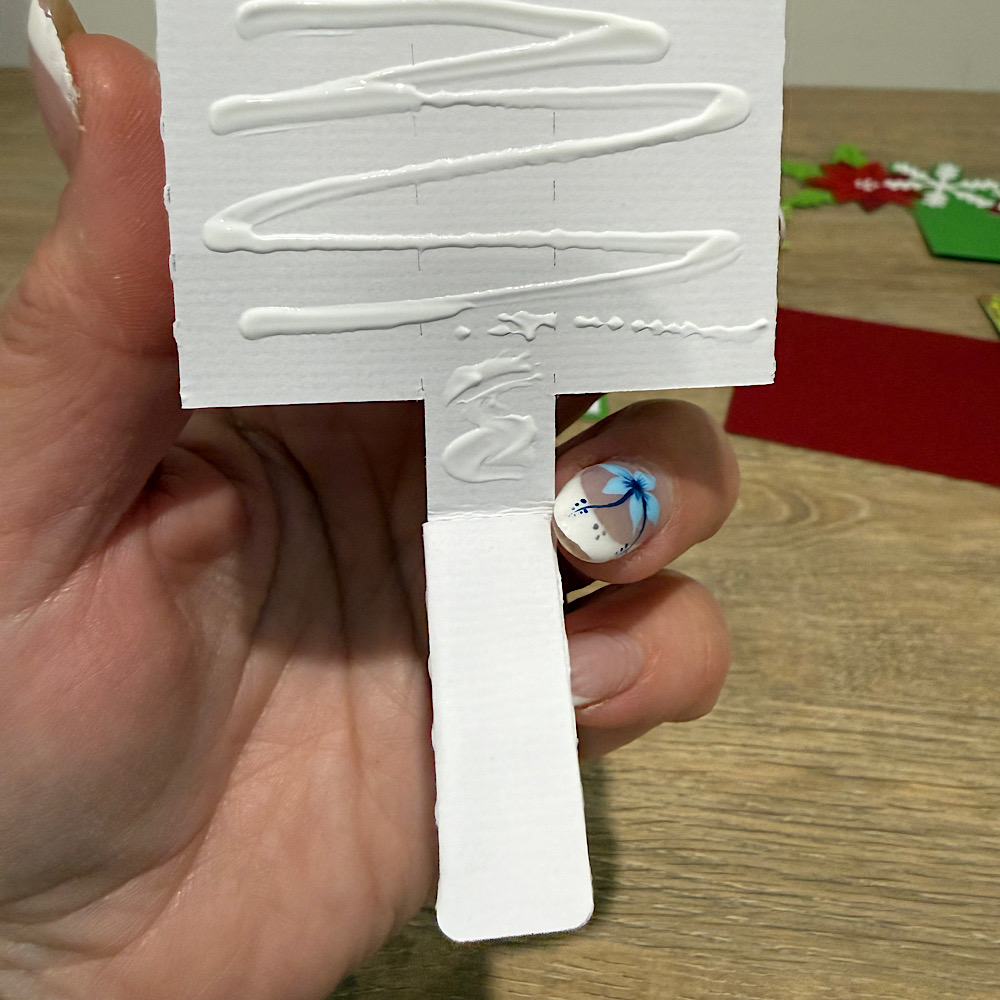
Now apply glue to the mechanism making sure you do not go past the fold on the easel leg.
Now place the glued mechanism on the inside of one of the pot panels making sure to align the leg to the bottom. It should sit a few millimeters beneath the top. Now glue the top part of the mechanism only & place the other pot panel on top. Hold down for a minute or so till it dries. Now glue the tabs to the inside.

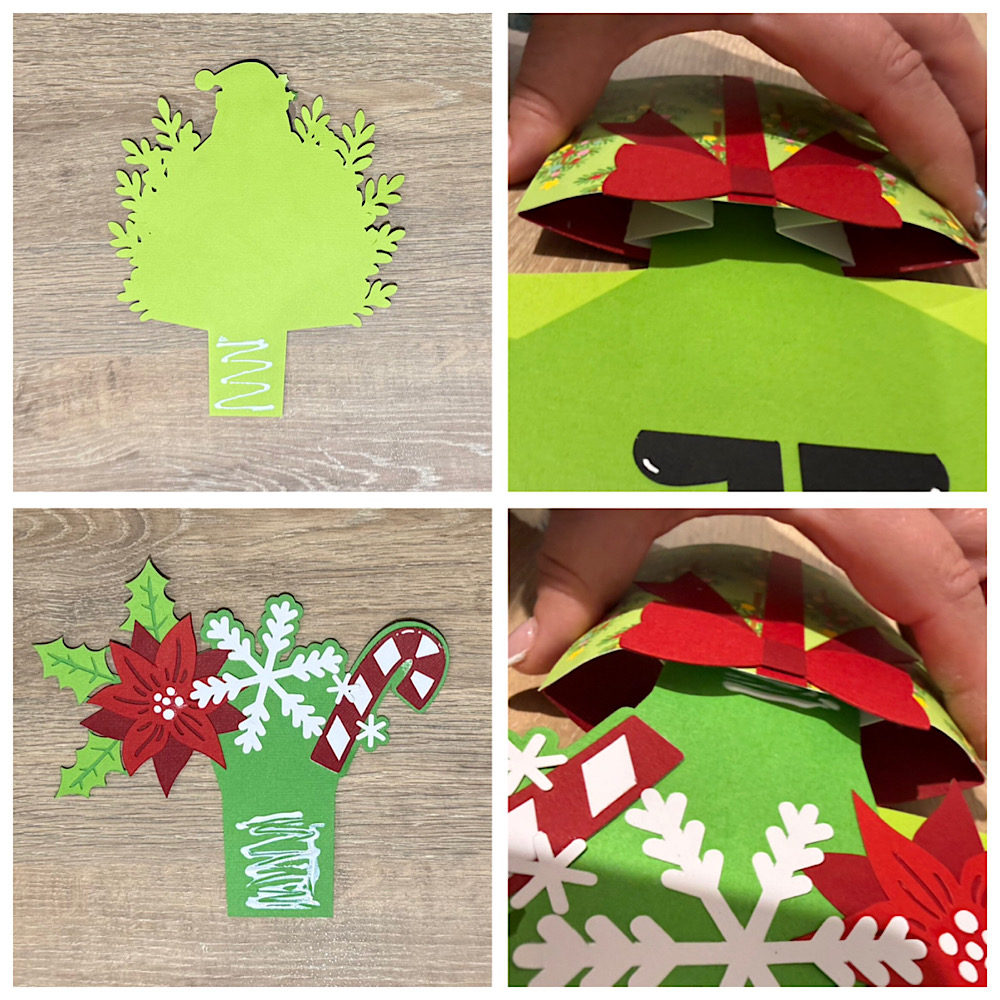
Next take the larger foliage panel with Santa & turn it over. You want to apply glue on the back of the bottom square part. Now turn it over so you can see your front panels & gently slide it in between the back of your X. The glued square should be stuck onto the back pot panel. Now with the smaller foliage panel you will apply the glue onto the front side of bottom square. This time you will slide it into your X on the front folded part of the mechanism so that the glue adheres to the front pot panel.

To make your bouquet stand on its own gently squeeze the sides of the pot & fold in the leg of your mechanism. To fold flat place it back down again.

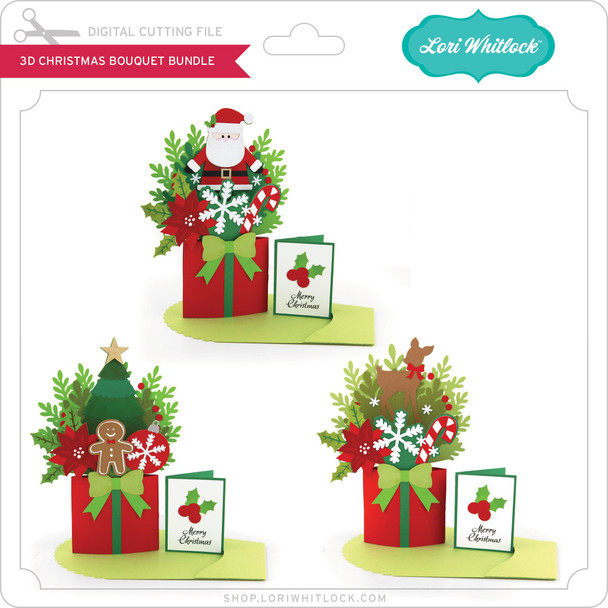
I hope you enjoyed my tutorial today! You can also buy the 3D Christmas Bouquet Bundle here, which also features 3D Christmas Tree Bouquet, (which I created here), and 3D Christmas Reindeer Bouquet.
Use coupon code NOELENE for 10% off your purchase anytime at Lori Whitlock Shop!
For more inspiration, check out my Instagram!
Thanks for stopping by!
Hugs
Noelene 🙂

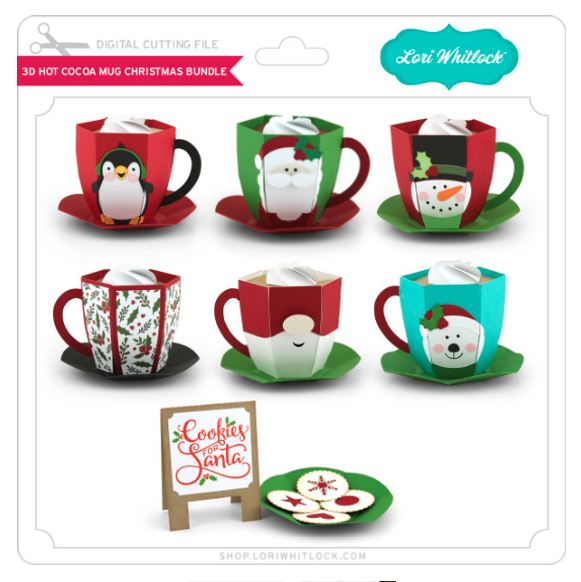
3D Hot Cocoa Mug with Cookies for Santa

Merry Christmas Crafty Friends!🎅 Noelene here today!
Did you make sure you left some cocoa & cookies for Santa?
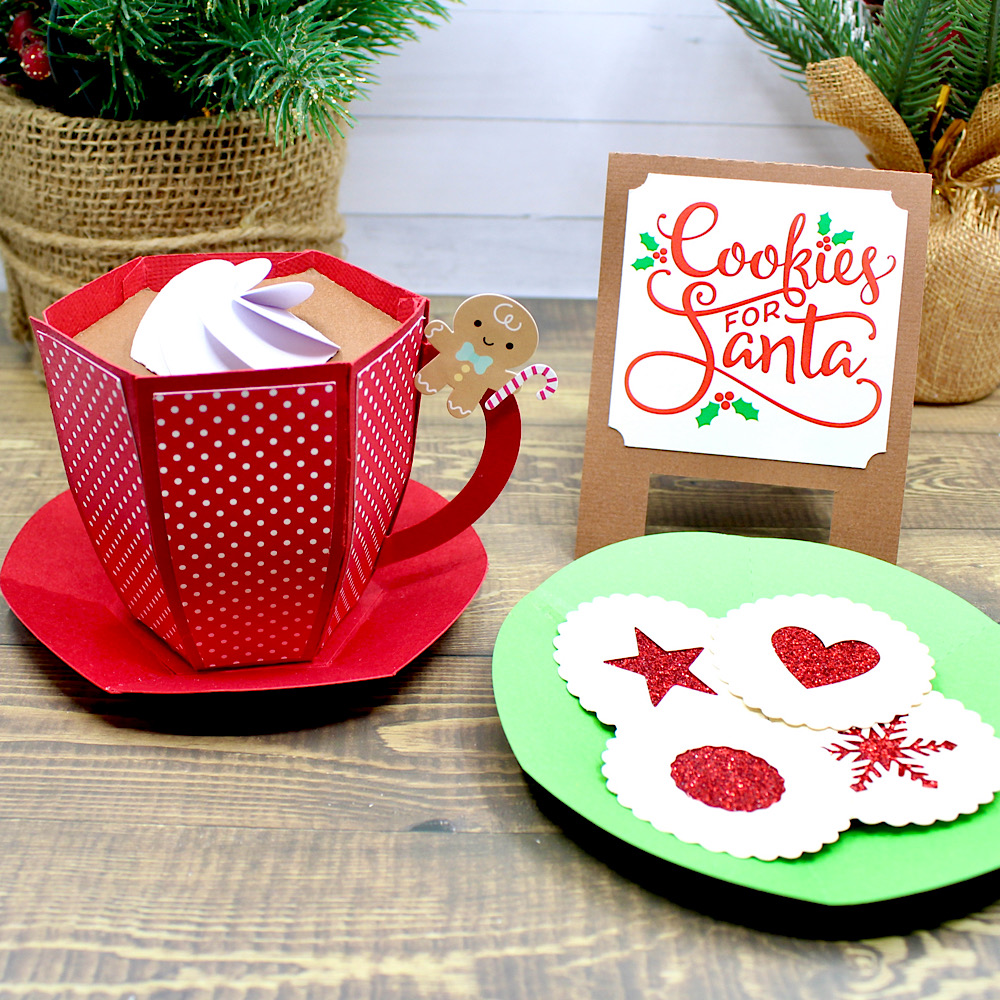
Today I am popping in for a quick tutorial to show you how I made this cute 3D Hot Cocoa Mug (SVGSilhouette) & Cookies for Santa (SVGSilhouette), from Lori Whitlock.
First cut out all your pieces & glue your panels on.
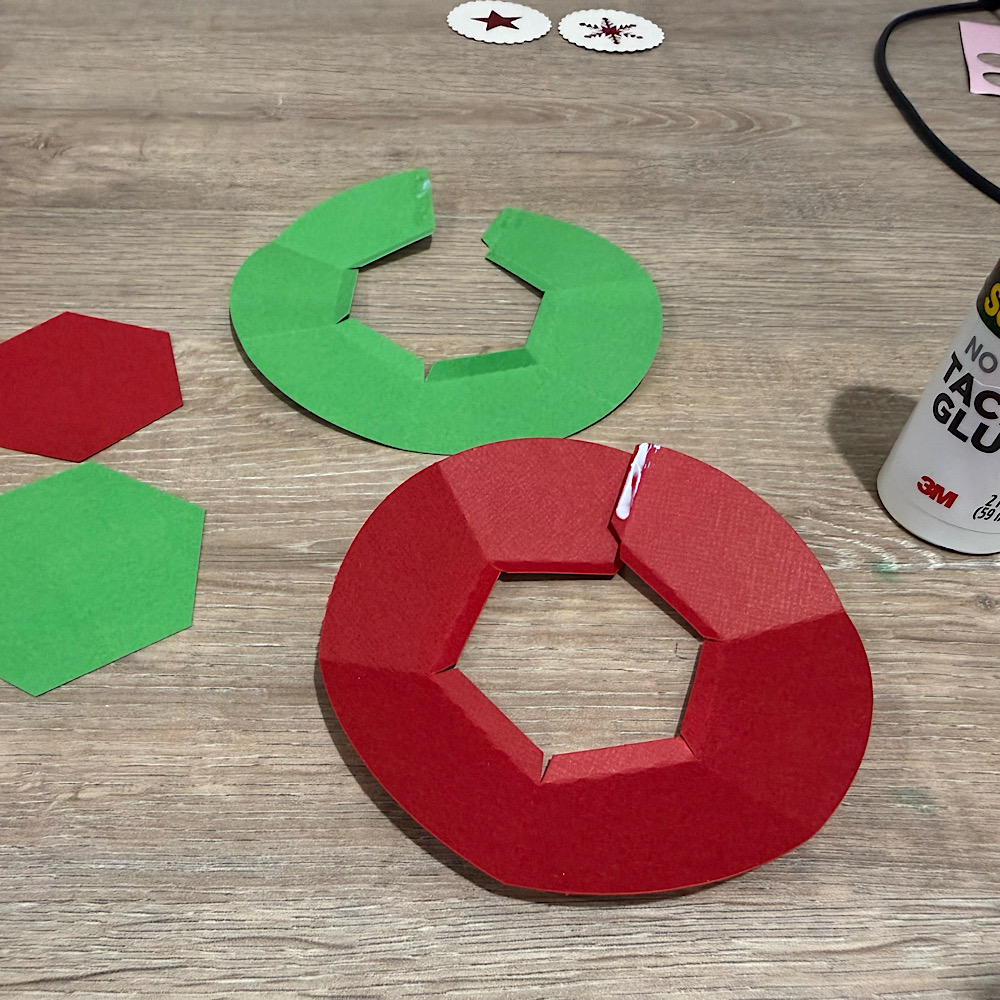
Next glue the 2 handle pieces together then glue the handle tab to the inside of a mug panel.
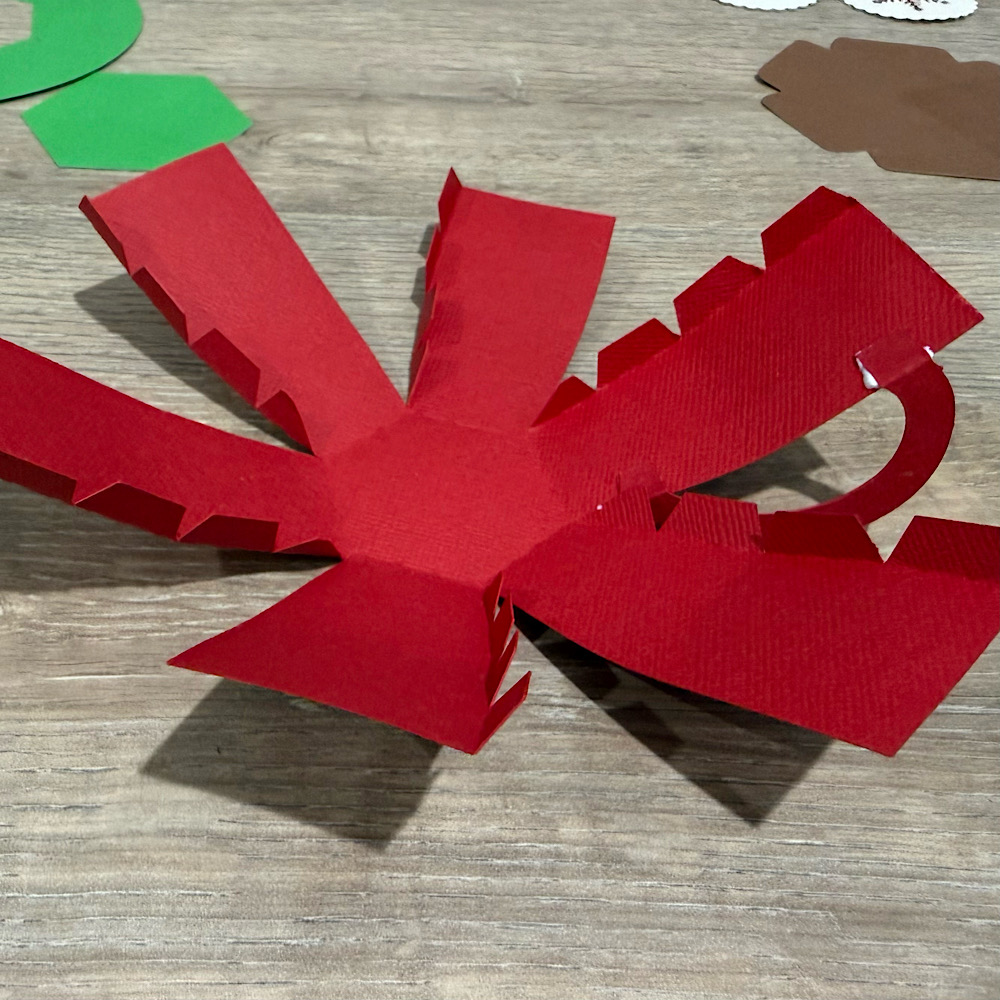
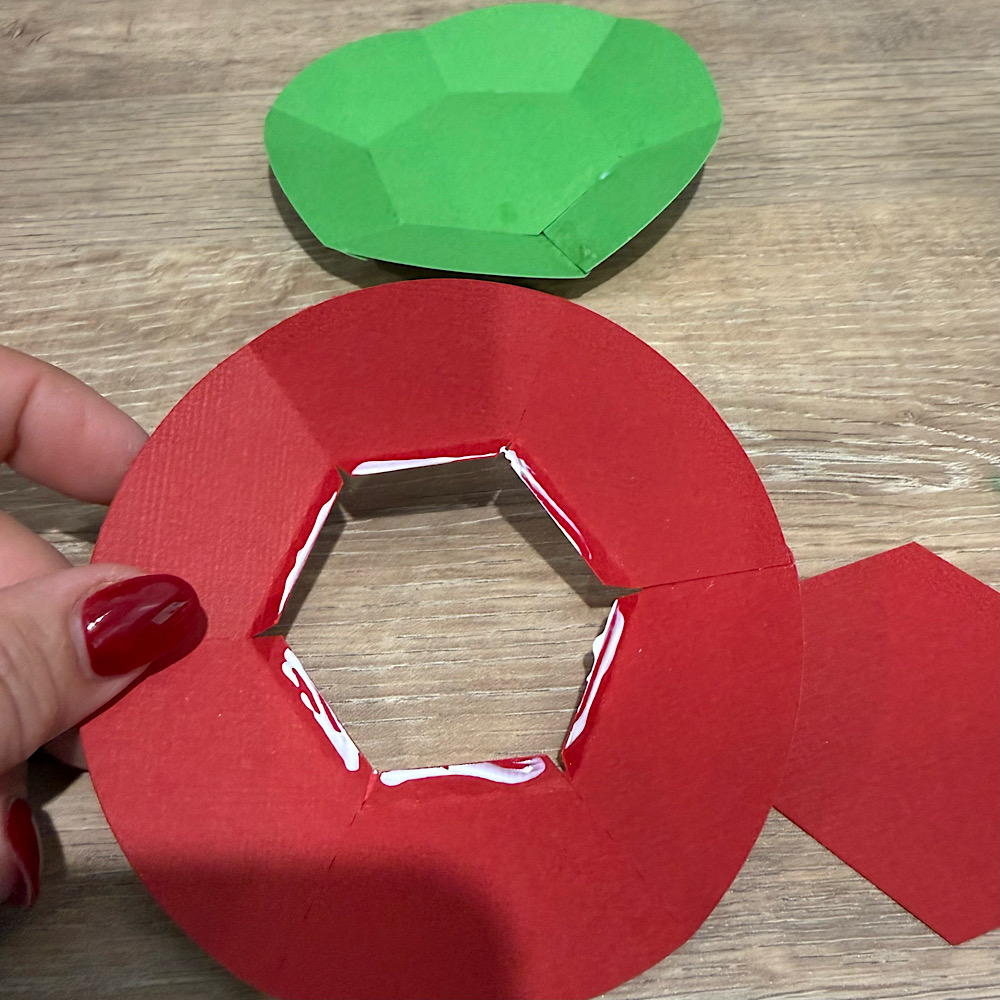
Now valley fold all your mug tabs & start glueing each piece one by one. It helps to slightly bow the panels inward before you start glueing.
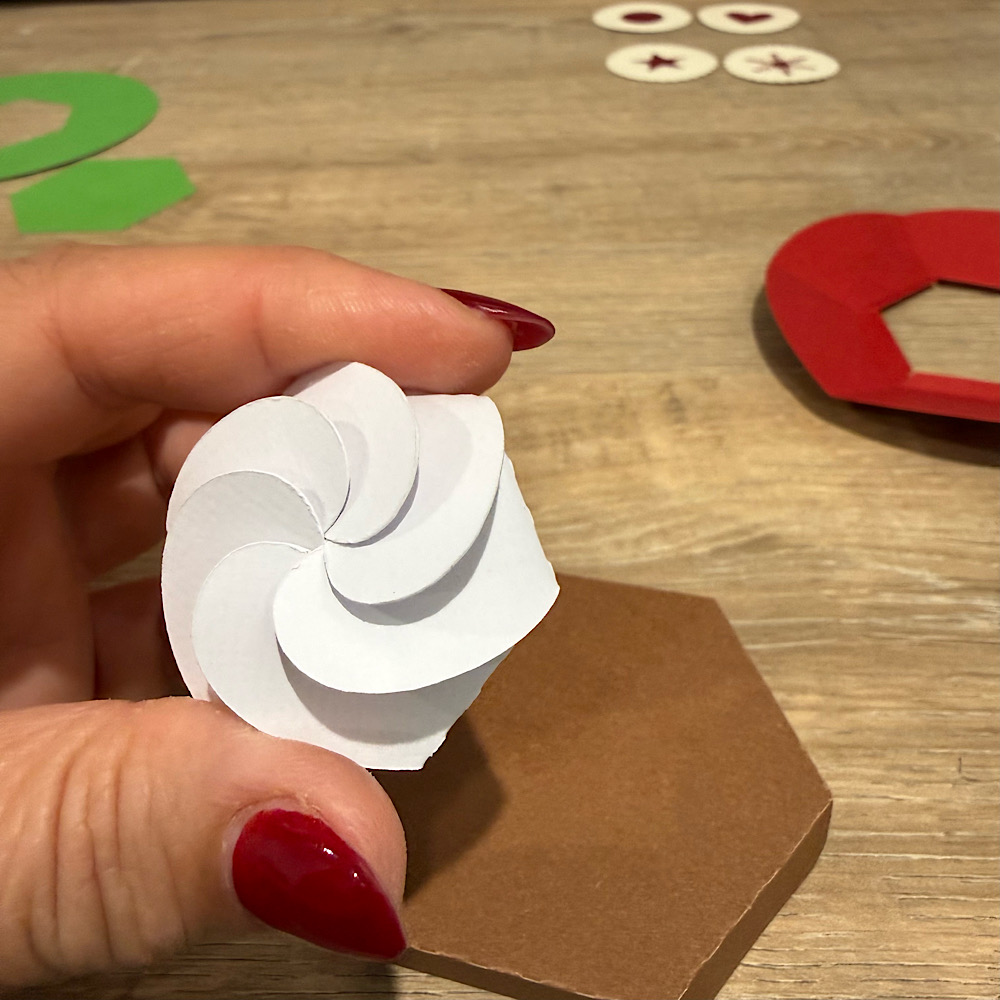
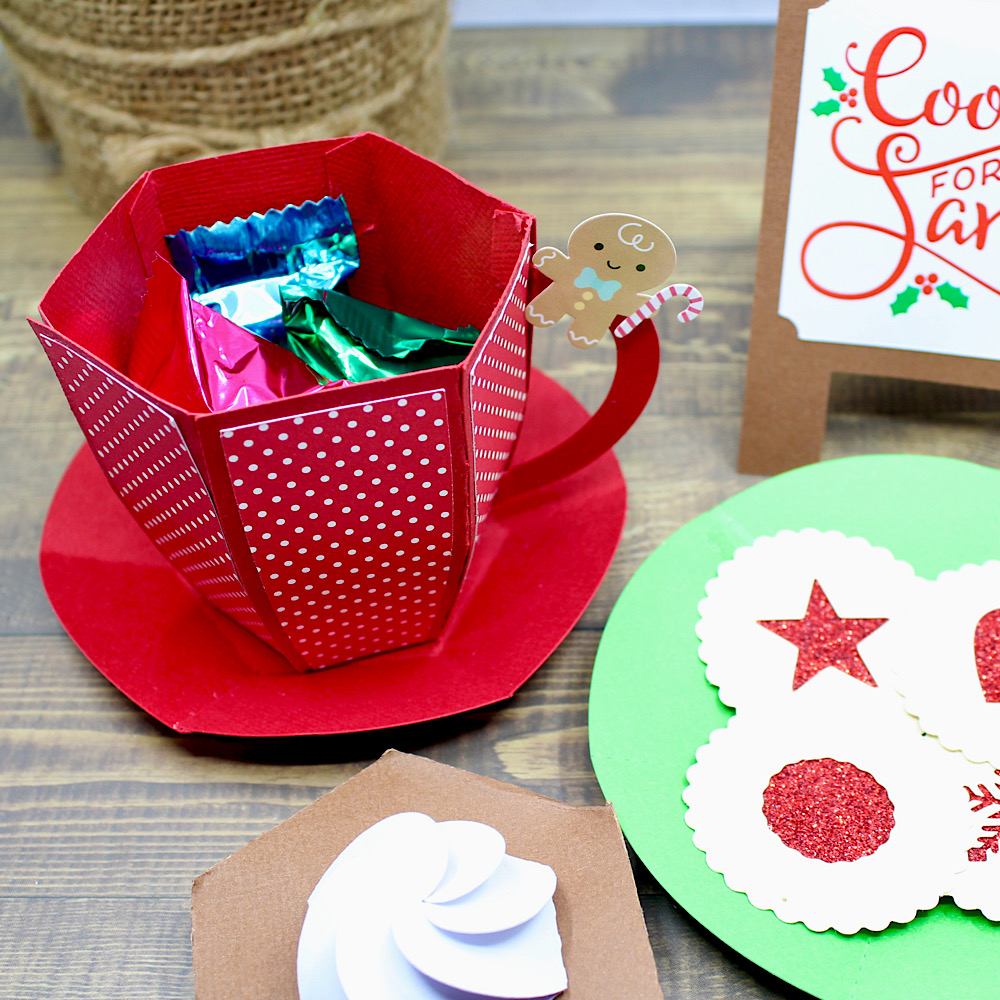
Now fold the tabs down for your cocoa lid. Next take the white froth piece & fold inwards each panel. Then gently one by one overlap each panel till they sit in place, but do not push down all the way. Now glue the froth onto the cocoa lid. The lid sits on top so you can put some treats inside the mug.
To make your saucer & plate, valley fold your scored plates & glue the end tab on the base.
Then, take the hexagon piece & glue it down onto the bottom center.
Then on one of the plates, stick down your biscuits. I used foam tabs to create a bit of dimension. Now, mountain fold your cookies sign & you’re done!
They make the cutest little gift with treats inside! Or even a prop for your Elf on the Shelf!
Don’t forget to check out all the other 3D Mugs, which include 3D Hot Cocoa Mug Penguin (SVGSilhouette), 3D Hot Cocoa Mug Santa (SVGSilhouette), 3D Hot Cocoa Mug Snowman (SVGSilhouette), 3D Hot Cocoa Mug Gnome (SVGSilhouette), 3D Hot Cocoa Mug Polar Bear (SVGSilhouette). They can also be found in a Bundle, which includes all the 6 3D Mugs & the Cookies for Santa, (SVG).
For more inspiration, check out my Instagram!
🌟Wishing you & all your loved ones a Blessed Merry Christmas & a Safe & Happy New Year!🌟
Thanks for stopping by!
Hugs
Noelene 🙂

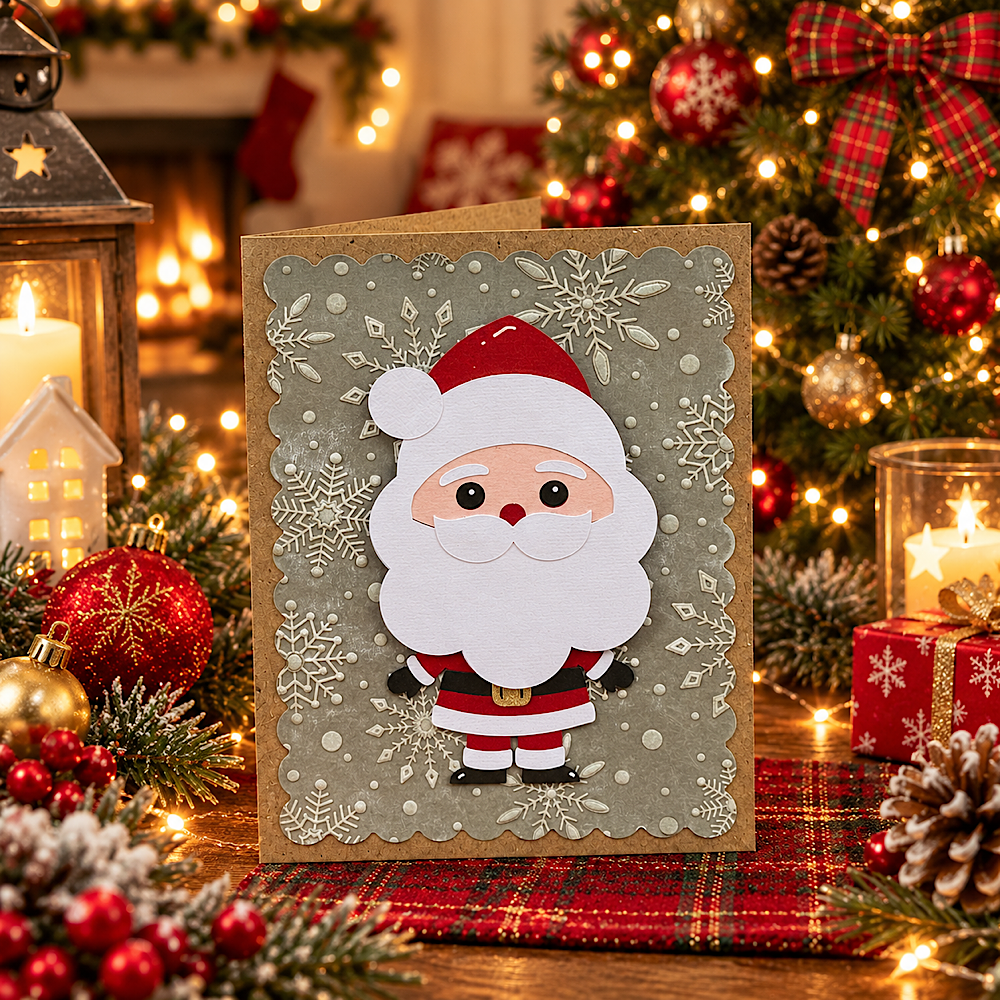
Cookies For Santa Layout

And the countdown to Christmas is on! Who’s ready? NOT ME!! But I did take a great cookie decorating class recently to have some cute Christmas cookies and what a better way to show everyone the cookies than creating a layout!

I used the Echo Park Paper line that Lori designed called Santa Claus found HERE.

I used 3D Cookies For Santa SVG from Lori’s website found HERE. But instead of making it a card, I added a background to the words and used it as a title. I cut one of the cookies and turned it into a shaker piece for one of my embelishments.  The rest of my embelishments were sickers and chipboard pieces from the paper collection.

Thanks for stopping by and Happy Crafting!

Candy Holder Christmas Ornament

Hi there friends! Today I am sharing an assembly tutorial for the new Candy Holder Christmas Ornament Santa (SVG, Silhouette). This ornament comes in several different styles as well. You can find the bundle here. I used the Lindt Lindor chocolate and found that a heavier (85lb) cardstock worked better than a lighter (60lb) one. But these are definitely a great scrap buster project. These cuties would look great tied to a gift as well as hanging on a tree.

After I cut everything out I decided to discard the round cheeks for some pink chalk that I applied with a paint brush. I then assembled the faces of my characters. The front of the Santa also has a belt, a white ruffle for the hat, an additional cover for the top of the hanger and a white ruffle for the bottom of his jacket.

With the front of the characters done I folded the score line into mountain folds. Before tucking the candy into the belly of the ornament, I used some glue dots to secure the wrapper onto the back of the candy. I then added glue to just the top of the inside of the ornament. Creating a little A-Frame shape with the ornament. The chocolate then slides right into the belly of the ornament.

I added a sticker and tied some bakers twine to the top.

These are a cute fun project. Thanks for stopping by today!
Brandie

Tuck Lid Gift Box Santa Claus and Mrs Claus Tutorial

Hello crafty friends!
 
 Today I am making Lori’s Tuck Lid Gift Box.  You can find the bundle (or singles) at Lori’s store HERE. It also includes a cute reindeer, a snowman, a penguin and a fun little gnome. 
 
You can find them at the Silhouette store HERE as well. 
Here are the pieces of Mrs. Claus. For the Mrs. you place the face on top of the white piece, for Santa the face is placed behind the white beard/hat piece. 
Here are the finished front panels of the Mr. & Mrs.
Time to put together the box now. After folding all the creases in the box, add a bit glue to the side tab and then fold the box in half. It lines up perfectly!
Fold over the bottom tabs and glue to finish the box. Leave to top panel free so you can open and close the gift box.
Glue the front panels on to the box.
 
If you are looking for a fast project for some holiday gifties, I would suggest trying these out!
 
💕Sue Kment