Office Update: 4 Drawer Organizer Tutorial

Hi there paper crafting friends!  It’s Michelle Starcher, aka the Bookish Designer, hopping onto the blog to walk you through the steps to create Lori’s 4 Drawer Organizer (SVGSilhouette).  This organizer is perfect if you need extra organization for your office.  There are several sizes available including a 6 Drawer (SVG, Silhouette) and 8 Drawer Organizer (SVG, Silhouette).  The assemble is the same for all sizes, so you can use this tutorial when putting together all of your drawer organizers.

In this photo tutorial, I will break down the steps to create this 4 Drawer Organizer.  I wanted my box to match the Disney inspired organizers I made at the beginning of the school year, so I used Lori’s new collection, A Magical Place, from Echo Park Paper Co.  When I opened the file in Cricut Design Space, I had a note telling me to make four copies of the drawer and base file, so I made extra copies of those and sent the project to my machine.

My next step was to assemble the drawers for the organizer.  I folded the drawers along the score lines and added adhesive tape as shown on the backside of my red cardstock.  Next, fold in the top and bottom portions as show in the top right image.  Be sure to remove the paper from your adhesive if needed.  Fold in the flaps next to the drawer front (the one with the circle cut-out) and adhere those to the tabs. You should have the start of box as shown in the bottom left image.  Then, remove any paper from your adhesive strips and fold in the left and right flaps.  There are tabs on each side that fold inside the box to hold everything together.  Repeat this process for all four drawers.

Now, you are ready to assemble the box.  Before you get started, fold along all of the score lines and add adhesive as shown in the top left image.  Next, remove adhesive paper and fold each of the bottom flaps up as shown in the top right image.  Fold the four panels to form a box shape and close using the tab (bottom left image).  Then, close the box by folding the remaining piece up and close using the three tabs.  You should have an open side, which will hold one of the drawers you made earlier.  Repeat this process for all four of the base pieces.

Next you will assemble the four base pieces to create the organizer.  Stack the pieces to create a 2×2 square with all four openings facing you.  Add adhesive to the connecting sides of each cube.  Combine organizers bases two at a time and stack. 

For your final step, you will attach the large square and four rectangles to the case of your organizer to hide seems.  The square will go on the back of your organizer and the four rectangles will go on the top, bottom, and sides of the organizer.  The four rectangles are the same size, so unless you used a pattern paper, it doesn’t matter where you place them (top, bottom, or sides).  Next, add the pattern paper to your organizer and drawer fronts.  Same rules apply as when you adhered the cardstock pieces.  Finally, insert your drawers into the organizer.  If you want, you can add embellishments to the front of your drawers.

Don’t forget you can make this organizer in a variety of sizes including 4 Drawer (SVGSilhouette), 6 Drawer (SVG, Silhouette), and 8 Drawer Organizer (SVG, Silhouette). It is perfect for holding paperclips and other office supplies.

Until next time,

Michelle

Easter Bunny Belly Box Tutorial

Hi there paper crafting friends!  It’s Michelle Starcher, aka the Bookish Designer, hopping onto the blog to walk you through the steps to create Lori’s Belly Box Easter Bunny  (SVGSilhouette).  This adorable little treat holder is part of the 2021 March Kit of the Month (SVG), which is FREE with any $20 purchase from the Lori Whitlock Shop during the month of March.  Look for the coupon code in the item description.

In this photo tutorial, I will break down the steps to create this cute little bunny box!  I wanted my box to be a little bit bigger than the original design.  After opening the file in the Cricut Design Space, I increased the size by dragging the arrow in the bottom right corner.  If you are resizing a file, do it while all the elements are still grouped to keep the ratio between elements.  I set my file size to 13.848 x 11.5″ since my Cricut Maker doesn’t like to cut files larger than 11.5″ without using oversized papers.  The process is similar in Silhouette.

After cutting the file pieces, I inked the edges of the pieces.  After inking all of the individual pieces, I attached the paw pads to the paws and the ears to box bunny face.  At this point, it doesn’t matter which side of the bunny make the front, unless you are like me and your cardstock is a different color on each side.**

Next, you are going to attach the black rectangle to the back of the bunny face.  At this point, I folded the bow as well.  The pieces fold back to form the bow, and then you “tie” the matching strip around the bow. Hopefully, you can see the how the bow comes together in the picture below.

Attach the box-less bunny face over the back of the box bunny to cover the black rectangle.  Fold the box along the score marks, and add adhesive to the tabs on the box.

Attach the tabs to the front of the bunny and the front rectangle to create the box.  Then add your paws, bow, and bunny nose using foam tape.  (You can use regular adhesive, but I always like to add a little “pop” to my projects!)

Fill your Bunny Belly Box with candy, and it is ready to give to some-bunny special this Easter.

Don’t forget this adorable little treat holder is part of the 2021 March Kit of the Month (SVG), which is FREE with any $20 purchase from the Lori Whitlock SVG Shop during the month of March.  Look for the coupon code in the item description.

Until next time,

Michelle
**Since my cardstock was light gray on one side and dark gray on the other, I cut two copies of the bunny belly box.  I cut off the box portion of the second one and attached it to the front of my bunny box.  I did this because I didn’t want my bunny face and the box body to be two different colors.**


Valentine House Box 2

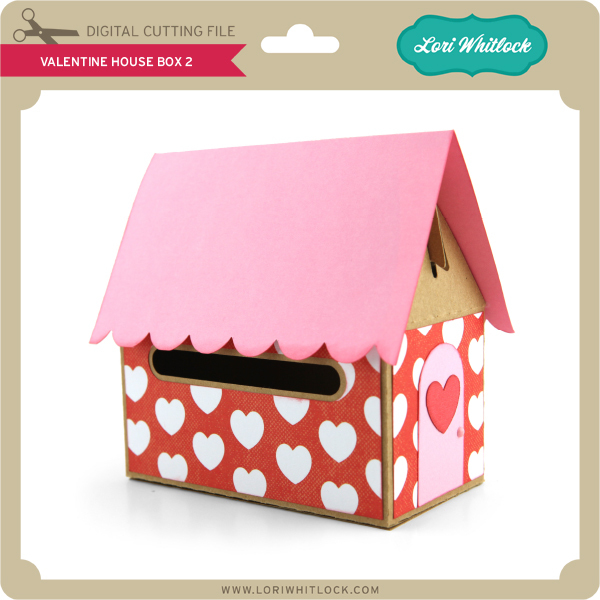
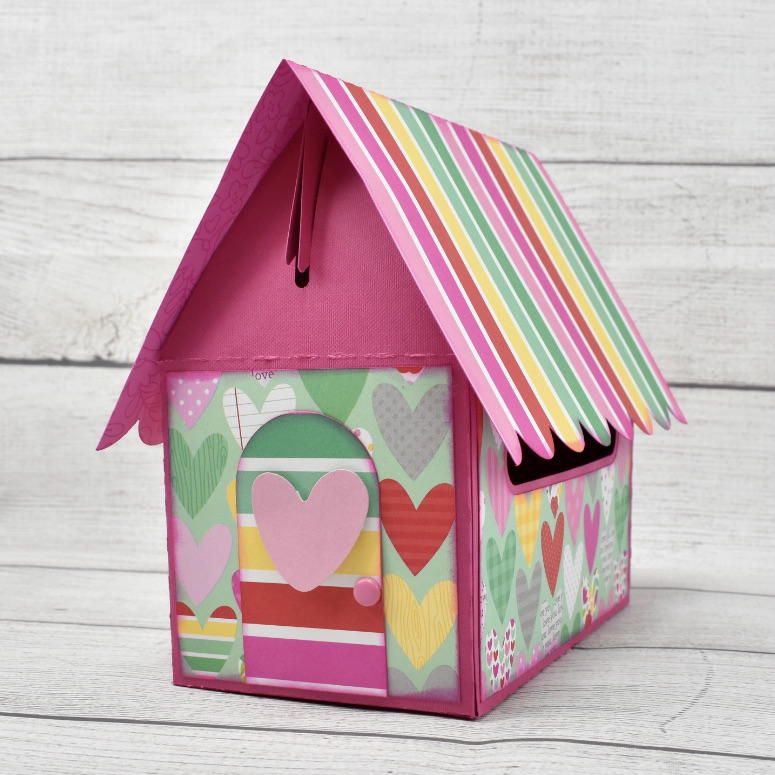
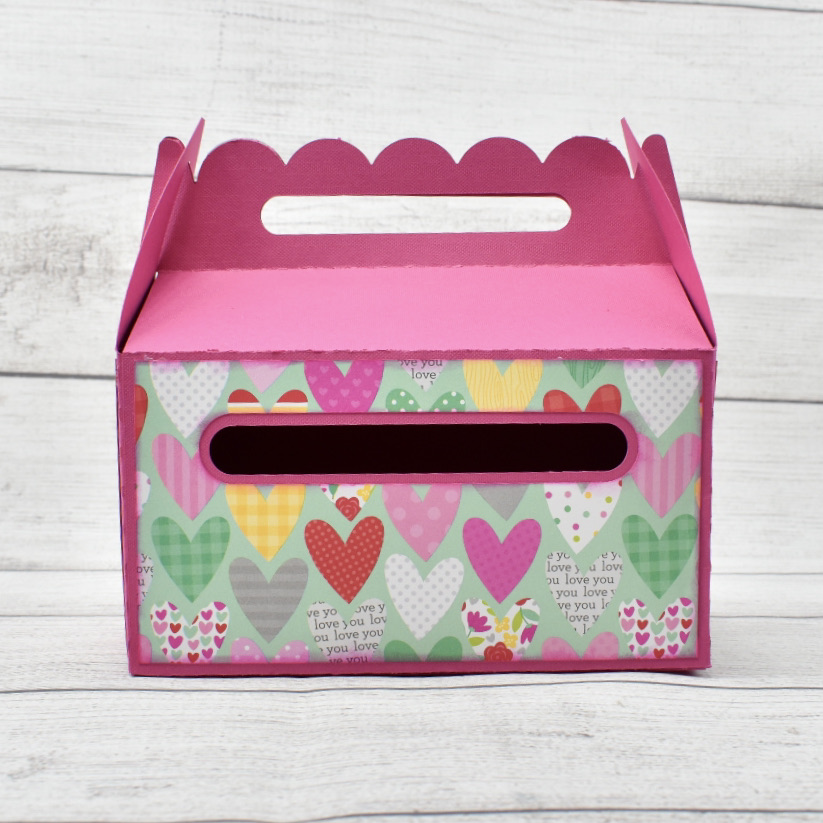
Hi there paper crafting friends!  It’s Michelle Starcher, aka the Bookish Designer, popping in on the blog to share the adorable Valentine’s Day House Box I made using Lori’s Valentine House Box 2 file  (SVGSilhouette). Lori always has the cutest gift boxes available for every holiday, and the best part is that they are so easy to put together.

The Valentine House Box 2 is perfect for collecting Valentine’s Day cards with a built in slit that people can use to drop in their card or note.  Plus there is a removable roof that you can put on top of the box while in the collecting phase, and then quickly remove it when you are ready to read your notes.  The Valentine House Box 2 can even be used for gift giving.  Pack your homemade goodie or gift inside the house, and use the slit to hold a card that goes along with the gift.

Lori has so many wonderful cards, gift boxes, and word art files available for Valentine’s Day.  With so many options, it’s easy to add that personalized touch to your Valentine’s Day gift this year.  The hard part may be picking just one!

Until next time,

Michelle
Christmas Penguin Gift Set

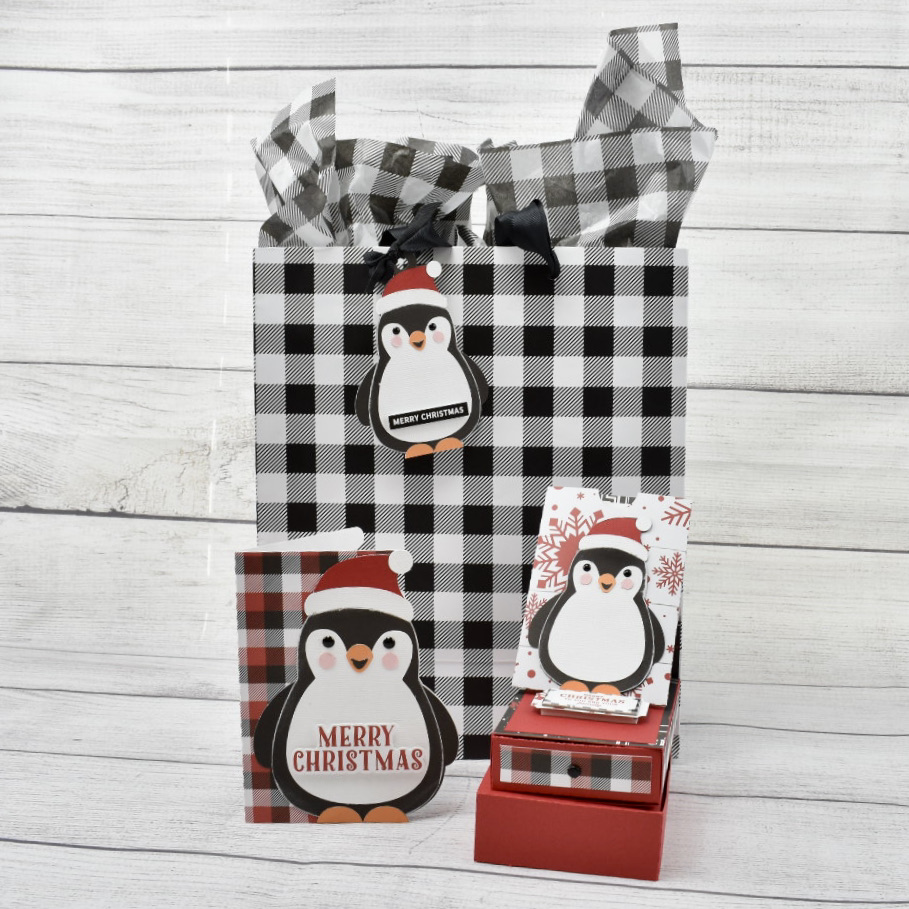
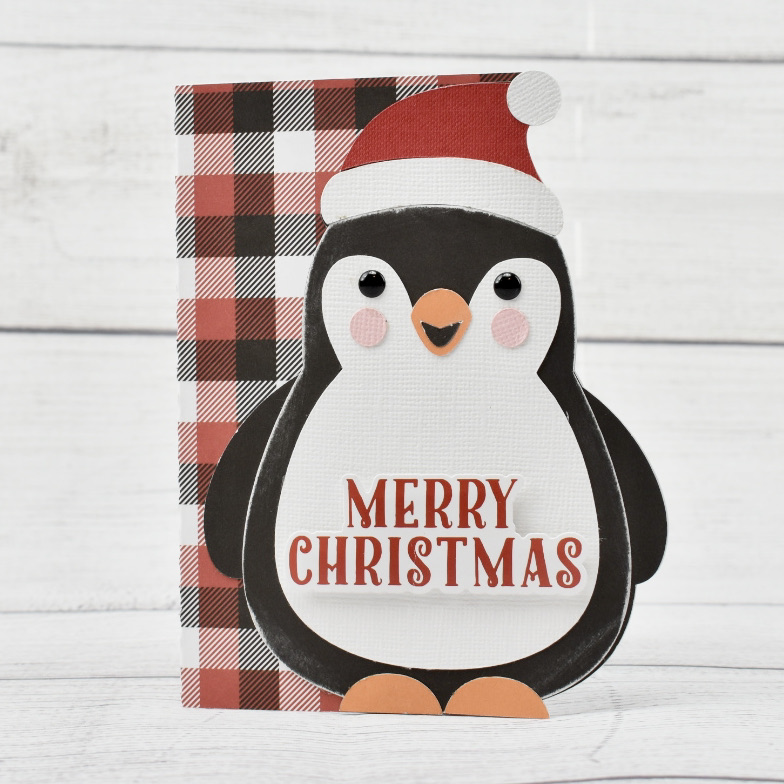
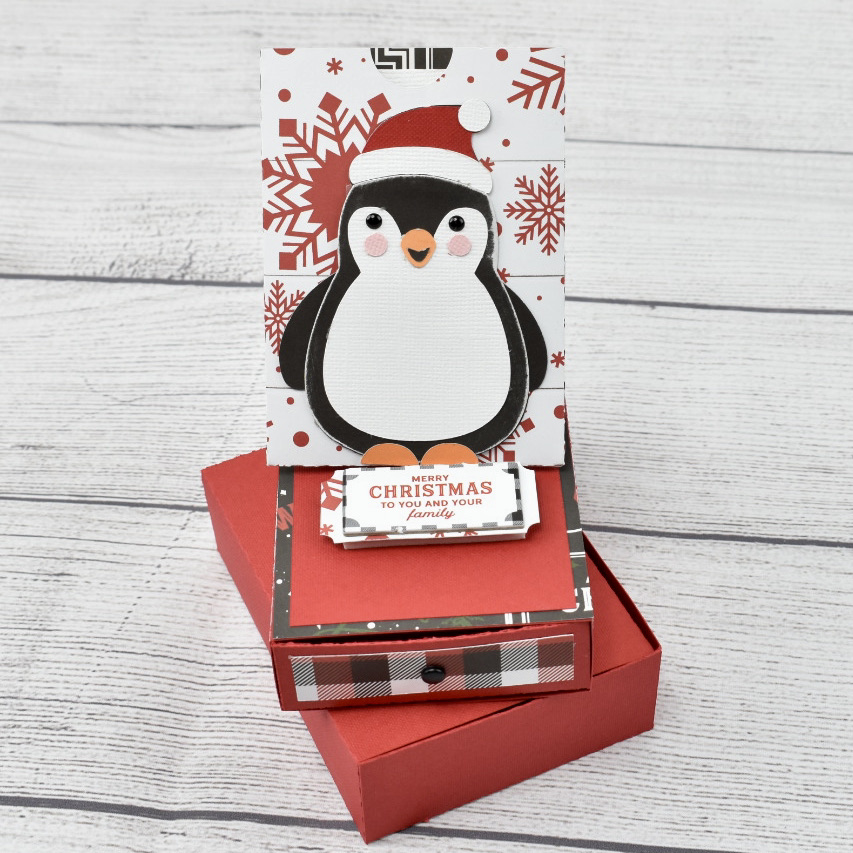
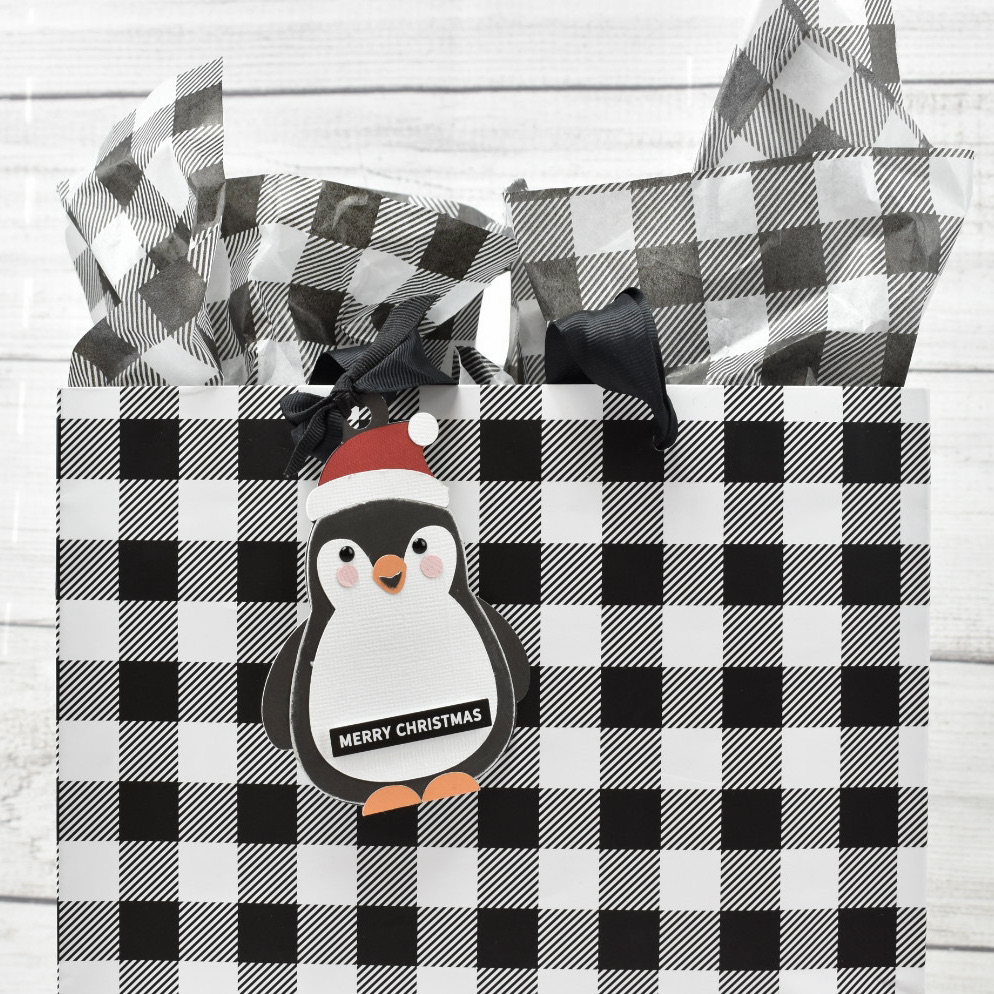
Happy Holidays!  It’s Michelle Starcher, aka the Bookish Designer, popping in on the blog to share the Christmas Penguin gift set I made using three of Lori’s files: Gift Card Box Penguin (SVG, Silhouette), Christmas Tag Penguin 2 (SVG, Silhouette), and Christmas Card Penguin (SVG, Silhouette).  Lori debut these adorable penguins along with several other cards, tags, and gift boxes a couple of weeks ago, and I knew I had to use them for my holiday gift giving!

I used accents and patterned papers from Lori’s A Lumberjack Christmas collection from Echo Park Paper, Co to make the card and gift card box.  For the card, I used a double-sided patterned paper, which made it a little difficult to write a message inside the card.  I knew I needed a solid colored insert, so I cut an extra card base from white cardstock to serve as the inside layer of the card.  I added a Merry Christmas sticker to the front of the card as well.

For the gift card box, I used a mix of patterned papers along with a chipboard accent.  I was sure how to assemble the top pop-up to the box, but Lori’s tutorial provided all the instruction I needed to finish putting my box together.  I really like that this file contains a gift box as well to hold the entire project when it’s complete. Simply add a ribbon and you’re ready with a gift that’s SUPER CUTE!!

Finally, I created the adorable penguin tag and added a Merry Christmas sticker to the front.  I paired the tag with a buffalo plaid gift bag to complete my gift set.  I think my recipient is going to love the personalized touch!

Well, that’s it for me today!  I’m off to enjoy Christmas Eve with my family. Happy Holidays:)

Until next time,

Michelle
Fall Themed Circular Pop-Up Card

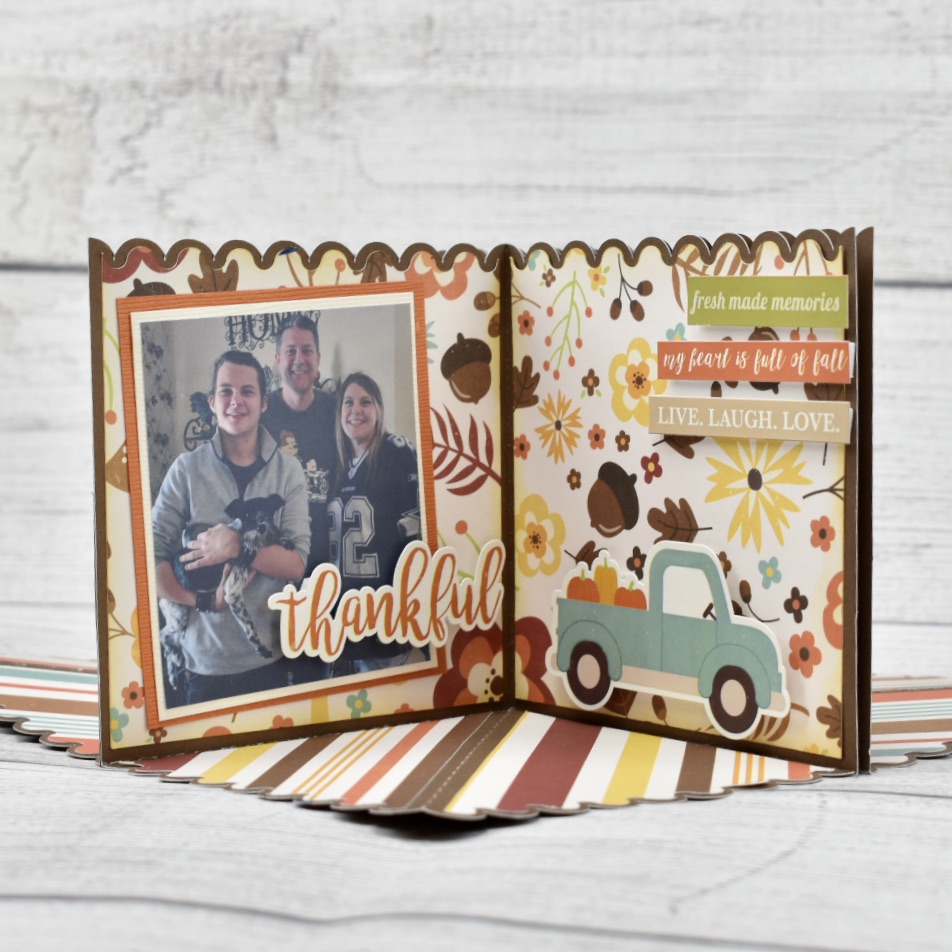
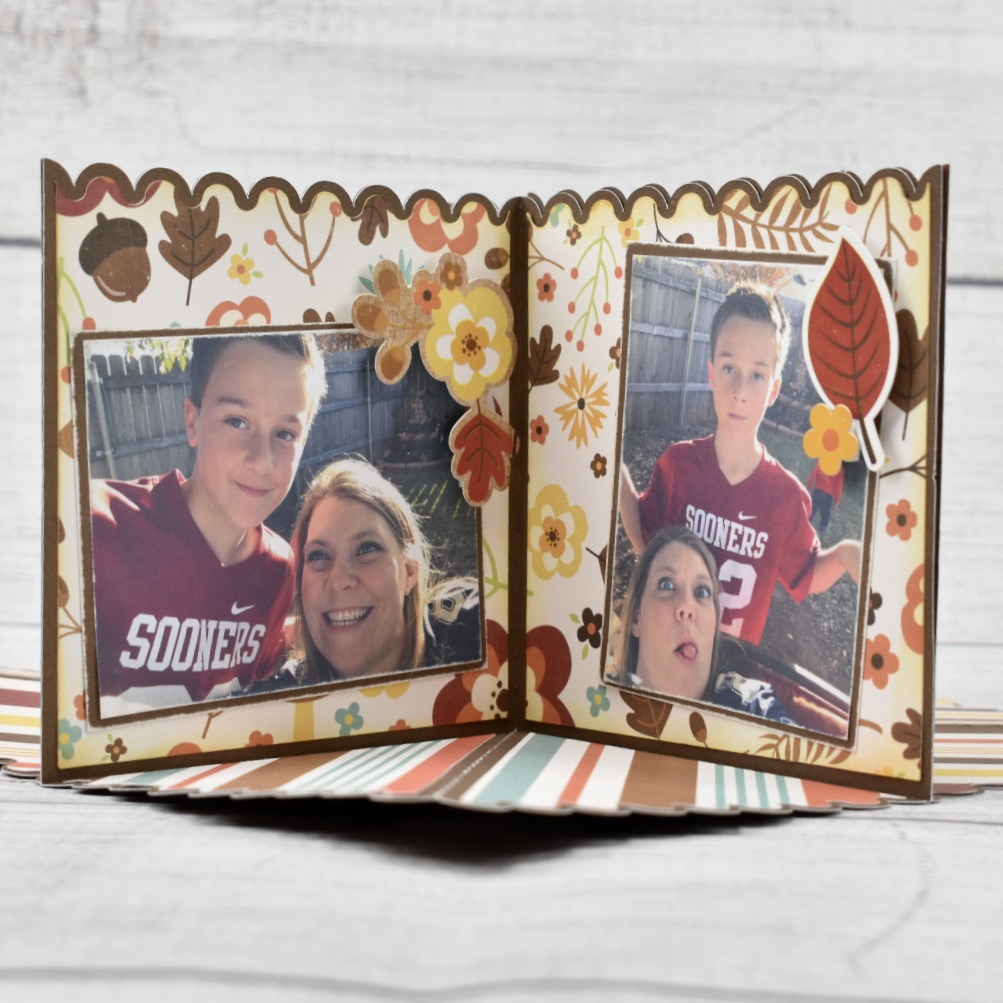
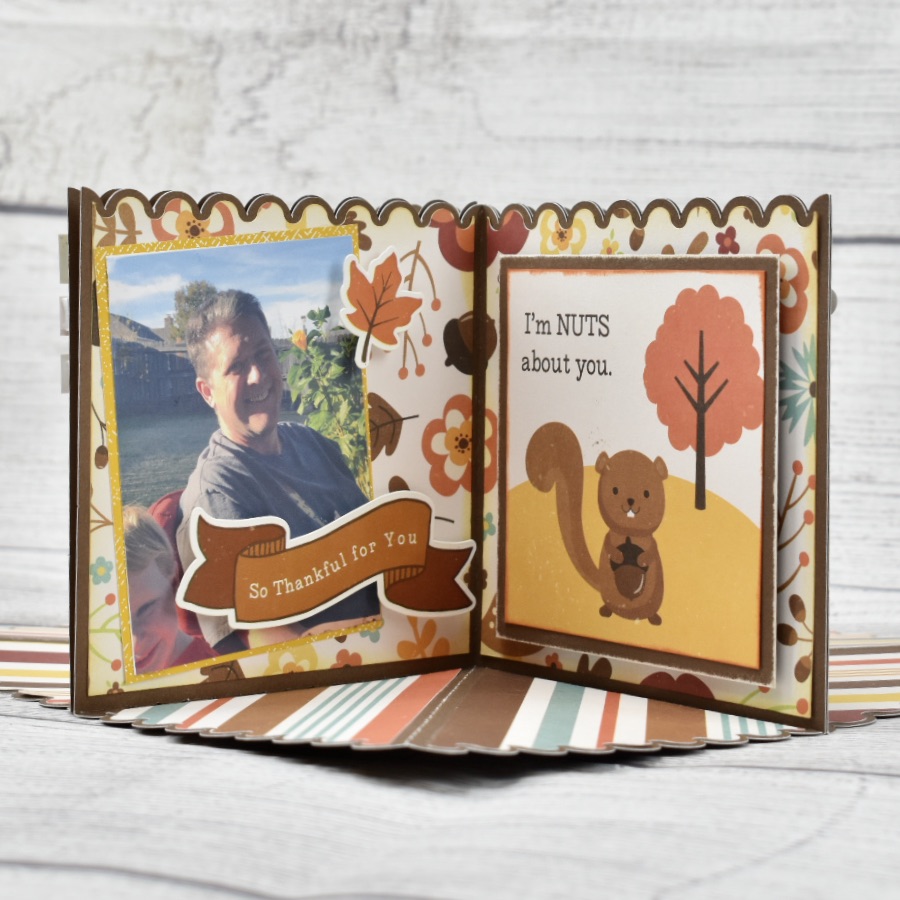
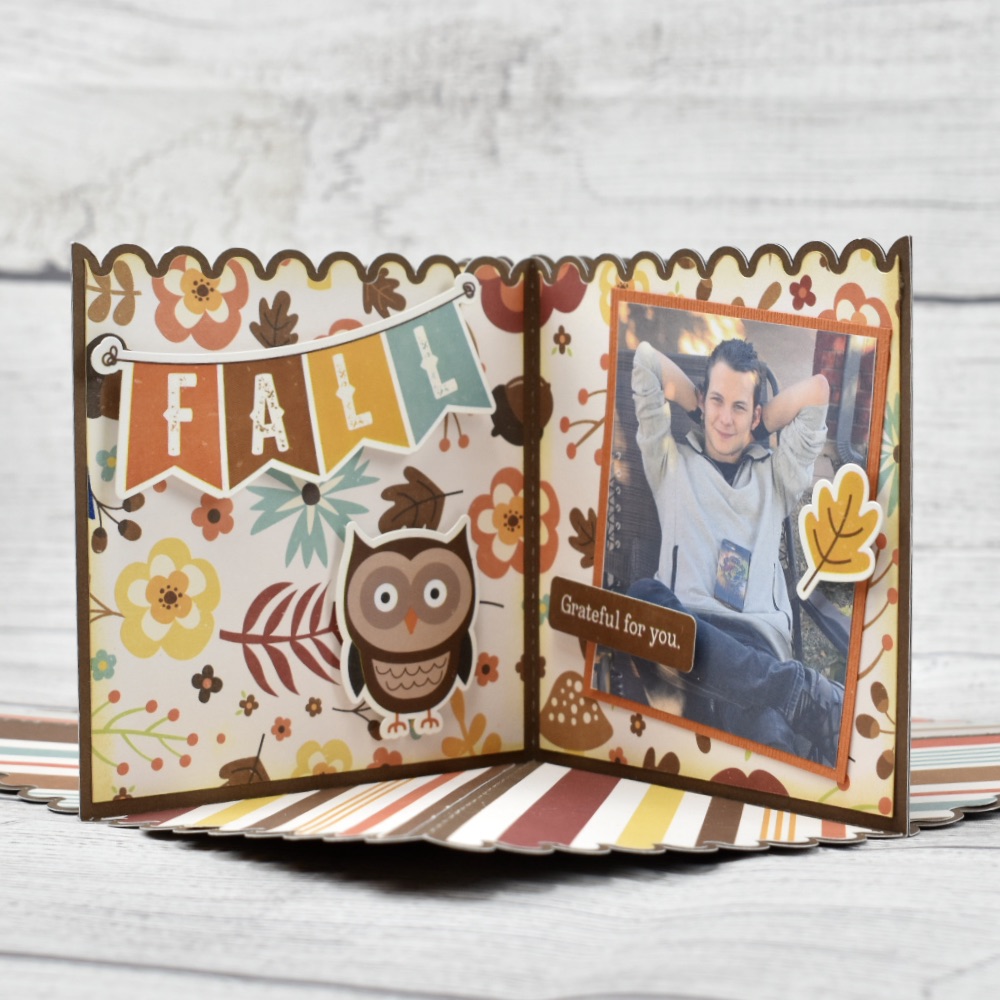
Hi there paper crafting friends!  It’s Michelle Starcher, aka the Bookish Designer, popping in on the blog to share the Circular Pop-Up Card I made (SVG, Silhouette).  I decided to make this adorable little card hold for my mom since we can’t make it home for Thanksgiving this year.  I hope it will remind her of previous Thanksgivings when we were all together.

This adorable card lays flat and then opens like an accordion to reveal your photos and personalized elements. The file gives you the option to create the square or pentagon depending on how many pieces you use for the project.  I cut four copies of the file to create my square shaped card.  I assembled all of the pieces and added my pictures and embellishments before assembling the card pieces. The project was super easy, and only took me a couple of hours to create.  Be sure to watch Lori’s video for an assembly tutorial.

I hope my mom likes her special Thanksgiving card  (SVG, Silhouetteas much as I do! I’ve been wanting to make one of these circular pop-up cards for while now.  I love how quick and easy it was to put together:)

Until next time,

Michelle