 Hi Everyone:
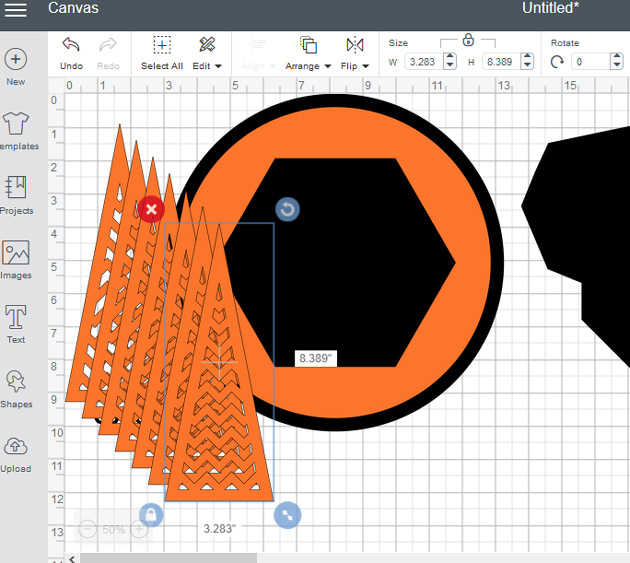
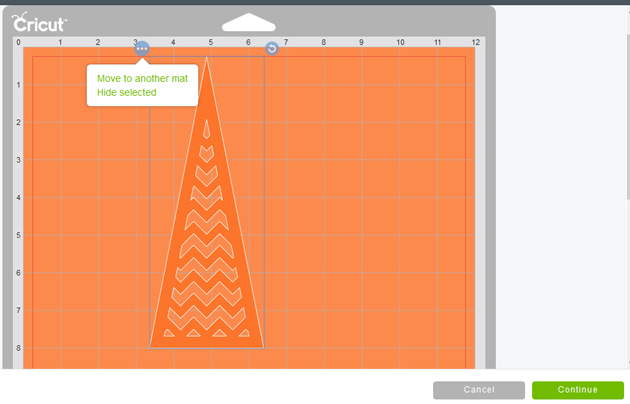
Anita here with a tutorial to create this adorable four drawer organizer. I am going to show you how to put this cutie together and was thinking that you could customize them for every season. I am going to put chocolates into mine and give it to a friend. You can find the 4 Drawer Organizer cut file here in Lori’s store and here in the Silhouette Design store. I used one of my favorite Echo Park Lori Whitlock designed paper lines called Sweet Baby Girl. Here is a screen shot of the cut files on my mat. You will need to cut four of the outer box and the inner box as noted in black bold type near the boxes cut files.
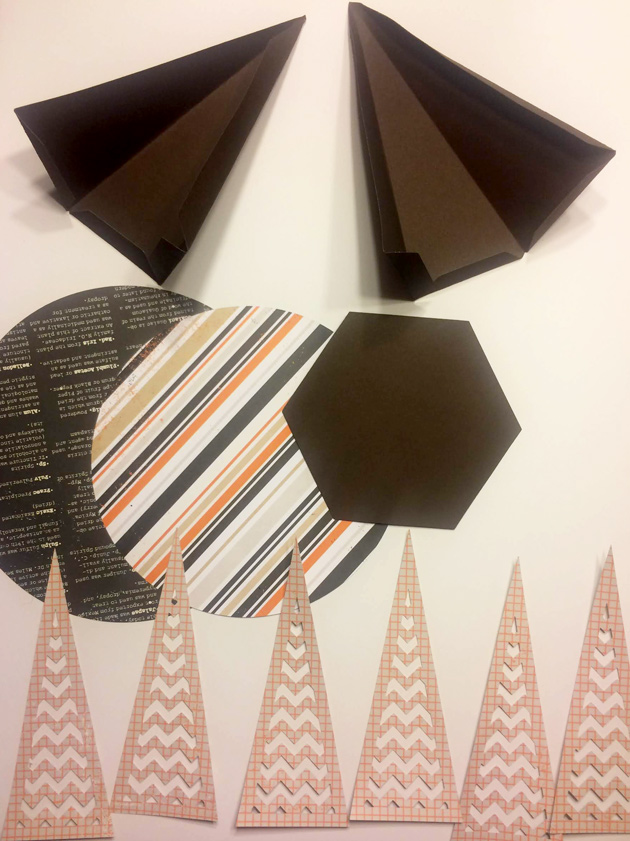
 Here are the pieces that you will have once you have cut everything for your project.
 I always start my projects by folding the score lines as you can see by the photo above.
 For the inner box you are going to want to glue the tabs from the back of the box to the side of the box.
 Next you will glue the back flap into the box.
 Next you will glue down the front flap into the box.
 Lastly, you will glue in to the box the two last flaps and your inner box is done.
Now onto the outer box.
 There are flaps along the bottom of the box cut file and you will be gluing the tabbed pieces together and leaving the flaps alone for now.

Here you can see that I have started to glue together the tabs on the outside box and am ready to glue the last side onto the box with the flaps left alone for now.

Here you can see that I glued together the last part of the box and the flaps are open and at the top. They are going to get glued into the box and will make a lovely clean box with smooth insides which allows the inner box to slide easily in and out.

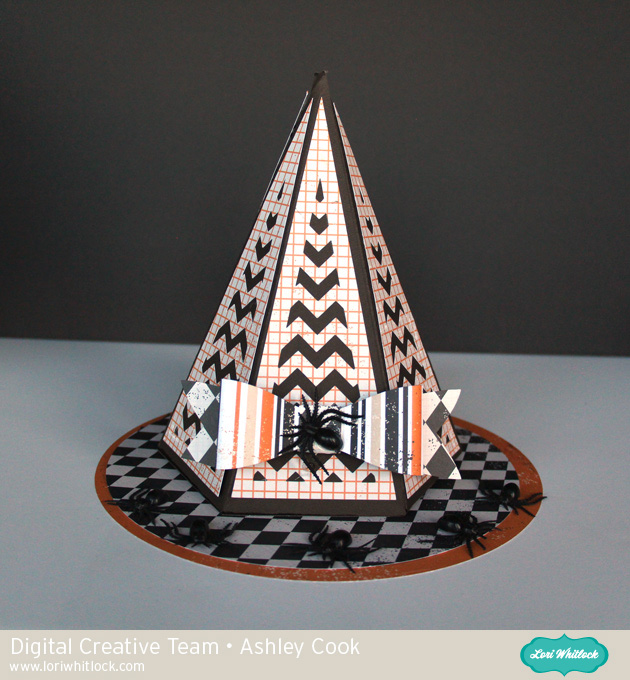
And that is how you put together both of the boxes. Next, you will stack the four outer boxes two by two and glue them all together. Make sure that you put enough glue to hold them together. Lastly, you are going to glue on your accent pieces to finish off your box. You could also add any cute embellishments that you want.
Hugs,
Anita


 Hi Everyone: