Digital Inspiration with Ashley

It’s Friday of the first week of November. Have any crafting plans for the weekend? How about any outside plans? Well I just want to make you a little jealous of Beautiful Utah with a layout featuring some Southern Utah pics.  Our family journeyed a little south for Fall Break.  We had so much fun enjoying this land. And wow!  I couldn’t even capture the sunset (while driving), and I never found a great time/place to capture a silhouette, but we did capture some memories.  And here they are, recorded:
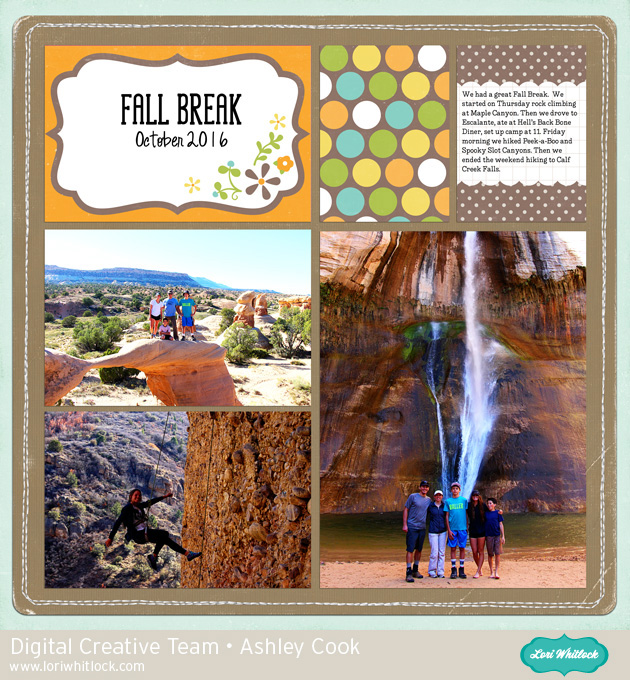
Places featured in the photos from Left:  Devil’s Garden, Calf Creek Falls, Maple Canyon Rock Climbing.  Devil’s Garden and Calf Creek are in the Escalante area. Maple Canyon is near Fountain Green.

Products used:

Life Templates SQ Set 7–(rotated)

Life Cards Fall

Fall is In the Air Papers–background paper

Skinny Type font

Sunshine Font

I hope you have a fabulous weekend.  Document your memories, back-up your photos, and print too!


Digital Inspiration with Ashley

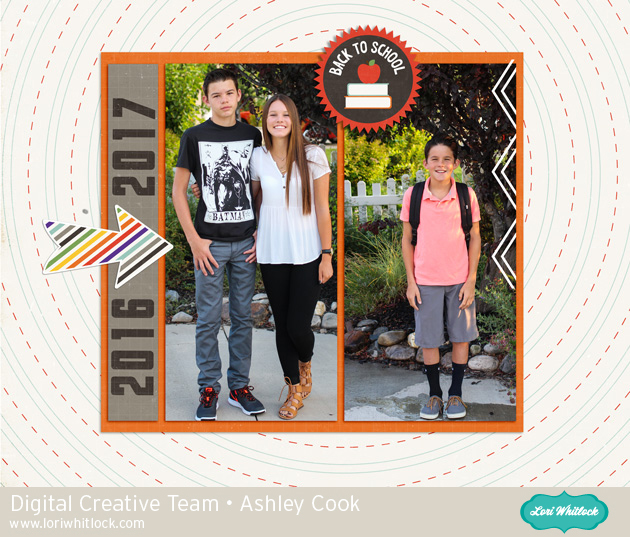
It’s only September, but if you are planning to make some gifts for the holidays, you have to start thinking about it now or soon.  I like to make a personalized calendar for my own family as well as the Grandparents.  Each year, I think I’ll start early, but I don’t usually.  But here I am, putting in a plug, do a little something each week toward your goal!  Here is Calendar topper for one month for my calendar:


Products used:

School Rules

Arrow Brush set 3

LW Thick Font

I also like to double dip with projects I do, so this can easily be made into a 12×12 page for my regular album as well.  Have a great weekend and document your stories.


$1 Wednesday at Snap Click Supply

One Dollar Wednesday at Snap Click Supply Co!

That means you can pick up 2 products at a great deal. Snap Click Supply Co. is home to ALL of Lori’s digital Scrapbooking kits, both Echo Park and exclusive designs by Lori Whitlock. These kits contain printable papers and/or embellishments (.JPG & .PNG formats), plus a few Photoshop brushes (.ABR).

For Lori’s digital cutting machine files, shop at Lori’s SVG Shop (.SVG format – most digital die cutting machines, including the new Cricut Design Space). Silhouette CAMEO & Portrait owners who have NOT upgraded to the Designer Edition software can find Lori’s files at the Silhouette Online Store (.STUDIO format only).

Today only Lori Whitlock’s Basics Life Cards is available for just $1. This kit is regularly priced at $9.99 and TODAY ONLY it’s just $1.

Basics Life Cards

The Basics Label Collection includes 132 LABELS in a variety of colors all ready to go!! Super cute!! They coordinate perfectly with the Basics Life Card set featured above.  And, you can pick it up HALF OFF today only…

Basics Label Collection

Yep, that’s right, 132 labels in a variety of colors

Be sure to go grab these great deals while you can. These offers will end at midnight.

A little gum fun!

Creatively packaged gum makes a terrific little holiday gift! And, the best part is… these little wrappers are SO QUICK & EASY to put together!

So simple!! I just used permanent markers to draw the Snowman face.

Don’t they just make you smile? These make great gifts for your kids to give to their friends, door prizes, teacher gifts, stocking stuffers, etc. Watch for the cutting files TODAY in my Silhouette Online Shop and my SVG shop! I used Eclipse® gum, DCWV Jolly Whimsy Stack and the DCWV Holiday Glitzy Glitter Stack for these projects! The glitter cardstock has been super fun to work with!

Thanks for dropping by!

Silhouette Tutorial Bending Text by Traci

Hi everyone!  I’m excited to share a fun and easy tutorial with you today!  These steps will show you how to bend lines of text, either to create a phrase that wraps around an object, or to fit inside a curved shape as I have done on Lori’s adorable hot air balloon.
Here is the card I created with a curved “Thank You” cut out of the band.
First, pull up the shape you want to place your text in and resize it if necessary.
If there are multiple pieces to your shape, ungroup them and move everything to the side except the piece you want the word in.  Zoom in on your shape a bit, and chose the text option on the left tool bar.  As you type your word or phrase, a green box will appear.  Note that there will also be a little circle, with a cross in it, along the green line.
If you place your curser over this circle and click, you are able to drag your word into your shape.  When you hover the word over a line, the letters snap to the shape of the line.  To move your word up into the center of your shape, you will use the grey sliding bar that appears through your letters.  If you place your curser along that bar and slide upwards, your letters will move up.  However, in some cases, the spacing on your letters will also move in and start overlapping.
To prevent this, move your word over to the left so that you can see how much room you will have to increase your character spacing.
Play with the character spacing (found toward the bottom of your text style window) until you like the way the word looks.


Now you should be able to go back to the sliding grey line and move your word up into the center of your shape without the letters bunching up together.  You will notice once you’ve done this however, that your original shape line is now grey (no cut line).  This would be okay if you just wanted to cut out the bent word.

But, for this tutorial, we want to cut out the banner shape for the front of my balloon, so I will need to make this a cut line (red) again.  Highlight your shape and click on the Cut Style icon at the top.  In the Cut Style window, click the button that says “Enable Cut Style”.

Now your entire image is red and will be cut.


This is also a fun technique to use for cutting a phrase to wrap around a circle.  You would just snap your phrase on the outside line of the circle, rather than inside the shape.  I will post another project showing an example of this on my blog today, so I invite you to stop by Artsy Albums to check it out!
Thanks! Traci