Fold and Tuck Lantern Tutorial with Michelle

Can you believe that it’s November already? I love November! I love that I can craft Fall projects, as well as Holiday projects. Today I would like to share a tutorial for the Hexagon Fold and Tuck Lantern Found in the Lori Whitlock SVG Shop as well as the Silhouette Design Store. It’s my first Holiday project of the season!
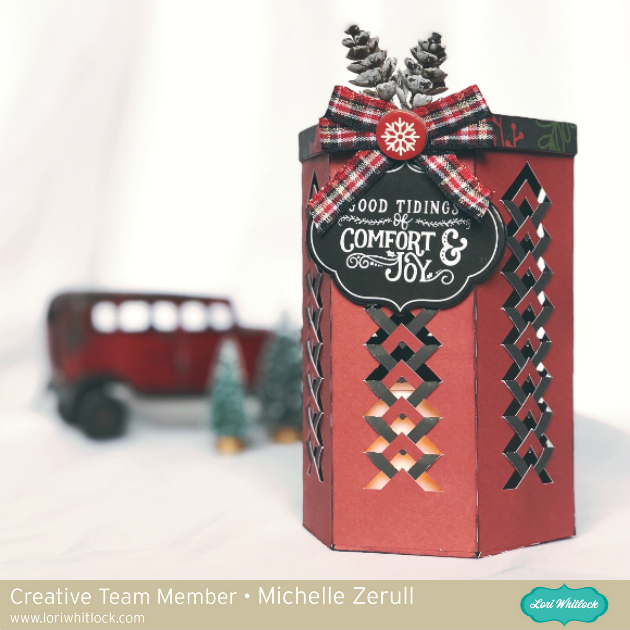
Hexagon Fold and Tuck Paper Christmas LanternThis is such a fun project. The lantern looks difficult, but it’s not. It is an easy project. Let me show you step by step, how to put it together.


  1. Using your electronic cutting machine, cut all three paper elements. Double sided paper looks wonderful with this project since you will be seeing the underside.
  2. Using the main large piece, the body of the lantern, carefully lift the chevron elements to a vertical position, as shown. I like to do one row at a time.
  3. Take the last vertical chevron piece and tuck the arrow portion under the empty piece behind it as shown in the photo. Continue tucking the chevron arrows until you complete the row.
  4. Repeat steps 2 and 3 until all rows are completed. Doesn’t that look awesome?
  5. Fold along all score lines. There is a large glue tab at the end. Apply your adhesive along that tab and glue the ends together to form a tube. Sit the tube aside to dry completely.
  6. Now you will form your lid. Fold along all score line. Apply a small dot of glue to one of the triangle tabs and glue it to the lip of the lid as shown. Continue gluing the triangles one at a time until the hexagon lid is formed. Sit the lid aside to dry completely.
  7. Now it is time to attach the base to the bottom of the lantern. Fold along all score lines. Place the inside color up facing you. Working quickly, apply a bit of glue to all tabs.
  8. Take the hexagon body tube and place it right over the base as shown from the top view.
  9. Using a pencil or bone folder, make sure the tabs are securely attached to the inside of the base as shown.
  10. Allow your lantern to dry completely before decorating.

Now that’s finished, you can have fun decorating it! Using hot glue, I added a tiny spray of pinecones and chipboard elements from the Echo Park Paper Celebrate Christmas collection. I also put a battery-operated LED light inside. It makes a beautiful display of light and shadows! Remember to never use a real candle. The paper will burn!

Hexagon Fold and Tuck Lantern

Thanks for visiting today. Don’t forget to share your own Hexagon Fold and Tuck Lantern with us on the Lori Whitlock Facebook page or post it on Instagram and hashtag it #loriwhitlock so we can see what you’ve made.

Have a great day!

Michelle

Witch’s Hat with Ashley

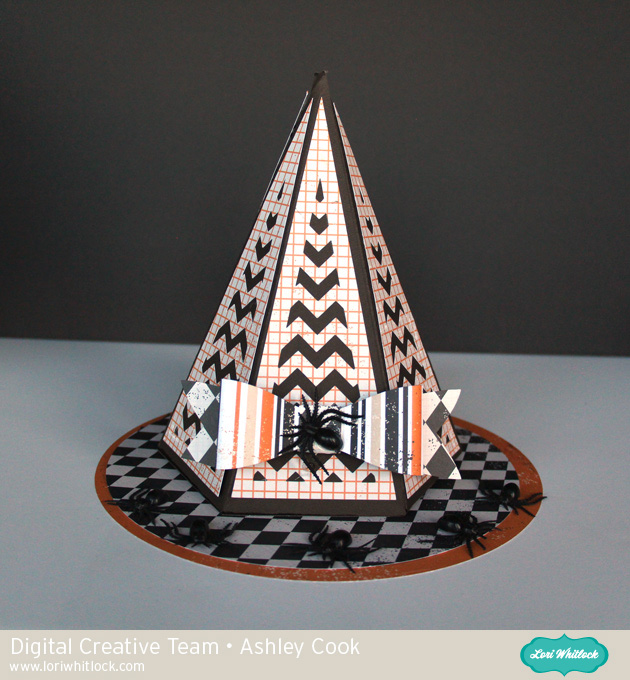
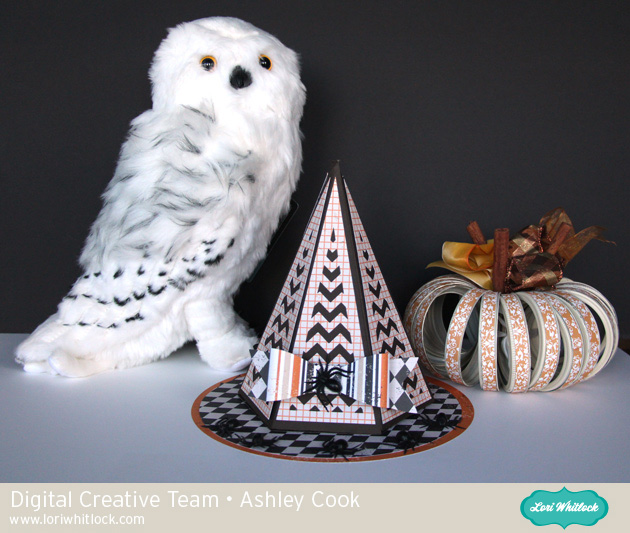
October is here! Get all those Fall and Halloween decor items out.  Today, I’m sharing a witch’s hat.  You can find it at the Silhouette Design Store and in Lori’s Shop.

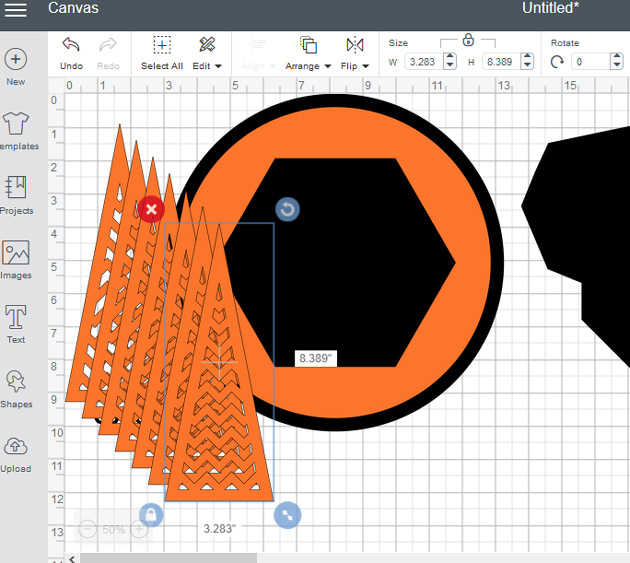
I have a quick Cricut Design Space tip.  When you open this witch hat SVG in Design Space, there is one of each shape and the notes of how many to cut.  You can quickly duplicate the panel pieces six times.  You don’t even need to arrange them.

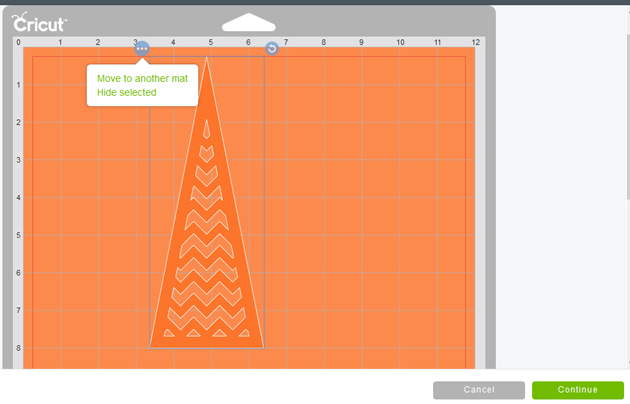
When you click Make It, Design Space sorts your shapes onto mats.  It doesn’t always sort with saving paper in mind though.  To move a shape to another mat, click on the 3 dots at the top of the image and select Move to another mat.  Then you can arrange your shapes.  I was able to arrange 6 panels onto one 12 X 12 piece of paper.

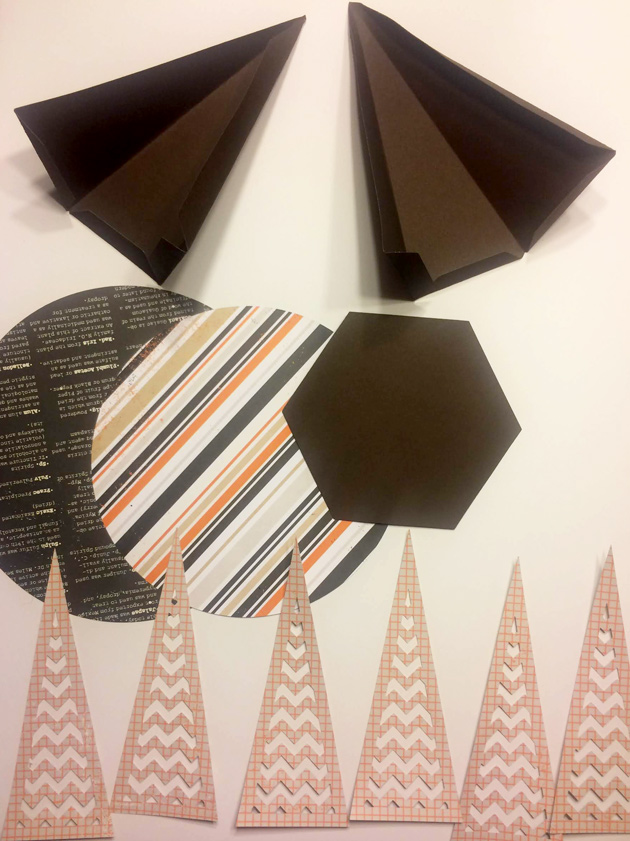
Here are all the cut pieces.

I used a 3D bow to finish it off. The bow can be found here at the  Silhouette Design Store  and here in Lori’s Shop.


Have a great day!


Reverse Canvas With Ashley

Reverse canvas projects have been floating around.  Have you made one yet?  You start with a canvas that can be found at your favorite craft store, and you unstaple the canvas from the frame.

Next pick your favorite Lori Whitlock file from her shop or the Silhouette Design Store.

Get to work making your design in your software.  I used these files: World Where there are Octobers ( SilhouetteSVG);  Pumpkins (SilhouetteSVG) ;  Decorative Pumpkins (SilhouetteSVG), 3 Pumpkins (Silhouette, SVG)  Flourish (Silhouette, SVG)

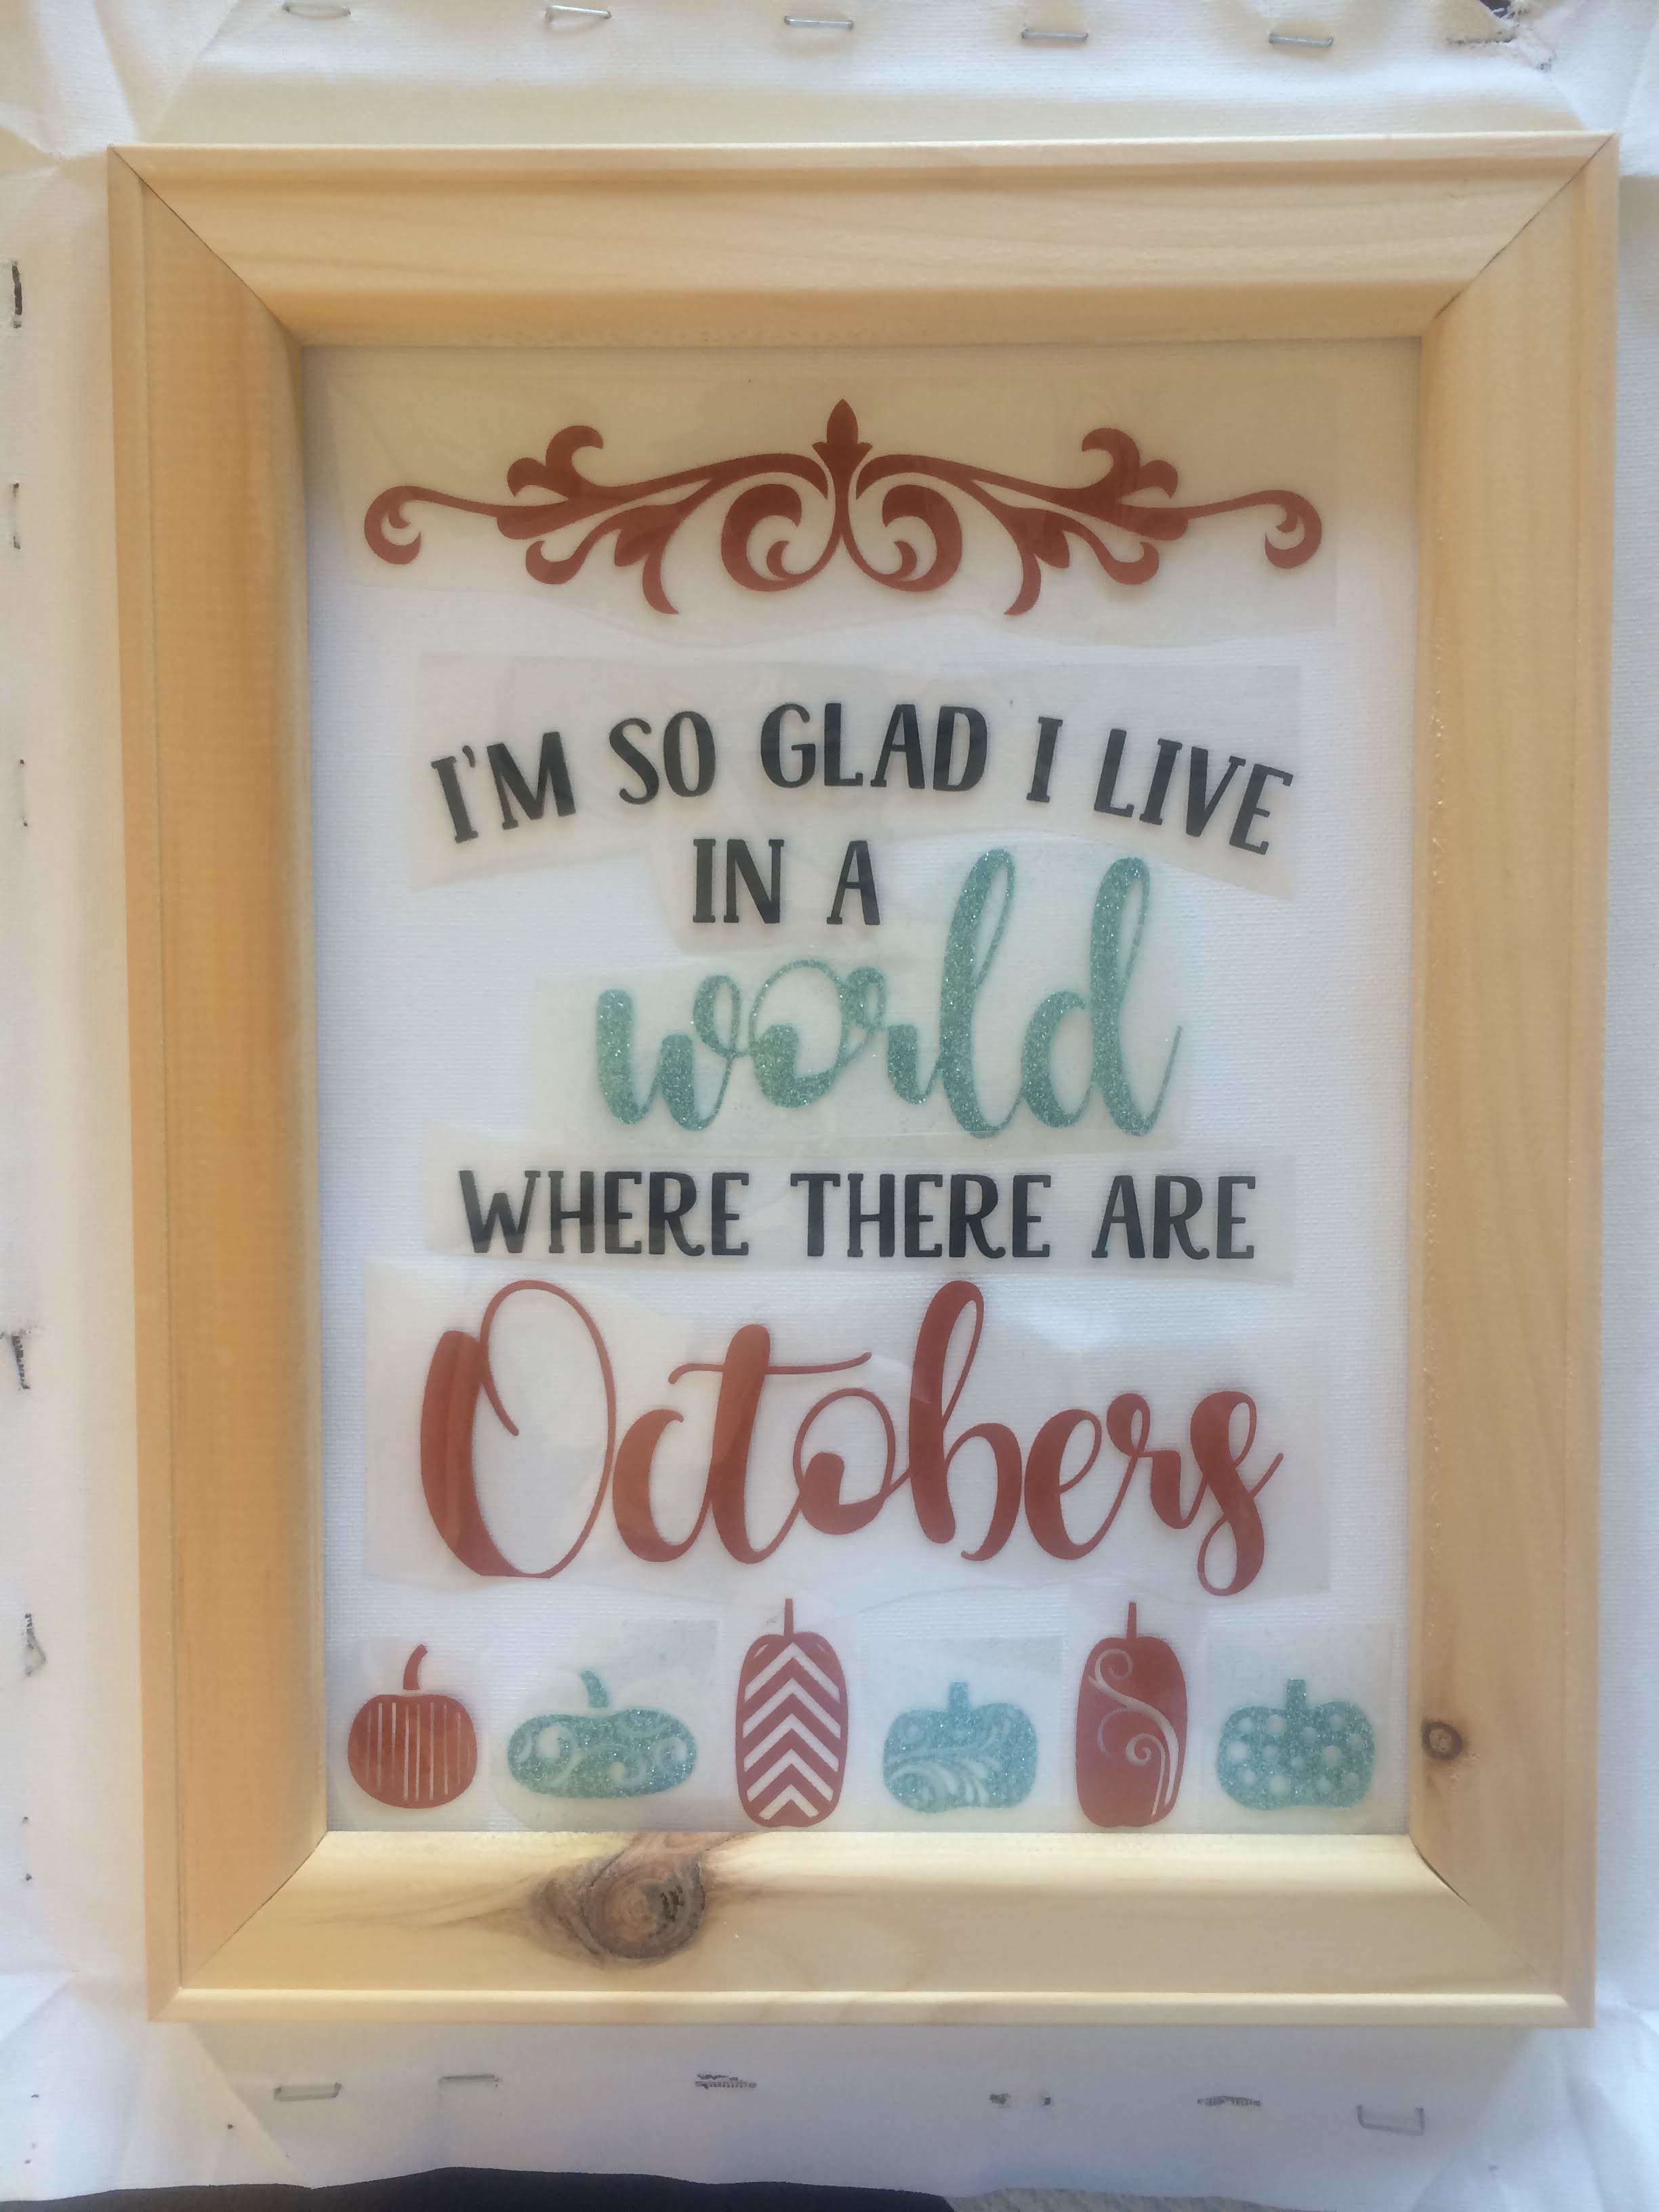
I laid down the canvas, then the frame, then placed all the Heat Transfer cut files and arranged them. Now they are ready to iron on.

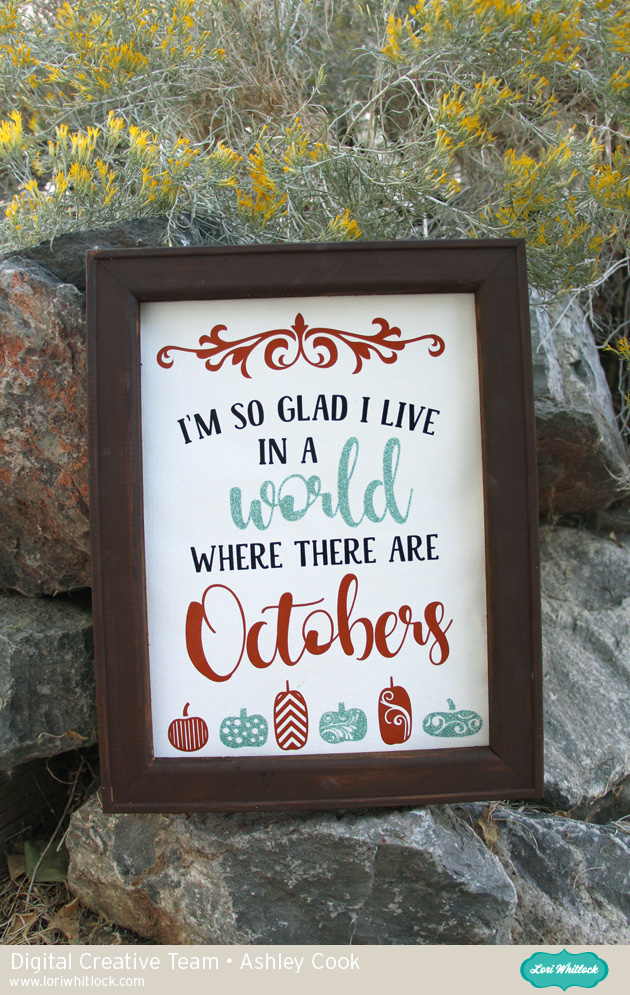
I painted the frame and stapled the canvas to the back.

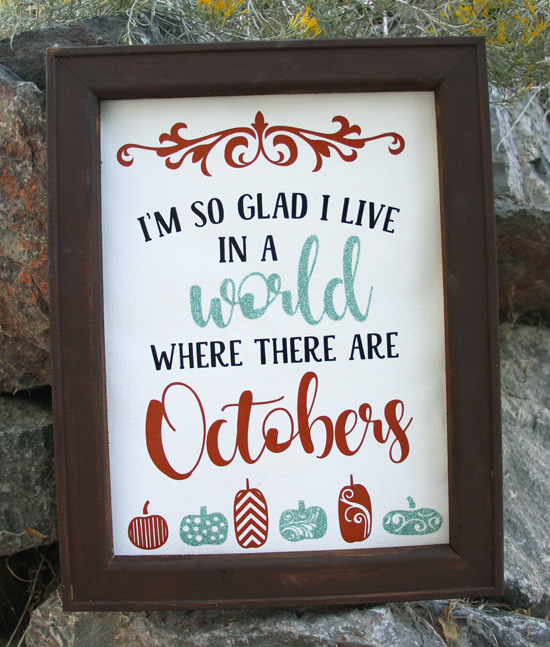
I’m ready for October (well maybe) with this fun Anne Shirley inspired project.

Paper Flower Shadow Box Tutorial with Michelle

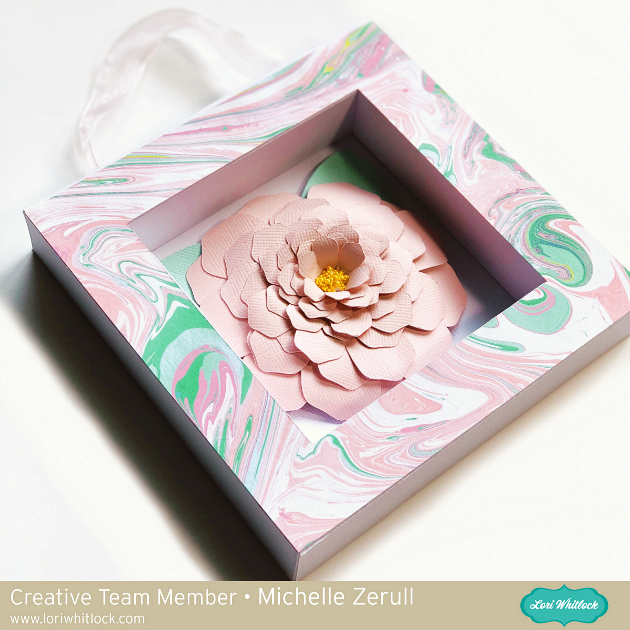
Hello Friends! Paper Flowers are so popular and they are so fun to decorate with. Today I would like to share an easy tutorial for this cute home decor project featuring one of Lori’s latest flower files.

Paper Flower Shadow Box Tutorial

This is such a quick project to make. The flower only takes about five minutes to put together. When cut at normal size, the flower fits perfectly in this 4×4 Shadowbox Frame. The Shadow Box Frames are one of Lori’s classic designs. There’s an excellent Youtube Video showing how to assemble the frame. It’s so easy to make, and looks so professional. I love it! You can find the file for the 4×4 Frame at the Lori Whitlock SVG Shop, or at the Silhouette Design Store. You’ll also need the 3D Flower File. You can find the file at the Lori Whitlock SVG Shop and also at the Silhouette Design Store.

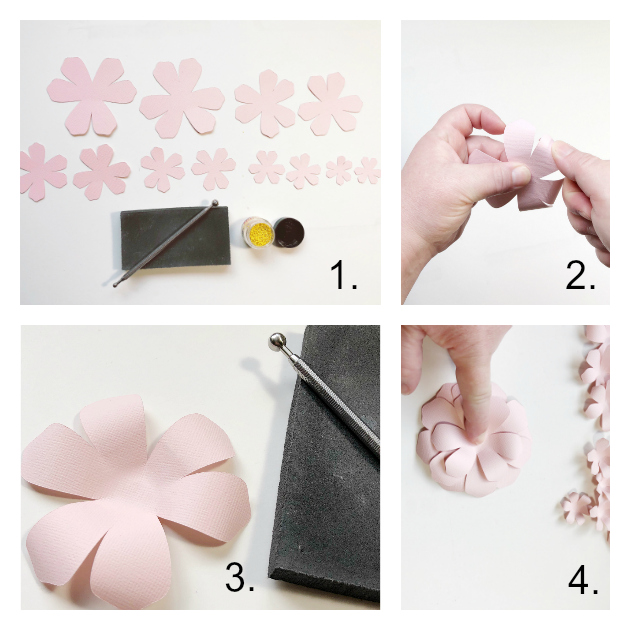
Photo Tutorial for 3D Paper Flower

Materials Needed to make the Flower:

  • fast drying glue or hot glue
  • a kitchen bamboo skewer or other end of a thin paint brush
  • white craft glue
  • yellow Prills or small beads for the flower center
  • a piece of craft foam or mouse pad
  • a stylus with ball on the end or the end of a clean pencil eraser.
  1. Curl petals away from you using your wooden kitchen skewer. This is the same motion that you would use to curl birthday ribbon.
  2. with petals facing down, place the petal piece on the foam and using a circular motion, roll your stylus around in the center until the petal begin “lifting” and a depression is formed in the center. Repeat Steps 2 & 3 for all petal pieces.
  3. Begin building your flower from the outside (Larger petal) towards the center. Use a small amount of fast drying glue or hot glue and hold in place until the glue is dry before moving to the next piece, then continue building the flower up one layer at a time. Note: Allow each one to dry first so that your flower doesn’t shift. When you get to the last smallest piece, add a drop of white craft glue to the center and add small beads or Prills to mimic a flower center. Flocking or yellow powder such as tumeric makes a fun center too.

While your flower center is drying, complete the shadow box as described in Lori’s Video. Any pretty papers from a 6×6 pad will look lovely on the front of the frame. I used a paper from Echo Park Paper and a piece of 10-inch ribbon (optional) to complete the look.

The great thing about making paper flowers is that there isn’t a right or wrong way. Try different curling variations for different looks. If you like, you can add inks or chalks for additional color variations. Each flower is unique and will be beautiful when you are finished.

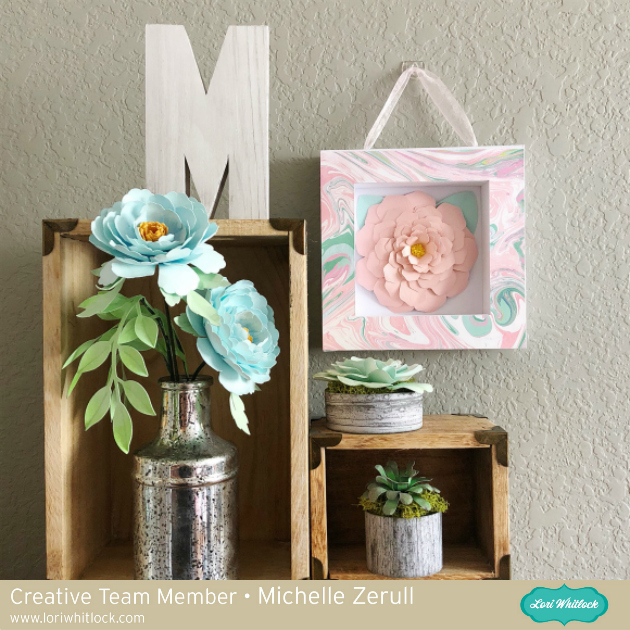
I’m so pleased with how this came out. It really brightens up a corner of my craft room, don’t you think?

Paper Flower Display

Have a creative day!

Michelle

<3

3D Paper Succulent Plants with Michelle

Hello Lori Whitlock Fans! Michelle here today to share some brand new 3D paper succulent designs that Lori has created.  You are going to love how fun and easy these are to make!

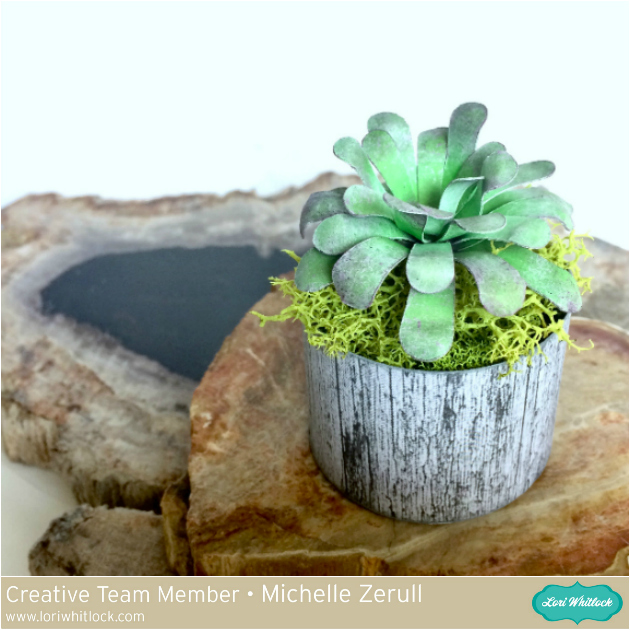
Each miniature paper plant stands about 2 1/2 inches tall. Such tiny little treasures! These designs can be scaled up and made larger if you would like to create something bigger. I had so much fun putting these together and I know that I will be making more! There are five new succulent designs available. You can purchase The Succulent Bundle 2 at the Lori Whitlock SVG Shop, or you can purchase them individually. They are also available at the Silhouette Design Store.

paper plant

Each succulent comes complete with its own little planter. Feel free to mix and match them all to create your own garden! This plant, Succulent #8, can be purchased alone at the Lori Whitlock SVG Shop, or at the Silhouette Design Store. I loved using pastel chalks to give it color variations.

paper plant

My second paper succulent was made with Succulent 11 files from the Lori Whitlock Store. You could also purchase these paper succulent files from the Silhouette Design Store. It originally came with a square planter, but like I mentioned before, they can easily be mixed and matched.

Succulent #10 can also be found by itself at the Lori Whitlock SVG Shop, or can be found at the Silhouette Design Store.  I gave all of my plants unique shapes by using a kitchen kabob skewer.

paper plants


I’ve really enjoyed creating my Miniature Succulent Garden and I hope that I’ve inspired you to create your own garden too!

Have a creative day!

Michelle