Boo Treat Box with Ashley

Have you ever been “Boo’d” by your neighbors?  Or do you want to start the fun neighborhood tradition?  It involves leaving a treat secretly at a neighbor’s door with a note telling them to “Boo” another neighbor and posting a sign that they have been “Boo’d.”

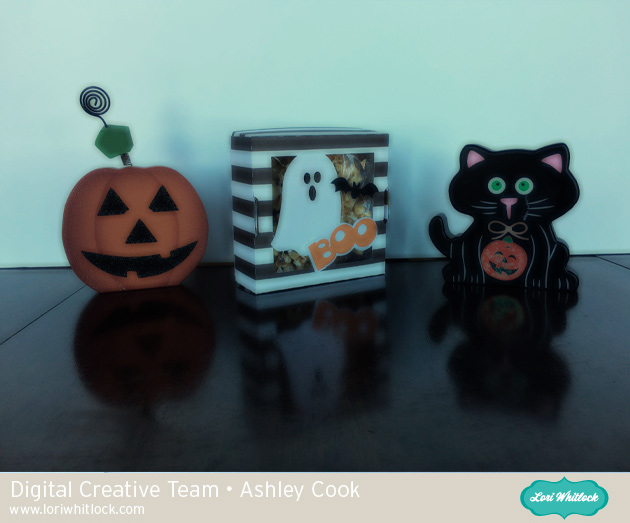
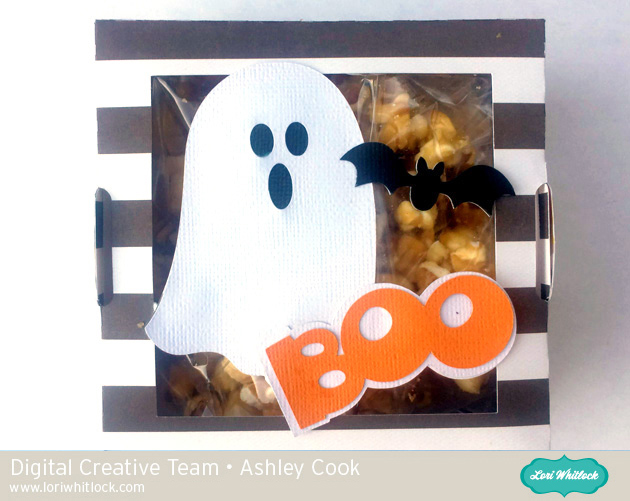
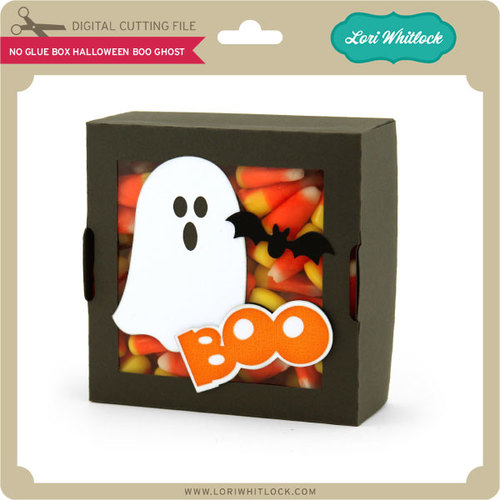
Well some very cute neighbors boo’d our house the other day.  And if something is going on my door, I want it to be cute!  Lori has several Halloween treat boxes, and the one I used includes the word Boo.  I created the treat box, then I sized the Word BOO as big as my paper.  I think it looks so cute on the door.  And the treat box is oh so fun too.  It’s ready to go to another neighbor! Silhouette Store; SVG
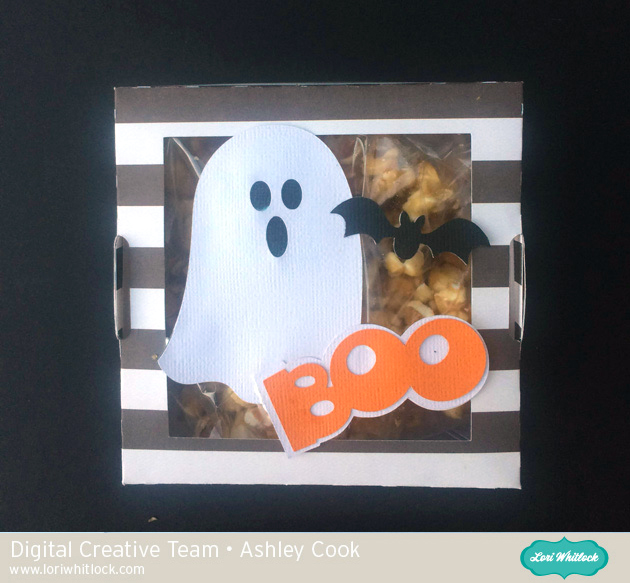
Here are the pieces of the box.  This box is really fun; it requires no glue for the box part.  Just a little adhesive to add the pieces onto the top.
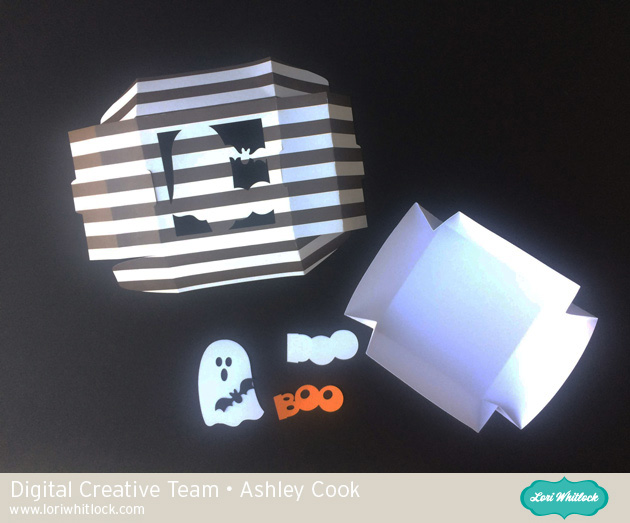
If you cut out a big Boo in black, save the inner piece of the B.  It fits nicely behind the ghost’s eyes if you happen to use a patterned or white piece of paper.


I sized up the whole box just a little bit to fill the width of a 12 x 12.  The finished dimensions of the box are 5″ x 5″ x 1.5″.
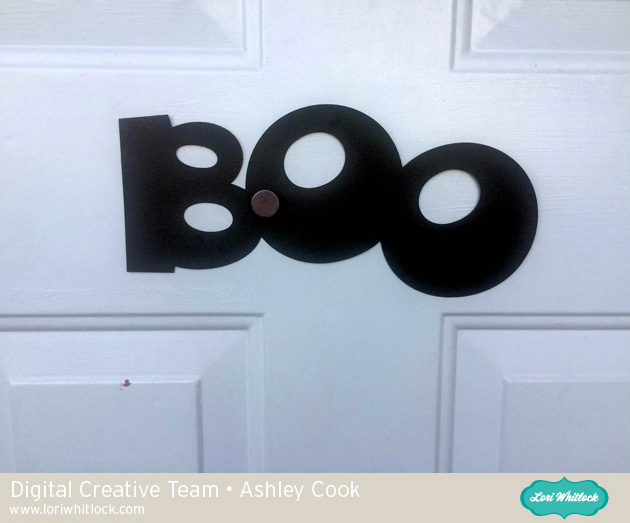
Enjoy your week and maybe BOO a neighbor or 2.


3D Witch Hat Tutorial with Brigit

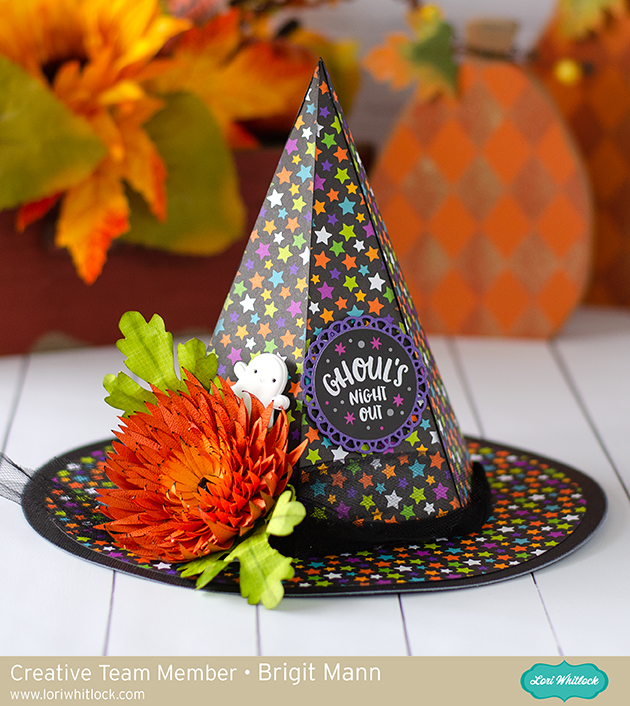
Hello there, today I’m sharing a tutorial on this 3D witch hat project. This hat can also be purchased from the Silhouette Design Store here and also as a set in the 3D Halloween Bundle from Lori’s shop.

This is such a cute home decor piece to add to your Halloween collection, I really love how it came out.

The first thing I did was add all the pieces onto my mat in Silhouette Studio, this included the 3D Chrysanthemum Flower, (Silhouette Studio chrysanthemum). You will need 6 duplicates of the triangle layer and 2 duplicates of the hat top. I used patterned paper from Doodlebug Design’s Pumpkin Party  I did a release compound path on the triangle layer and removed the circles.  Tthis way I’d have solid pieces to show off the pretty star paper.

I resized the hat so I could fit one piece of the hat top with the hexagon bottom on one sheet, this saved me a black piece of cardstock, I also sized the flower so the orange color pieces would fit all on one sheet of cardstock.

I cut all my pieces out and inked the edges of the patterned paper, flowers and leaves.

I assembled the top of the hat first, this thing went together perfectly, I love Lori’s files!!

I then added the triangle layers onto the sides and glued down the circle patterned paper to the black circle rim.

For the leaves I bent them by hand and used ink to create some vein lines, I then sprayed them with some water and crinkled them by hand a little.

I used my McGill tool and mat and a paint brush to curve the flower petals up.

I Glued all the petals together and added a black jewel in the center.

To complete the look, I added some black tulle around the hat, glued the flower and leaves to the side and added the ghost clip and ghouls sticker from Doodlebug’s pumpkin party,

Thanks for stopping by and have a wonderful day!

Halloween Treat Bags with Corri

Hi everyone!  Corri here today sharing some cute Halloween treat bags.  My daughter only has 8 kids in her class this year so I wanted to make some cute treats for her friends.   These 2 on 12 x 12 Tag Bags are perfect! (Silhouette, SVG)   I love how I can get two bags out of one sheet of cardstock and there are several cute characters to choose from!

I used orange cardstock for the bag and some cute pattern papers from Doodlebug for the tags.

To make sure the ghost and pumpkin stand out on the tag, I created an offset for them using the offset feature in the Silhouette Studio Software.

Head on over the shop to check out all the cute versions of this bag and all the other fun new Halloween files!

New Product Feature: 3D Haunted House Bundle

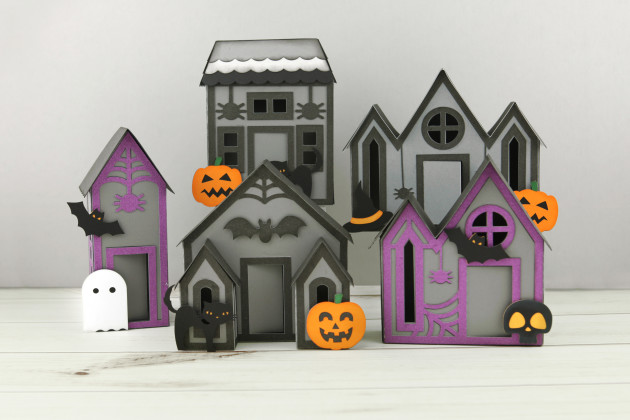
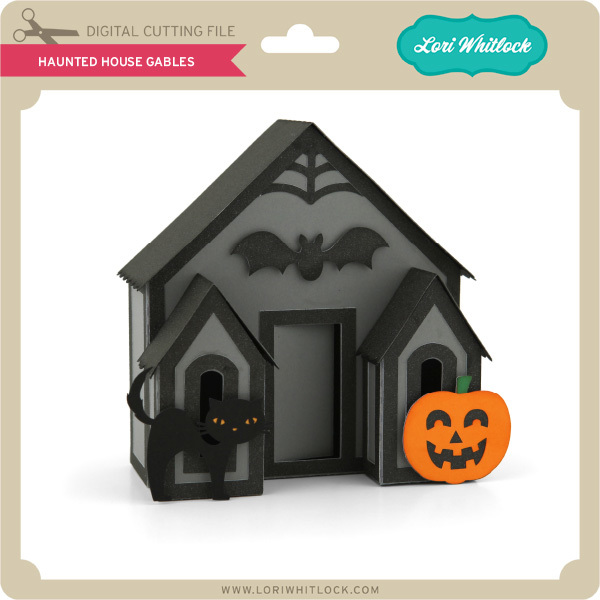
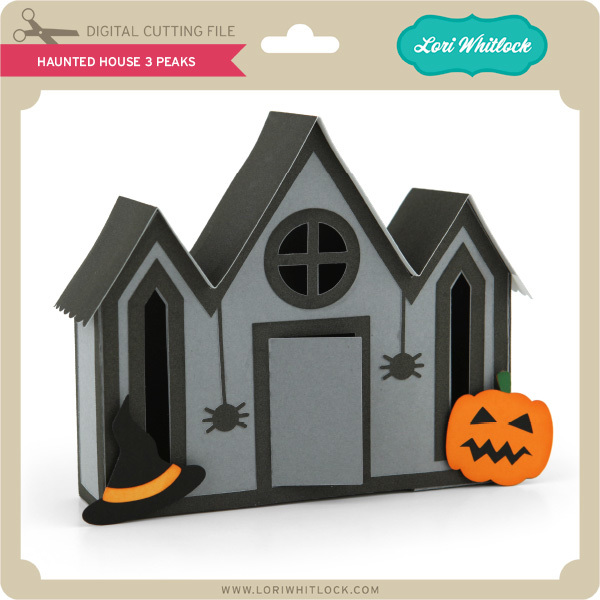
Hi Everyone!  Have you seen the new 3D Haunted House Bundle  in the shop this week?  These cute little houses are perfect for Halloween decorating!  Take a peek…

Wouldn’t these just be adorable on an entryway table??  There are 5 different houses for you to make!  I put together a video tutorial on my YouTube Channel showing how to assemble these fun houses.

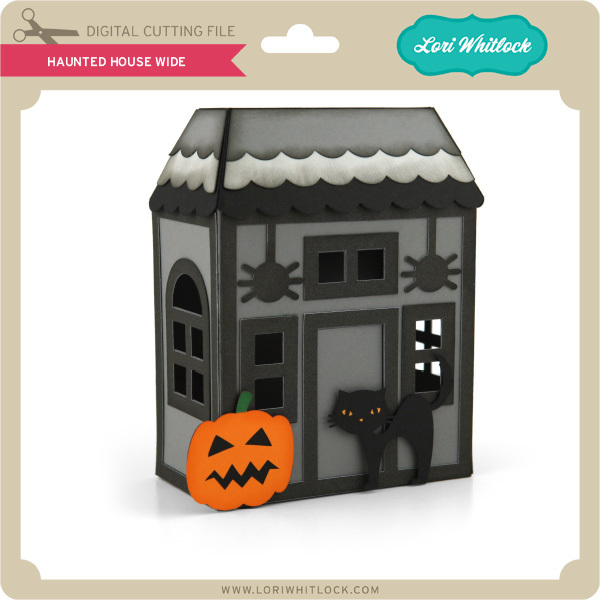
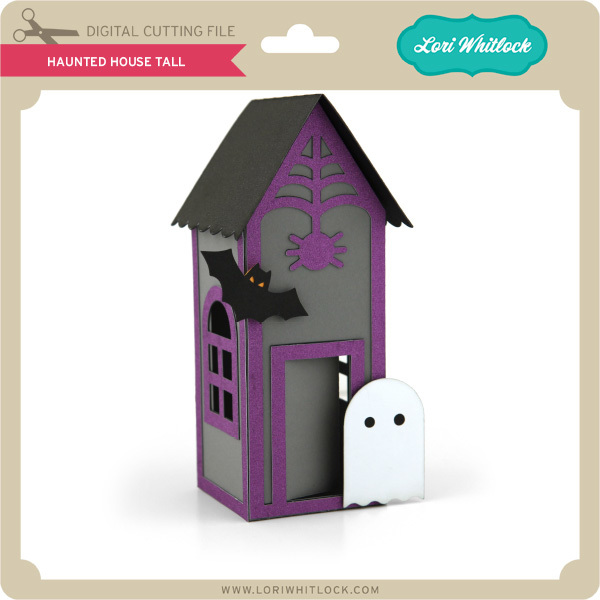
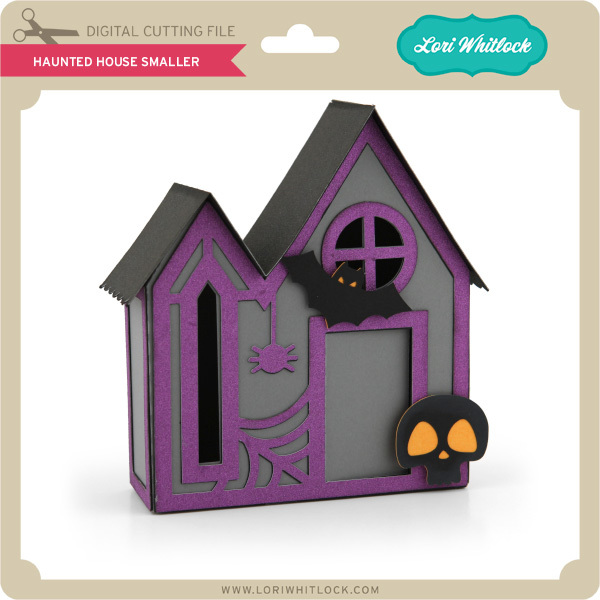
The 3D Haunted House SVG bundle is available in my shop, and the houses are also available individually in my shop and in the Silhouette Store.  See below for links.

(SVG, Silhouette)

(SVG, Silhouette)

(SVG, Silhouette)

(SVG, Silhouette)

(SVG, Silhouette)

We would love to see your versions of these houses!  If you make them be sure to tag us on Instagram and on Facebook.  Have a great day!


3D Pumpkin with Kathy

Hi Everyone!  It’s Kathy today with a cute 3D Pumpkin, perfect for Fall and Halloween gift giving or decorating!  Take a peek…

I used Lori’s 3D Pumpkin Short  (here in the Silhouette Store)  to make this adorable box.   This box also comes in medium and tall (here and here in the Silhouette Store.)  Lori also has great assembly directions for these pumpkins here.  The best part, the pumpkin opens up to hold some goodies!

This would make a fabulous gift for a friend or coworker.  It would also make a great seasonal centerpiece!  That’s it for me today, thanks for stopping by to peek!