Floating Easel Cards Tutorial

I love Halloween… When my daughter was little, I loved having parties with the kids, and of course who can resist the candy?  Halloween will surely look different this year, but we can still send some spooky-fun cards!  The new Halloween Floating Easel cards are the perfect solution.  There are two new versions, the Floating Easel Card Spider Web (SVG, Silhouette) and the Floating Easel Card Haunted House (SVG, Silhouette).  Take a peek…

I put together a quick tutorial for the floating easel cards using the Haunted House version.  It’s really pretty simple.

Start by cutting the pieces and piecing together the ghost face and the pumpkin. I also glued the solid square into the inside of the card as shown. The sentiment is done using the print and cut feature of your cutting machine.  To assemble you will also need a piece of fishing wire or clear jewelry thread.

  1.  Add strong adhesive ( I used score tape) to the blank ghost piece.  Lay the piece of fishing line over the center.
  2. Cover with the ghost “face” piece.
  3. On the haunted house frame without the fence (call this the back frame)  Add some score tape or strong adhesive to the center of the top and the center of the bottom.   Center the ghost inside the frame and pull the fishing line tight and stick the ends to the tape on the frame.  Cover with the top frame (the one with the fence, not shown)
  4. I secured the fishing line a bit more by folding it over the back of the frame and securing with some washi tape.  I then trimmed the extra fishing line.
  5. Fold the card base closed.  Add the decorative panel to the outside, making sure to align the openings.
  6. Fold the top in half along the score lines.  Attach the frame to the bottom half of the card only.  Make sure you do not add adhesive to the top half of the house.
  7. Add the little pumpkin to the front.
  8. Using some foam tape or pop dots, add the sentiment to the inside of the card about 2/3 up the card so that when the card top rests against it the house stands up.

One more note… if you wish, you can add a second string going horizontally to secure the ghost further and make sure it does not twist.

When you fold the top of the card and stand it against the sentiment, it looks like the ghost is floating in the house!

The card also folds flat and will fit into Lori’s Center Box Card Envelope here.  That’s it for me today, thanks for stopping by to peek!

BLOG * INSTAGRAM


3D Pumpkin Tutorial

If you’re like me, you like to decorate your house for ALL THE HOLIDAYS!  Lori’s 3D Pumpkins would be so fun placed throughout your home or group several on your table for a fun centerpiece. They come in three sizes, Short (SVG, Silhouette), Medium (SVG, Silhouette), and Tall (SVG, Silhouette). These are boxes as well, so they would make a great hostess gift with some candy inside.  I used Lori’s My Favorite Fall Paper Collection to make these pumpkins. I just love all the colors and patterns in this paper! Shown here are the 3D Pumpkin Medium and 3D Pumpkin Tall.  How fun are these?!

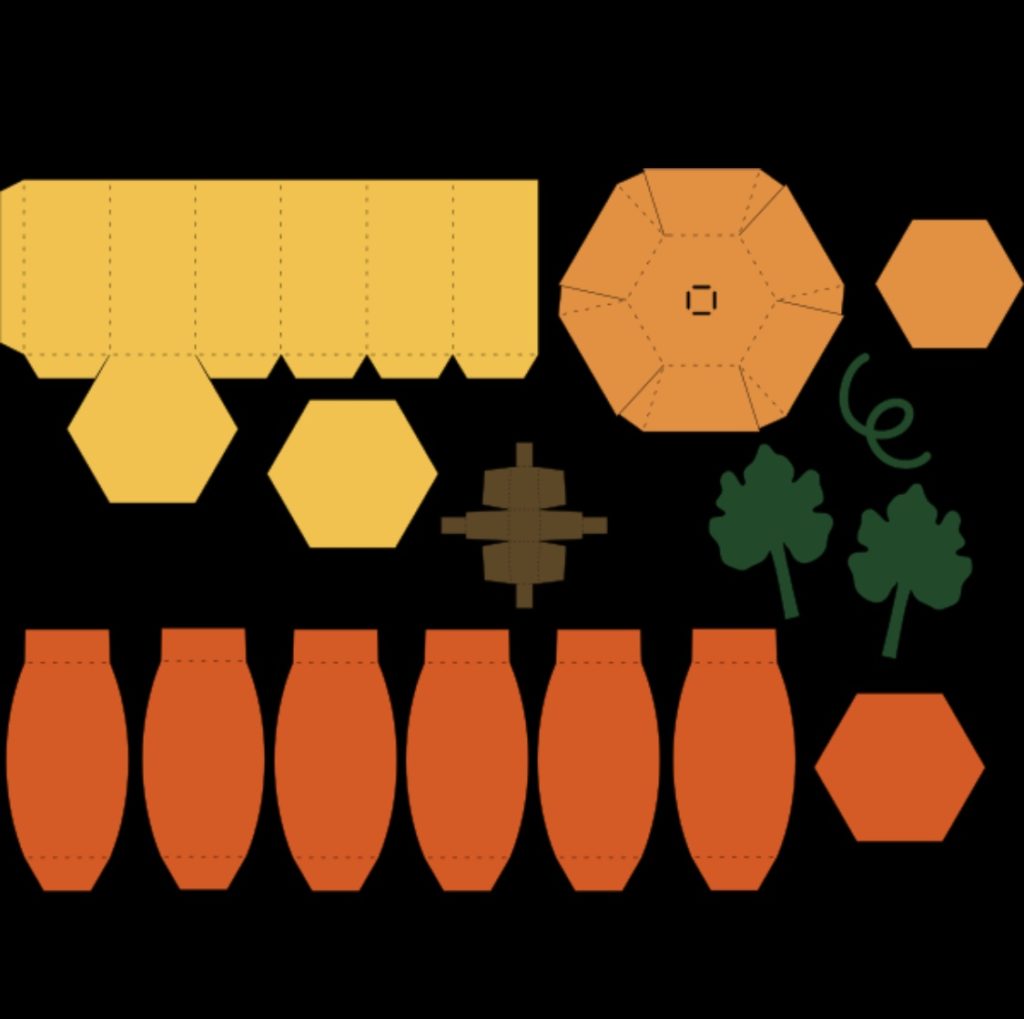
I’m using the 3D Pumpkin Medium for this tutorial.  First cut out all the pieces as shown.

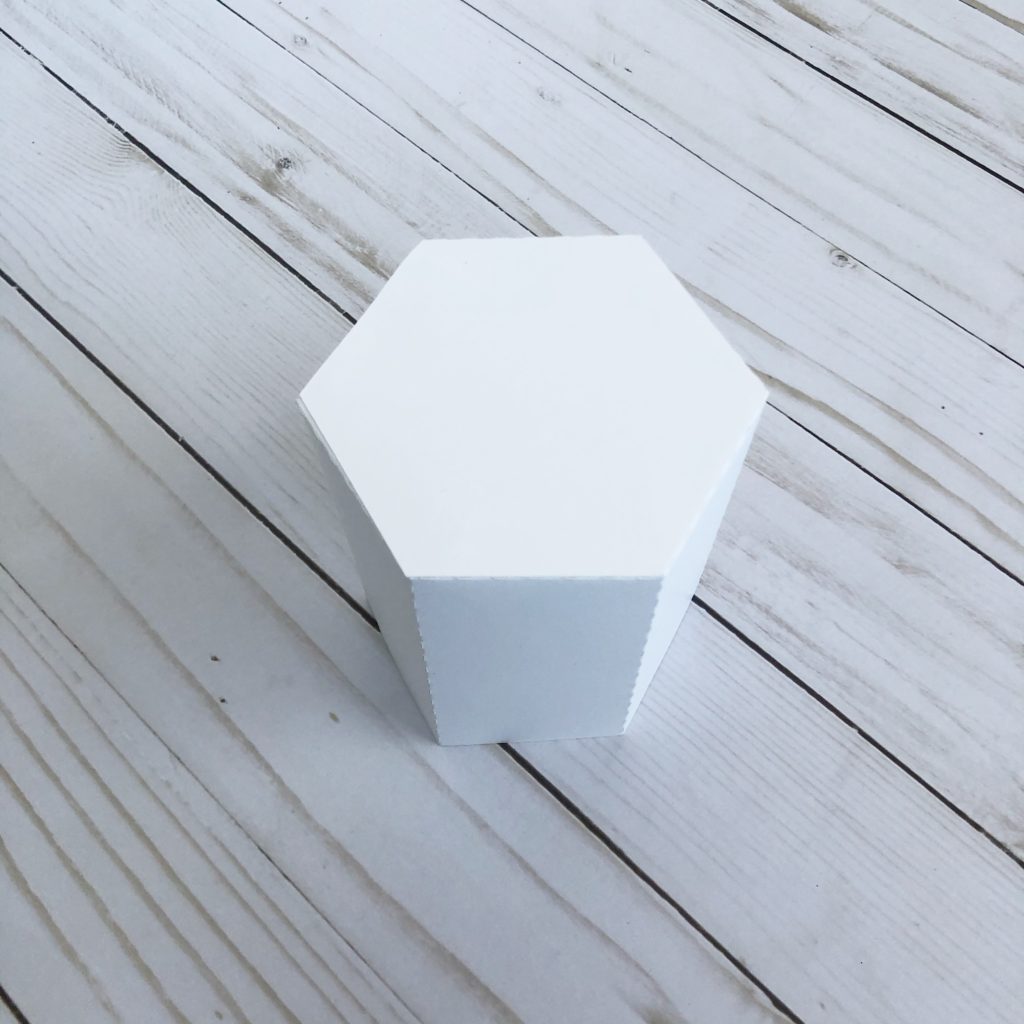
To begin, assemble the base of the pumpkin by folding all score lines in.

Glue side tab to opposite side of base.

Add glue to bottom tabs…

and fold bottom of base onto tabs as shown.

Use your bone folder to curve the side panels of the pumpkin.  This will help give your pumpkin its curved shape.  For added interest, I sewed tulle to three of the side panels, added sequins and then sewed the bottom shut.

Next, glue the square end of the panels to the top of the pumpkin box.

Then glue the beveled tabs to the bottom of the pumpkin box.

Glue the hexagon piece to the pumpkin bottom to finish it off.

Next, fold all tabs on the pumpkin lid in, and adhere each tab to the panel next to it until the lid is formed.  Also, the leaves are very pretty as is, but for added interest you can drawn in or sew leaf veins.

Next, fold all tabs on stem inward and glue the tabs on the right to the middle tabs…

and repeat on the left side.

Add leaves and stem through the holes in the top of the lid…

and glue the vine to the top.

Turn lid over, fold leaves and stem tabs and glue down.

Next glue hexagon panel to inside of the lid to finish it off.

And we’re done!!!  Isn’t this beautiful?!

I had so much fun making these for my table centerpiece.  I filled them with caramels and they will be given out at the end of Thanksgiving as parting gifts for my friends and family. I hope you give this a try.

Thank you for stopping by!


xo,

Michelle H.

Doodlebug Design SVG Feature : Candy Carnival

Hi Everyone!  Today I’m showcasing another fabulous project using Doodlebug Design’s cut files!  These fun Nugget Holders were created by Kathy Skou for Doodlebug Design.

Kathy used the Pumpkin, Spider and Bat SVGs from the Doodebug’s Candy Carnival Collection to make these candy holders.

For more details, and to see how she made them, you can see her original post here.   New Doodlebug Design SVG files are being added to the Lori Whitlock SVG Shop on a regular basis, so stop by to see all of the fun SVG files HERE!

And don’t forget, all SVG files and commercial licenses are on sale through tomorrow!  Get 50% Off when you use code AUTUMN50 at checkout!

Have a great day!

New Haunted House Dollhouse

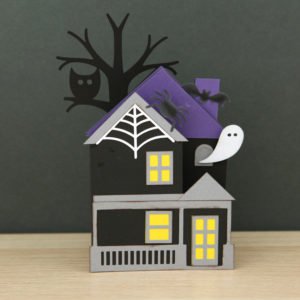
I have a new file in the shop just in time for Halloween.  The new Haunted House Dollhouse (SVG, Silhouette)  makes the cutest little centerpiece !  Take a peek…  This is the view from the front…

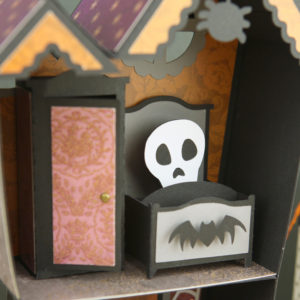
and when you turn it around, there are little rooms with furniture!  I think the kids would get such a kick out of this!

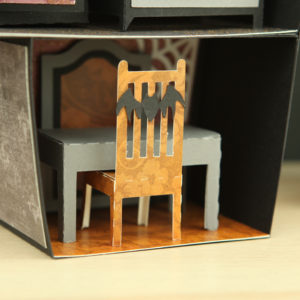
On the first floor there is a little table and a chair.  The top floor holds a bed and an armoire!

I have an assembly tutorial for the Haunted House Dollhouse here on my YouTube Channel.

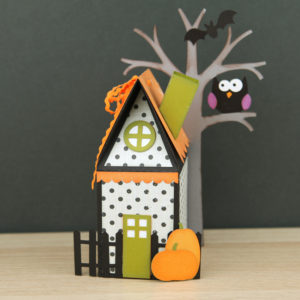
If you want to make a little scene you could add some of the other houses I have in the shop such as these… On the left is the Shaped Box Card Haunted House (SVG, Silhouette)  and on the right is the Haunted House Box 2 (SVG, Silhouette)

If you make any of them, be sure to tag me on Facebook or Instagram, I would love to see your creations!

Have a great day!

Haunted House Centerpiece

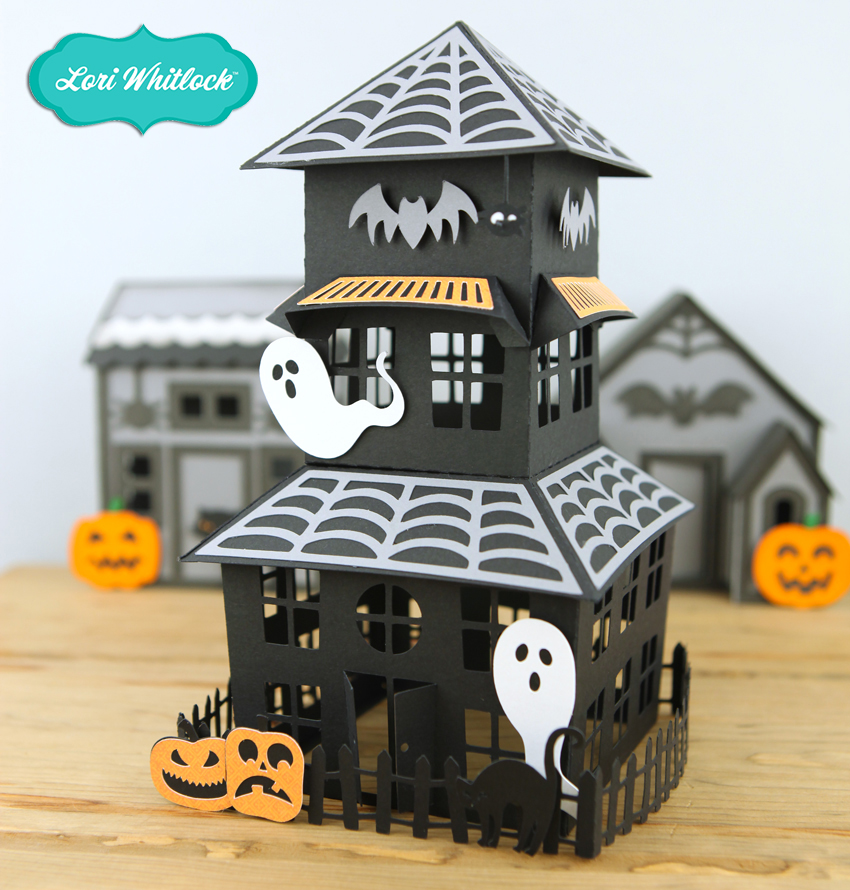
It’s October… you know what that means… Halloween!!  I love decorating for Halloween, so I thought this not-so-spooky Haunted House Centerpiece (SVG, Silhouette) would be perfect for my table!  Take a peek…

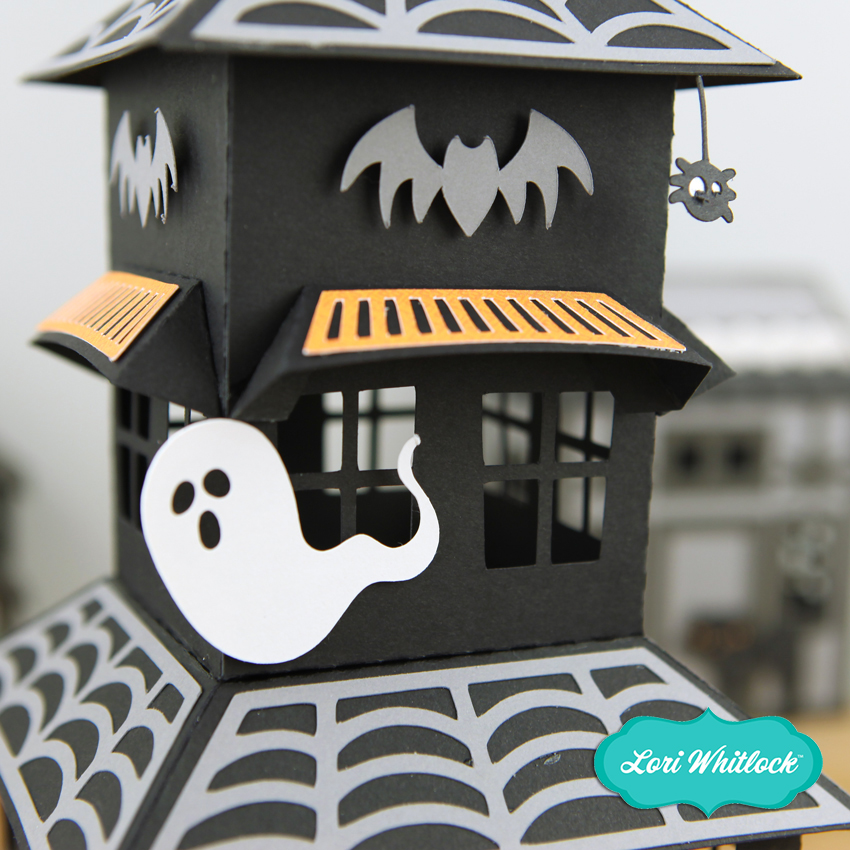
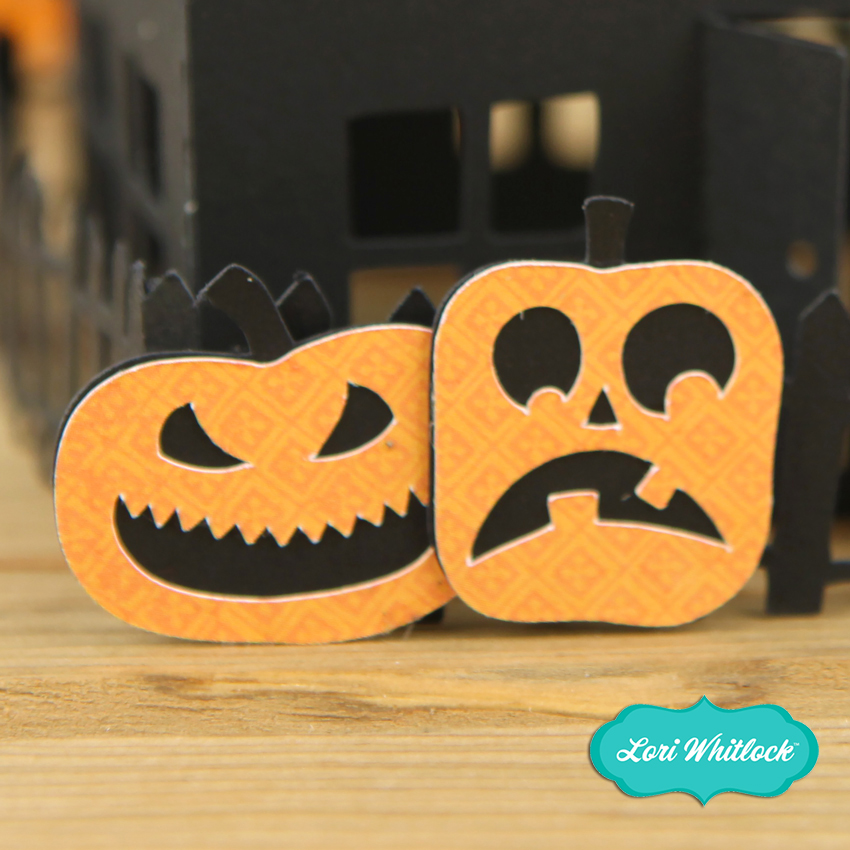
Isn’t this fun?  You could even add a tea light inside so there’s a glow from the windows (make sure it’s one that does not get hot!) !  There are some fun details, including ghosts, black cats, spiders and pumpkins!  Here are some close-ups…

I have a video tutorial to help with assembly on my YouTube Channel here.

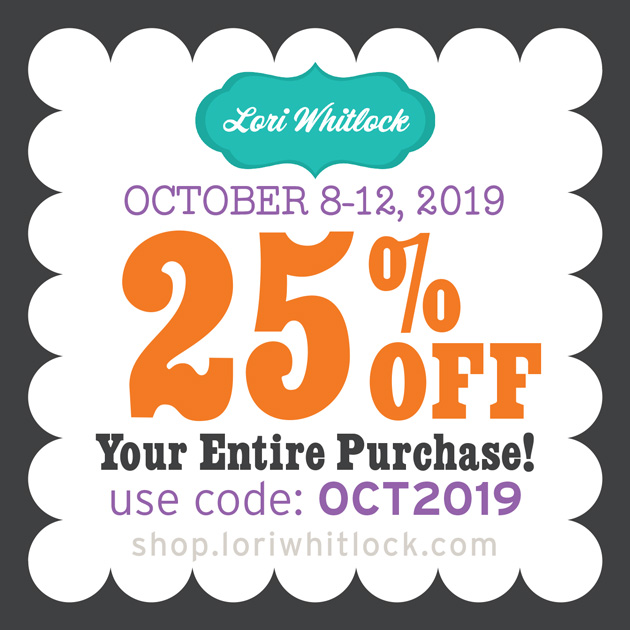
If you make one, be sure to tag Lori Whitlock on Facebook and or Instagram.  I would love to see your creations!  And don’t forget the October Sale is happening now in the Lori Whitlock SVG Shop!  Get 25% off SVGs and Commercial Licenses when you use code OCT2019 at checkout!

Have a Spooky-Great day!