Iris Shutter Card Tutorial

How are you today? Around the world this week, most of us are working and/or staying at home. Guess what, crafters?  It is time to use your stash!  All those items you have been saving–this is it.  This is the time to use it!!  Lori recently released these fun Iris Cards.  She has 2 video tutorials to help you make them.  This video is the first with paper only, and this tutorial uses mini brads.  The cards are available in the Silhouette Design Store individually and in Lori’s SVG Shop individually and in Bundles.

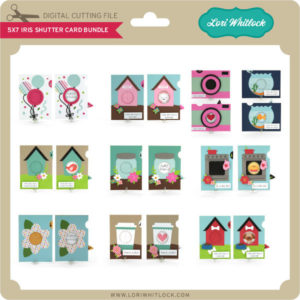
5×7 Iris Shutter Card Bundle
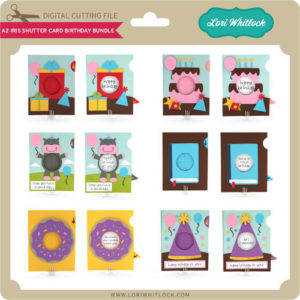
A2 Iris Shutter Card Birthday Bundle

I have made several of these cards, and I just love them.  I’m going to inspire you today with ways you can personalize them.

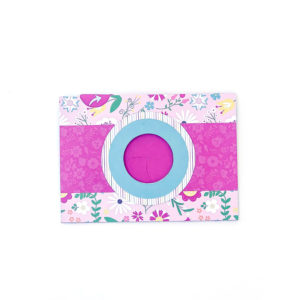
5×7 Iris Shutter Card Camera: SVG, Silhouette

For this Camera Card, I though it would be so cute to add a picture.  Have you heard of the front porch project?  Photographers that are participating, stop at your house, and take pics of you while staying at least 6 feet away.  This would be a great way to send a pic to a loved one.  To do this in Cricut Design Space:

1. Open the Camera Card File

2. Ungroup the card pieces

3. Draw a circle that is 2.36″ using the shapes tool.

4. Upload a photo, and select your preferred image type option, click continue then save as print then cut image.  Insert this image onto the mat with your circle.

5. Resize your photo to fit the 2.36 circle.

6. Layer the circle on top of the photo.  Make sure the circle doesn’t hang off any edge of the picture.

7. Select both the photo and circle, right mouse click and select slice.

8. Delete the part of the picture you don’t need as well as the circle you drew.

9. Layer the photo over the heart and starburst on the card base.  Once it is lined up, delete the heart and starburst.

10. Select the photo circle and the rectangular white card, and select flatten.

11. Don’t forget to flatten the sentiments as well.

Now print then cut your photo and sentiments and cut all the other pieces of the card to assemble.


Here are some of the other iris cards that I have made:

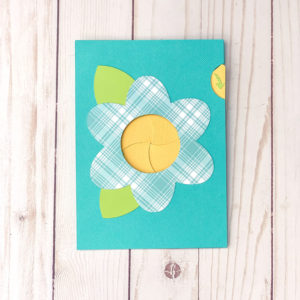
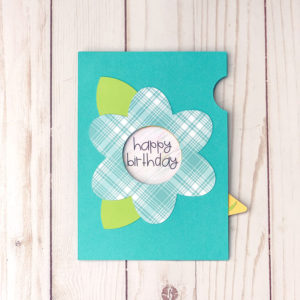
5×7 Iris Shutter Card Flower SVG, Silhouette

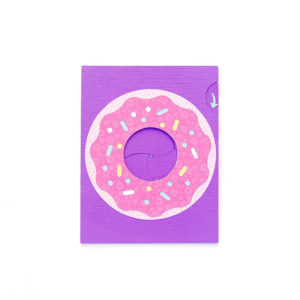
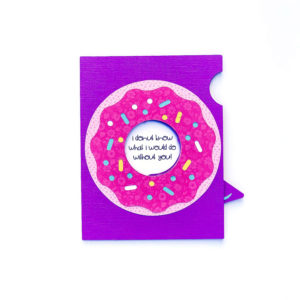
A2 Iris Shutter Card Birthday Donut  SVG, Silhouette

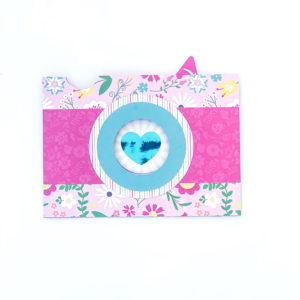
5×7 Iris Shutter Card Camera: SVG, Silhouette

This one has a foiled heart.  I changed the red heart to black before I printed with my laser printer, then foiled it. These cards are so fun.  Personalize them, and send them off.

Enjoy crafting!

Ashley

Gnome Box Tutorial

There is a new Gnome Box Collection in the Lori Whitlock SVG store.  They are all so cute.  Here’s some quick tips about putting these together.


The gnome I pieced together can be found here in the Lori Whitlock SVG Shop, and at the Silhouette Design store here.

I used paper from Lori’s Little Lumberjack collection by Echo Park.

If you have a Cricut and a scoring tool or wheel, you will want to upload the Solid SVG file.  If you are using Silhouette or don’t have a scoring tool, you will want to use the Dashed Lines SVG file.

Here are all the gnome pieces.  There are gnomes on both sides of the box.

This is the box piece.  Notice that the gnomes will cover the sides of this box.  And you will see the pattern of this paper on the short side when completed.

Assemble all the gnome pieces on the flat box.

Then glue the box flaps together to complete the box.


This cute box could be used in a number of ways–class party craft, table name cards, or treat boxes.  Have fun creating!

Baby Bodysuit SVG with Infusible Ink

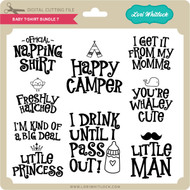
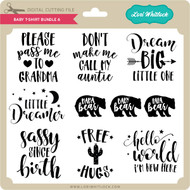
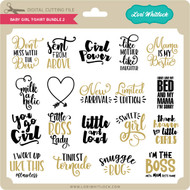
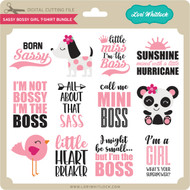
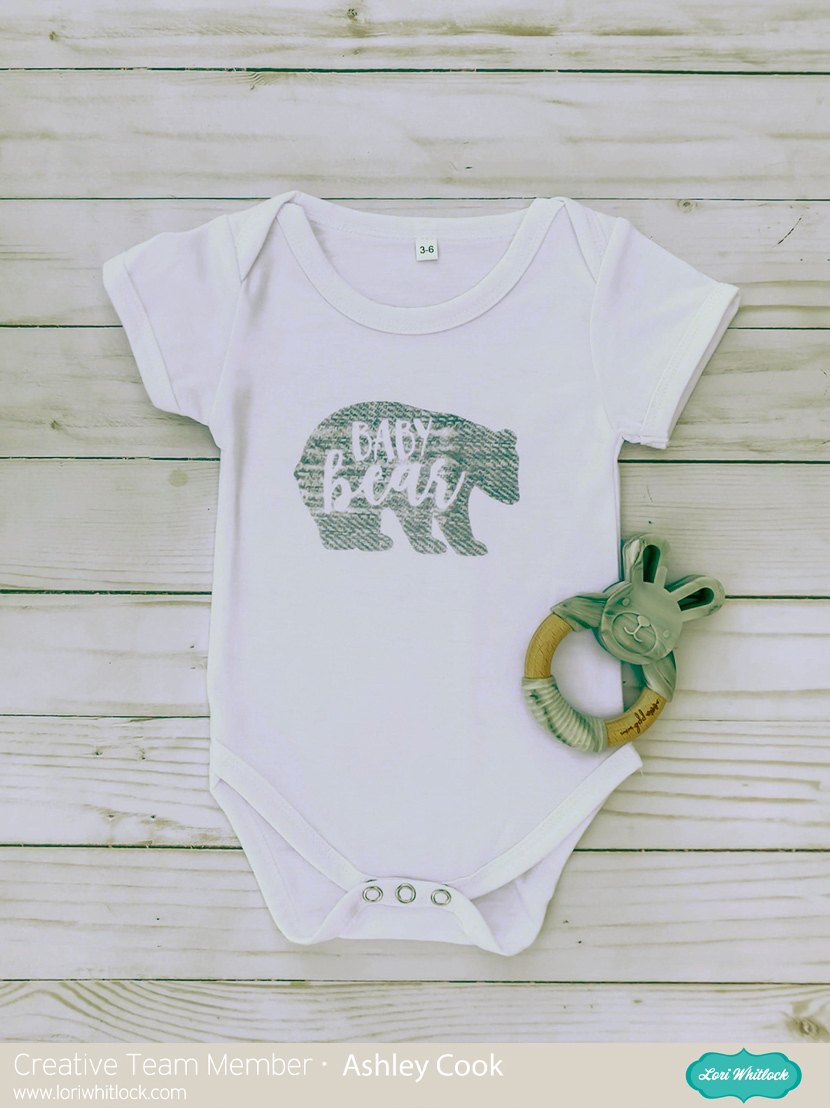
Welcome to July. I hope that you have fun summer plans this week.  I have a baby shower soon, and I wanted to try out Cricut’s  new Infusible ink.  Lori has many great files that can be used with infusible ink.  Most designs that work for heat transfer vinyl will be great to use with the infusible ink.  Lori has several baby shirt bundles in her shop.

Baby T Shirt Bundle 7  Baby T Shirt Bundle 6  Baby Girl T-Shirt: Bundle 2 Sassy Bossy Girl T Shirt Bundle

I used the baby bear cutting file. It can be found in the bundle above or here (SVG) and at Silhouette.


Infusible Ink is applied in a similar way as HTV.  But the result is really impressive; the ink is within the fabric.  You must use Cricut blanks or other suitable sublimation blanks. (A blank is the surface you are using as a base for the design, in this case, the onsite).   I love the result, and I am looking for my next project!

Camping Box Card Cut File

Hello crafty friends! Michelle here with you today to share one of the new Lori Whitlock Box Cards. This was so much fun to make!

The Camping Box Card is my new favorite guy card. I love the details! It folds flat and fits in a standard A7 envelope. Isn’t that cool? I changed the sentiment because I’m sending it to someone who has been in poor health lately. I know that he’ll like it as much as I do!

You can find the files for this card at the Lori Whitlock SVG Shop, or at the Silhouette Design Store. Either way, be sure to check out her other new files too. They are all pretty amazing!

Have a great week!

Pop Out Birthday Card with Ashley

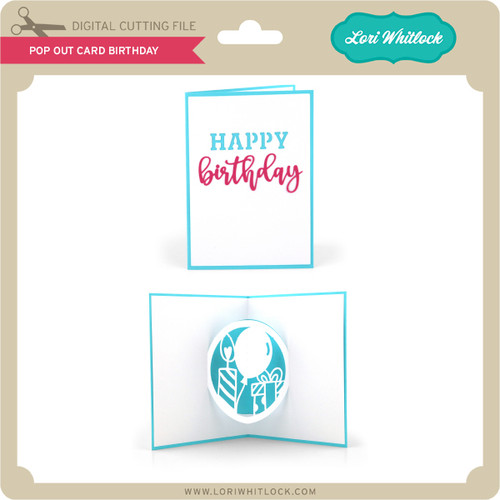
Hi Everyone, Today I’m sharing the new Pop Out Birthday card. Such a fun card to send and easy to assemble!

Image 1

You can find this card in Lori’s shop and in the Silhouette Store.  

When you open this file in Cricut Design Space, there are a few steps to take before you cut.

1. Ungroup the file.

2. Optional: I changed out the dashed cut lines to score lines.  To do this, select the score line which is grouped in Shapes. Align the score line with the dashed cut line and resize as necessary.  Repeat for all the score lines on the white layer.

3. Group the 3 score lines  you created and delete the original dashed cut lines.

4. Select the score lines and the white card and then select Attach.

5. Repeat the processwith the blue card–replace dashed cut line with Score Line, Attach the the Score line with the blue card.

6. Now you are ready to cut.

You don’t have to replace the dashed lines if you are not using a Cricut Scoring wheel or scoring tool.  The dashed lines will be cut instead of scored.  But you will still need to attach the dashed lines to the appropriate layer.

Once you’ve cut the two card pieces, simply adhere the pop out portion of the card to the base, careful not to glue under the pop out section.  Then decorate the front.

  I used paper from Lori’s Spring Fling Collection with Echo Park.  Have a great day!