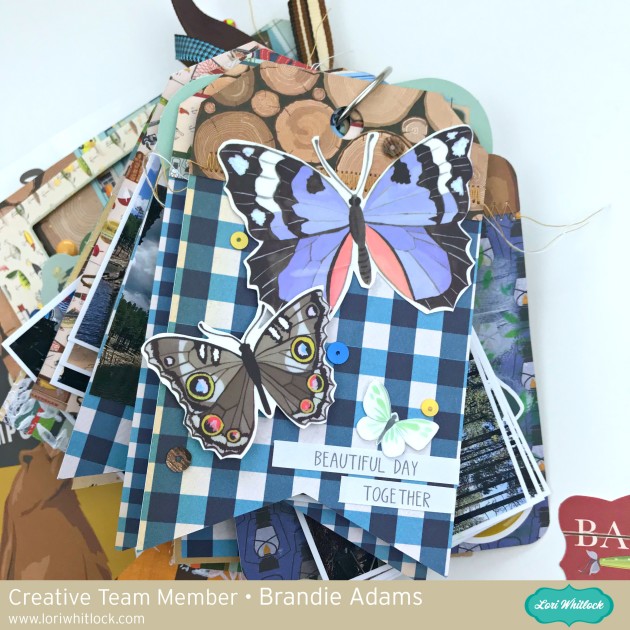
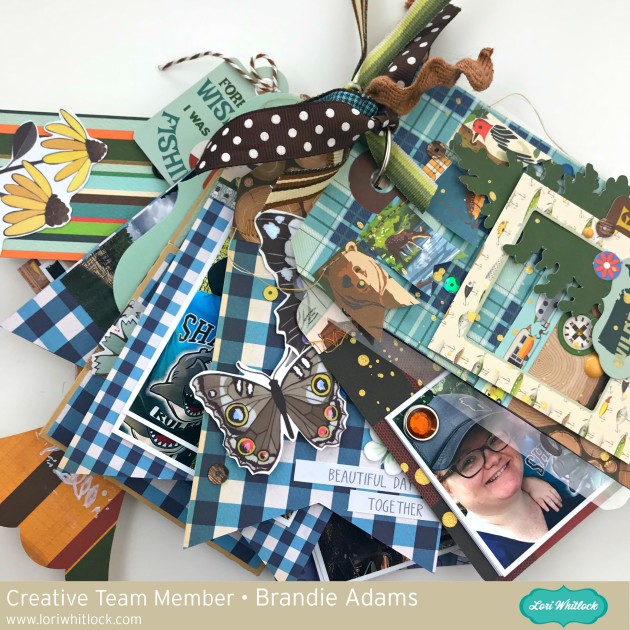
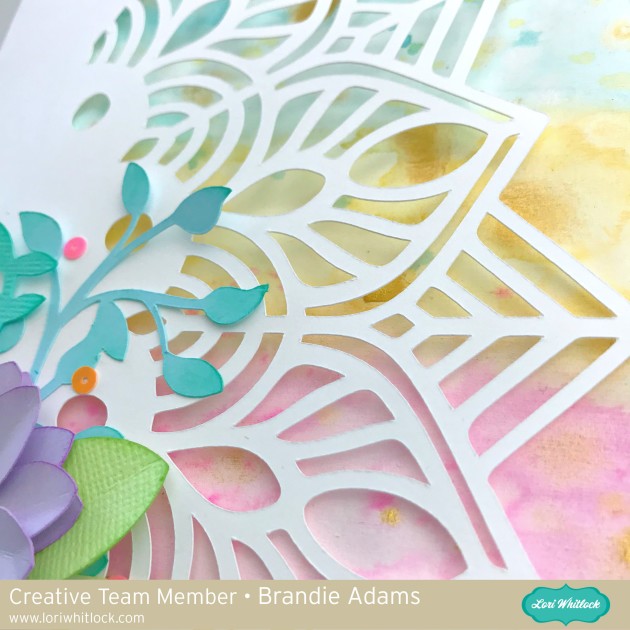
Hi there friends! Brandie here with a fun project to get you in the mood for all the Fall things! Fall is my favorite season. I love the colors, smells, and most importantly the cooler temperatures! ( I live in the desert of Arizona) For this months project I also challenged myself to use something from the August 2018 Kit of the Month. I picked the Shadow box 11.3×11.3 6 windows. (SVG, Silhouette)

Lori has a great video tutorial on how to assemble the shadow boxes here. I watched it a couple of times to get a good idea on how to assemble the shadow box.
I used Bazzill Marshmallow cardstock for the frames. This cardstock is extra thick and worked beautifully. I used Scotch tacky glue to glue everything together. (except for the outside bottom of the frame.) After I had the smaller frames lined up in the correct spot I used my scissors to press the insides tabs down to get a good seal on the glue.
For the outside of the frame I added some dark brown twine to the top of my frame so that I can hang the shadow box. I also used extra strong double sided tape for the last outside section of my frame. I wanted to be sure I had a good quick adherence for the inside tabs I wouldn’t be able to reach with my fingers or scissors.
The front and back of the shadow box is covered with papers from the Celebrate Autumn collection by Echo Park.


Once I had my shadow box assemble I went on to the embellishing. The flowers on top of the shadow box are a sunflower (SVG). I kept them pretty simple. I used a golden brush pen to draw some lines on each petal. I pinched each petal lightly then bent up the end of each petal. I then glued each segment down one on top of the other. For a little added bling I used a brad from the Echo Pack Celebrate Autumn collection for the center of the sunflower.

The paper pumpkins are from the Pop Up Box Card Fall Pickup. (SVG, Silhouette). I resized them to fit into the window. I also used the tree from this card in the window with the hedgehog.


For the falling leaves window I used the trees, fence, and oak leaves from the Flexi Card Fall Scene. (SVG, Silhouette)

All of the remaining windows are filled with stickers, tags, ephemera, chipboard, and papers from the Celebrate Autumn collection by Echo Park. The little resin pumpkin, pinecone, acorns, and berries are from floral picks I purchased from Hobby Lobby.
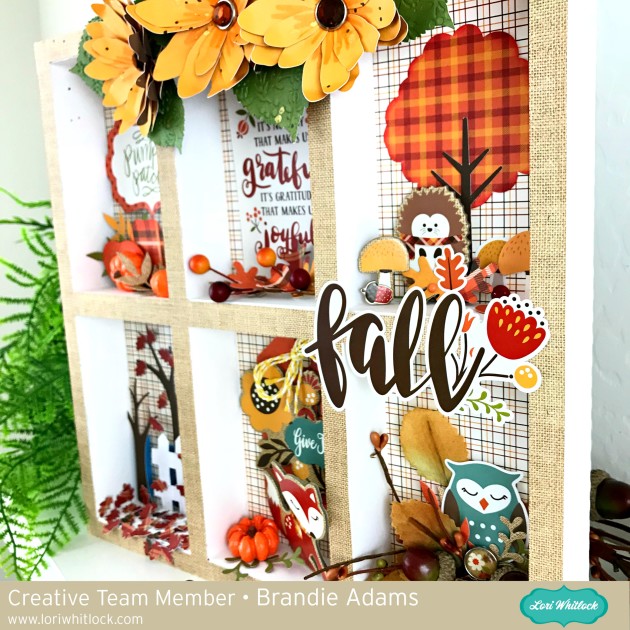

I love how this project turned out. I am so looking forward to Fall! Thanks for stopping by today!
Happy crafting!
Brandie

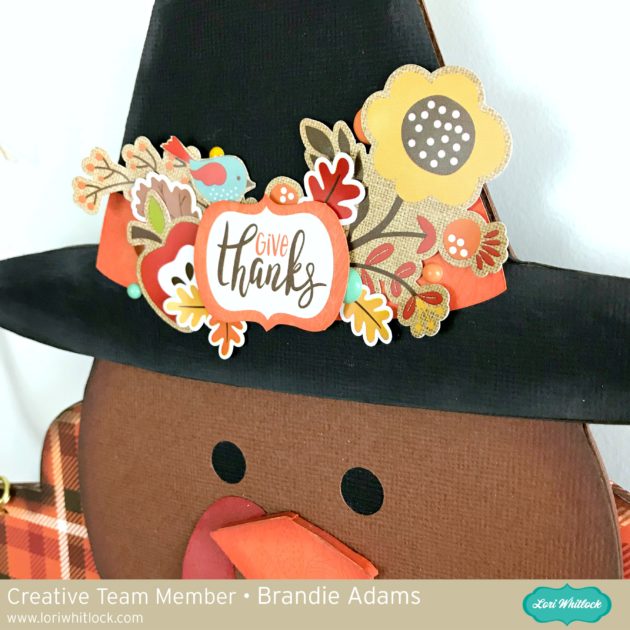
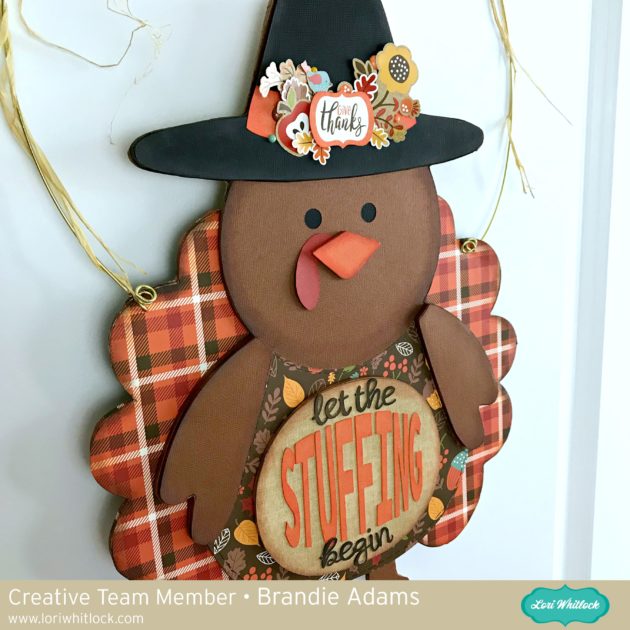 For the dimension I cut the main body shape, hat, beak, arms, and oval by hand out of cardboard and covered with paper.
 I cut the saying three times out of cardstock then glued them together.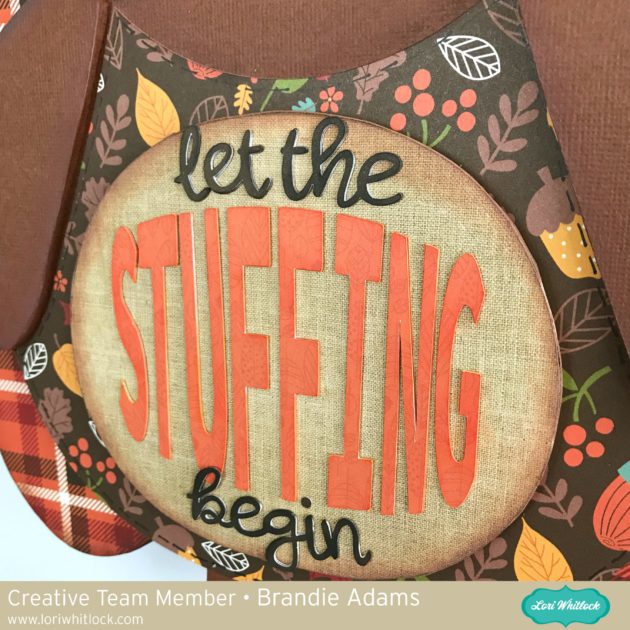
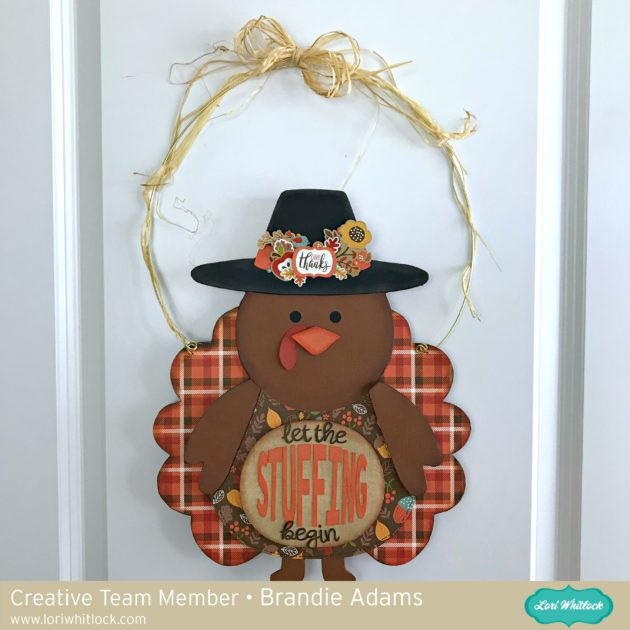 That’s it for me today. I hope you all have a safe and Happy Thanksgiving!
 The cards needed to be adjusted for the shaker element. The first thing is to remove the score line. (I was careful not move the remaining images because they are aligned perfectly for slicing.) Once the score line was deleted I selected the white top layer and the second black layer and sliced the images.
 Now that the two layer have been sliced I have two white images and two black images. I deleted the two black images and the original white image.
 I repeated the above steps for the other two cards. I then adjusted the size to be a perfect 5×7. This is now the fronts of my shaker cards.
 I created a new card base for each of the cards. I added a 10×7 rectangle and add a score line down the center. I also cut three additional 5×7 rectangles for the bottom layer of the shaker element.
 For the shaker bits I created some pockets with a fuse tool and plastic page protectors. When I create shaker pockets I like to use a scrap piece of paper to help me fuse in a straight line. I made three pockets 4 3/4×6. I trimmed the excess plastic and added the sequins and star glitter to my pockets then fused the top closed.
 I dry fit my shaker pocket with the front and back 5×7 rectangles then marked where I needed to attach the shaker pocket. I attached the shaker pocket with super sticky double sided tape. Then added two layer of craft foam around the edges of the shaker.
 I also added some black and white bakers twine to finish off my cards.