Hi there crafty friends! One of my favorite Christmas traditions is making an ornament for my tree. I have a seven foot tree covered in handmade ornaments that I love. Making Christmas ornaments was something I did with my family growing up and I look forward to passing on this tradition with my own family.
 This year I decided I wanted to make a nativity ornament. I used the Nativity Mary Joseph Jesus file. ( SVG, Silhouette) and the 3D Poinsettia file (SVG, Silhouette). I also used a DIY ornament, transparency film, pink and green cardstock, gold foil paper, snow filler, and ribbon.
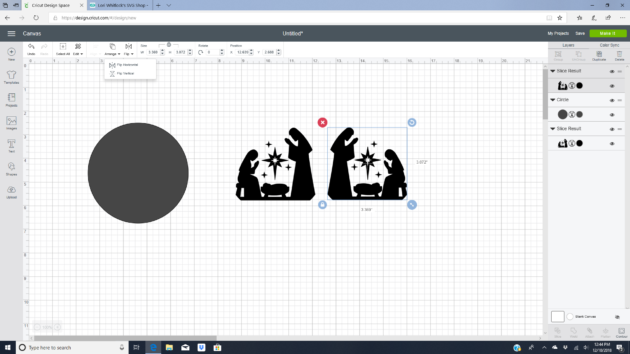
Once I had the nativity image into design space I selected everything and welded the image together.
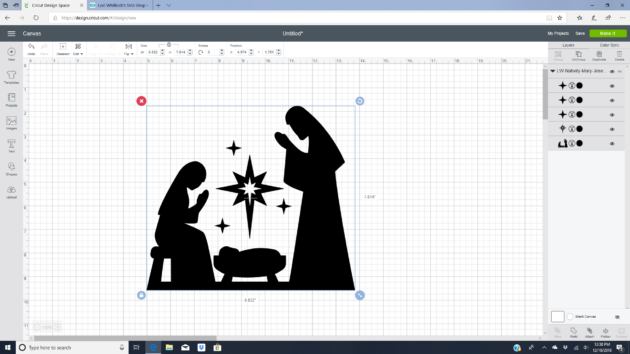
I then resized the nativity to fit over a 4.25 circle. I wanted the nativity image to fill a lot of the circle without Josephs head hitting the top of the circle.
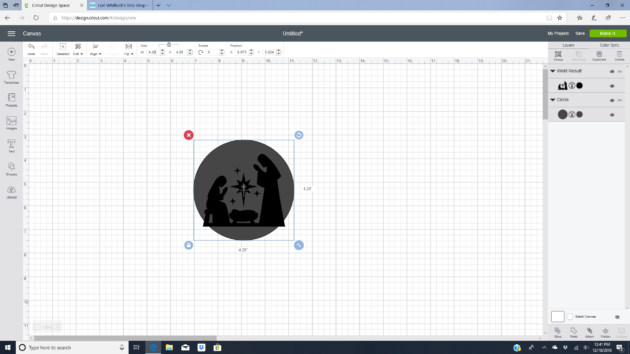
While the images are stacked together I selected both images and sliced the images. Creating three separate images. I could have skipped this step and just fussy cut the corners off but doing it this way also helped me line up the nativity on the transparency film. I deleted the middle image and the one on the left.
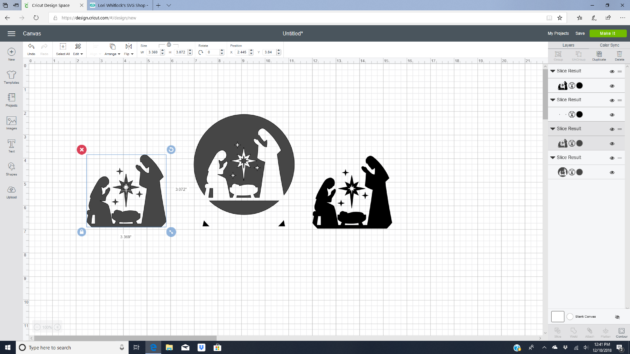 I then added another circle. Duplicated the nativity and flipped the duplicated image horizontally. This way the gold foil paper will be on both sides of the transparency film.
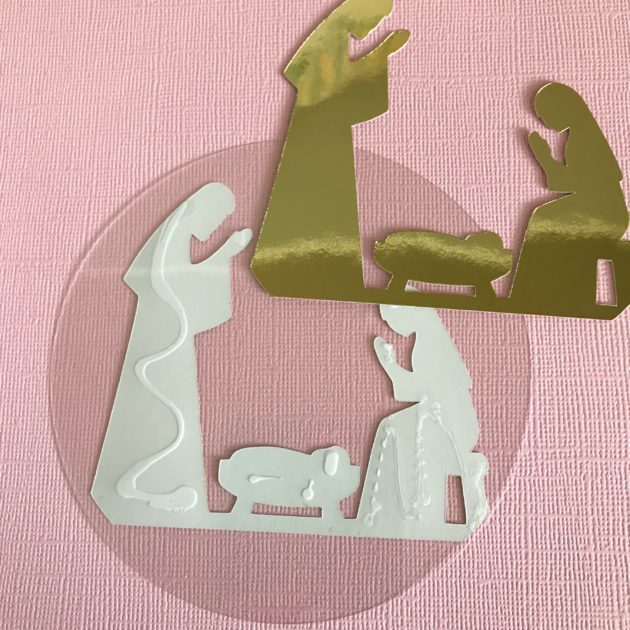
 I cut the nativity out of gold foil paper and the circle out of transparency film. I then glued the nativity to transparency film. On my first side I used wet glue. It worked but I could see the glue through the gold paper. I then used a tape runner to attach the second side. Which left no visible marks on the gold paper.
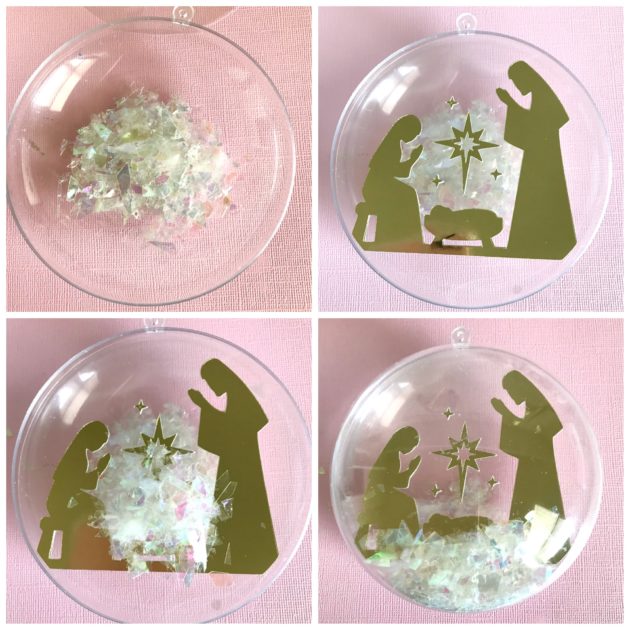
 For the assembly I added a little iridescent snow to the bottom half of the ornament, then the nativity, a little more snow, and then closed the ornament together.
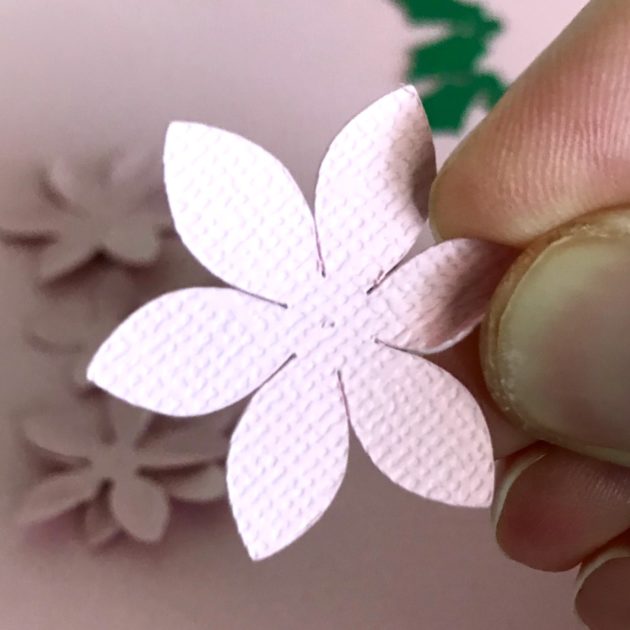
 To decorate the top I cut two 3D poinsettias. The flowers have three concentric layers, two centers and two leaves. I gently pinched each petal and then stacked and glued the flowers together.
 I tied a loop and bow with ribbon and attached the flowers and bow with hot glue.
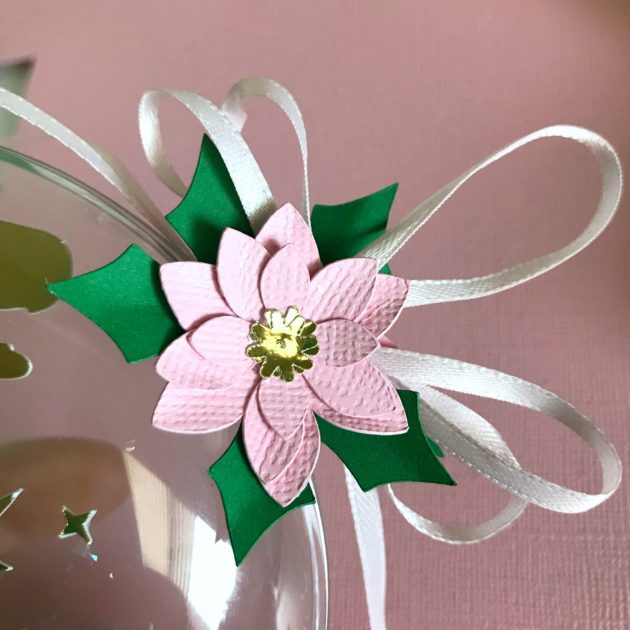 This ornament looks beautiful hanging on the tree. It would also make a lovely gift.
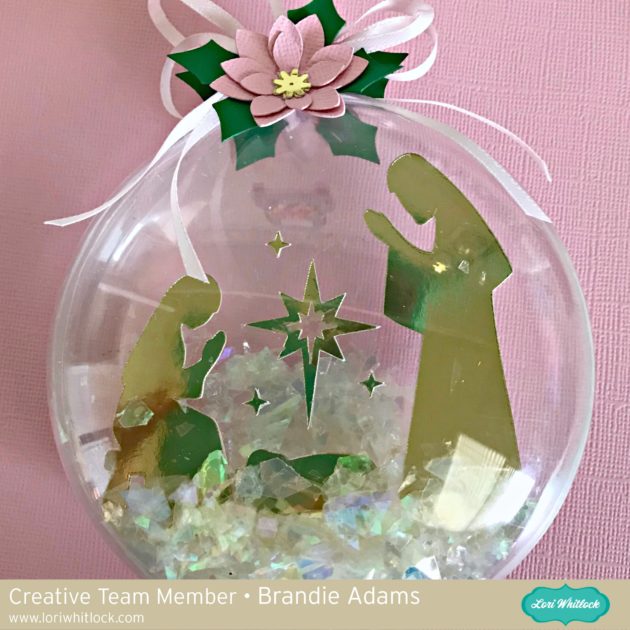 I hope this ornament inspires you to make an ornament for your tree. Thanks for stopping by and Merry Christmas!
Brandie

 I used the Leprechaun Face (SVG, Silhouette), Pot of Gold (SVG, Silhouette), Shamrock cluster (SVG, Silhouette), and the 3D Flower 29 (SVG, Silhouette). For the leprechaun and pot of gold I converted the cut files to a print and cut on glossy photo paper. The shamrocks and flowers are cut from cardstock.
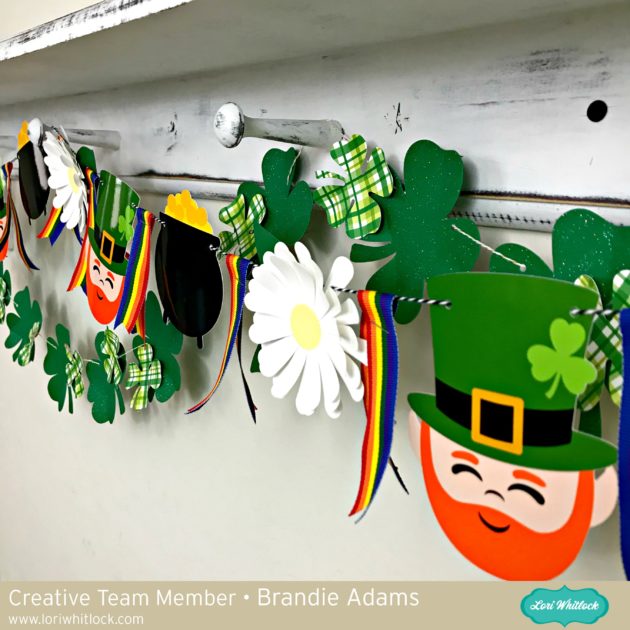 That’s it for me today. Thanks for stopping by.
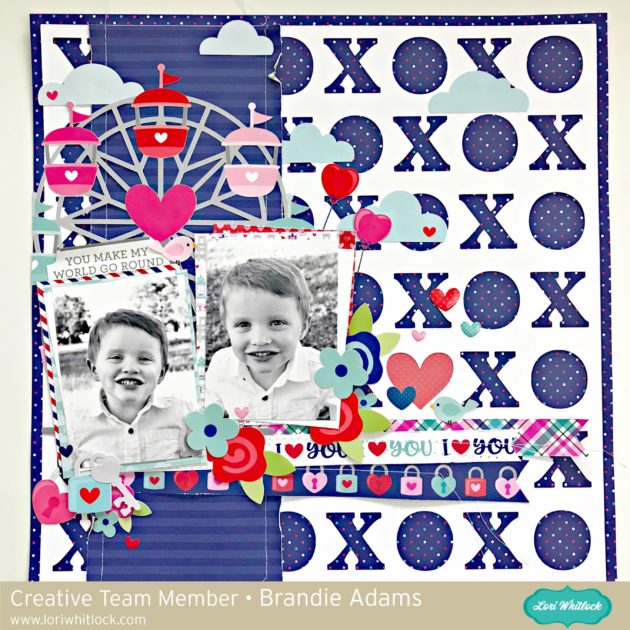 Once I had the cut file uploaded to Cricut Design Space I adjusted the proportions to make it a square.
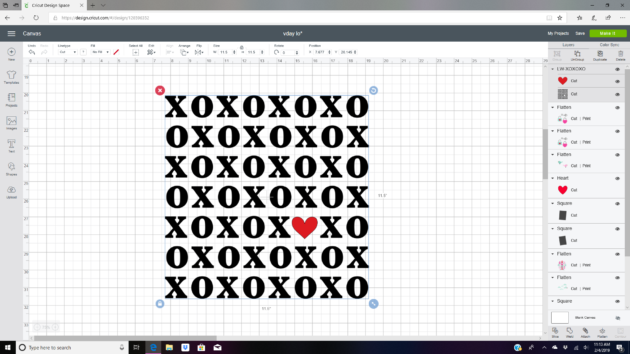 I also did not want the heart to be a separate cut from the XOXO so I selected everything and welded the images together.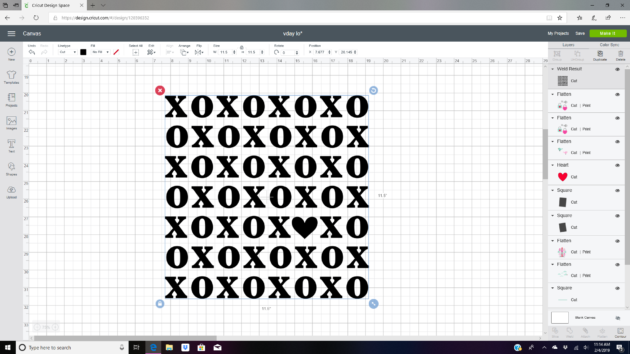
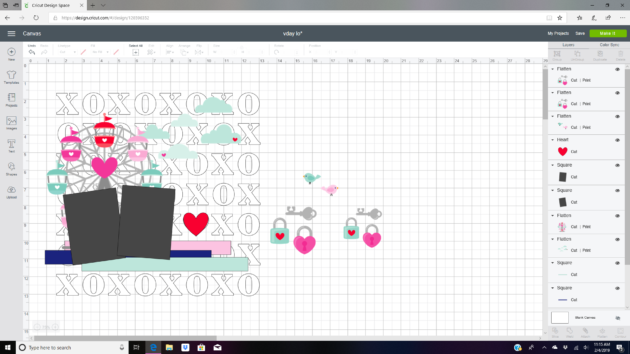 I used white cardstock to cut the XOXOXO background.
 The only spaced I backed with paper was the heart shape.
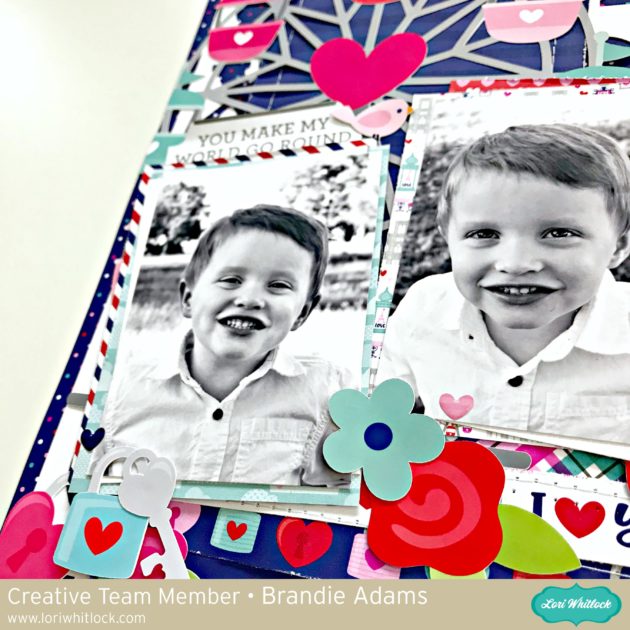 I also added a few straight stitches with a sewing machine. I ruffed the edges of the paper with an edges distresser tool.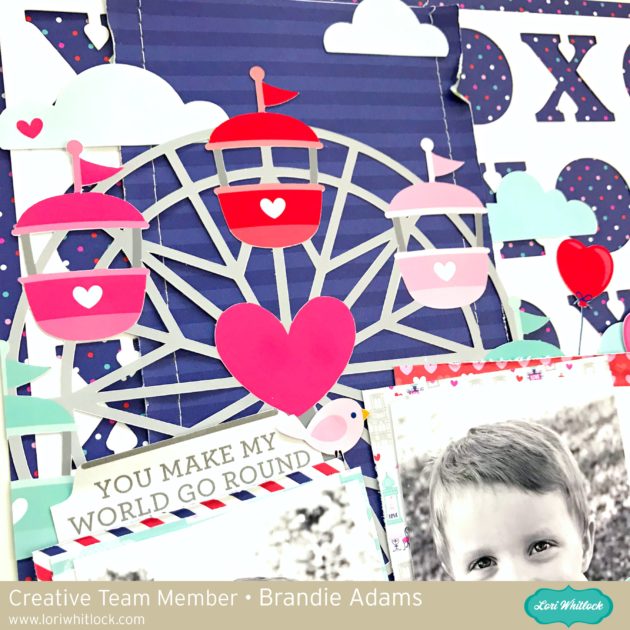
 Thanks for stopping by!
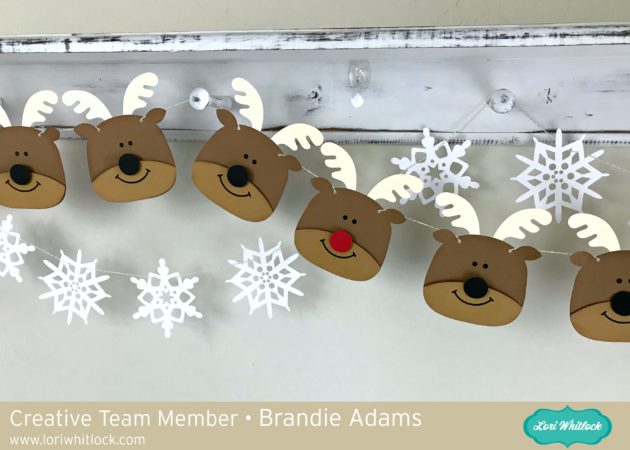
 My little guy was so excited when I hung the banner he kept asking me to tell him the reindeer names.