Thanksgiving Host Gift Set

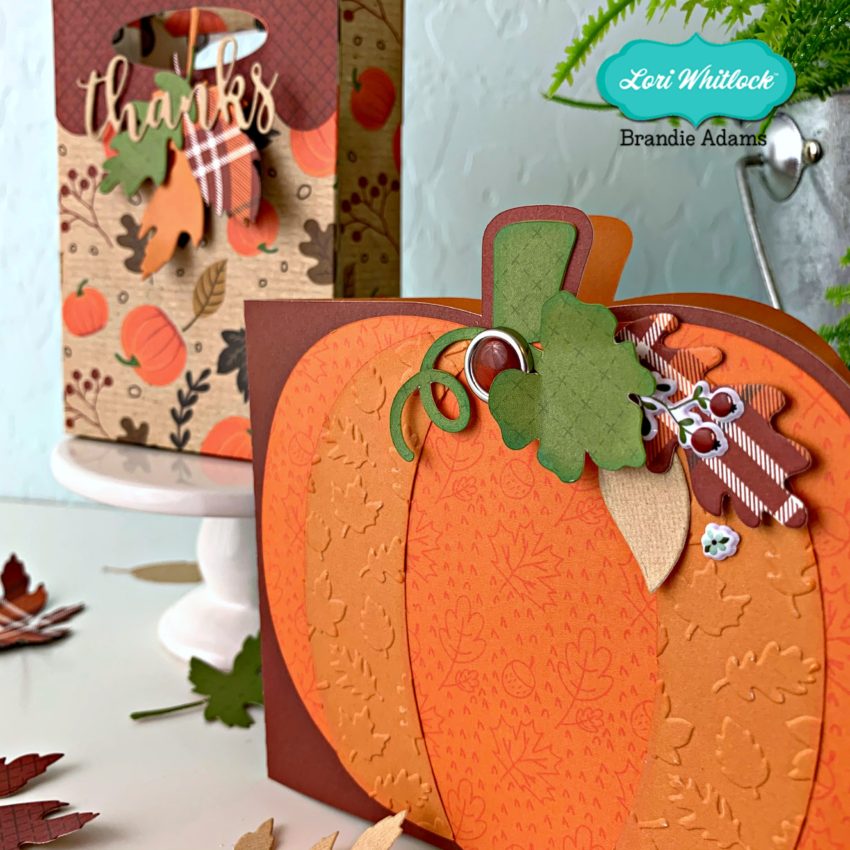
Hi there friends! Are you lucky enough to get to attended a Thanksgiving dinner and not do any of the cooking?! Well then I have a Host/Thank you gift set idea for you! I used the Shaped Card Pumpkin (SVG, Silhouette) and the Gift bag with Handle Scalloped (SVG, Silhouette).

This little bag is perfect to tuck a few little treats in and maybe a gift card for a coffee. The papers and embellishments all come from the My Favorite Fall collection by Echo Park.

Thanks for stopping by today and I hope you get to spend Thanksgiving with the ones you love most!

Brandie

Santa Mailbox

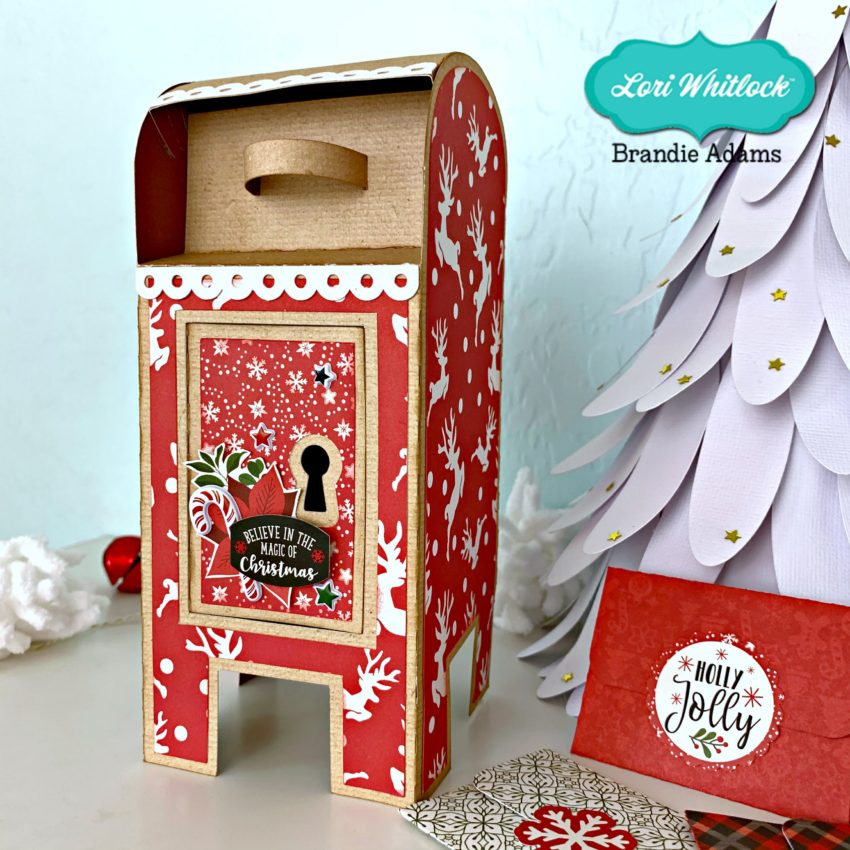
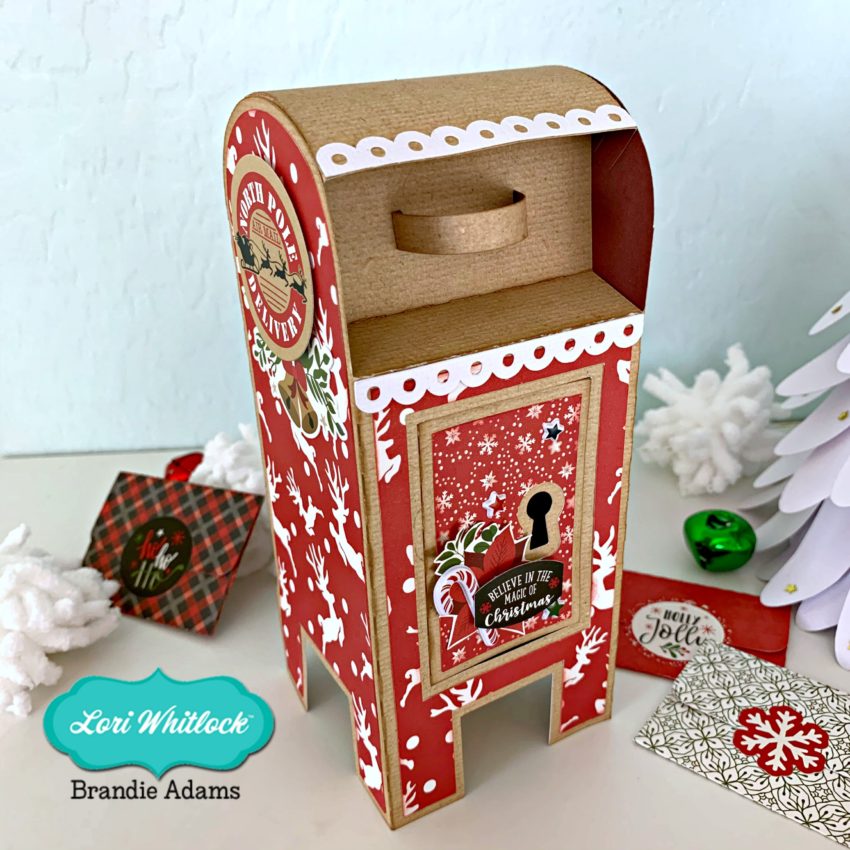
Hello friends! Brandie here with a Christmas spin on the Valentine mailbox (SVG, Silhouette). This darling box can be filled with a treat and given as a gift. I also think it would be a fun way for littles to communicate with their elf and Santa. I know my little guy will love it.

The papers and embellishments are from the Echo Park collection My Favorite Christmas. There is also an assembly tutorial here.

Thanks for stopping by today and happy Christmas crafting!
Brandie

Halloween Favor Box Coffin Tutorial

Hi there friends! Brandie here with a quick tutorial for the Halloween Favor Box Coffin (SVG, Silhouette). I needed another cute Halloween treat and was inspired by Michelle’s coffins a few weeks ago.

I cut the coffin lid, coffin base, and skull head  from 80lbs cardstock and the decorative panels are cardstock from the Echo Park Bewitched Collection. I then folded all of the score lines in a valley fold.

I added glue to the tab on the end then adhered the tad to the opposite end with the tab on the inside of the coffin. For the bottom of the coffin I glued one tab at a time making sure to line my edges up. I started with the top (1) tab of the coffin and moved from side to side gluing the tabs until the bottom tab (6) was last. I then flipped the tab up and added glue to adhere the base to the edges. Once all of the tabs where secure I added more glue to inside of the coffin and added the second base to cover the glue and tabs. I then repeated the steps with the lid of the coffin.

After the lid was complete I added my decorative panels and glued the two skull pieces together.

To embellish I added a crepe paper rosette, sequins, and a few tickers from the Bewitched collection.

Thanks for stopping by today. I hope you are inspired by all of the projects here and have fun visiting with us!

Brandie

Halloween Lantern

Hi there crafty friends! I hope your week is off to a great start this Monday. It is FINALLY starting to cool off a bit where I live so I’m in the mood for all the Fall and Halloween crafts. I have been wanting to make these lanterns for a while now and just love the Halloween twist I gave them!

I used the 2 on 12×12 Butterfly Lantern (SVG, Silhouette), Rolled Flower 24 (SVG, Silhouette), and Rolled Flower 32 (SVG, Silhouette). The leaves are the Autumn Branches metal dies from My Favorite Fall Collection by Echo Park.

Thanks for stopping by today and I hope you get some Fall crafting in this week as well!

Brandie

Pumpkin Shelf Sitter

Hi there crafty friends! Brandie here with a Fall décor craft tutorial. I love Fall, the colors, smells, and cooler temperatures. Another of my Fall favorites is pumpkins. I usually start pulling out my pumpkins this time of year. I want to enjoy them for as long as possible before all the Christmas holiday stuff shows up.

I used the pumpkins from the Pop Up Box Card Pumpkins (SVG, Silhouette). I like that the pumpkin segments are separate giving the pumpkins some depth. I cut two layers of chipboard and one layer of cardstock or pattern paper. When cutting the chipboard go slow and make several passes. I used my machine’s pre-programmed setting and did not have any troubles. The plaid paper comes from the new Echo Park My Favorite Fall collection.

The width of the large pumpkin is 11.5 and the width of the small pumpkin is 6.5. I used the Scotch tacky glue to glue each layer. Then placed a heavy book on top of the pumpkins while the glue dried. Before I assembled the pumpkins I inked the edges with Vintage Photo Distress Oxide ink. I then used tacky glue to assemble the pumpkin layers.

I tied some raffia and ribbons from my stash around the stems. I then glued the smaller pumpkin to larger one.

Now these cuties will be sitting on my bookshelf all season. I hope this project inspires you to use Lori’s cut files in your crafty décor pieces. Thanks for stopping by!

Brandie