Fall Shadow Box Tutorial with Brandie

Hi there friends! Brandie here with a fun project to get you in the mood for all the Fall things! Fall is my favorite season. I love the colors, smells, and most importantly the cooler temperatures! ( I live in the desert of Arizona)  For this months project I also challenged myself to use something from the August 2018 Kit of the Month. I picked the Shadow box 11.3×11.3 6 windows. (SVG, Silhouette)

Lori has a great video tutorial on how to assemble the shadow boxes here. I watched it a couple of times to get a good idea on how to assemble the shadow box.

I used Bazzill Marshmallow cardstock for the frames. This cardstock is extra thick and worked beautifully. I used Scotch tacky glue to glue everything together. (except for the outside bottom of the frame.)  After I had the smaller frames lined up in the correct spot I used my scissors to press the insides tabs down to get a good seal on the glue.

For the outside of the frame I added some dark brown twine  to the top of my frame so that I can hang the shadow box. I also used extra strong double sided tape for the last outside section of my frame. I wanted to be sure I had a good quick adherence for the inside tabs I wouldn’t be able to reach with my fingers or scissors.

The front and back of the shadow box is covered with papers from the Celebrate Autumn collection by Echo Park.

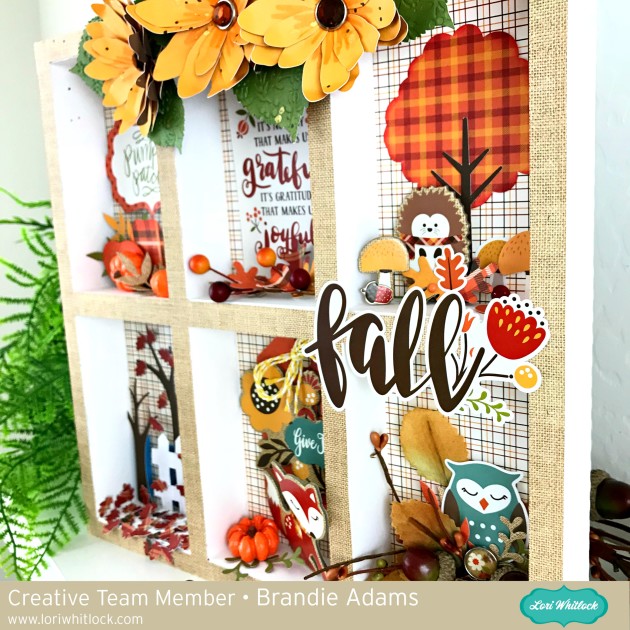
Once I had my shadow box assemble I went on to the embellishing. The flowers on top of the shadow box are a sunflower (SVG). I kept them pretty simple. I used a golden brush pen to draw some lines on each petal. I pinched each petal lightly then bent up the end of each petal. I then glued each segment down one on top of the other. For a little added bling I used a brad from the Echo Pack Celebrate Autumn collection for the center of the sunflower.

The paper pumpkins are from the Pop Up Box Card Fall Pickup. (SVG, Silhouette).  I resized them to fit into the window. I also used the tree from this card in the window with the hedgehog.

For the falling leaves window I used the trees, fence, and oak leaves from the  Flexi Card Fall Scene. (SVG, Silhouette)

All of the remaining windows are filled with stickers, tags, ephemera, chipboard, and papers from the Celebrate Autumn collection by Echo Park. The little resin pumpkin, pinecone, acorns, and berries are from floral picks I purchased from Hobby Lobby.

I love how this project turned out. I am so looking forward to Fall! Thanks for stopping by today!

Happy crafting!

Brandie

Tag Mini Album Tutorial with Brandie

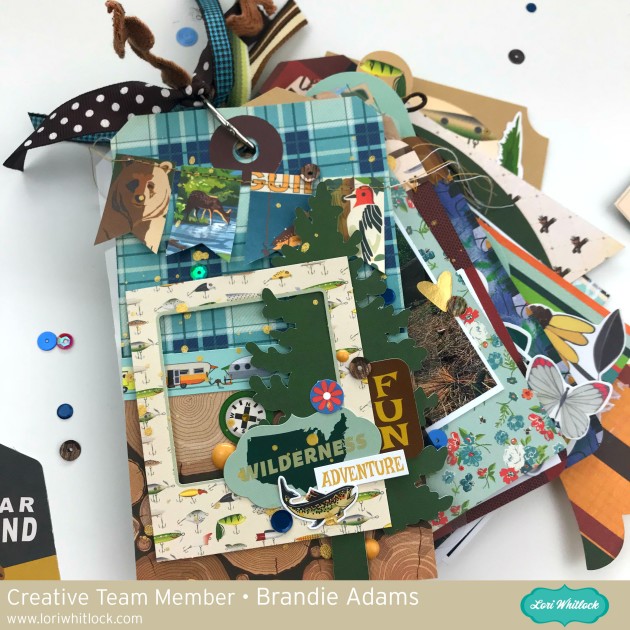
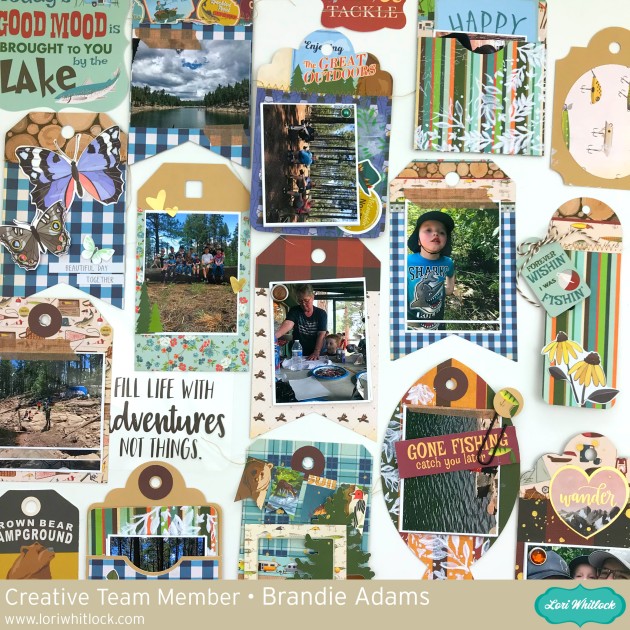
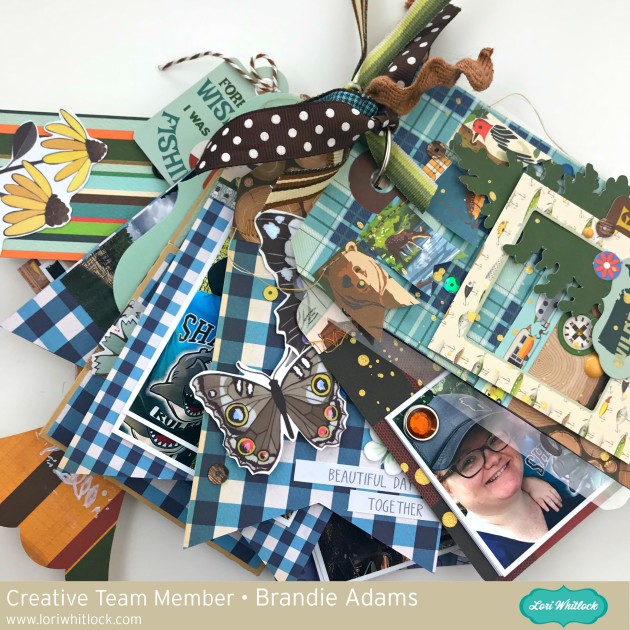
Hi there crafty friends! Brandie here with a tutorial on how I made this tag mini album. I know this project isn’t anything we haven’t all already seen before, but it is a great reminder of all the great basic shapes Lori has available.

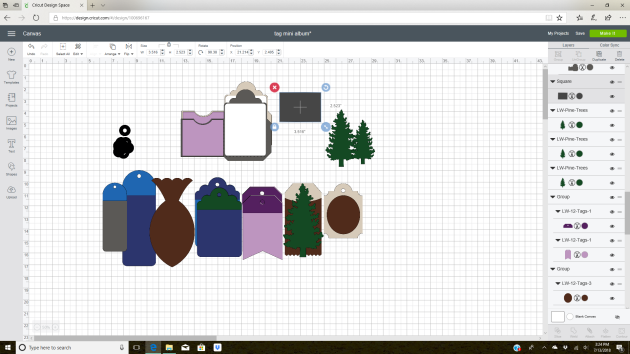
I used several cut files. 12 Tags (SVG, Silhouette) Tag Mini Album (SVG, Silhouette) Pine Trees (SVG, Silhouette) Fill Life with Adventures (SVG, Silhouette) and Fish (SVG, Silhouette).

Once I had everything uploaded I resized everything to fit 3.5 x 2.5 inch picture. I wanted some varying sizes on the tags so I made some a little smaller and some a little bigger.


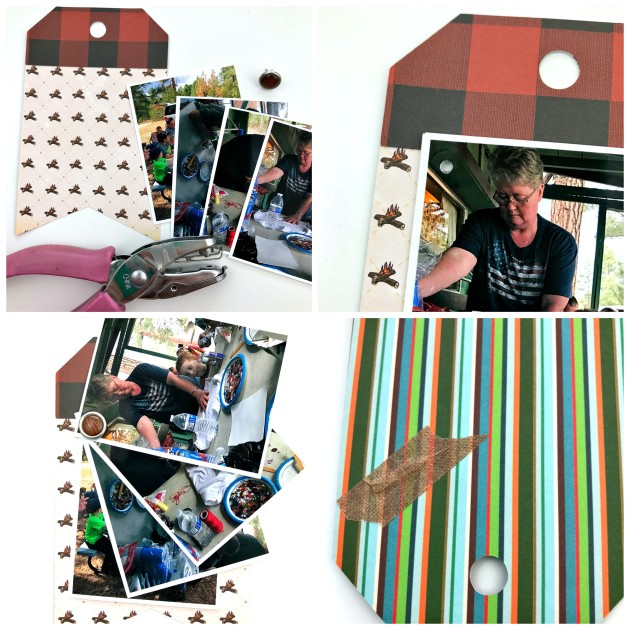
I got everything cut out and glued the tag pieces together. I cut 12 tags and printed 36 pictures so I needed a way to include a few picture on each tag.

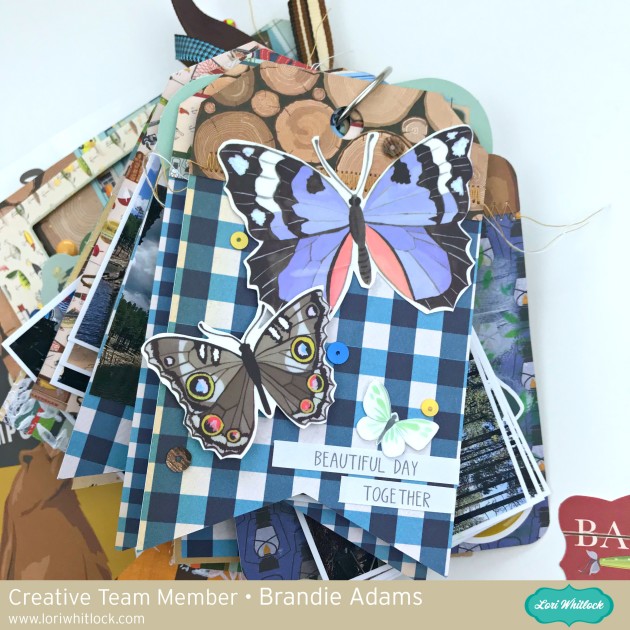
On a couple of the tags I stacked 3 or 4 pictures together, punched a hole in the top left corner, inserted a brad, then flipped the tag over and added washi tape to the prongs so that I wont have to worry about snags or tearing on the next tag.

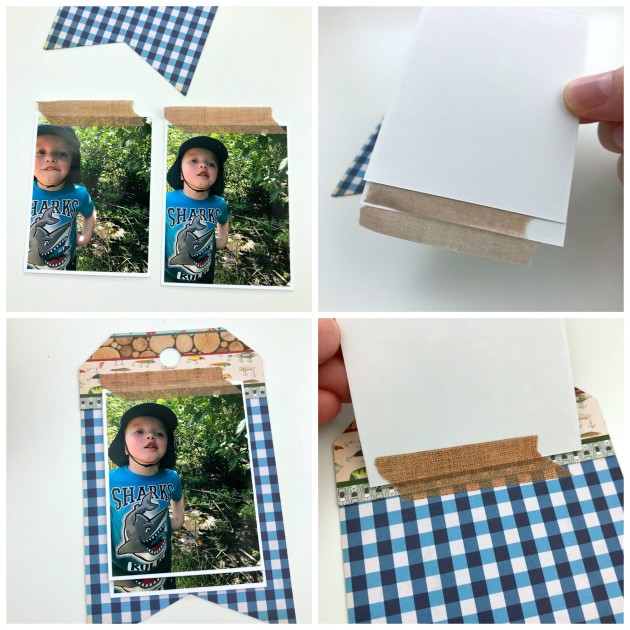
Another way to add several picture to a tag is to create a washi tape hinge. Place a strip of washi tape at the top of each picture, stack the pictures in a cascade, turn over and adhere to the tag, flip each picture over and apply another strip of washi tape to the back of the picture.

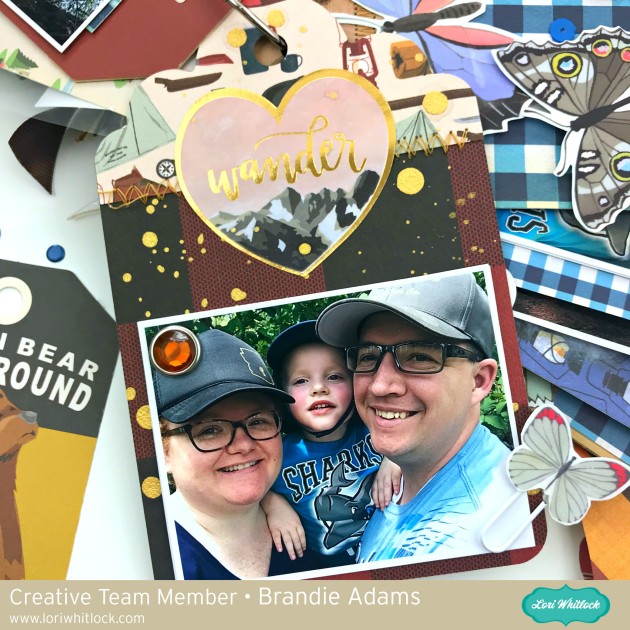
To embellish each tag I used a variety of stickers, washi tape, die cuts, word strips, and twine. I also did a little mixed media on a few of the tags for added texture.

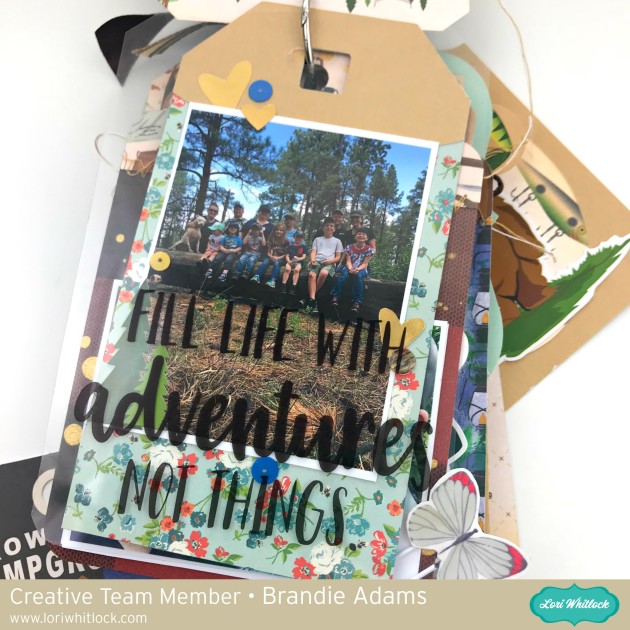
I printed the Fill life with adventures not things on a transparency and placed it on top of a group picture.

The patterned papers and ephemera are from the Gone Camping Collection by Carta Bella.

Thanks for stopping by and happy crafting!

Brandie

Lace Edge Card with Brandie

Hi there Friends! I’m sharing one of the new Lace Edge Cards with you today (SVG, Silhouette). These cards are so pretty and look great by themselves or embellished.  For the front of this card I also used Lori’s 3D Flower 8 (SVG, Silhouette). I added a few branches, a print and cut sentiment, and some pretty sequins.

I cut the card out of white cardstock then painted the pocket cover with water colors.

I hope this card inspires you to try one of the Lace Edge cards. Have a great week and enjoy the holiday!

Brandie

Frog Bobble Head Favor Box with Brandie

Hi there Friends! Brandie here with a bobble head favor box. I needed a little box to tuck my favorite tube of baby cream and a gift card for a new momma friend.

I used the Favor Box Tuck Flap (SVG, Silhouette) and the Bobble head Card Valentine Frog (SVG, Silhouette). All of the papers come from the Sweet Baby Boy Collection by Echo Park.

I uploaded the bag and card into Design Space. I then removed  the images I wouldn’t be using for this project, resized the frog and banner, and changed the greeting to say Welcome Baby.

I inked the edges of the banner and frog. Assembled the bag, banner, flowers and frog.

For the wobble feature I DIY’ed my own wobble spring. I used 26 gauge wire, a hot glue gun, pencil, and two 1 inch paper circles. I wrapped the wire around the pencil a few times, cut the excess wire, then applied some hot glue to the paper circles, attached the wire spring to the hot glue on both ends, and then used liquid glue to attach the wobble spring to the back of the frog head.

I assembled the bag using liquid glue and attached wobble spring to the bag.
It is hard to tell in still images, but that head is very wobbly! I love that I was able to get the same effect without having to buy anything extra.

That’s it for me today. Thanks for stopping by!

Brandie


Pop Up Drawer Birthday Fish with Brandie

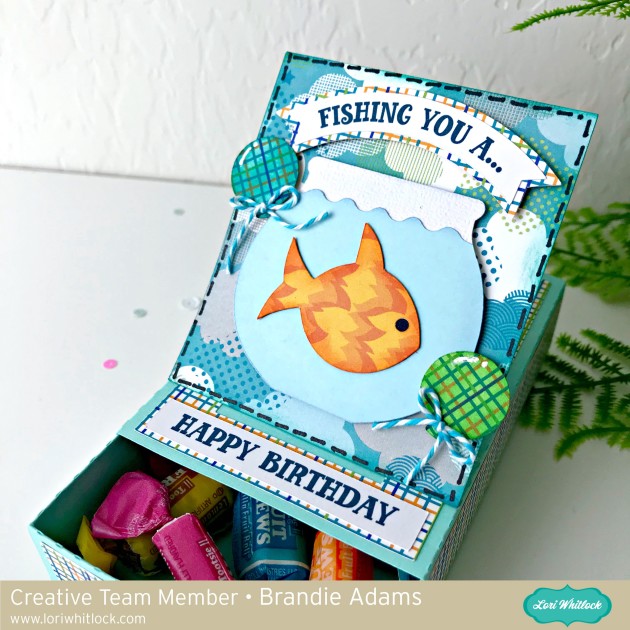
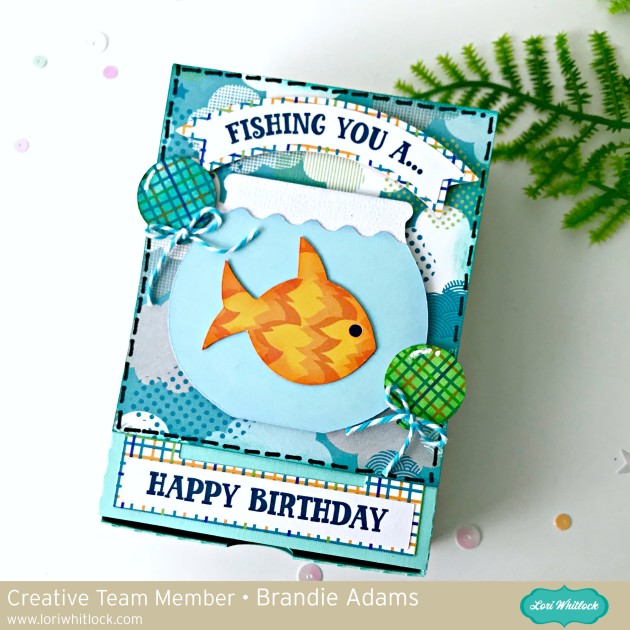
Hi there crafty friends! Brandie here with one of the Birthday Pop Up Drawers. You can find them in the Loris shop and in the Silhouette store. Lori has several different options for this fun interactive card. This particular card is headed to a sweet boy but the unicorn is next on my list of this cards to make!

The little drawer is perfect for filling with treats, cash, or a gift card!

If you need help assembling there is also a video tutorial. You can find it here. I hope you give these pop up cards a try.

Thanks for stopping by today!

Brandie