Hello friends! Marcia here today. Toward the end of summer when all the county fairs are in full swing and the state fair is looming, I start craving mini donuts. I can’t help myself. I thought it appropriate to indulge myself and at least make a donut card. Lucky for me Lori has the cutest little Donut Truck Box Card in her store (SVG, Silhouette).

This card has lots of pieces, but it is super easy to put together. Let me show you how.
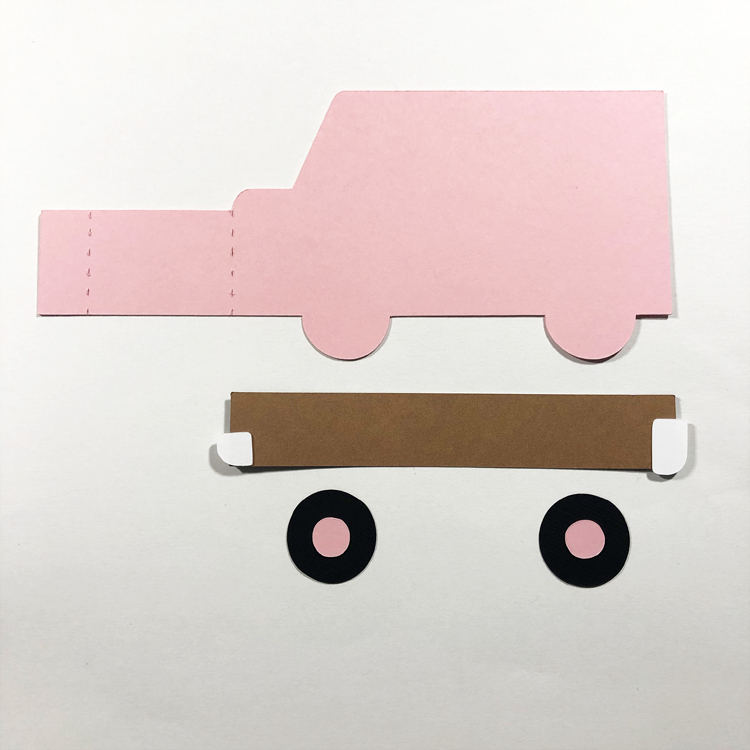
- Cut out all the donut truck pieces from the desired color of cardstock or pattern paper. I used the Print and Cut feature in the Silhouette Design Studio to print Donut Worry Be Happy on my computer’s printer before cutting it out.
- Arrange all the front cut outs with the front base cardstock truck and start to glue the pieces in place as shown. I found it easier to work from the bottom up. Layering the truck body on first, followed by the truck’s side panel and tires. Last I added the truck window and awning. I placed foam tape under my awning only on the bottom so that it would pop up away from the truck. The top of the awning was glued to the truck.

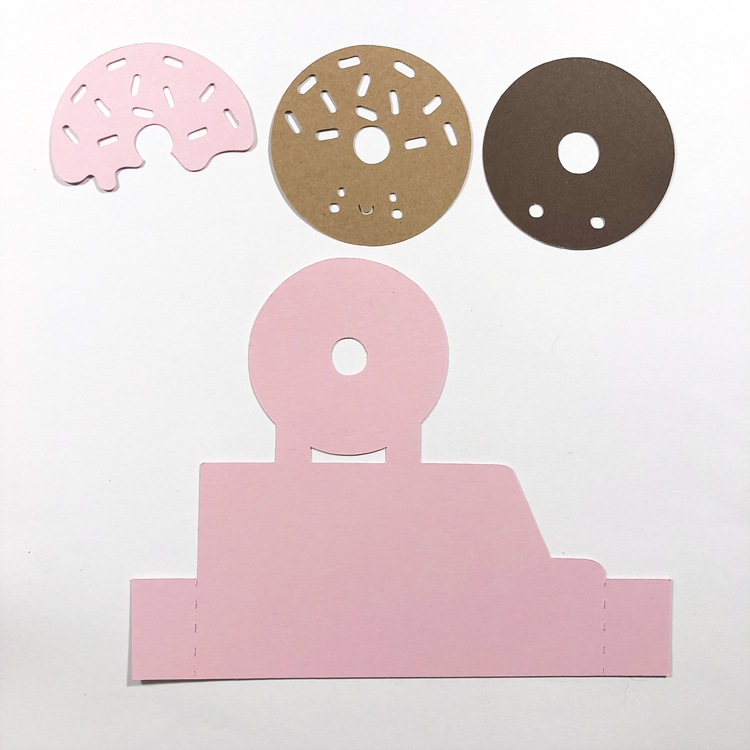
3. Arrange the middle card cut outs and glue in place lining up the sprinkles and cheeks. Pink on top of the light brown. Then that on top of the dark brown and finally adhering the donut to the center card base.
4. Then we assemble the back of the truck card, gluing down the side panel and wheels.
5. Now that all the pieces are assembled, it is super easy to glue the front to the back of the truck creating a box. Add some glue to the center card tabs and carefully adhere to the inside of the card, lining up the top.
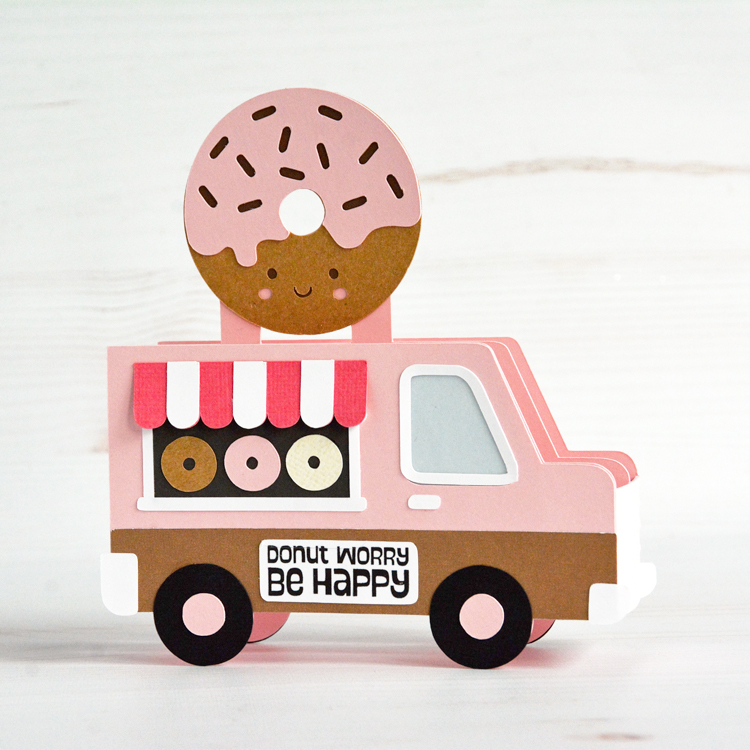
This is such an adorable card and is sure to lift the spirits of any recipient, especially if gifted along with donuts 🙂 Be sure to check out all the other food truck box cards in Lori’s shop as well. Note: This box card does fold flat for mailing in a 5×7 envelope.
Have a great week!
~Marcia