Happy Birthday Pop Up Cake Card 2

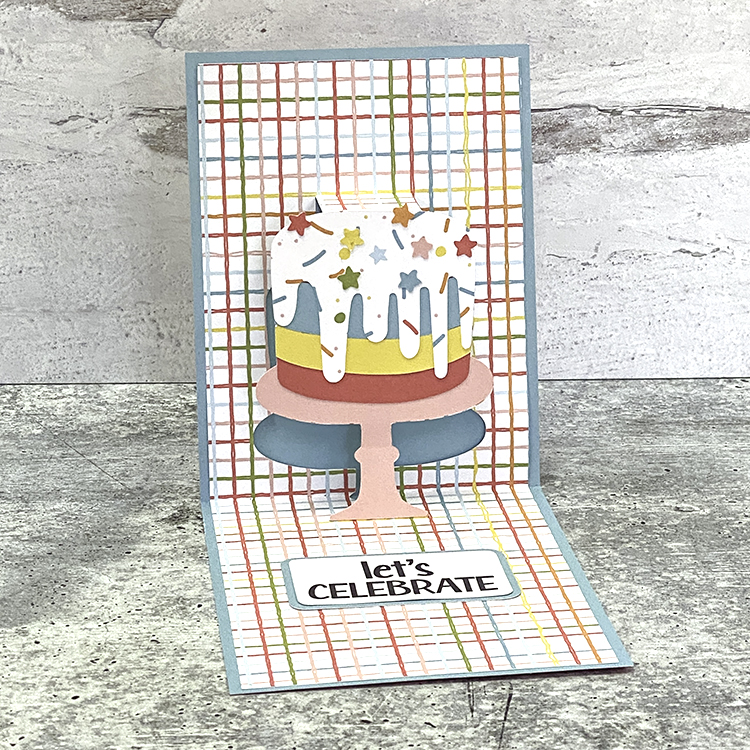
Hi Everyone!  It’s Kathy today with one of Lori’s fun new cards from the Awesome Birthday Card Bundle.  This Happy Birthday Pop Up Cake Card 2 (SVG, Silhouette) is such a fun card, and really easy to put together.  I put my version together with Echo Park Paper’s new Birthday Girl Collection, take a peek…

And the outside is just as cute!

I put together some easy instructions for this card below….

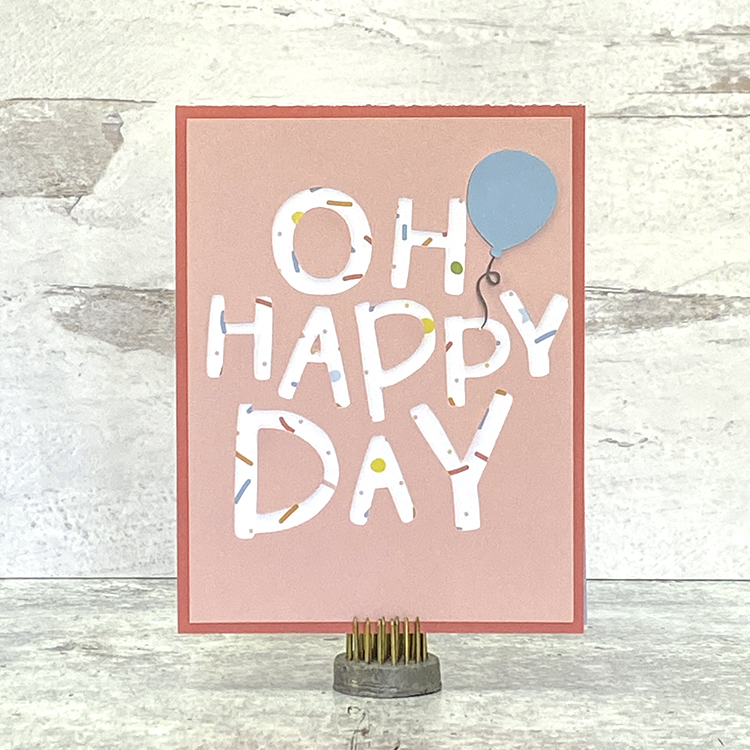
I started by cutting all of my pieces.  I also print and cut the sentiment piece.  Note that I did save the “inside pieces” of the letters on the Oh Happy Day piece so that I could add them to the card.

Next I assembled the front pieces of the card.  Layer the words panel over the background piece.  Add the insides of the letters and the balloon

Add the completed front to the front of the main card base.

Next, I folded the pop out insert along the score lines so that the cake “pops out” when the card is opened.  Here is a side view so you can see how I folded it.

I added another view of the folds.

To add the insert to the inside of the inside of the card, I added adhesive to the “top” or cake side of the insert.  Do not add any adhesive to the part that pops out (the cake)  Fold the insert along the center score line and align and center the fold of the insert with the inside crease of the card base.  Press down to secure the first side.

Add adhesive to the remaining side and fold the whole card over and press to secure.  Note:  Make sure the outside front of the card is on the same side as the cake so it opens correctly

Once the insert was added, I glued cake stand and pieces to the pop out part of the card.  I started with the base.

Next, I glued the cake on the base, added the stripes to the cake and lastly the frosting and stars.  To complete, I added my sentiment.

Check out all of the fun cards in the Awesome Birthday Card Bundle, there is something for just about everyone on your list!  That’s it for me today, thanks for stopping by to peek!

BLOG | INSTAGRAM

Birthday Dog Pop-Up Card

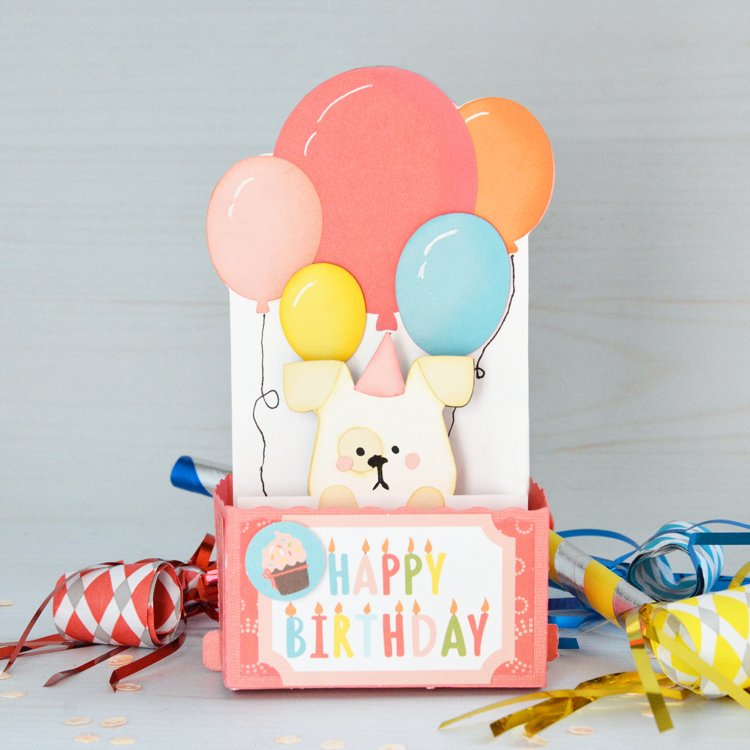
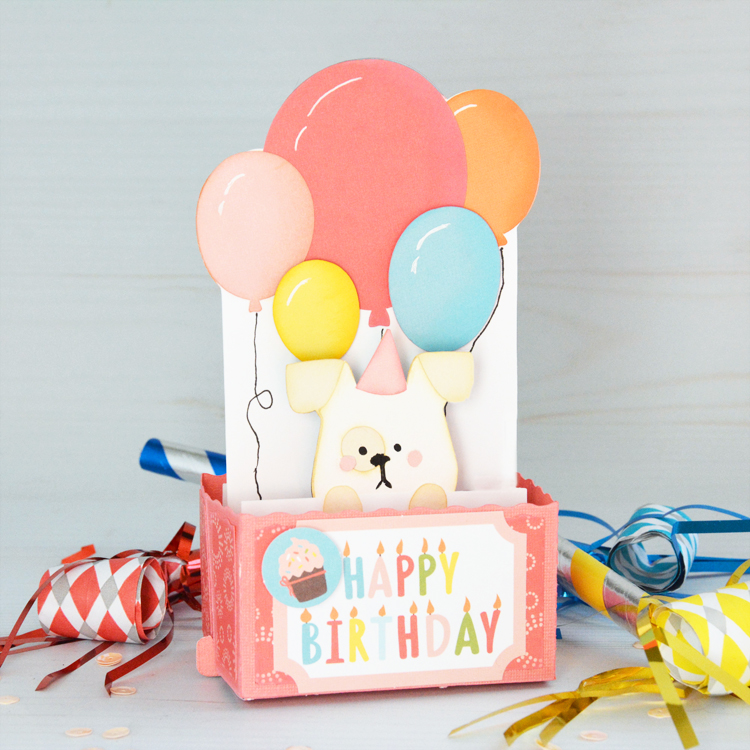
Hello everyone! Marcia here today. I thought I would get a jump start on some of the birthday cards I will need in the coming months. My daughter is turning 30 at the end of the month! I can’t believe it!! Since she is a veterinarian and partial to dogs, so I thought I would make her this Rectangle Pop-Up Dog Birthday Card (SVG, Silhouette).

The card is shown in Lori’s store in bright boy colors, but I wanted my card to be girly. My daughter’s favorite color is pink, so I select a pretty pink pattern paper from the new Lori Whitlock Birthday Girl collection from Echo Park Paper to use for the card panels around the base. I also used die cut ephemera from the same collection for the sentiment on the card front. You can use the print and cut feature to use the Happy Birthday sentiment that comes with the cut file instead if you desire. The balloons were cut with paper from the coordinating Birthday Girl solid color paper pack. I inked the edges for dimension and added highlights with a white gel pen. With a black marker, I even added strings for my balloons.

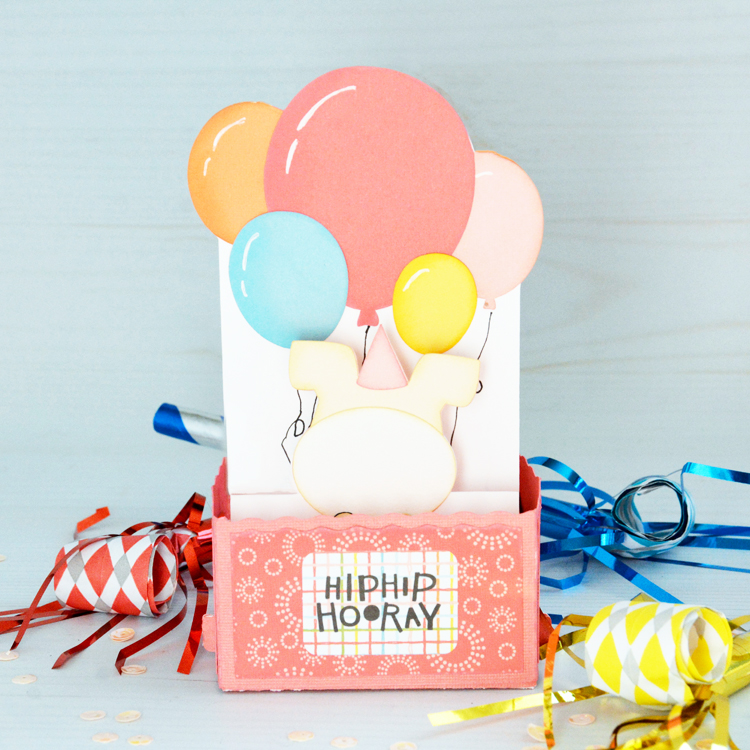
The back side of this card is just as adorable as the front …

This card folds flat for mailing in a 5.5″ x 6.5″ or bigger envelope. Lori also has a tutorial for her rectangle pop up cards here.  There is a super cute cat version of this card as well. Be sure to check it out in Lori’s store.

Thanks so much for stopping by. Have a great week!
~Marcia

New Window Flip Cards!

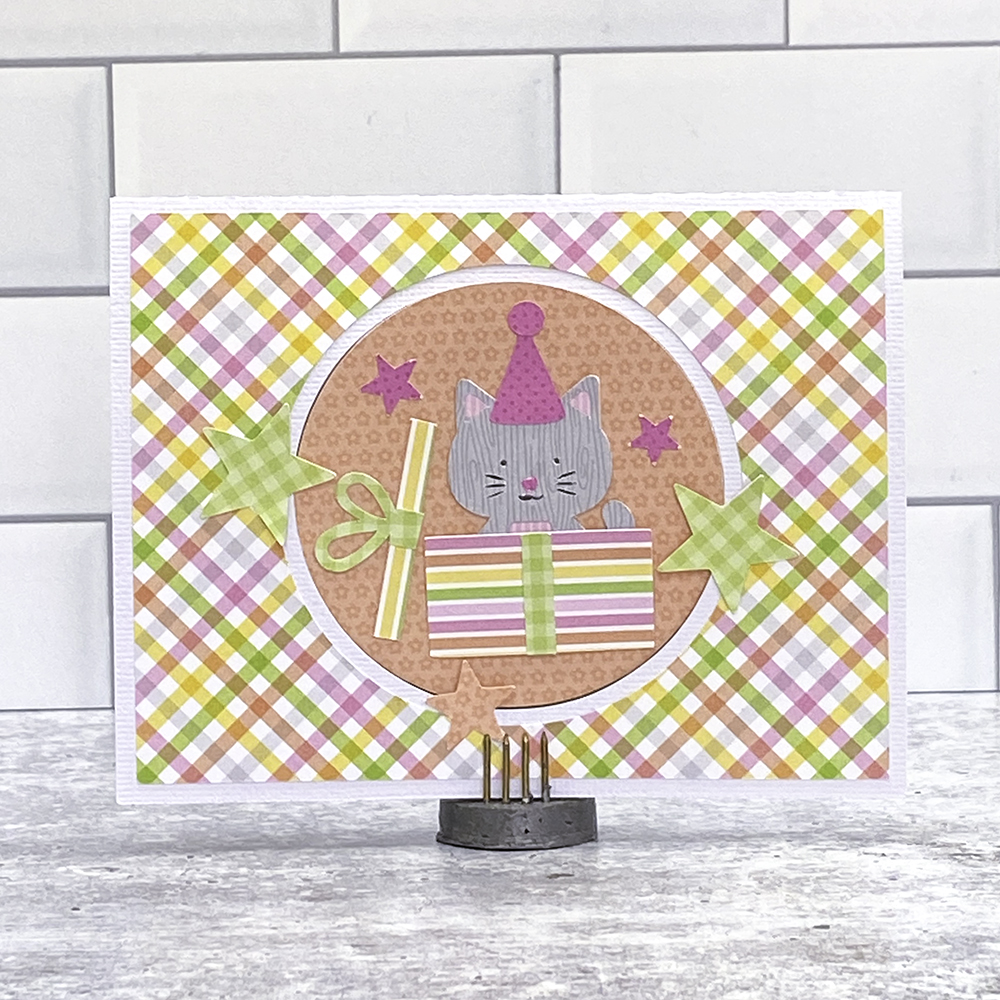
Hi Everyone!  I’m excited to bring you a new card that will be added to the shop this week!  It’s called a Window Flip Card and I made the new Window Flip Card Birthday Cat (SVG, Silhouette – coming this week).  Take a peek…  Here is the front of the card…

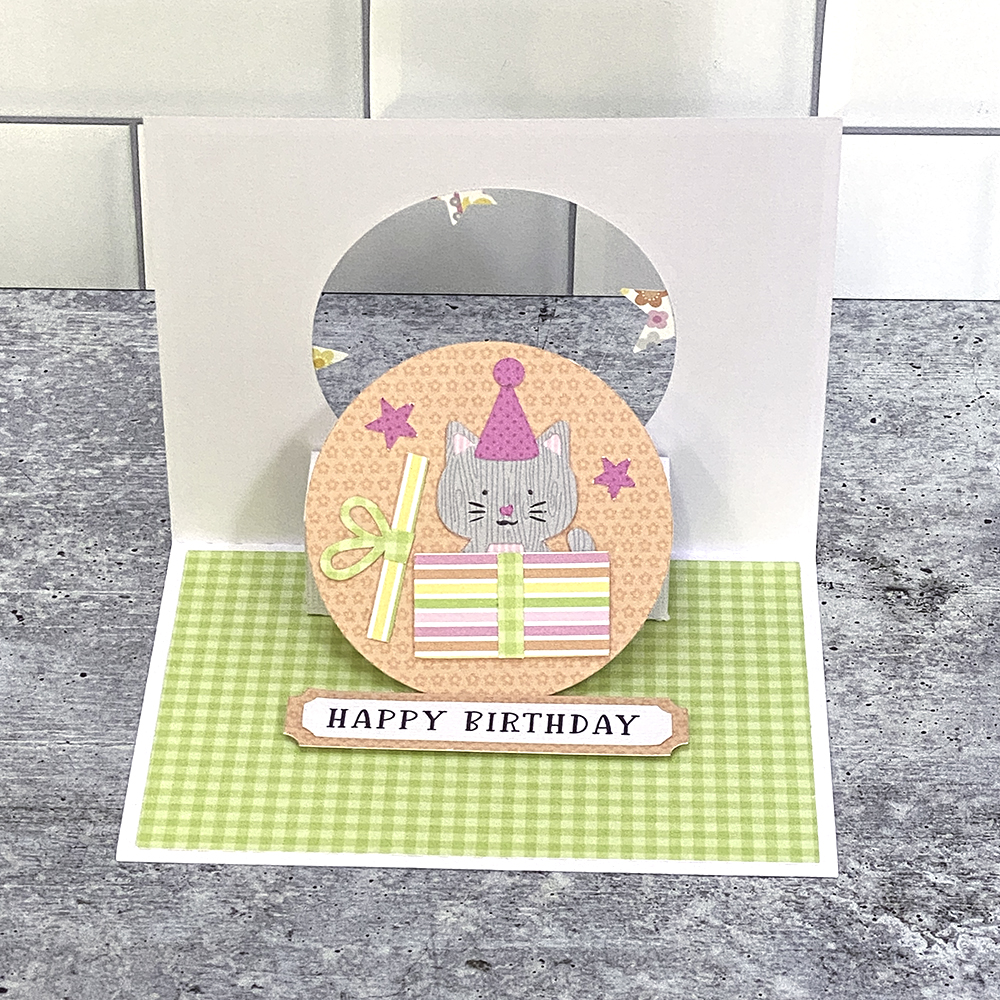
And when you open the card, ta-da! you get a cute little flip up!

These cards are pretty easy to assembly, I’ve put together a quick tutorial below…


In the upper left photo, you will see all the pieces of the card.  I pre-assembled the kitty and present, print and cut the sentiment and added the front cover panel and the inside panel.  If you ever need help with specific piece placement, you can always reload the file into your cutting software, Lori groups the pieces as they go in the final project.

Start with the piece with the 3 score lines.  Fold all the score lines in the same direction.  Cover one end section in adhesive.  Fold the whole piece in half… adhesive on the outside.  Attach this piece to the bottom half of the open card base.  It should be centered, and the piece with the adhesive should be facing down and closest to the fold in the card (see bottom left photo).  Once this is in place, add one strip of adhesive on the section closest to the card fold as shown bottom right photo.

Fold the card closed and press so that the top of the card is firmly attached to the folded section.  Now, when you open the card, you will have a squared tube inside the card.  Next, fold the small tab along the score line.  Cover the smaller side of the tab with adhesive (bottom left).  Adhere this small piece to the top of the squared tube, centering it.  You want the remaining tab to be sticking up furthest away from the fold. (bottom right)

Now when you close the card, fold the tab up and add adhesive (top right)  With the card still closed, add the circle with the cat, making sure it is centered and press down to adhere it to the tab.  Now when you open the card, the kitty circle will pop into the card.  I then added the sentiment strip so that it would prop up the kitty circle when the card is open.  I used foam tape to give it a little height.  Lastly close the card and add the stars.  Make sure there is no adhesive on the edges that overlap the circle.

There are lots MORE window flip cards coming to the shop later today/tomorrow, so be sure to check them all out!  That’s it for me today, thanks for stopping by!

BLOG | INSTAGRAM

Unicorns and Rainbows

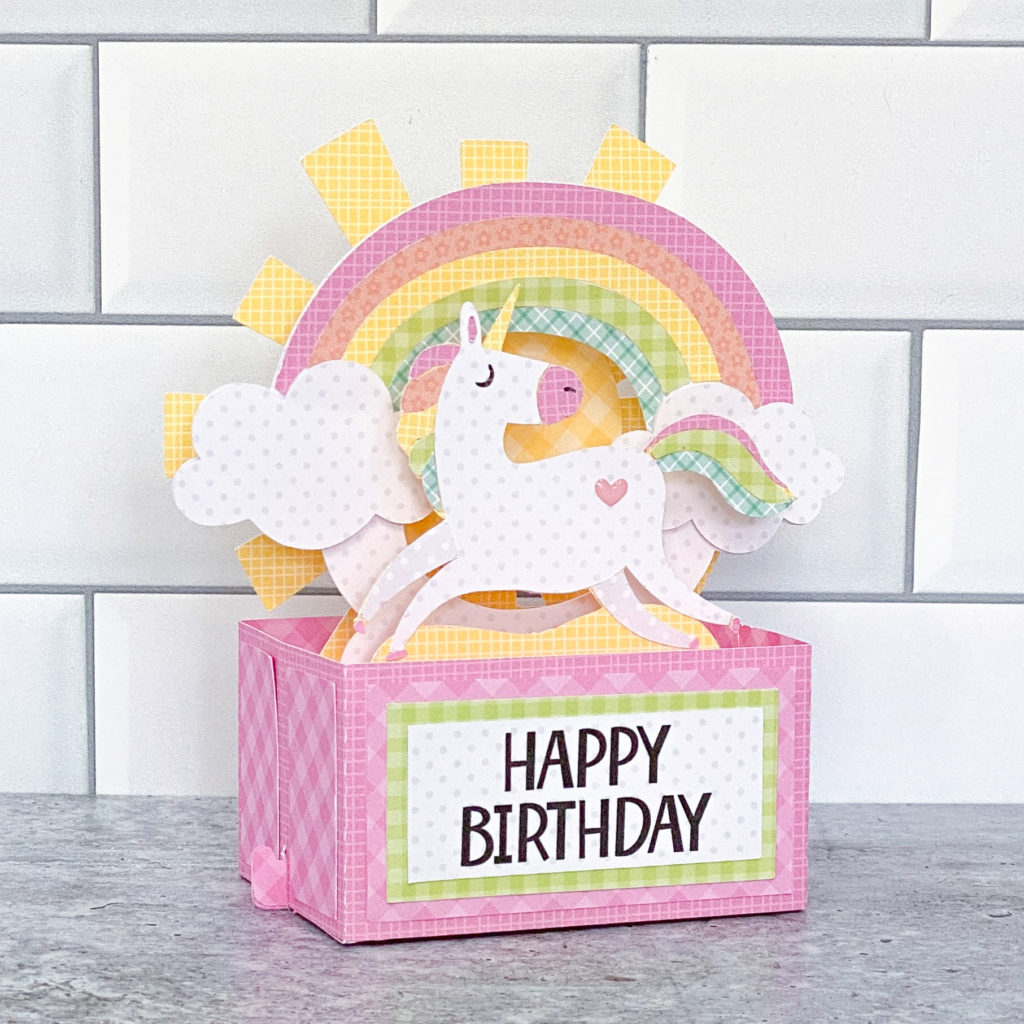
Hi Everyone! Need a little cheer?  Well it’s all unicorns and rainbows here today!  I pieced together Lori’s new Rectangle Pop Up Card Unicorn (SVG, Silhouette) for a friend’s birthday, and I think it’s one of the cutest little cards I’ve ever made.  Take a peek…


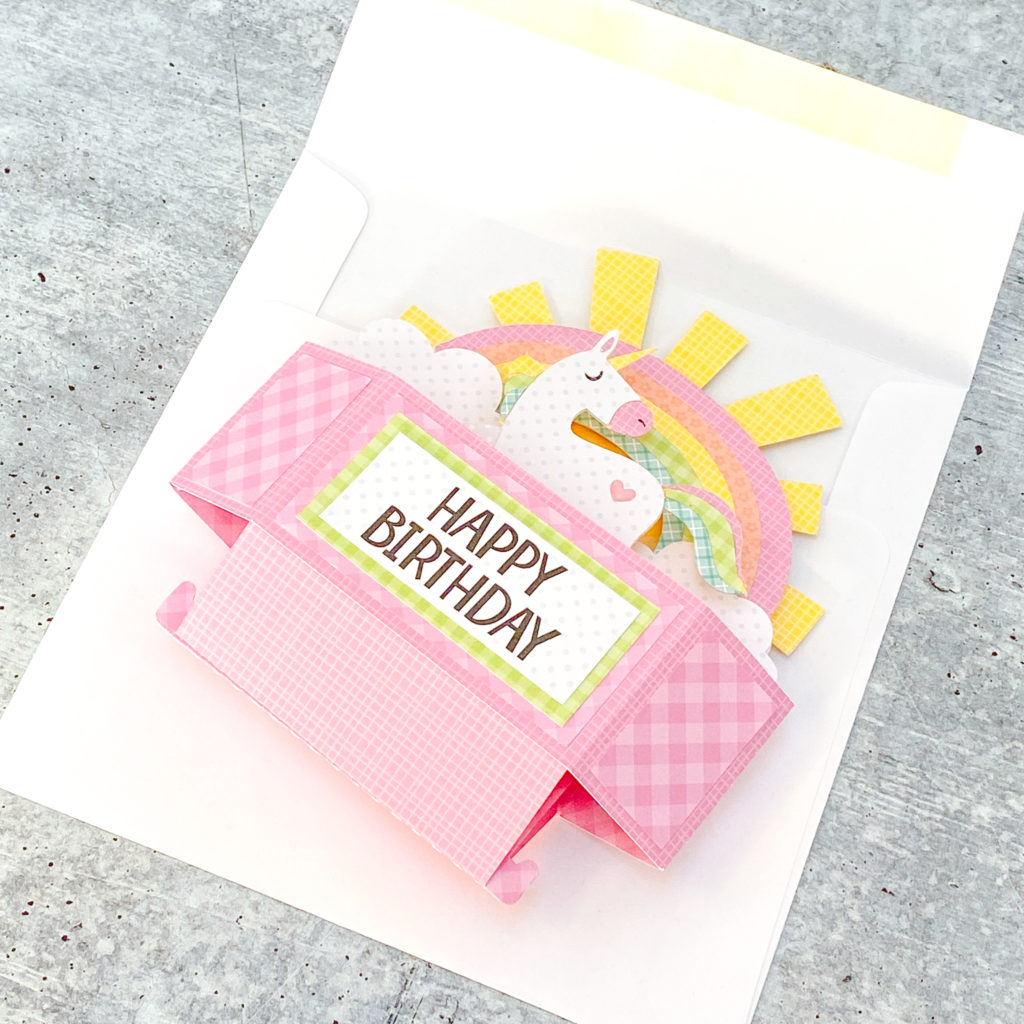
Doesn’t that just make you smile?  Lori’s Rectangle Pop Up Card Tutorial on YouTube is easy to follow, you’ll be piecing these cards together in no time! This card also fold flat for mailing, and fits into a 6″ square envelope with plenty of space to account for the thickness of the layers.

So if you know of someone who could use some rainbows, I highly recommend sending them one of these cards!  That’s it for me today, thanks for stopping by to peek!
BLOG | INSTAGRAM

Unicorn Impossible Birthday Card

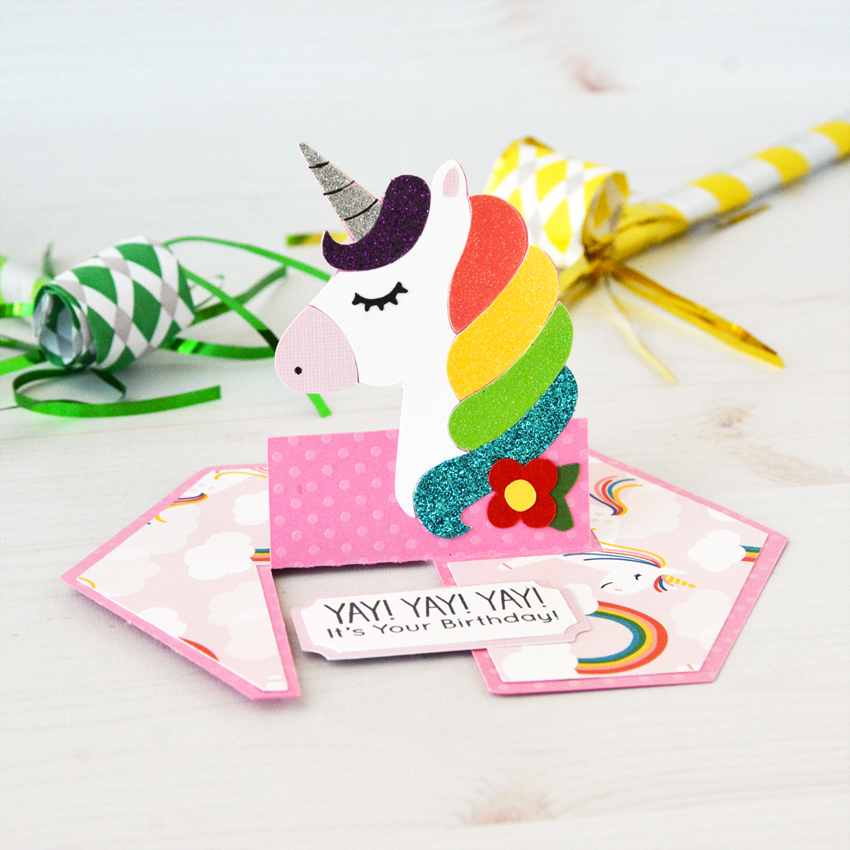
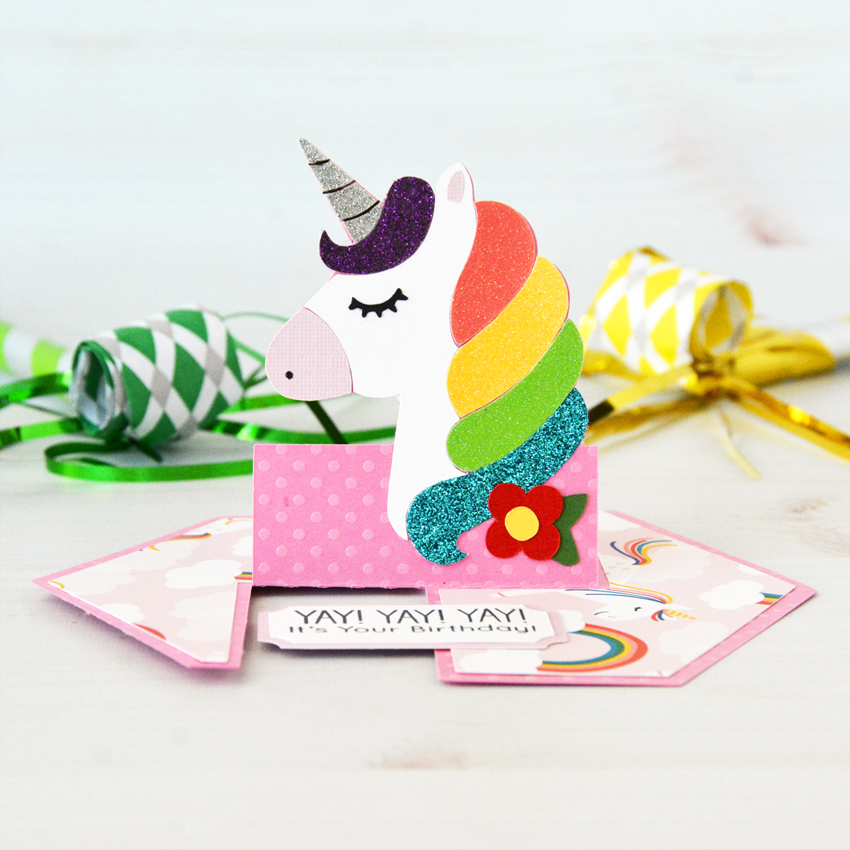
Hello everybody, Marcia here today. I have a ton of family birthdays coming up. Since we are still not gathering until more of us can get vaccinated, I wanted to get some birthday cards made to get off in the mail. This Unicorn Impossible Birthday Card (SVGSilhouette) caught my eye for my niece’s daughter. She is seriously into unicorns right now. I created this with a rainbow selection of glitter cardstock and used a pink cardstock base.

These are fun interactive cards. When you twist them the center pops up, yet they fold flat for mailing. You can use the birthday sentiment that comes with the card or create your own sentiment.  For an assembly tutorial, see Lori’s YouTube Channel here.

There are lots of impossible cards in Lori’s shop. Send one to someone you know who could use a little pick me up right now. Thanks so much for stopping by.

~Marcia