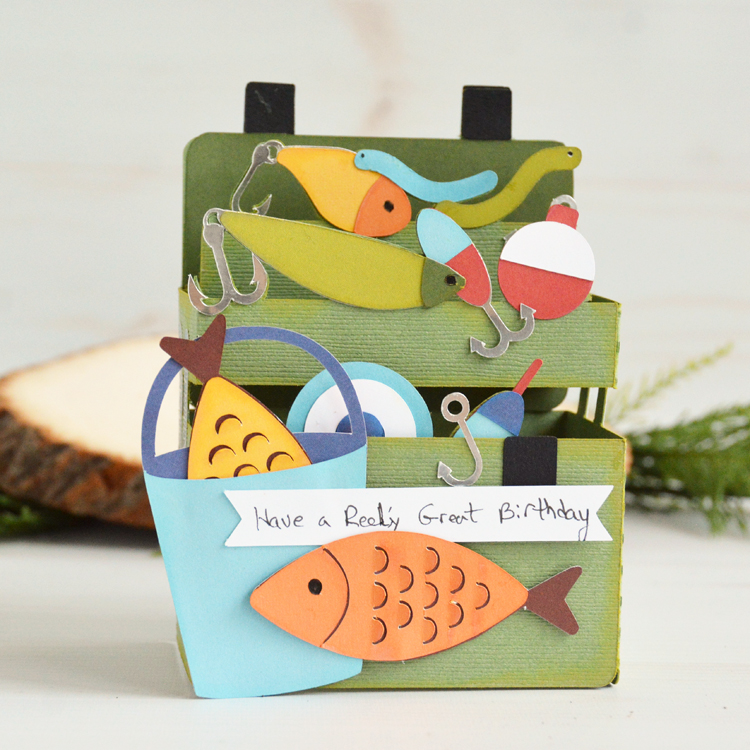
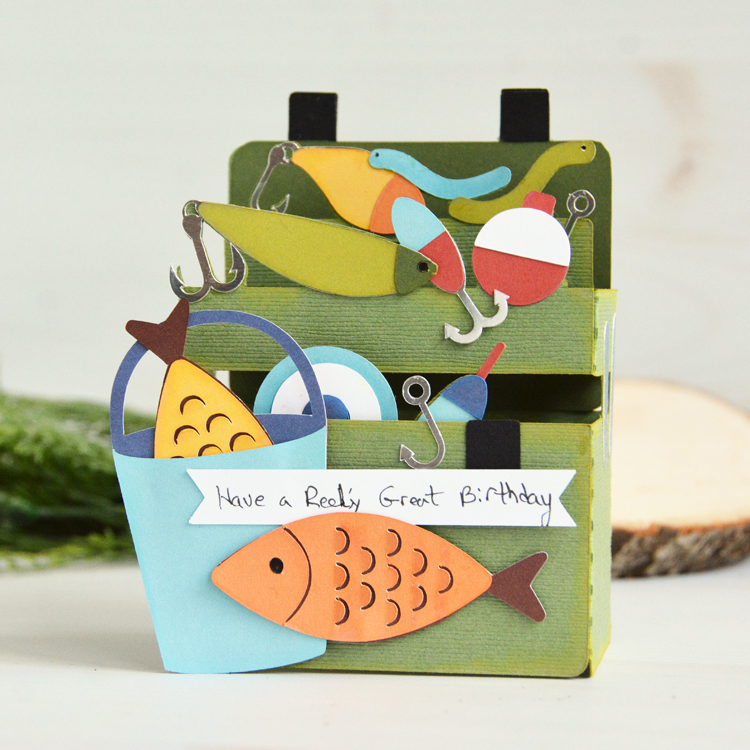
Fish Tackle Box Card

Hello everyone! Marcia here today.  Well, summer is winding down here in Minnesota but the fish are still biting at the lake!  When I saw this Fishing Tackle Box Card with (SVGSilhouette) I knew it would be the perfect card for my fisherman. It was originally intended as a Father’s Day card, but by just changing the sentiment to “Have a Reel’y Great Birthday”, I have a great birthday card.

Lori has lots of Summer card ideas in her shop. Go check them all out and have some fun making your own cards!

Thanks so much for stopping by.
~Marcia

Pop Up Cards 101

I love a good pop up card.  Looks like a regular card on the outside, then open it up and you get a fun surprise.  We get a lot of questions on how to assemble these cards, so I thought I’d put together a quick tutorial showing how easy they are to make!  For my sample, I put together the Pop Up Card Birthday Present Hat (SVG, Silhouette).  Take a peek…

That little hat is just so cute!  Here are the basic steps for putting together this card, and pop up cards in general…  First I cut the pieces of the file.  I used Echo Park Paper’s new All About a Girl Collection to make this card.

I pieced together the present and the hat.  I used pop dots for the 2nd bow layer and the hat’s pom pom.

Next, I folded the insert with the pop up mechanism.  Below are 3 different views of how it is folded.  For this card, and all pop up cards in general, there’s a bump-out section that you want to fold so it sticks out into the center of the open card.  The last photo shows how it should look when folded flat.  You want it to be inside the folded card.

Once you have the insert folded correctly, you want to glue it into the card base.  On the left, you can see that I added adhesive everywhere EXCEPT under the pop out section.  You don’t want any adhesive there, so it will stick out into the card when opened.  Starting with one side, I centered the insert in the card base, and then folded over the other side to secure.  Now when the card opens, the bump-out pops out into the center of the card.

Now you want to attach the hat to the bump-out so that it will pop up when the card opens.  I added adhesive to the only the front portion of the bump-out.  I then lined up the hat with the bottom score line on the side with the adhesive, centered it in my card, and pressed to secure.  Now when the card is opened the hat pops up.

To finish my card, I added the print and cut sentiment to the bow with some twine.  It’s all ready to send off now!

I hope this helped to show how easy pop up cards are to make!  That’s it for me today, thanks for stopping by to peek!

BLOG | INSTAGRAM

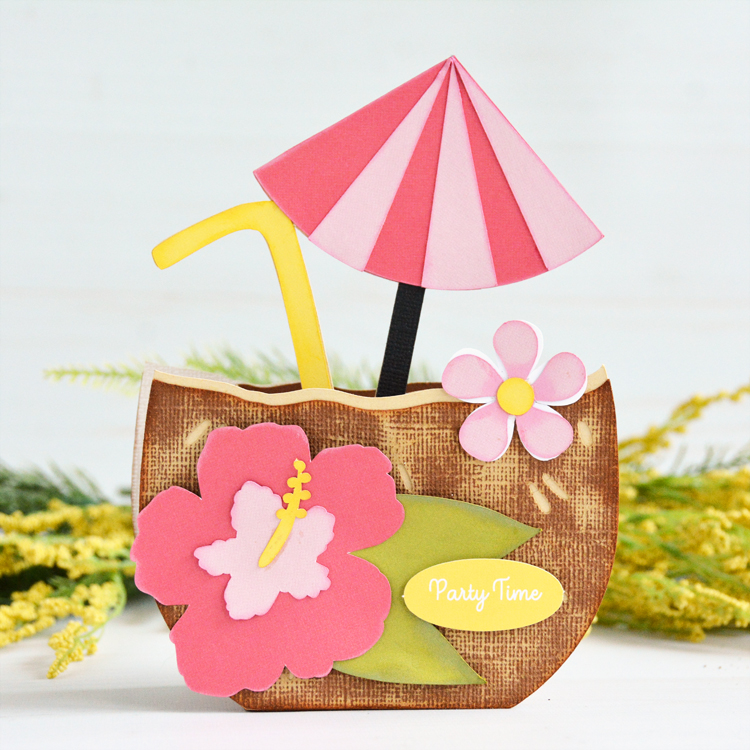
Coconut Drink Box Card

Hello everyone! Marcia here today.  Nothing says summer more than this Coconut Drink Box Card (SVGSilhouette). I added a “Party Time” sentiment from the Lori Whitlock Birthday Girl collection and plan to gift this for a birthday. To make the coconut shell look more realistic, I sanded the cardstock to add some distressing.

Lori has lots of Summer card ideas in her shop. Go check them all out and have some fun making your own cards!

Thanks so much for stopping by.
~Marcia

A Birthday Box for a special someone

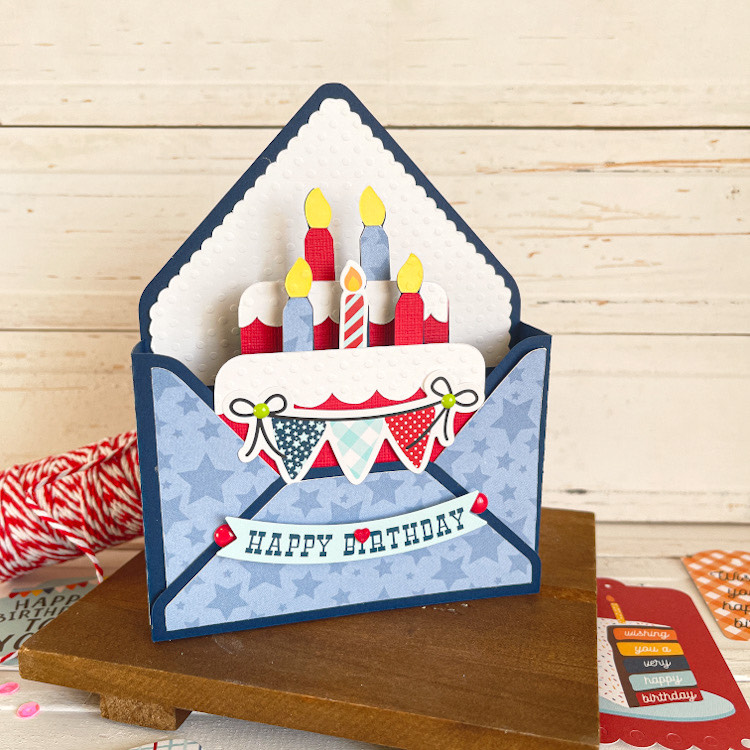
Happy Wednesday!  I have a fun card to share with you that I created for a special someone.  These are my absolute favorite cards to make, as many of you know.  They are quick and have just a great Wow! factor.  This is Lori’s Box Card Envelope Birthday Boy (SVG, Silhouette) created with her Echo Park Paper Birthday Boy collection.

Recently, a friend asked for a card shower for her Grandpa who was turning 95!  I was happy to participate and wanted  to make sure he had an extra special day.  What a blessing he is to my friend!  For my card, I replaced the stars in the file with a cute banner from the Birthday Boy collection.

Make sure to stop by the shop, there are so many cute files and tons of these box envelope cards….you can become addicted to them like me!

Have a great day!

Happy Birthday Pop Up Cake Card 2

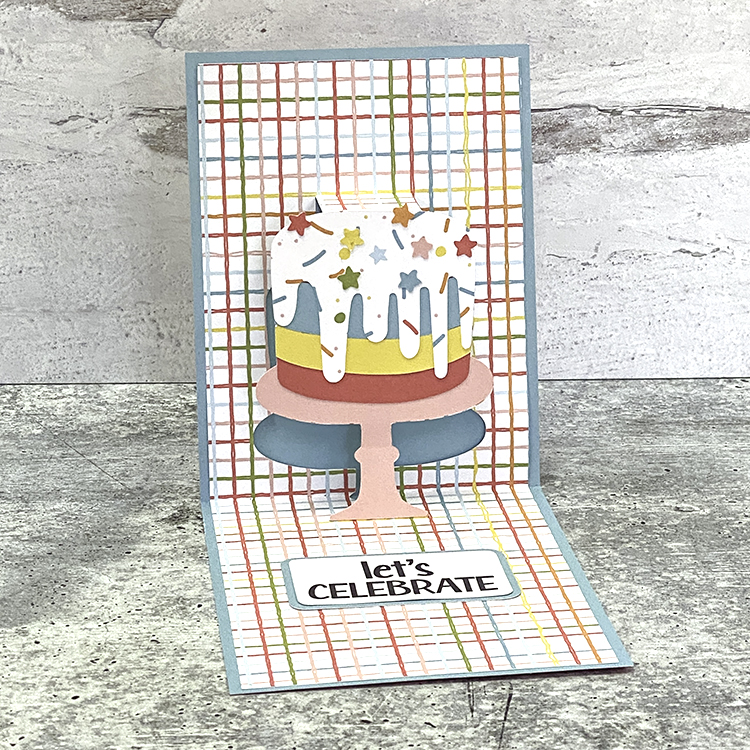
Hi Everyone!  It’s Kathy today with one of Lori’s fun new cards from the Awesome Birthday Card Bundle.  This Happy Birthday Pop Up Cake Card 2 (SVG, Silhouette) is such a fun card, and really easy to put together.  I put my version together with Echo Park Paper’s new Birthday Girl Collection, take a peek…
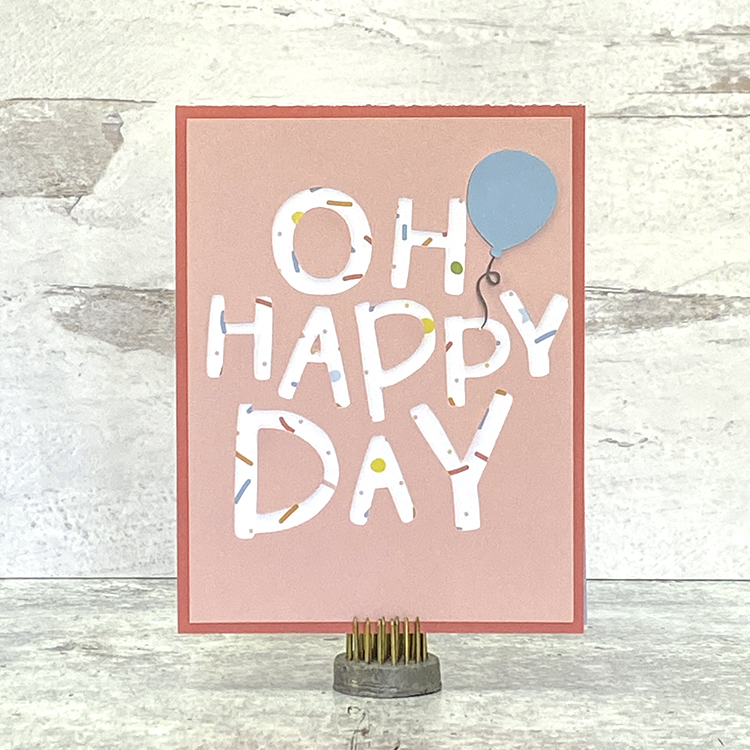
And the outside is just as cute!
I put together some easy instructions for this card below….

I started by cutting all of my pieces.  I also print and cut the sentiment piece.  Note that I did save the “inside pieces” of the letters on the Oh Happy Day piece so that I could add them to the card.

Next I assembled the front pieces of the card.  Layer the words panel over the background piece.  Add the insides of the letters and the balloon

Add the completed front to the front of the main card base.

Next, I folded the pop out insert along the score lines so that the cake “pops out” when the card is opened.  Here is a side view so you can see how I folded it.

I added another view of the folds.

To add the insert to the inside of the inside of the card, I added adhesive to the “top” or cake side of the insert.  Do not add any adhesive to the part that pops out (the cake)  Fold the insert along the center score line and align and center the fold of the insert with the inside crease of the card base.  Press down to secure the first side.

Add adhesive to the remaining side and fold the whole card over and press to secure.  Note:  Make sure the outside front of the card is on the same side as the cake so it opens correctly

Once the insert was added, I glued cake stand and pieces to the pop out part of the card.  I started with the base.

Next, I glued the cake on the base, added the stripes to the cake and lastly the frosting and stars.  To complete, I added my sentiment.

Check out all of the fun cards in the Awesome Birthday Card Bundle, there is something for just about everyone on your list!  That’s it for me today, thanks for stopping by to peek!

BLOG | INSTAGRAM