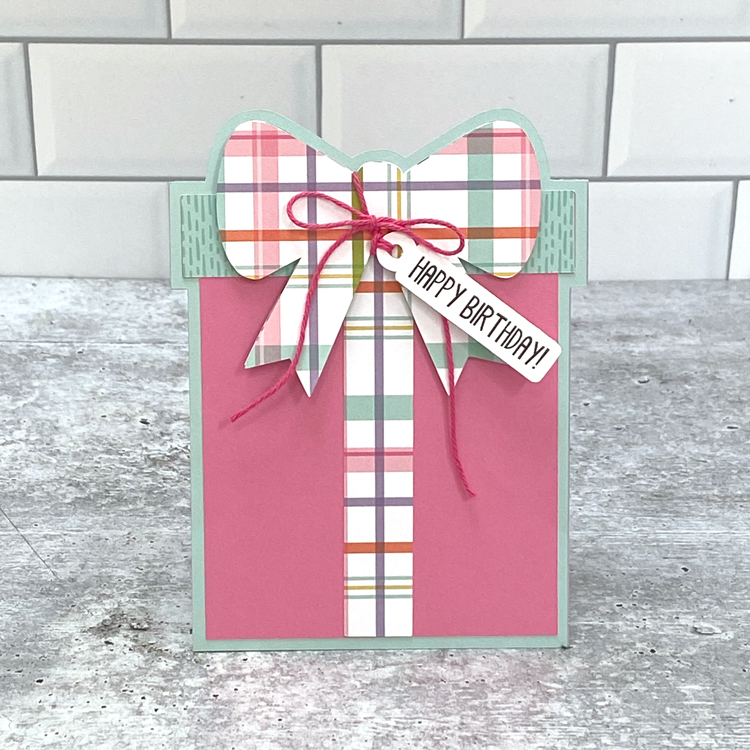
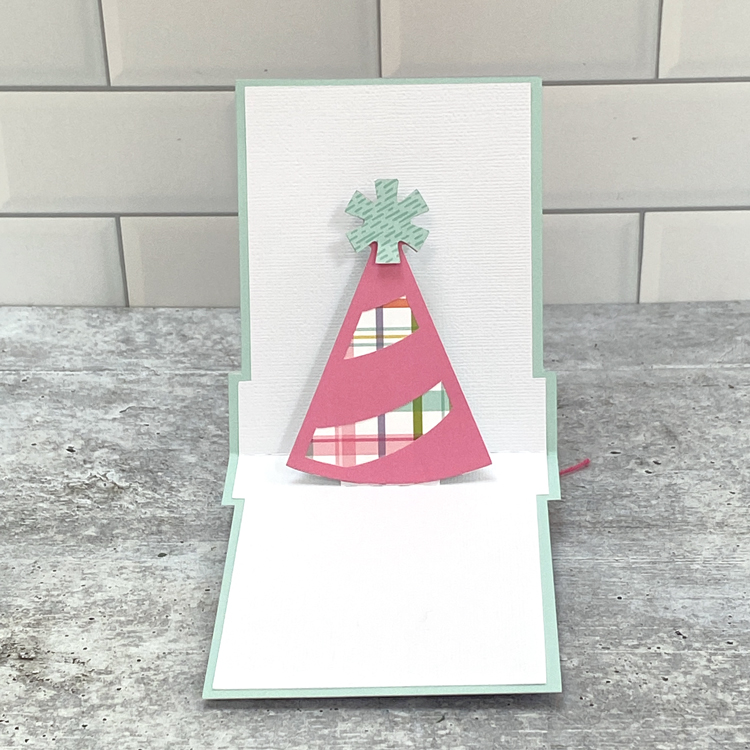
I love a good pop up card. Looks like a regular card on the outside, then open it up and you get a fun surprise. We get a lot of questions on how to assemble these cards, so I thought I’d put together a quick tutorial showing how easy they are to make! For my sample, I put together the Pop Up Card Birthday Present Hat (SVG, Silhouette). Take a peek…
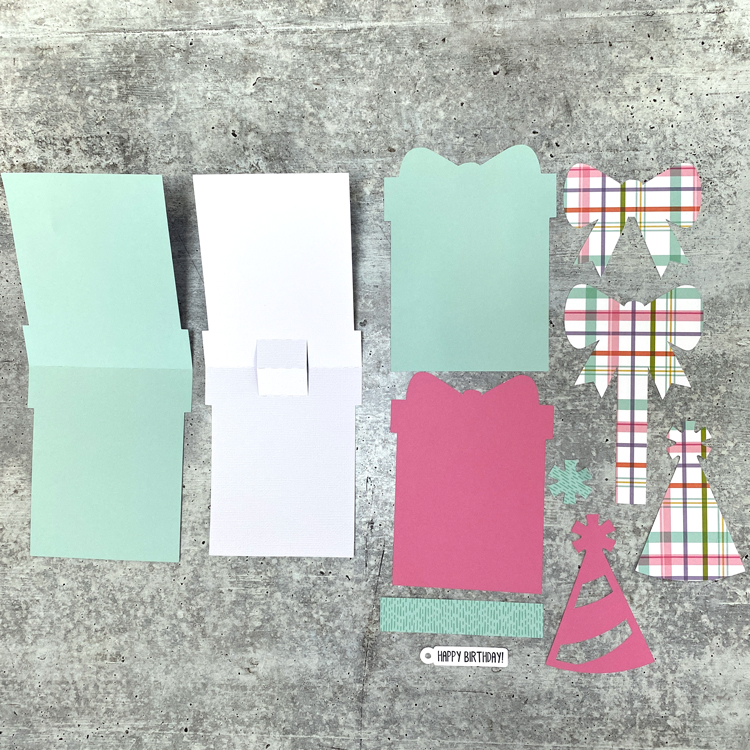
That little hat is just so cute! Here are the basic steps for putting together this card, and pop up cards in general… First I cut the pieces of the file. I used Echo Park Paper’s new All About a Girl Collection to make this card.
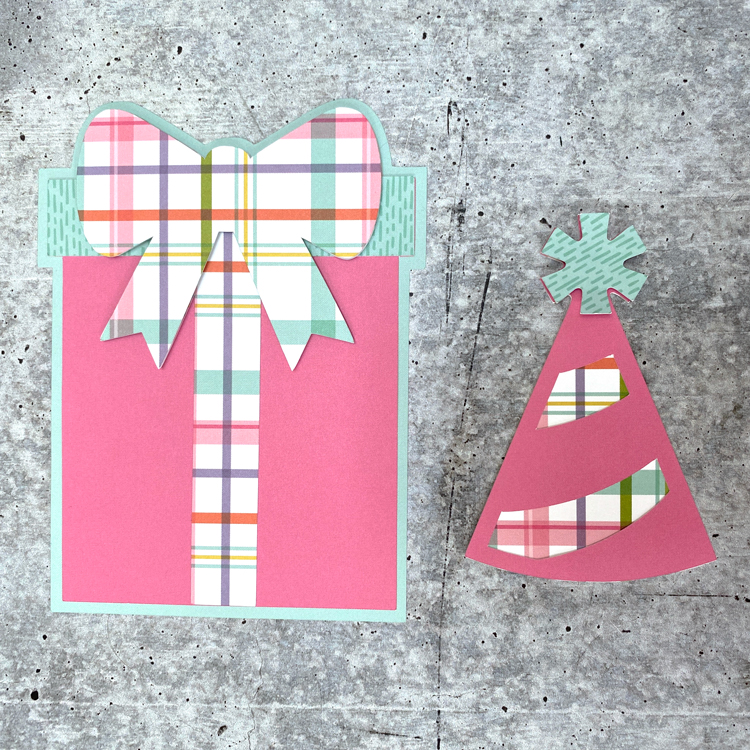
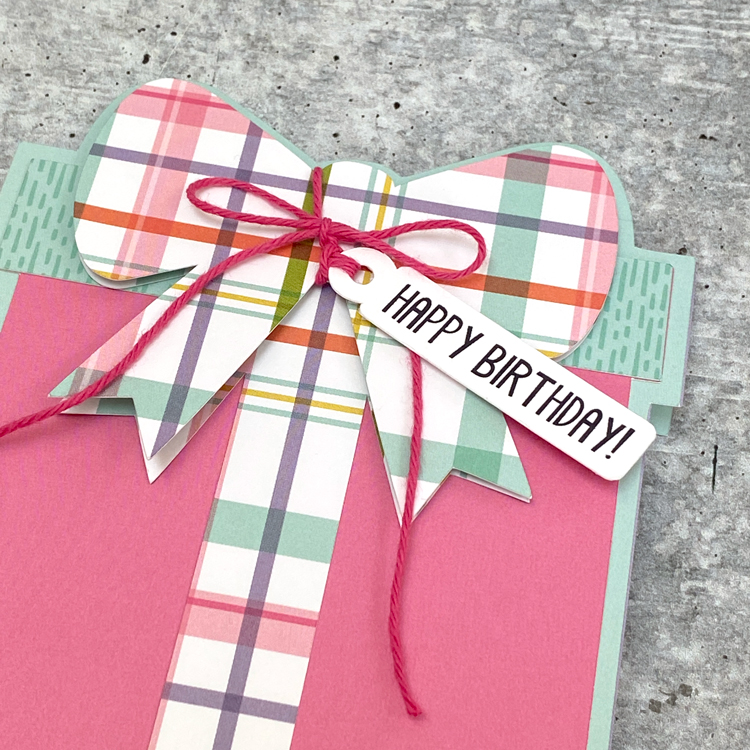
I pieced together the present and the hat. I used pop dots for the 2nd bow layer and the hat’s pom pom.
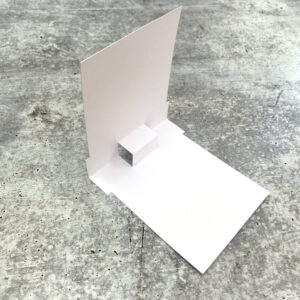
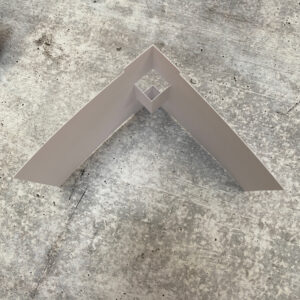
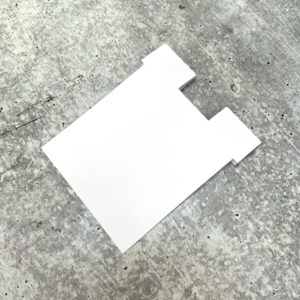
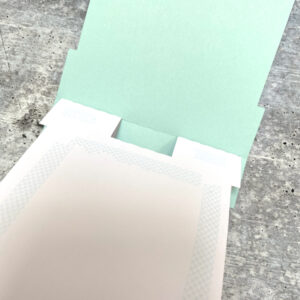
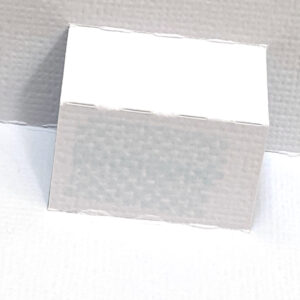
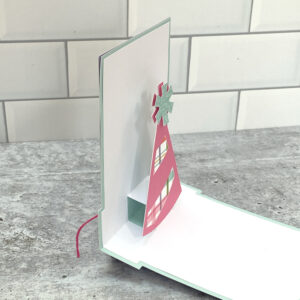
Next, I folded the insert with the pop up mechanism. Below are 3 different views of how it is folded. For this card, and all pop up cards in general, there’s a bump-out section that you want to fold so it sticks out into the center of the open card. The last photo shows how it should look when folded flat. You want it to be inside the folded card.
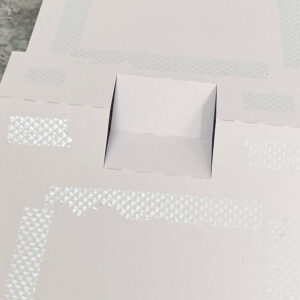
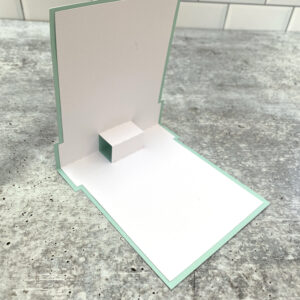
Once you have the insert folded correctly, you want to glue it into the card base. On the left, you can see that I added adhesive everywhere EXCEPT under the pop out section. You don’t want any adhesive there, so it will stick out into the card when opened. Starting with one side, I centered the insert in the card base, and then folded over the other side to secure. Now when the card opens, the bump-out pops out into the center of the card.
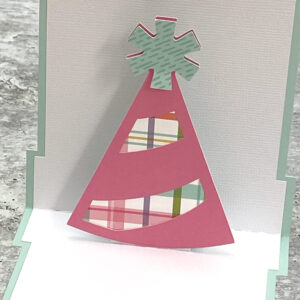
Now you want to attach the hat to the bump-out so that it will pop up when the card opens. I added adhesive to the only the front portion of the bump-out. I then lined up the hat with the bottom score line on the side with the adhesive, centered it in my card, and pressed to secure. Now when the card is opened the hat pops up.
To finish my card, I added the print and cut sentiment to the bow with some twine. It’s all ready to send off now!
I hope this helped to show how easy pop up cards are to make! That’s it for me today, thanks for stopping by to peek!